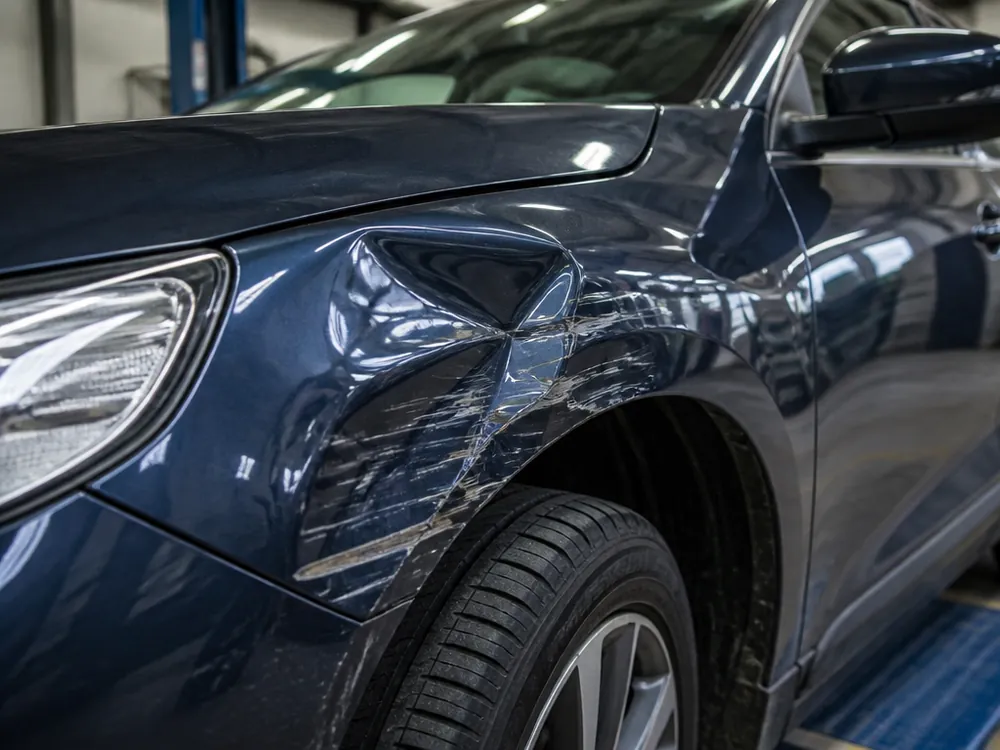
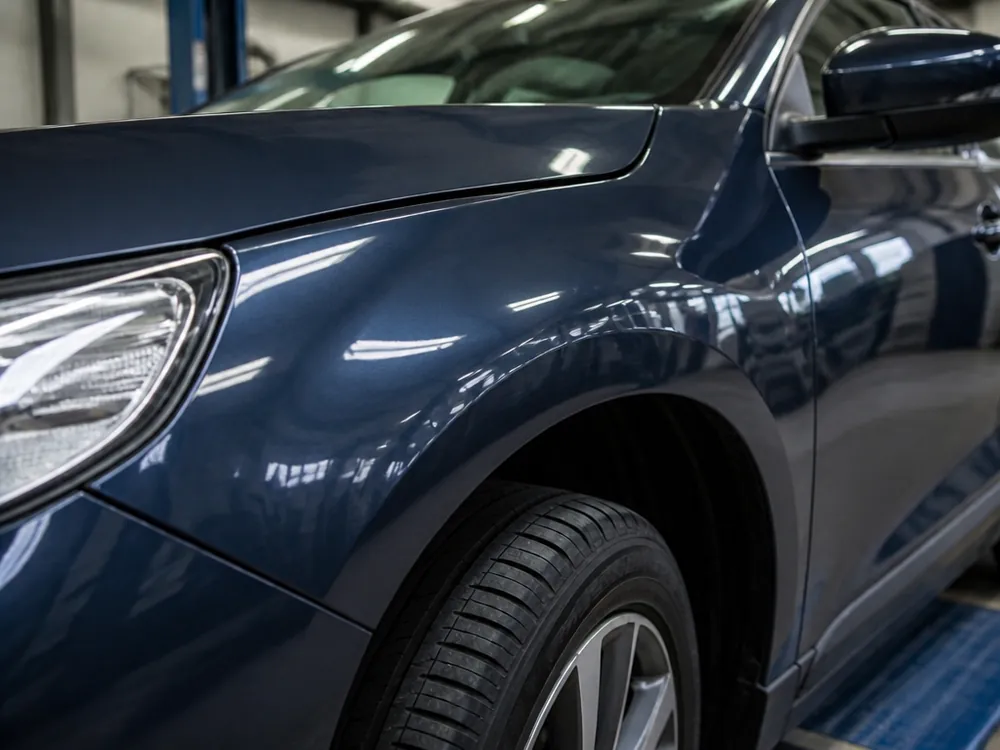
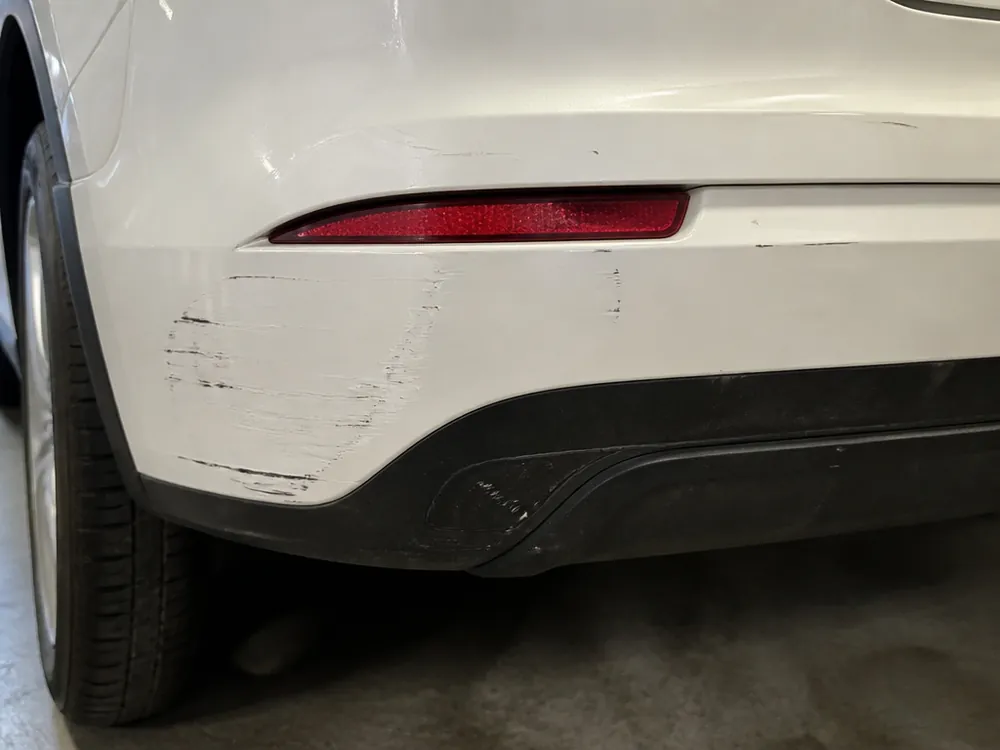
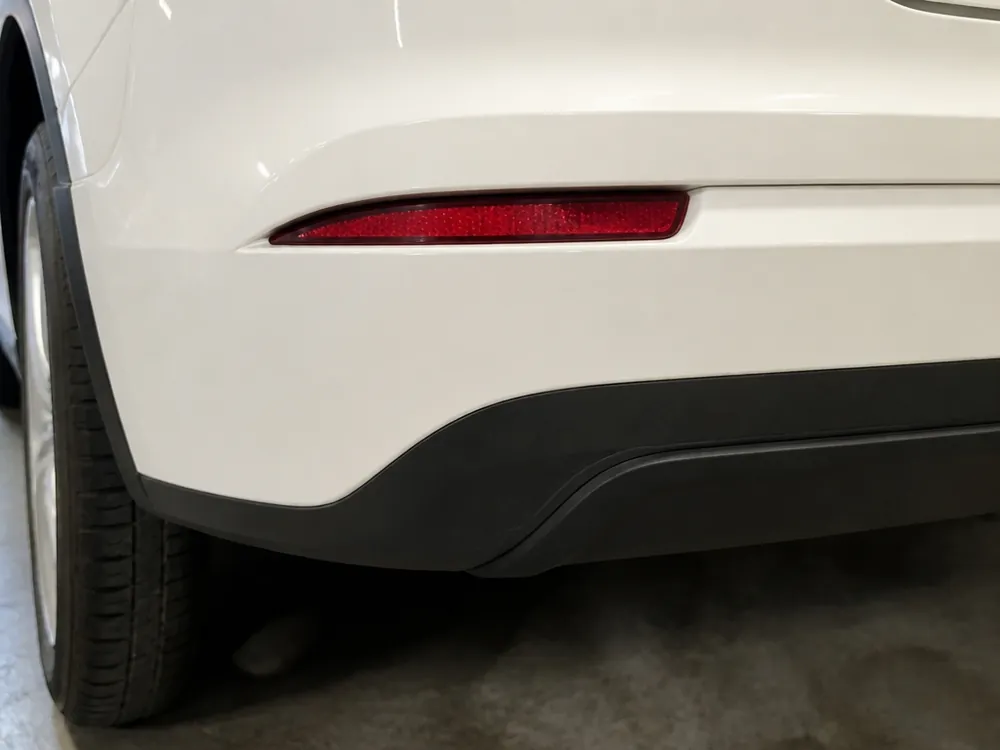
Damage varies — from a chip on the bumper to the aftermath of an accident. The method depends on the type of damage: PDR, panel beating, spot painting, or part replacement. Let's break down how to choose the right option for each case.
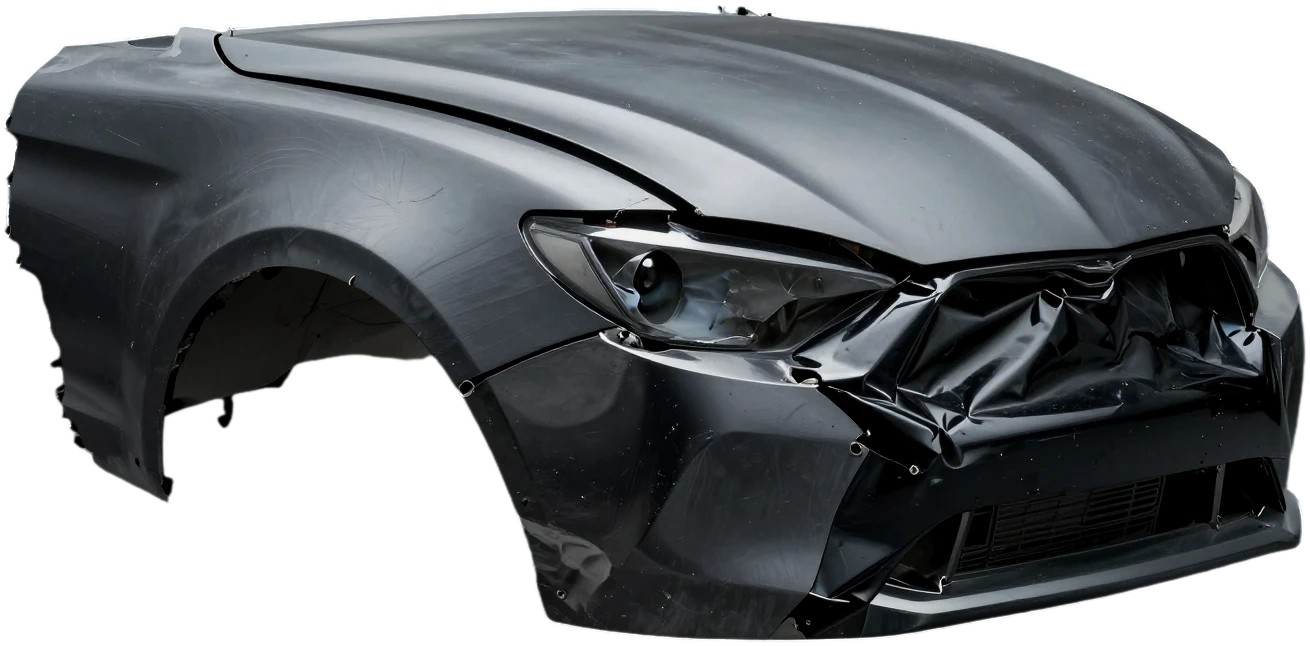
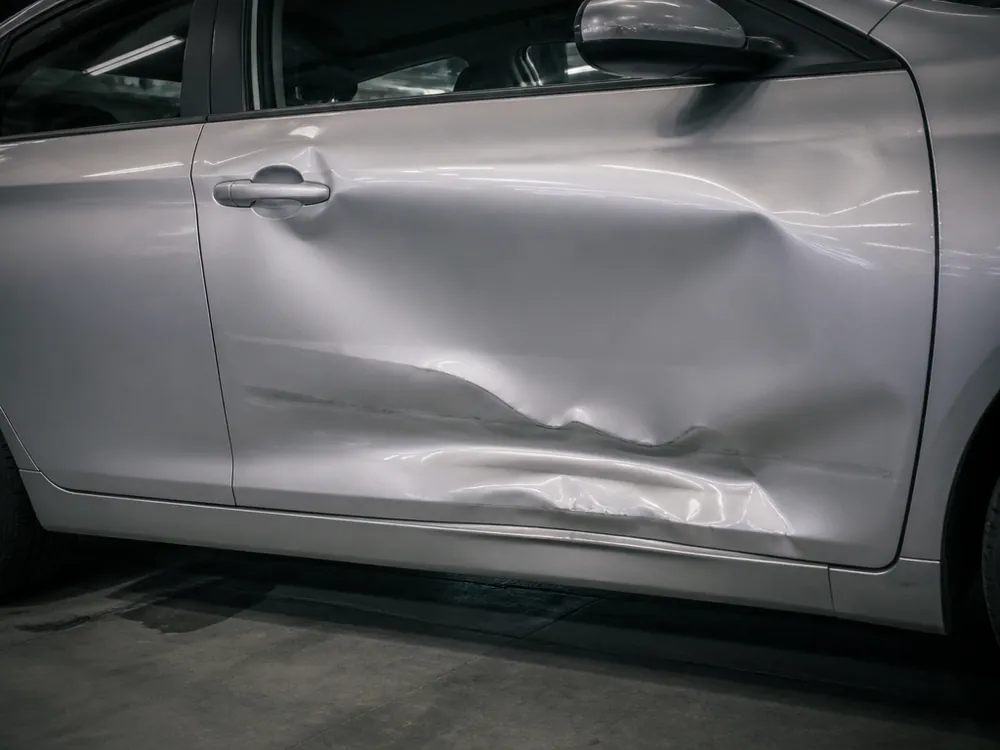
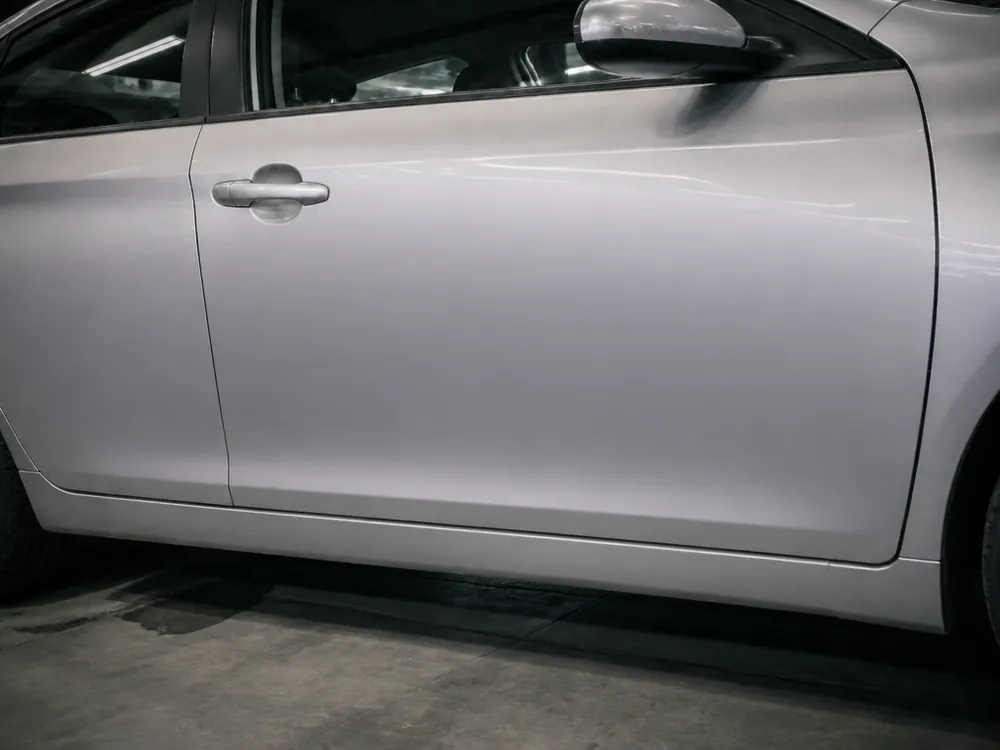
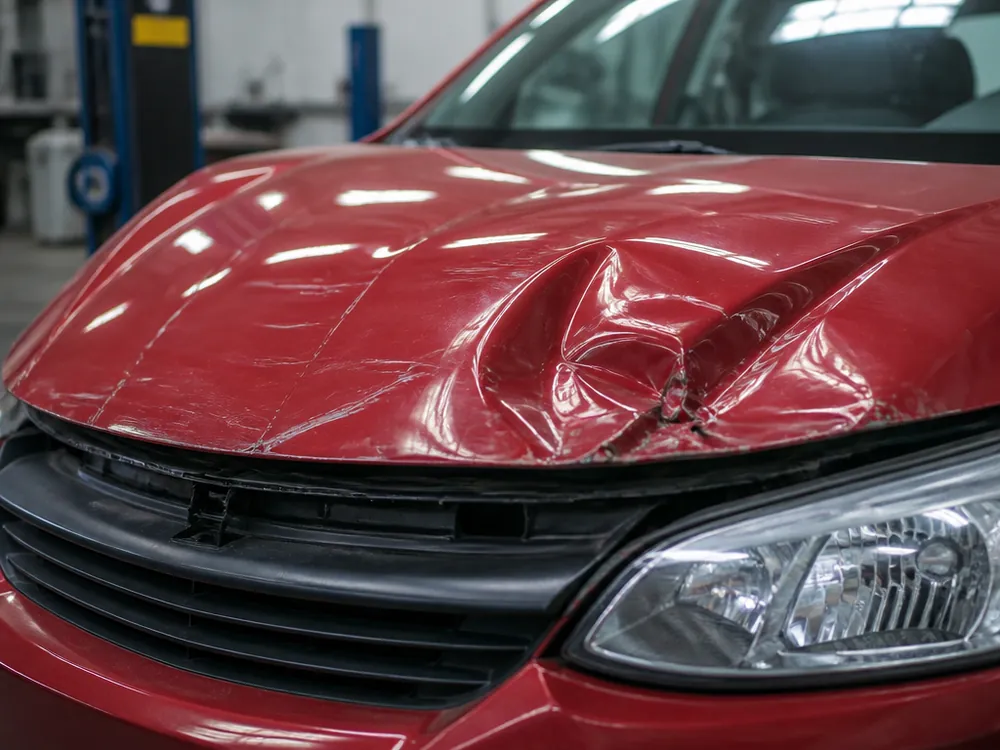
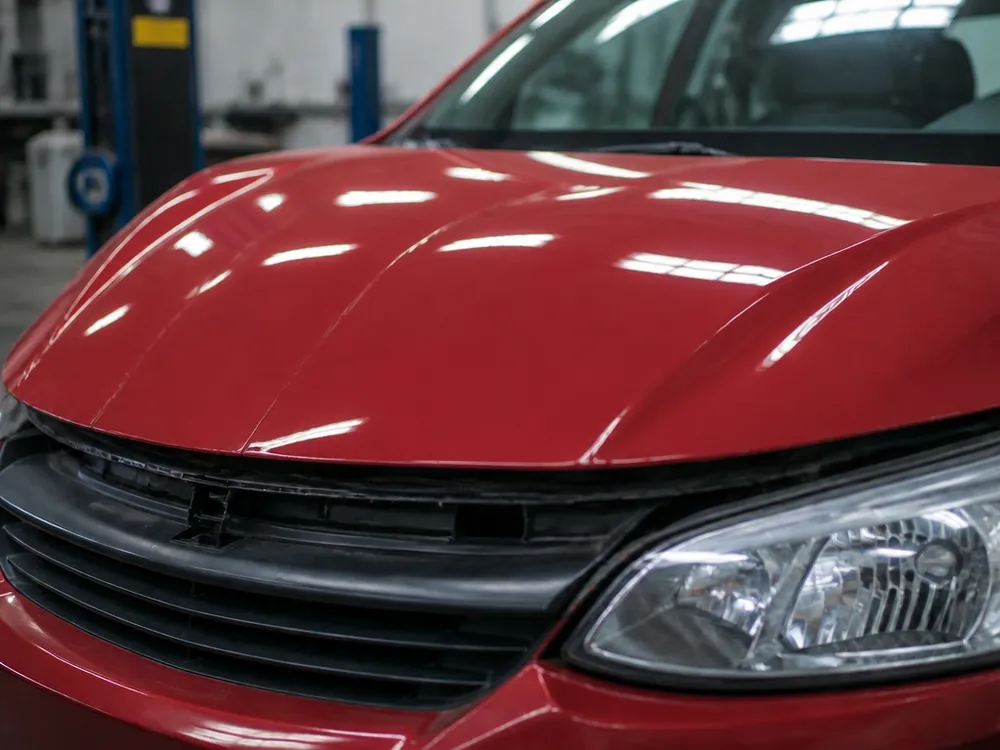
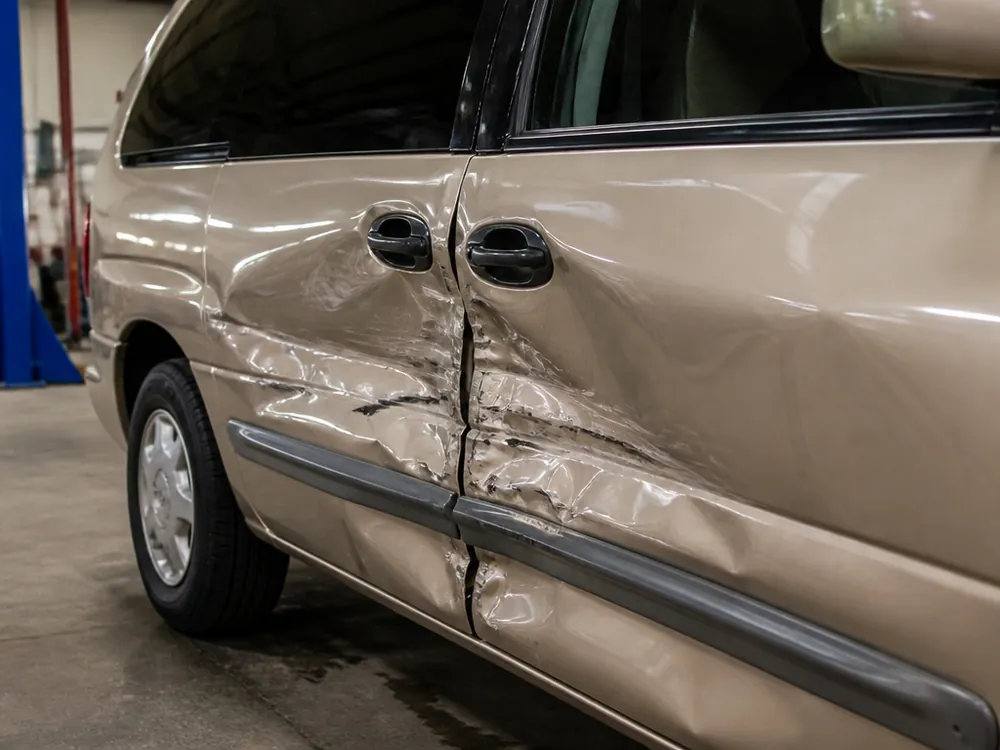
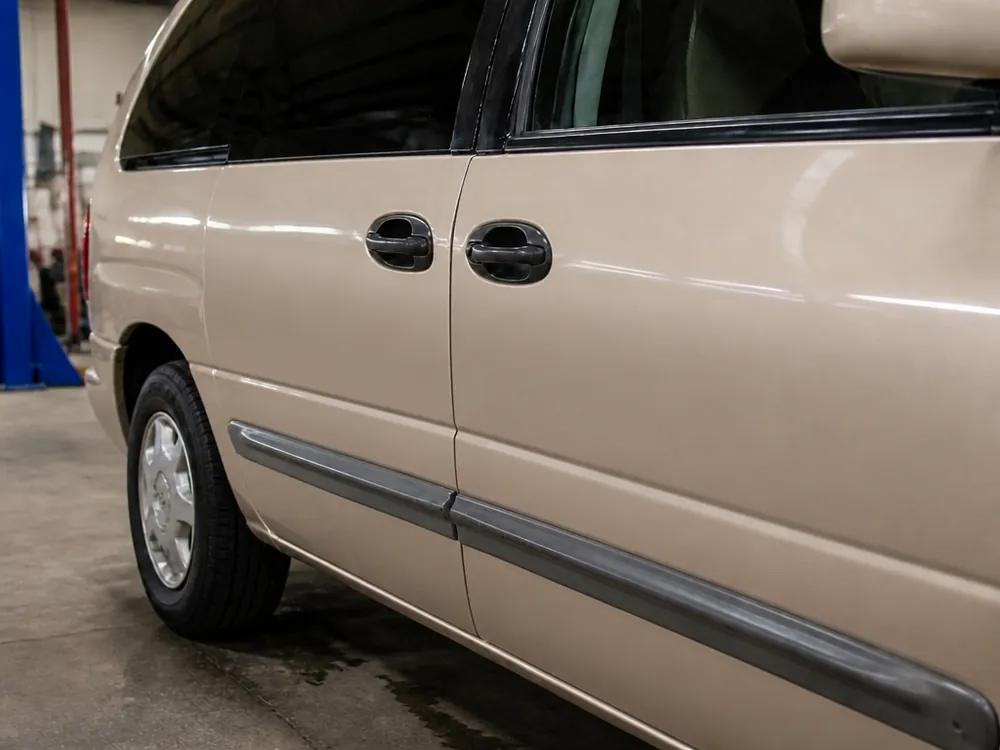
Panel beating is restoring the shape of the metal without replacing the part: we straighten dents and creases on the fender, door, or hood while preserving the factory stamping. We work with levers and a reverse hammer, pulling the surface gradually to avoid overheating and stretching the areas around the crease. We straighten a fender while keeping the original part when the geometry is intact and the edge gaps remain factory. If the metal is stretched in the crease area, straightening alone isn't enough — spot painting is required afterward, otherwise microcracks in the clear coat will lead to corrosion within a season. Experience shows: the sooner you address a dent, the smaller the repair area and the lower the risk of stretching the metal in neighboring zones. In my opinion, keeping the original part is almost always more cost-effective than replacement: factory stamping holds its shape more precisely than any aftermarket part, and the body gaps stay even.
When a Dent Is Removed Without Painting and When You Still Have to Paint
PDR works when the clear coat is intact and the metal isn't stretched at the edge: we pull a smooth dent with glue tabs and levers, avoiding filler and the paint booth. Paintless dent removal takes less time than a full cycle with painting and preserves the factory clear coat over the entire surface. We check the area under an angled lamp: if the coating has cracked at the edge or developed a spiderweb pattern, PDR won't help — the clear coat will lift under the tab, and you'll have to paint anyway. On sharp creases, the metal stretches, and restoring the shape is no longer possible. That's why before starting work we show the client the extent of the damage and explain which method will give a smooth surface and which will only create the appearance of repair.
Comparison of Repair Options by Damage Type
repair methods by type of damage| Damage | Method | When we use it |
|---|
| Smooth dent, intact clear coat | PDR without painting | Metal not stretched at the edge |
|---|
| Crease, sharp edges | Panel beating and spot painting | Part is repairable |
|---|
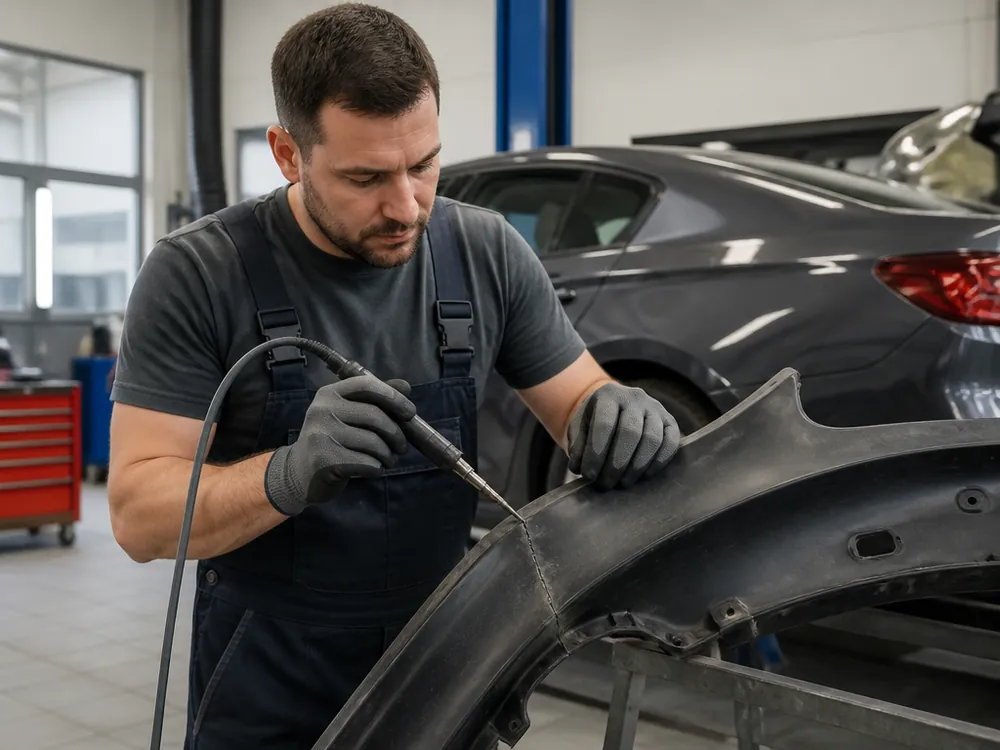
| Crack or chip in bumper | Soldering with a soldering station and mesh | Without removing from the car |
|---|
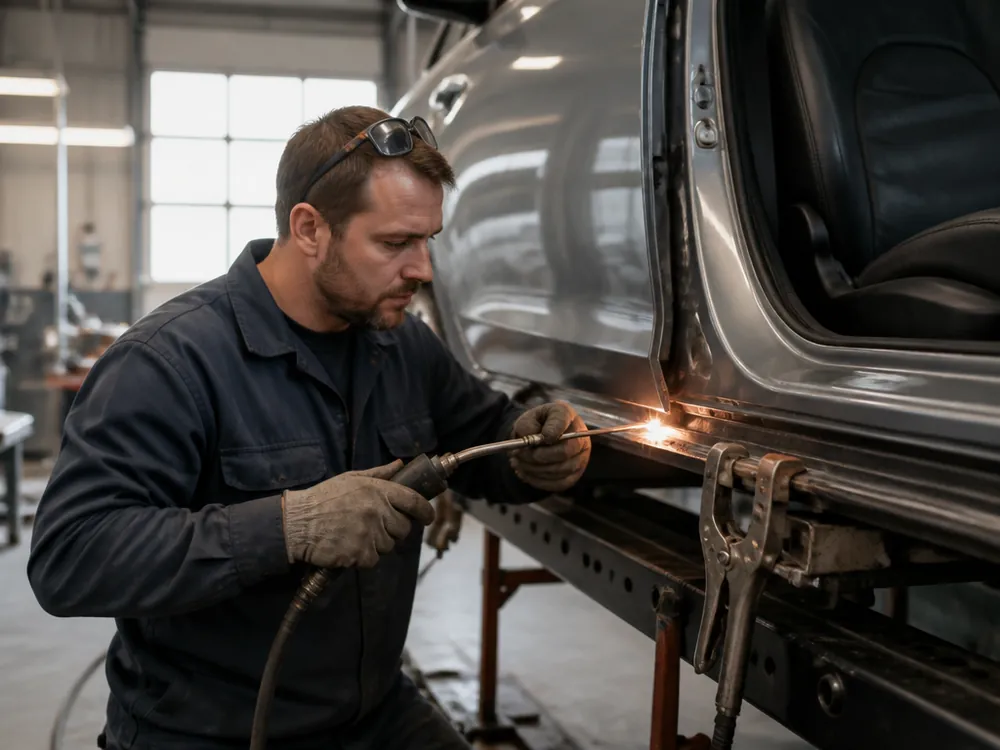
| Metal tear, through corrosion | Body welding | Local area |
|---|
| Structural deformation, loss of shape | Replacement of fender, door, hood | Repair costs more than replacement |
|---|
Body Geometry and the Frame Machine When Straightening Is Enough
A door that closes poorly, uneven gaps, the car pulling to one side — these are signs that the geometry is off. Let's break down how to tell part deformation from body misalignment.
How to Tell the Body Is Twisted and You Need a Frame Machine
When a door or hood doesn't sit in the opening without force, and the gaps on one side are wider — that's a sign of body misalignment, not just deformation of the part itself. Our service advisor first inspects all openings and checks the gap width around the perimeter, not just on the damaged element. Misalignment often shows up indirectly: the steering wheel is crooked when driving straight, a tire on one edge wears faster, the trunk closes with pressure. And panel beating a fender or replacing a door won't help here — the part will fit into a skewed opening and the gaps will spread again in a couple of months. It's easy to check: run your hand along the entire gap — when it varies by 3–4 mm, the part isn't the issue; you need a geometry measurement on the frame machine. That's why body repair in Almaty starts with geometry diagnostics, not with straightening individual parts.
Measurement at 12 Points and What It Means to Exceed Tolerance
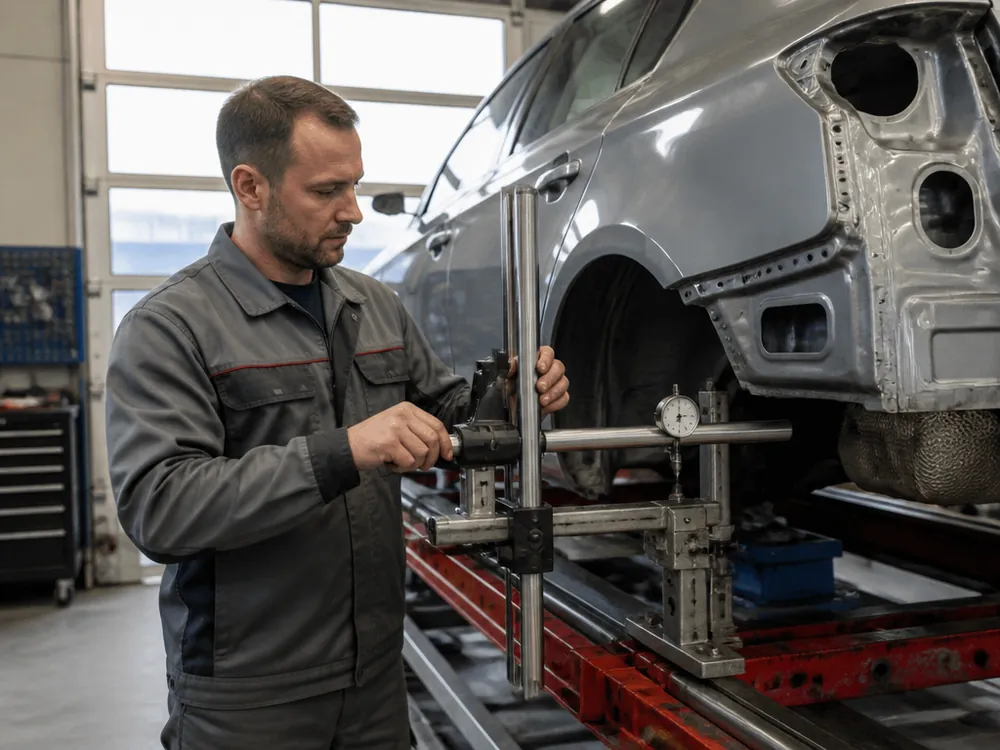
We measure the body on the frame machine at 12 control points: if even one is out of tolerance, we pull it to the factory value, not "by eye." The points are tied to structural elements — longitudinal rails, pillars, sills — so the measurement reveals misalignment even where there are no visible dents. Each point has a factory number for the specific model, and the technician sees the deviation in millimeters, not "by eye." When you pull without a tolerance map, the geometry goes the other way: gaps become more even on one edge and spread on the other. Tolerance is not "roughly even" but a specific number from the model's factory map; without it, straightening becomes guesswork and ruins the gaps.
Why You Need a Wheel Alignment After Geometry Straightening
After geometry straightening, wheel alignment is a must: body misalignment changes the wheel angles, and without checking, the car will pull and the tires will wear unevenly. Even when the frame machine pulls the body to factory values, the subframe and control arms may have shifted with it — the angles return to normal only through adjustment. We check on a 3D stand right in the shop: it reads the position of all four wheels and shows the deviation in camber, toe, and caster. If the angles are off, we adjust them before delivery so the client doesn't come back a week later complaining about the steering. In my opinion, skipping this check after the frame machine is the most common mistake: it eats tires faster than you notice, and a repeat adjustment costs more than a timely one.
How Repair and Painting Go from Inspection to Delivery
Body repair and painting don't start with a hammer but with an inspection and an estimate. Here's how the process works from intake to delivery and what affects the timeline.
Intake, Diagnostics, and a Written Estimate Before Work Begins
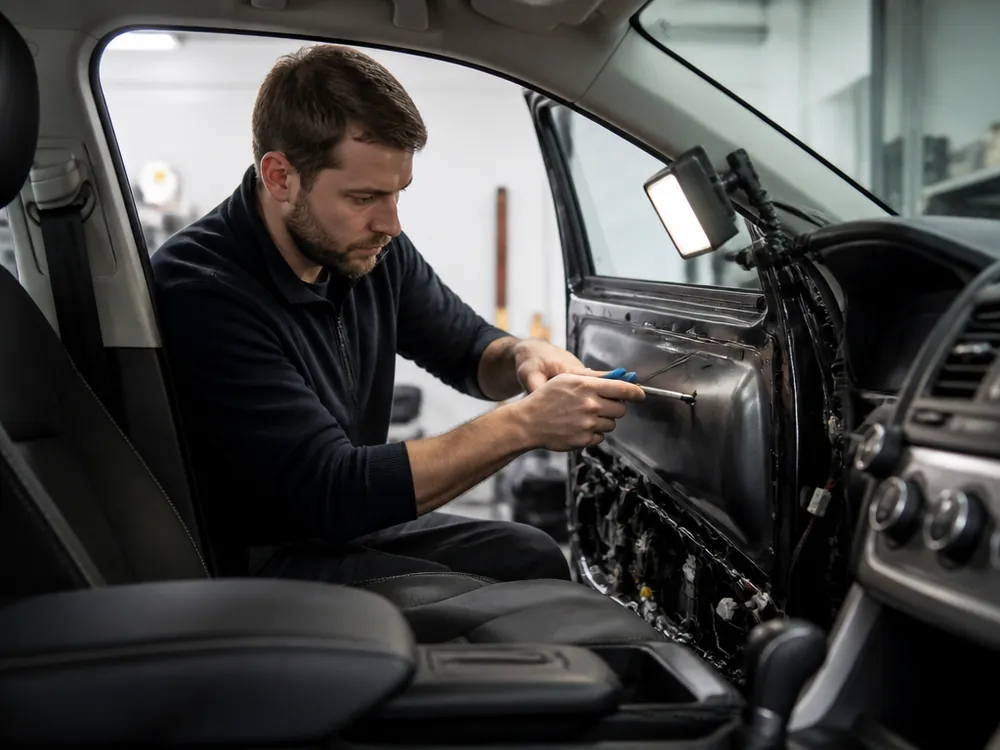
We start with diagnostics: the car is received by the service advisor, who also manages the work order through to delivery. We inspect the damage, measure the geometry on the frame machine at 12 control points, and check for hidden defects under the bumper and trim. Based on the inspection, we prepare a written estimate listing the work and parts, and work begins only after the client's approval. We select parts according to the client's choice — OEM, aftermarket, or their own. An estimate before starting is not a formality: it fixes the scope and protects against "we found something during the process" when the sum grows without your involvement. You can come by appointment — then there's no wait, but an inspection is still needed first: it's impossible to properly assess hidden damage from a photo in a messenger.
Color Matching and Multi-Layer Painting in the Booth
We match the color by code and by a spray-out test on the part itself: in the paint booth we apply several coats so the blend doesn't stand out from the factory finish in sunlight. Primer first, then the base in 2-3 passes, then clear coat on top — each layer is dried with temperature control, not by eye. A spot repair on a panel needs careful blending of the transition, otherwise the edge shows at an angle. Full curing of the clear coat takes days, not hours — for the first 2-3 weeks it's best not to wash the car at a high-pressure car wash or apply film to the fresh area. Polishing that area is also too early: the clear coat is still gaining hardness, and the abrasive removes more than it should.
Repair times and when a rush option is possible
Body repair time depends on the scope: a spot repair on a panel is faster than straightening the geometry on a frame machine followed by painting; we give the exact time in the estimate after inspection. Paintless dent removal takes less time than a full cycle with prep and drying, and a rocker panel repair with welding adds an anti-corrosion stage. We take rush jobs as a priority on the day you come in, but only for minor damage — if a frame machine is needed, we don't speed things up at the expense of quality. We take photos of the key stages, and before handover we do a test drive. Plan your day so you can pick up the car in daylight: color and gaps are easier to see outside than in the shop under lamps.
Warranty, your own parts and fixing someone else's repair
Warranty, your own parts and someone else's repair — three questions clients most often stumble on. We answer straight, without vague wording, and show how it works at the front desk.
What the 24-month warranty covers and what it doesn't
The warranty on body work, painting and anti-corrosion is 24 months; the term and conditions are written into the work order and the completion certificate when you pick up the car. Twenty-four months apply to panel beating, body welding, panel painting, protective film and ceramic coating. Less for other services: 12 months on the engine, cylinder head, timing belt, automatic transmission, electrics, glass and headlights, 6 months on oil, brakes, suspension, wheel alignment and tire service. A warranty case is a defect in the work itself or in a part we installed: paint bubbling, a crack along a weld seam, film peeling off. We do the diagnostics for such a claim free of charge. The warranty covers the operations performed and the parts we installed, but does not cover an accident after the repair, interference by third parties or natural wear of consumables — it's important to understand this in advance.
Your own parts and materials and how this affects the warranty
The client chooses — OEM, aftermarket or their own parts; but the warranty does not cover a part brought by the client, only our operations to install it. For OEM and aftermarket parts from our stock we're fully responsible: if a fender or door doesn't fit the gaps, we redo it at our own expense. With a client's part it's different — we install it, but we're not responsible for the geometry of the part itself. An aftermarket fender may not match the factory geometry in the gaps: the stamping is different, the metal is thinner, the mounting points are off by a couple of millimeters. If it's the client's part, the gap risk is on them, and we honestly warn about this before we start, at the front desk, not after painting. In my view, saving on an aftermarket part only makes sense where the gap isn't visible: inner reinforcements, bumper mounts, hidden brackets.
Fixing poor-quality repairs after another shop
We take cars after other shops: first an inspection — we look at what was actually done under the paint, then an estimate for the redo, and only after approval do we start. We strip the paint layer by layer on the problem area to see the thickness of the filler, the quality of the welding and whether there's anti-corrosion under it. Often it turns out the panel was straightened without a frame machine and the gaps are off, and corrosion has already started under the fresh clear coat. Cracked filler almost always means it was applied in a thick layer over untreated metal — that area will have to be taken down to bare metal, not "touched up on top." We do the inspection and the re-repair in the same shop and paint booth as regular jobs, and we give the client photos of the key stages.
Corrosion, anti-corrosion and body care after repair
In Almaty's climate the body suffers from road chemicals and temperature swings. We explain when anti-corrosion is needed, when a rocker panel needs welding and how to care for fresh paint.
When a rocker panel needs welding, not sanding
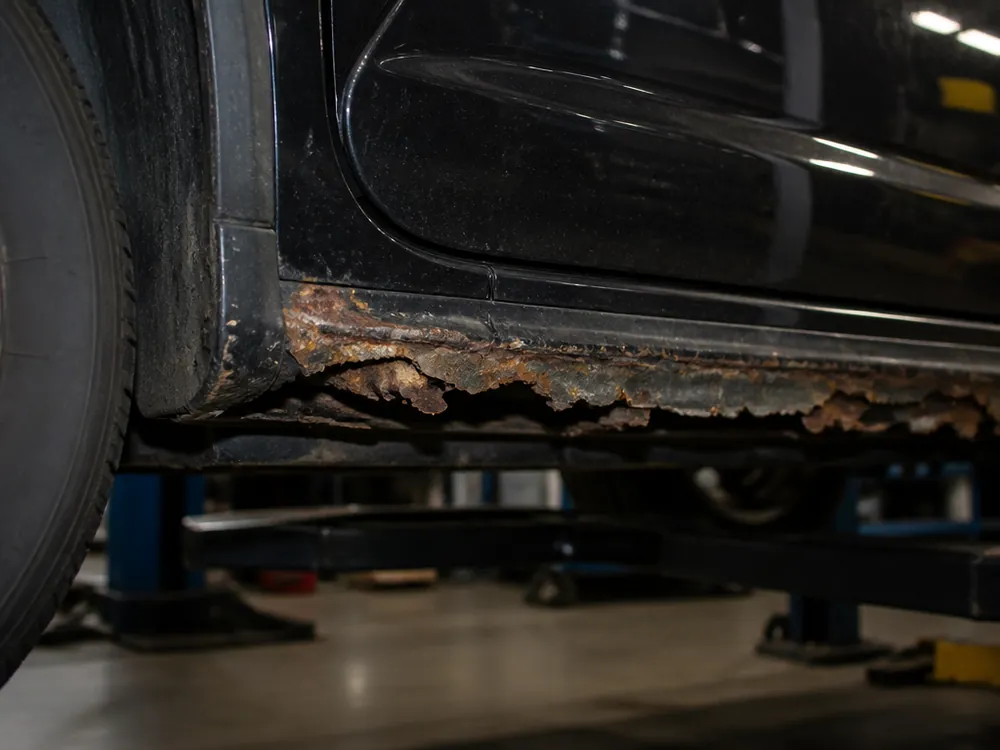
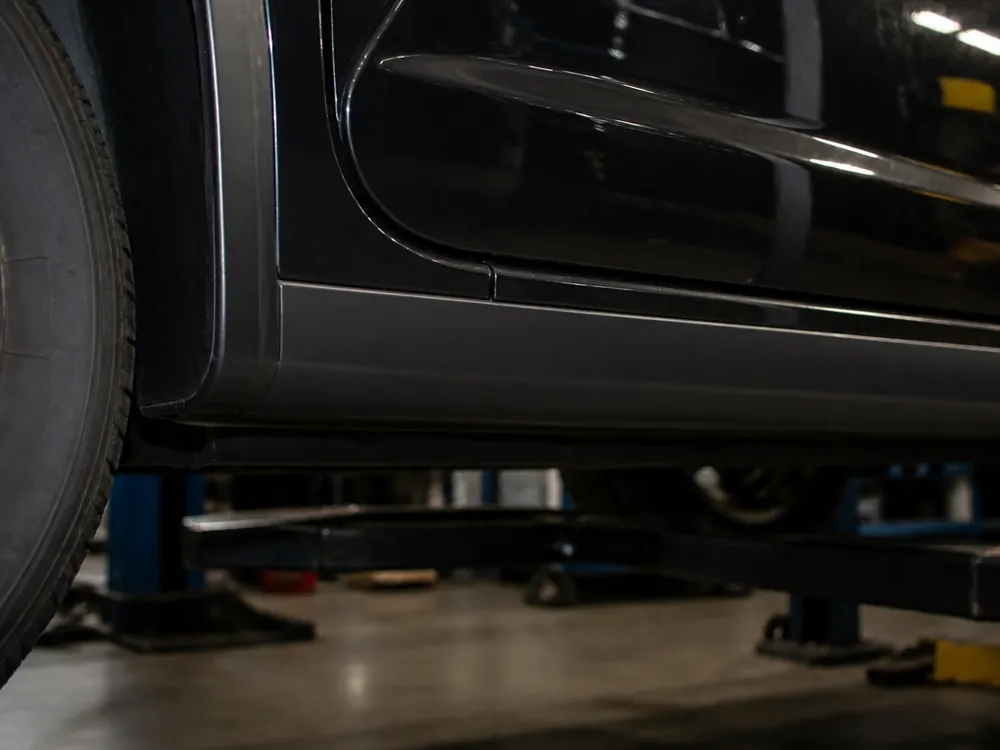
If the rocker panel "crunches" when you tap it and the metal gives under your finger, sanding won't help — you need welding with cutting out the corroded section. The rocker panel rusts from the inside: moisture and road chemicals get into the hidden cavity through the drain holes, eat the metal from the back side, and from the outside you only see it once brown spots have come through the paint. We cut out the affected section, weld in a repair insert to match the profile, treat the seam with primer and seal the cavity with anti-corrosion. We separately check the joint between the rocker panel and the floor pan and the reinforcement — corrosion likes to travel there along the weld seam. We sand off surface rust and treat it with anti-corrosion, but if the corrosion has gone all the way through, filler will last a season and crack — you have to weld before painting, not over it.
What anti-corrosion protects against in Almaty's climate
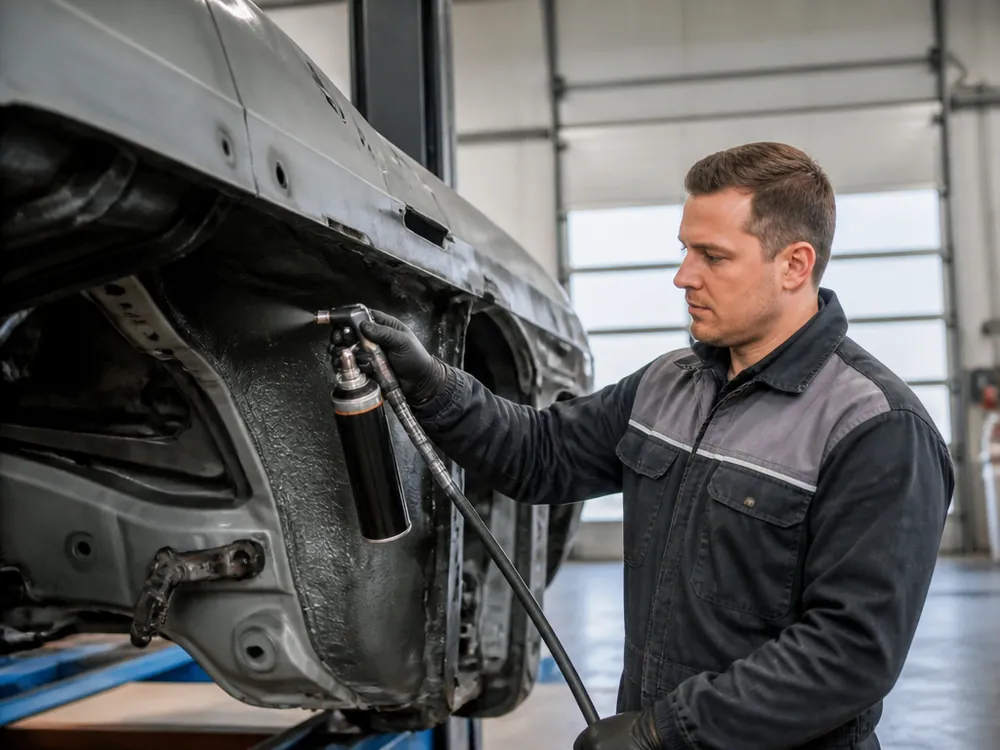
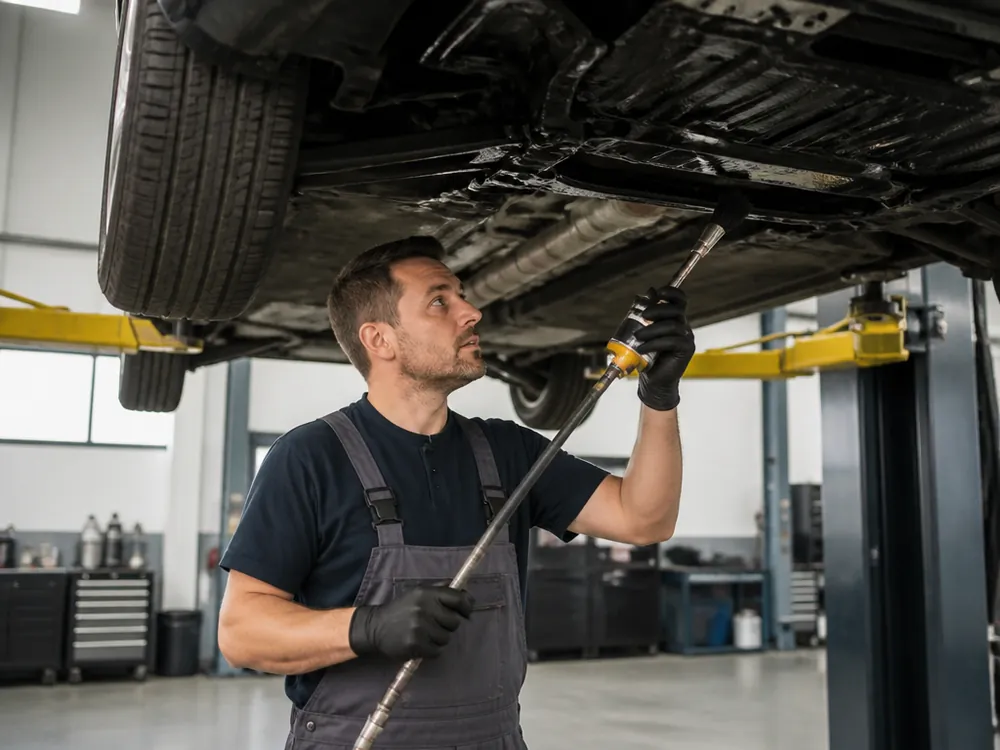
Anti-corrosion treatment of the body and underbody protects hidden cavities and seams from road chemicals and moisture that speed up corrosion every winter. Road mixes, melting snow and swings from below freezing to above put stress on the metal all year round: even one untreated scratch down to the primer is enough for a corrosion spot to start under it. We apply the compound to the rocker panels, wheel arches, underbody, side members and inner door cavities, after washing and drying the surface first — anti-corrosion doesn't bond to wet metal and peels off in a sheet. We go over the underbody separately twice, because that's where the compound washes off fastest from splashes and gravel. Anti-corrosion makes sense after body repair, not before: fresh weld seams and sanded areas are the most vulnerable spots, and they need to be sealed with the compound first.
Polishing after scratches and care for fresh paint
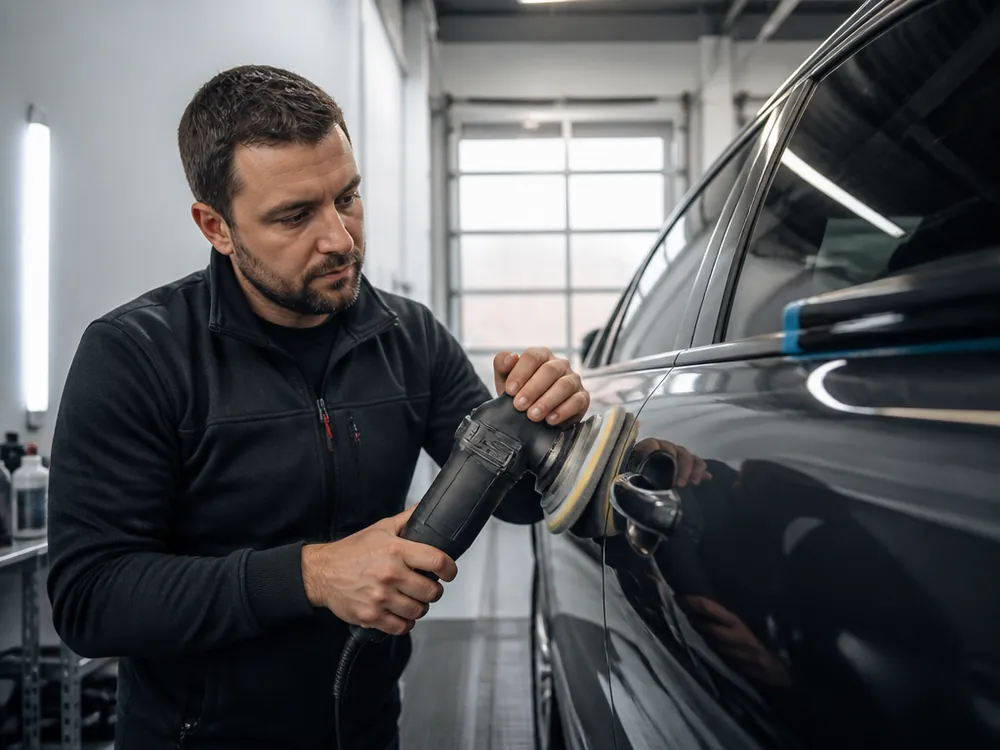
We polish at 1500 rpm — the machine removes sanding marks and holograms without overheating the clear coat, and afterward the surface shines while the clear coat layer stays factory. Small scratches from branches and car washes are removed with abrasive paste in several passes, deep ones only by spot painting with panel prep. For the first 2-3 weeks it's best not to polish or ceramic-coat the fresh area — the clear coat needs to fully cure, otherwise solvents stay under the film and after a month the surface breaks out in small blisters. During this period it's best to wash the car touchless without stiff brushes, and on the highway keep away from gravel sections. A month after painting you can polish again without worry — the clear coat has gained hardness.
Repair method, estimate and warranty in body work
Here are five takeaways that most often come up before body repair starts: from choosing a method for the type of damage to how to care for fresh paint in the first few weeks.
- Method by type of damage: a smooth dent is removed without painting, a crease needs straightening with spot painting, and torn metal needs welding or part replacement.
- Sign of body misalignment: if a door doesn't sit in its opening and the gaps wander, you need geometry measured on a frame machine at the control points, not eyeballed fitting.
- Estimate before the start: a written estimate and the owner's approval are basic protection against the price growing during the job; if that procedure is refused, it's better not to start the work.
- Warranty on paper: the term, what's covered and what isn't are recorded in the work order and the acceptance act — verbal promises don't hold up when a disputed case comes up.
- Pause for fresh paint: for the first 2-3 weeks it's best to skip high-pressure car washes, polishing and ceramic coating so the clear coat can harden.