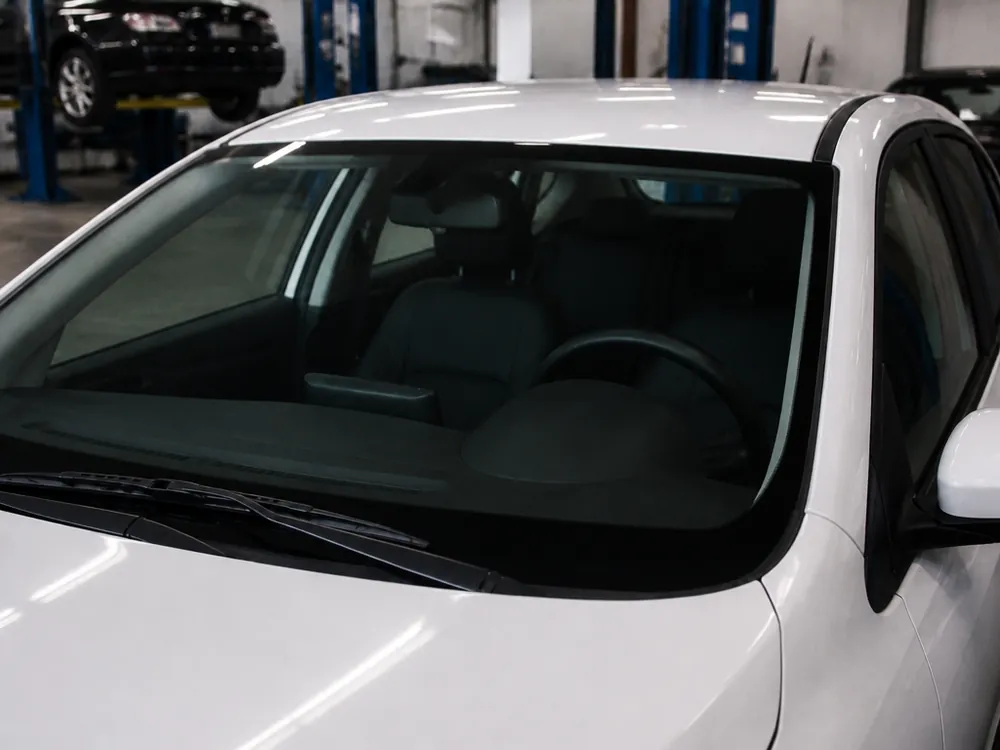
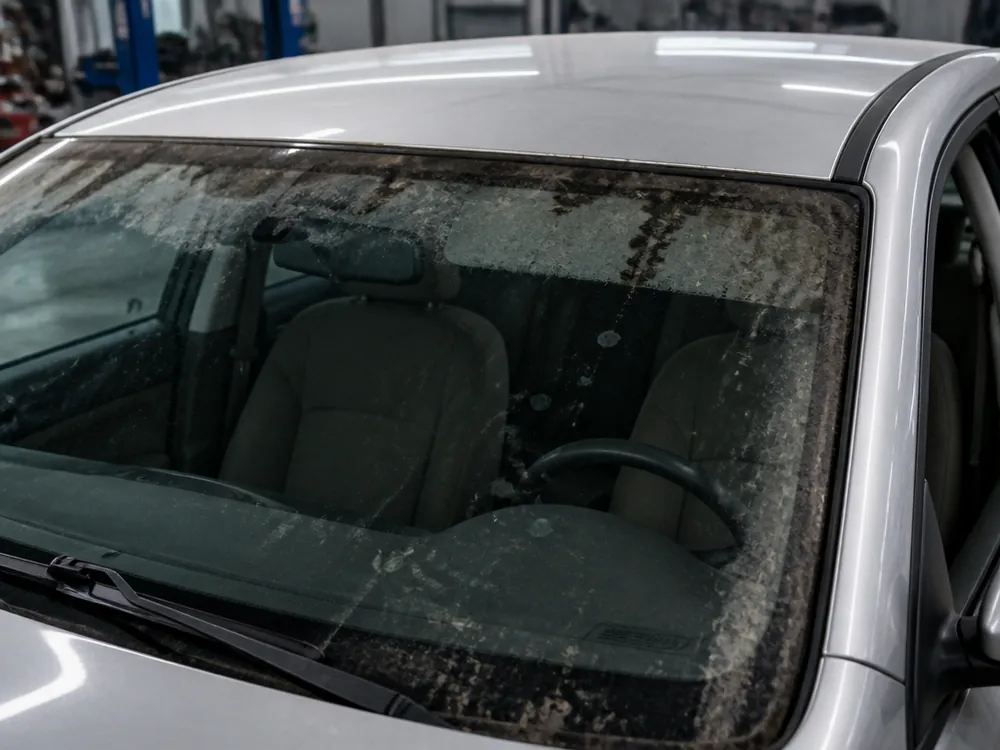
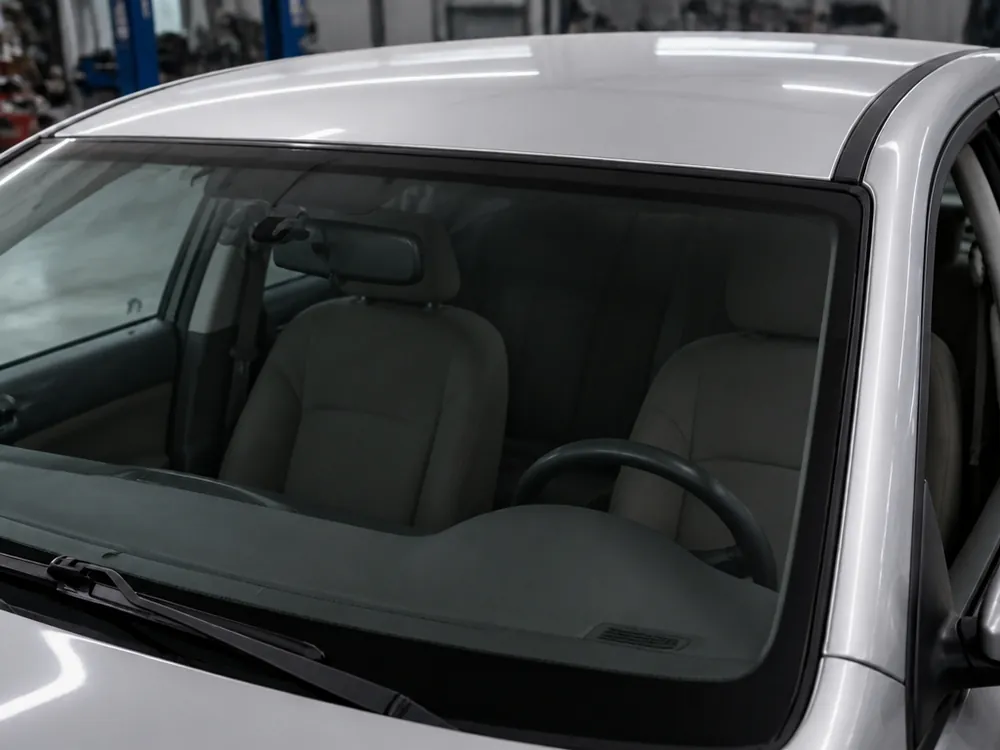
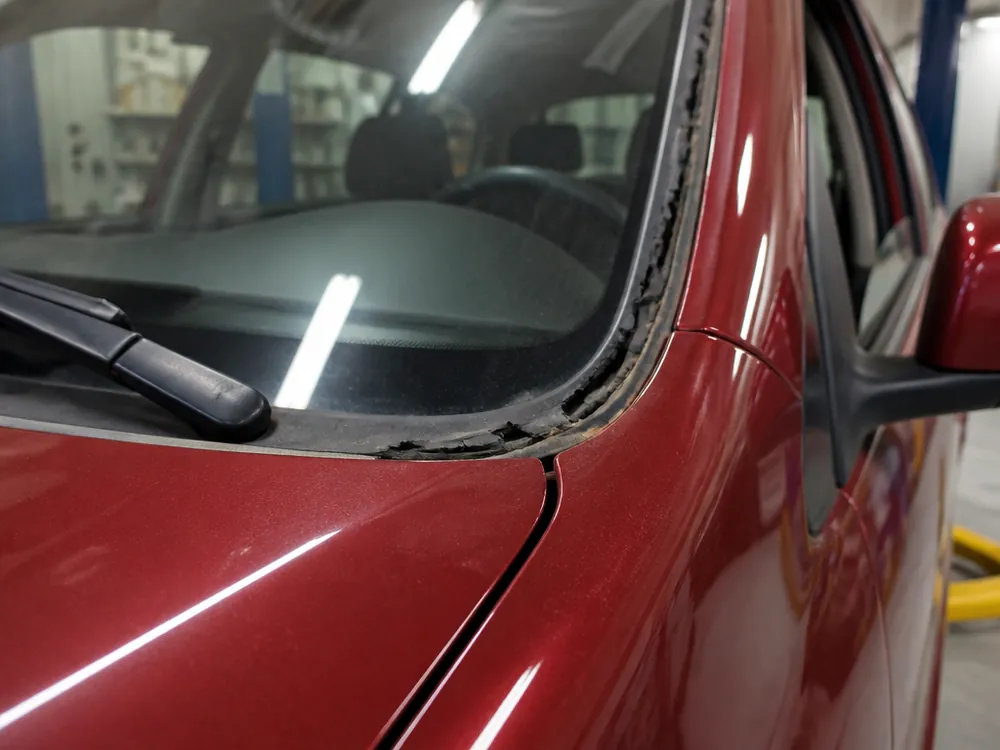
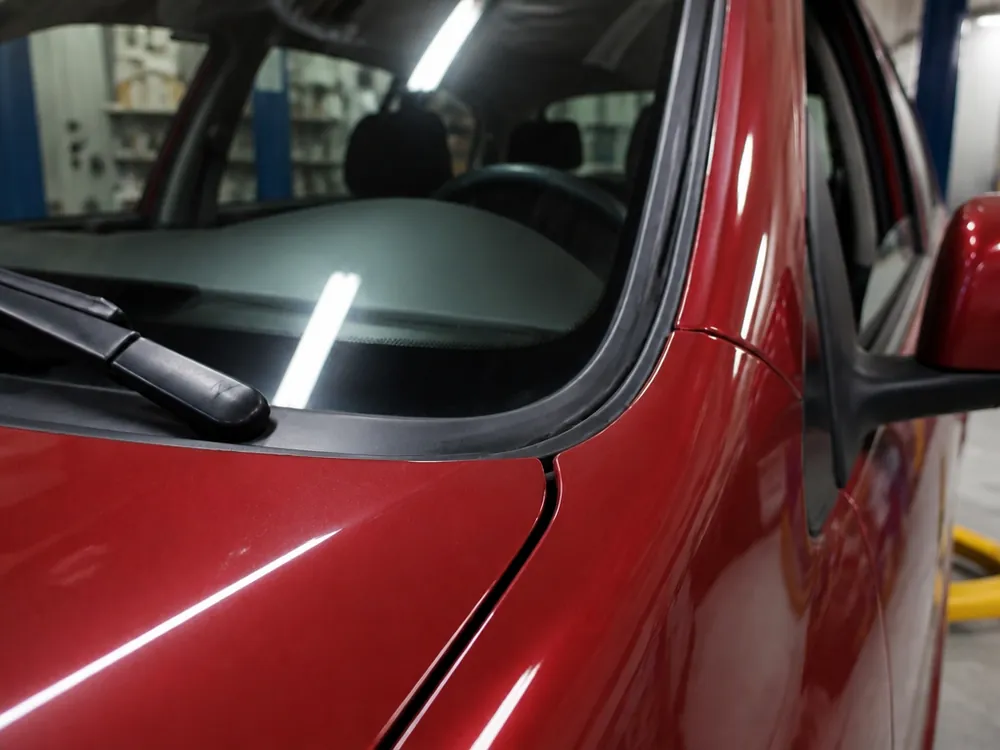
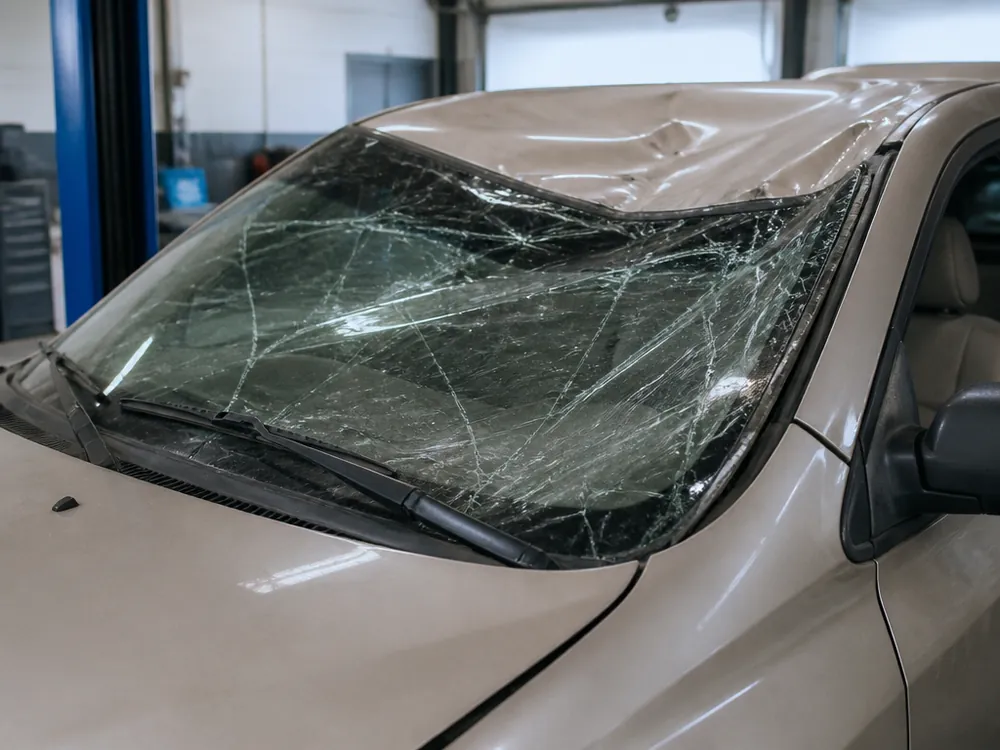
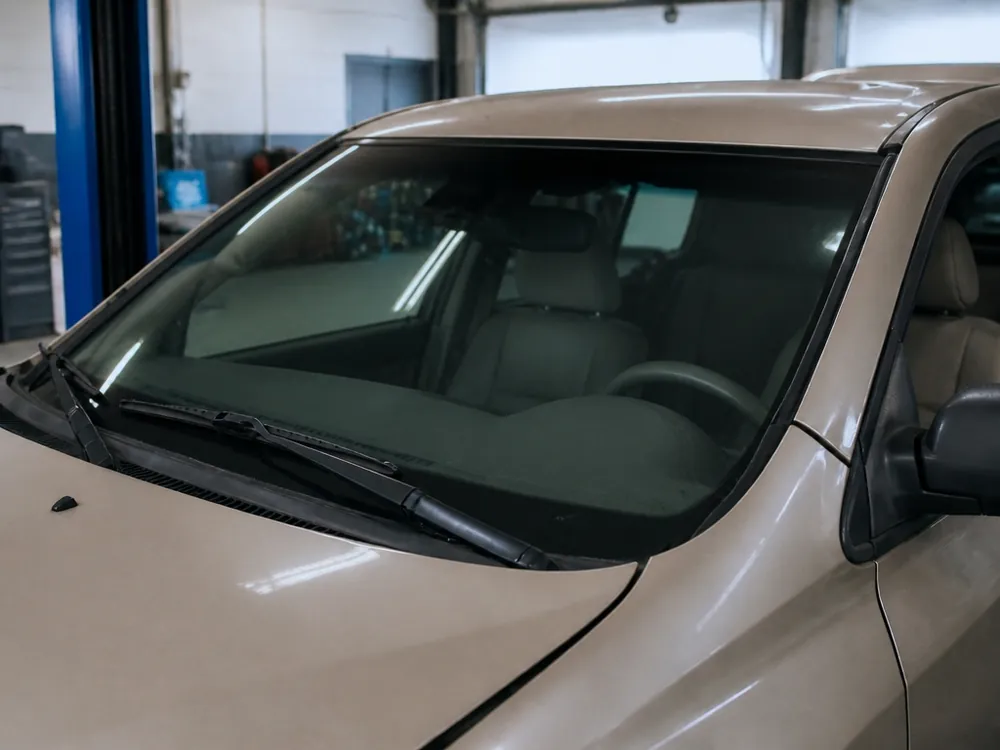
Not every damage requires replacement. First an inspection and the technician's verdict, and only then a decision on the work — chip repair, polishing, or installing a new windshield.
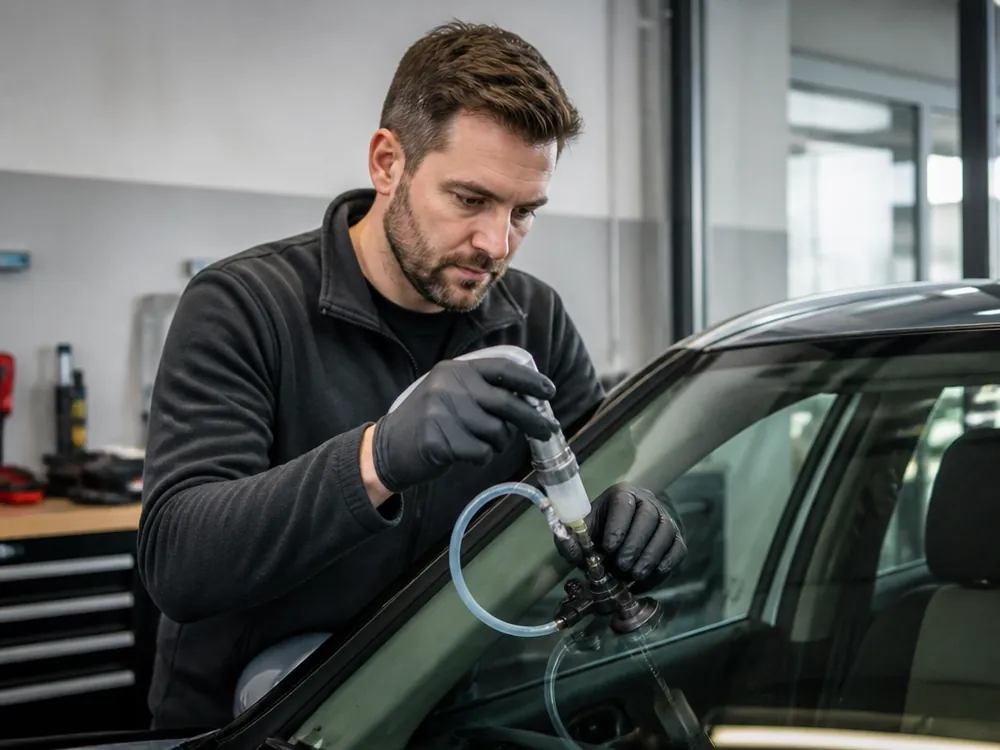
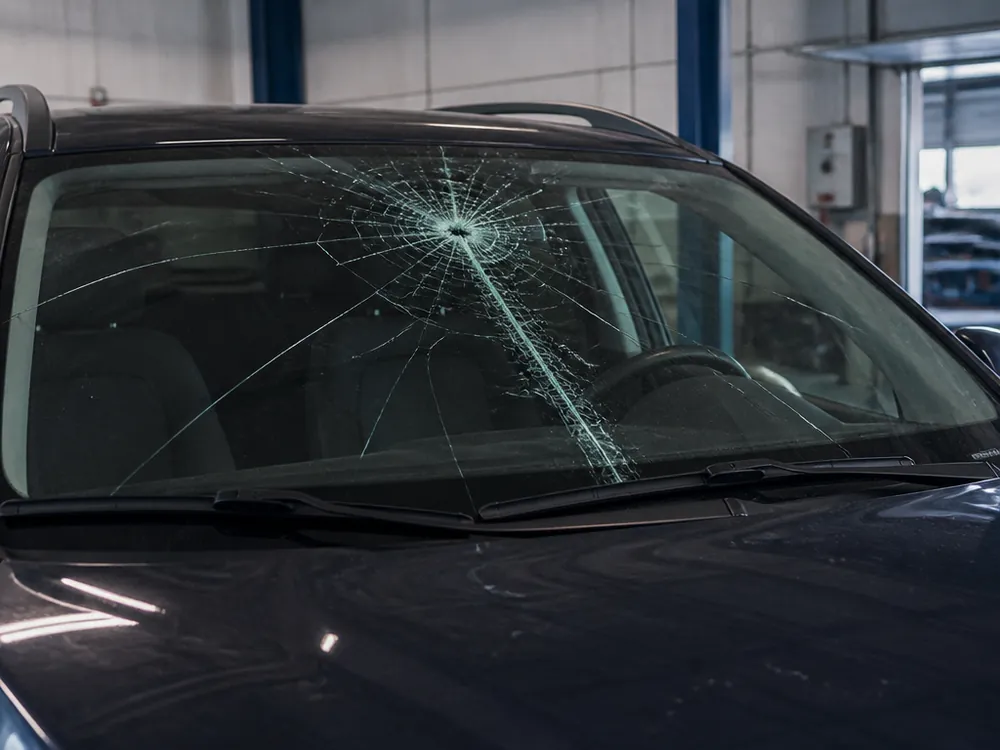
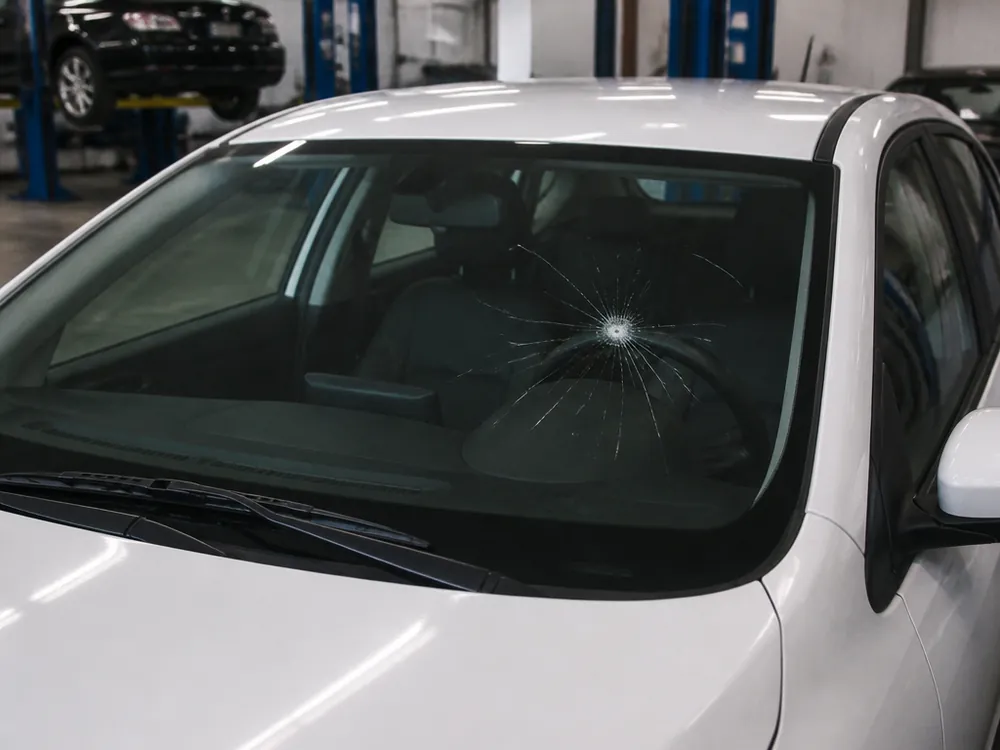
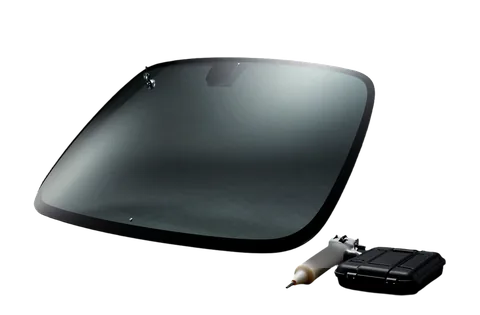
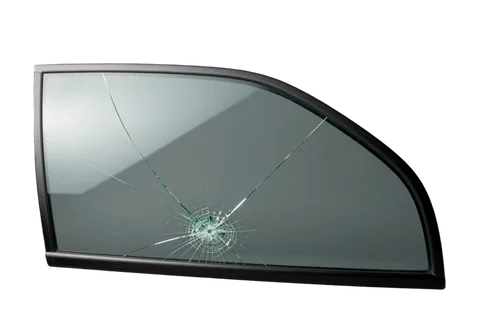
We start with an inspection and an honest verdict: a small chip outside the driver's line of sight can be repaired, shallow scratches are removed by polishing, and a crack or chip in the line of sight requires replacement. During diagnostics, the technician assesses the size of the damage, its depth, and its location relative to the driver's line of sight. Chip repair fills the cavity with polymer and stops it from spreading — this is faster than a full windshield replacement in Almaty. We polish for surface scuffs from wipers and sand, when a fraction of a millimeter of glass is removed. The decision depends not on the size of the damage but on its location and depth: a chip in the driver's line of sight will eventually spread from temperature changes and vibration, so delaying the work is risky.
Why Driving with a Crack Is Dangerous
A crack reduces the rigidity of the glass as a body element and impairs visibility, and on uneven roads and with temperature changes it grows further, so you shouldn't drive with it for long. The windshield acts as part of the load-bearing structure: it transfers load to the pillars and roof during cornering and impact. Even if the crack doesn't obstruct visibility during the day, at night and in rain it catches headlight glare from oncoming cars and scatters light, and in winter the heater and frost add length literally in one trip. The edges of the crack collect dust and moisture, making it darker and harder to repair. At speeds above 90 km/h, body vibration accelerates the growth of any unbonded area.
When Polishing Won't Help
Polishing only removes shallow scratches from wipers and sand, but if a fingernail catches on the groove or the damage goes deep, polishing won't help and we suggest installing a new windshield. Windshield polishing in Almaty is a separate service: it restores clarity in the wiper area but doesn't restore geometry or remove a chip with delamination. Before polishing, the technician checks the depth of the scratch against the light and by touch: removing a layer where the groove is deep is pointless, but you can thin the glass in the line of sight and get optical distortion. On glass with heating or a rain sensor, such treatment requires care around the filaments and sensor pad — they are easy to damage with abrasive.
How Windshield Installation Works Step by Step
We show what makes up the two hours of work and by what signs you can tell that the windshield was installed according to technology, not by eye — from cleaning the opening to checking the seam.
Work Stages from Removal to Drying
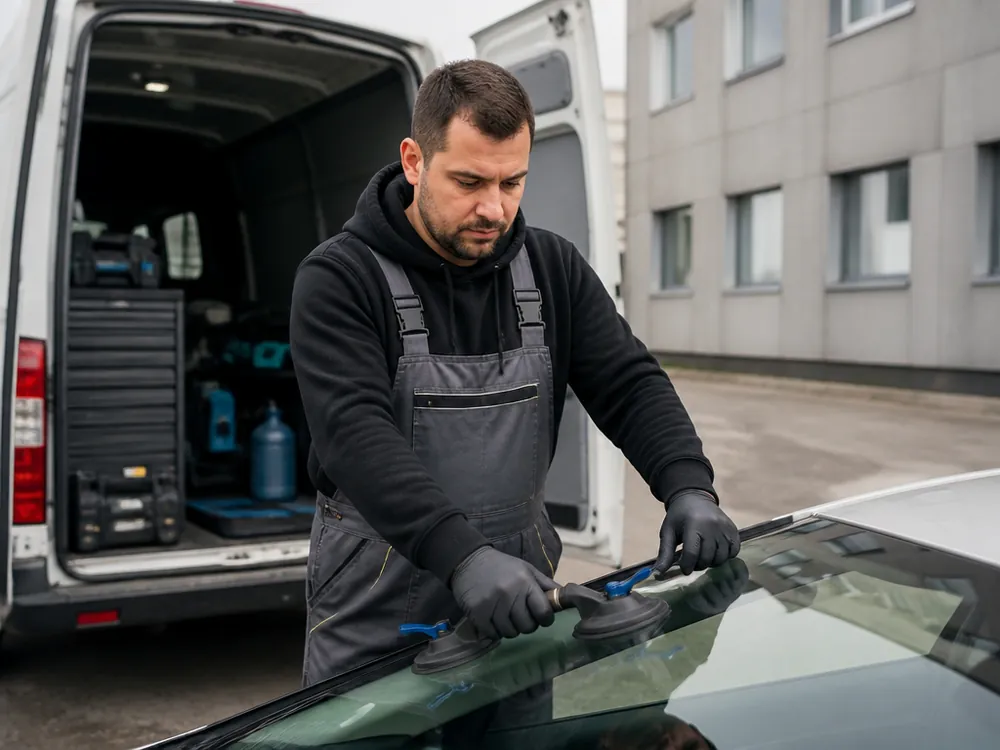
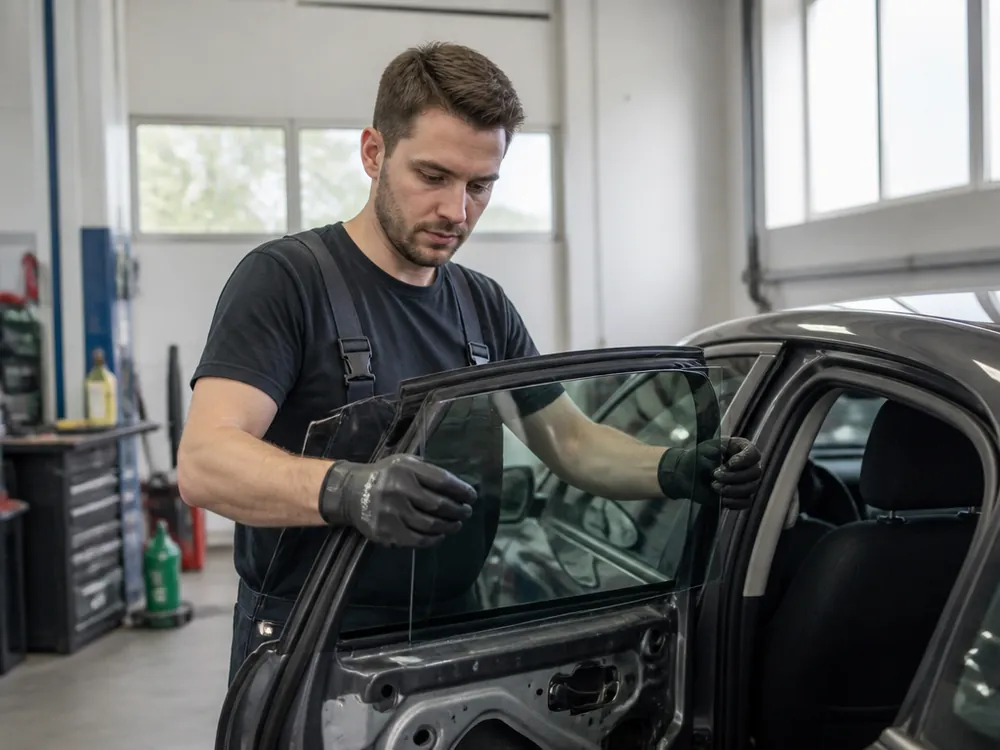
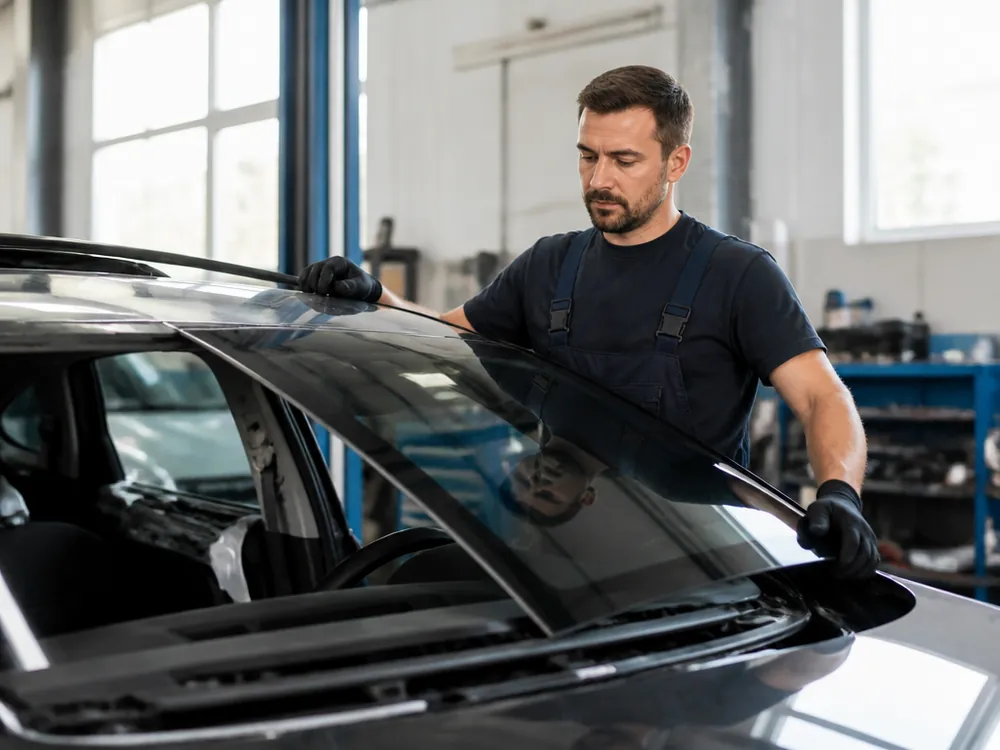
Replacement takes us 2 hours: disassembly, cleaning the opening from old adhesive, bonding with polyurethane compound, and drying, so the car is usually picked up the same day. First, the service advisor inspects the damage and enters the scope of work into the work order, then the old windshield is removed, the opening is cleaned down to metal, degreased, and primed. After bonding, drying with polymerization control follows, and before pickup — a test drive. An hour of these two is not the bonding itself but preparing the opening: the old coating is cut down to metal, the edge is degreased and primed, otherwise the new layer goes on unevenly and the seam starts to leak. We follow the same procedure on any model — from a sedan to a minivan.
Why the Adhesive Is Heated to 80°C and the Gap Is Set with Wedges
We use polyurethane adhesive heated with a heat gun to 80°C and set the windshield gap to the body with plastic wedges, then check the uniformity of the seam around the entire perimeter. The wedges hold the panel in the same plane as the body while the compound gains strength — this keeps the gap around the contour even. Heating is needed not for speed but for uniform polymerization: without it, the adhesive cures in spots, and after a few months bubbles and peeling appear along the edge, which are only visible at a pressure wash. On models with a rain sensor and heated area, we check separately — after drying. The technician sets the wedges symmetrically on both sides so the windshield doesn't warp as it cools.
Urgent Replacement and Seam Sealing
If you need it urgently, we do the replacement within 2-3 hours, and to prevent leaks we seal the windshield seams. An installation with extra sealing takes the same two hours — the layer is applied around the perimeter after bonding while the compound hasn't set yet. Sealing doesn't replace bonding, it complements it: if there was already corrosion along the edge or the old seam had started to fail, the extra sealant layer closes the micro-gaps where water otherwise gets in during a pressure wash. This layer especially helps on cars that often sit out in the open: temperature swings widen cracks in the old sealant, and water finds its way inside the cabin. After the procedure, don't wash the body or slam the doors for a day — the compound needs time to gain strength, otherwise the edge of the seam shifts ahead of time.
Which Windshield to Choose for Your Model and Options
We break down windshield options by car type and features so you understand how OEM differs from aftermarket and when paying extra for the former is truly justified.
OEM, Aftermarket, Budget, or Domestic
comparison of windshield options by car type and fit| Windshield option | For which cars | What to know |
|---|
| OEM | European, Japanese, premium | Geometry and features match, installs without modifications |
|---|
| Budget | Korean, Chinese | Thickness and edge may differ, we check fit |
|---|
| Domestic | VAZ, GAZ | Simple geometry, available in stock |
|---|
| Customer's glass | Any | We install it, but no warranty on the customer's part |
|---|
Windshield Replacement on Granta and Other Domestic Cars
On the Granta and other domestic models, we usually install glass made in Russia: the geometry is simple, the part is easy to get, and the job takes the same 2 hours. On VAZ and GAZ cars the edge of the opening is even, so the glass seats with the right gap without adjustment, and the molding fits tight on the first try. On the Granta the work follows the same pattern as on foreign cars: removal, cleaning the frame, polyurethane adhesive heated to 80°C, drying. Domestic models more often have corrosion along the lower edge of the opening, so before bonding we clean it down to bare metal and treat it with a rust converter, otherwise the new seam holds worse than the old one. The service advisor inspects the frame at the estimate stage so corrosion doesn't come as a surprise at pickup.
Heated and acoustic glass, and glass for panoramic roofs
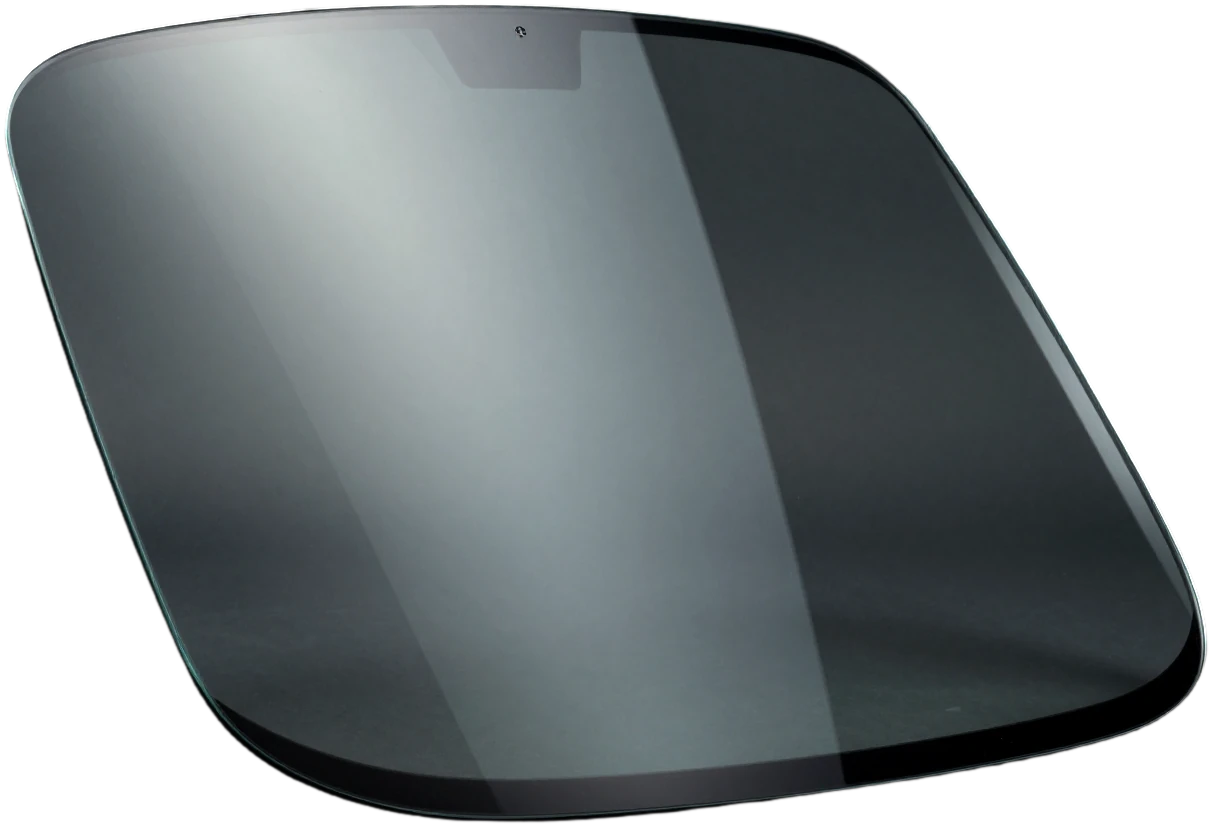
We install heated and acoustic glass, and we also replace windshields on cars with panoramic roofs, on trucks, minibuses and premium vehicles. On heated versions, after bonding we connect the filaments and check them zone by zone so there's no dead spot in the lower part, and the process itself takes the same 2 hours as a regular install. Acoustic glass needs extra sealing around the perimeter — that adds about half an hour to the job. Cars with panoramic roofs and premium vehicles have more brackets and moldings, which often break during removal, so their condition is checked before the work starts, not after. The client can choose OEM, a budget version, or bring the part themselves — the warranty doesn't cover its quality.
What changes in the job when there's electronics on the glass
If the glass has a rain sensor, a camera or heating filaments, the job changes: removal, reinstallation and calibration are added. Here's exactly what gets added to the standard procedure.
Rain sensor and calibration
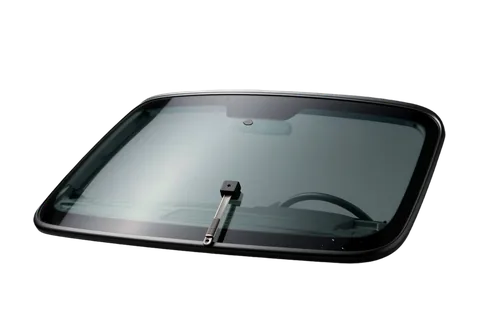
When working with glass that has a rain sensor, we remove the sensor, reinstall it on the new glass and calibrate it, otherwise the automatic wiper mode works incorrectly. The sensor sits on a gel pad that transmits the infrared signal from the glass to the sensor. During removal the old gel almost always stretches and tears, so we install a new pad and roll it with a roller, pushing out air across the whole area. Calibration takes a few extra minutes: the technician checks triggering on simulated drops and sets the sensitivity for the specific model. The sensor is attached to the glass through the gel pad, and if it's installed with an air bubble, the wipers start triggering on a dry windshield or, conversely, lag in the rain. Windshield replacement in Almaty with a rain sensor therefore always includes checking the pad and calibration. The pad is the weak point of this job, and it's not worth skimping on it.
Heating and checking filaments zone by zone
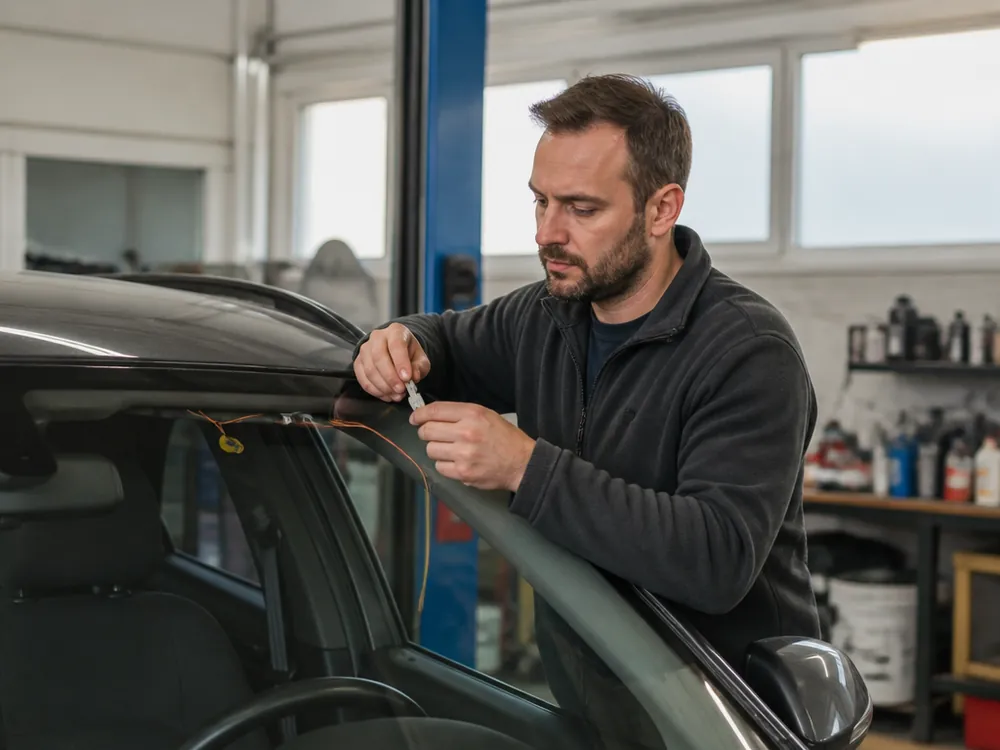
On heated glass we connect the filaments and check them zone by zone so that after installation all sections work, not just some. The filaments are a thin conductive track embedded in the glass along the lower edge or across the whole area, depending on the model. Before bonding, the technician tests each section with a multimeter and records the resistance: a break or a burnt segment shows up right away. After installation the connector is plugged into the factory wiring, and we heat the glass in different modes, checking that defrosting is even across the zones. Heating filaments are a thin conductive track, and careless removal of the old glass can easily damage them; that's why we check before bonding, not after the car is handed over. If a filament does get damaged during removal, it's cheaper to replace the glass right away than to take it apart again.
Camera and electronics on premium vehicles
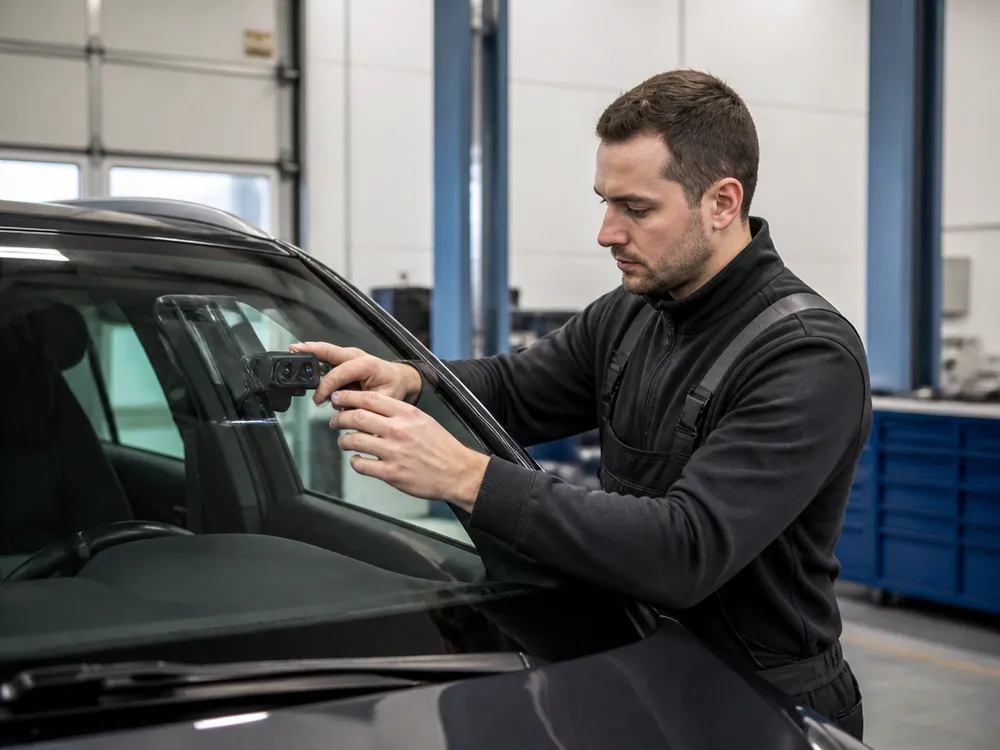
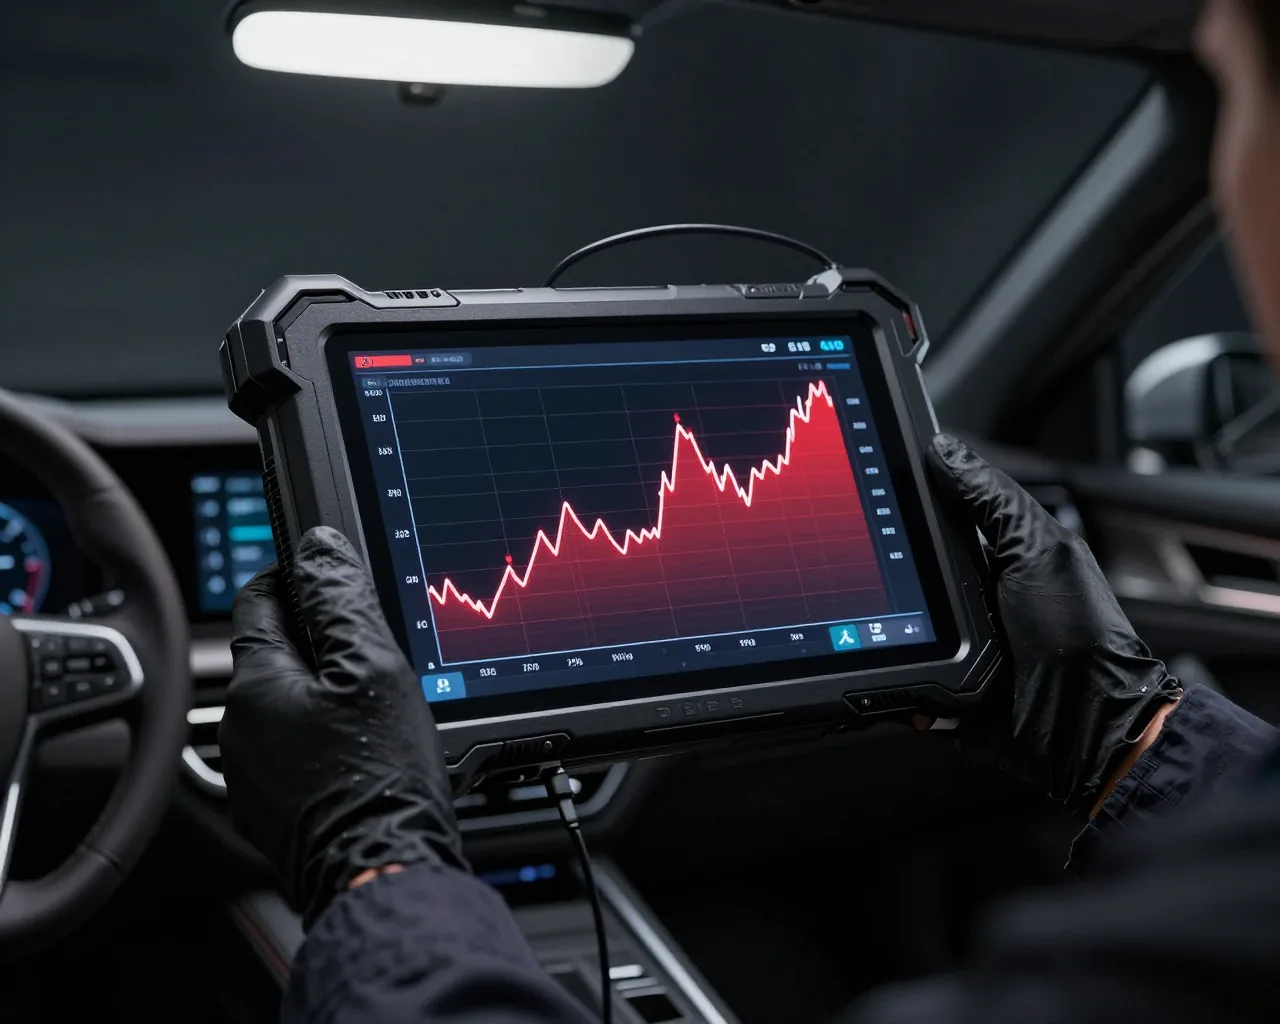
On cars with a camera and electronics, we use dealer scanners for 40+ brands to check that the systems work after the glass is installed and to calibrate the camera if needed. The ADAS camera is mounted on a bracket behind the glass and looks through it at the road: it recognizes lane markings, signs and the distance to the car ahead. We move the bracket over from the old glass or install a new one, and set the glass position by the gap to the body. After bonding, the technician connects the scanner, reads the errors and runs the calibration procedure on a level area with markings. The camera sits behind the glass and looks through it, so even a slight shift of the glass in the gap changes the viewing angle; without a scanner check the system may throw an error or work with distortion. On premium models we never skip this step — otherwise the assistants behave unpredictably.
Warranty and care after replacement
Here's exactly what the glass replacement warranty covers, what it doesn't, and how to treat the car in the first days so the seam sets evenly and without leaks.
What the 12-month warranty covers
We give a 12-month warranty on glass replacement, and the term and conditions are written into the work order and the completion certificate when the car is handed over. The coverage applies to the bonding itself and to the part installed by our technicians: if the seam fails, a squeak appears or there's a leak around the perimeter, we fix it at our own expense. Diagnostics for a warranty case is free — you don't pay for the inspection, even if the defect turns out not to be ours. Over 12 years, 9,000+ cars have come through the shop, and polyurethane adhesive heated to 80°C holds the seam evenly. More importantly, the warranty doesn't end with the advisor's words: you have a document stating the term, and you can come in any day within the year with it.
What the warranty doesn't cover
The warranty doesn't cover accidents after the repair, third-party interference, normal wear of consumables, or a part the client brought themselves. This isn't a formality: if the client brought the glass, we don't know how it was stored and transported, and a microcrack that appeared before installation will show up during bonding. By the same logic, a case doesn't qualify when the car was taken to an outside car wash with a directed jet along the edge and then brought back with delamination. Consumables — moldings, seals, brackets — age on their own over time, and their wear has nothing to do with the quality of the bonding. In our practice, disputes are most often about the client's part, so we say upfront: we're responsible for the bonding, not for the glass you brought.
The first days after replacement, step by step
- First day: don't wash the car, don't slam the doors, and don't leave it out in hard frost — the adhesive is still curing.
- An hour after pickup: you can drive, just avoid sharp pressure spikes in the cabin from slammed doors.
- 2-3 days: a car wash is fine, just ask them not to aim the spray right at the edge of the glass.
- First week: check for leaks and squeaks; if you notice any, come in for a free inspection.
- After that: drive as usual — the glass behaves like the factory one, with no limits in the city or on the highway.
Glass Verdict, VIN Match and First Day
Here's the main stuff to keep in mind before you come in about your glass — from the technician's verdict to the first day after the bond.
- Inspection first, replacement second: chip repair and polishing fix some damage, so the technician gives a verdict based on what they see, not on a photo.
- A crack in the driver's line of sight can't wait: temperature swings and vibration on Almaty roads make the damage spread, and a repair turns into a replacement.
- Glass is matched by VIN and options: that's what determines how the moldings fit and how the rain sensor and heating work, not just the shape of the pane.
- The electronics need checking: after installation, the rain sensor, camera and heating elements need calibration and zone-by-zone testing.
- Warranty and the first day go together: the terms are written into the work order, and skipping car washes and slamming doors in the first hours determines how long the seam holds.