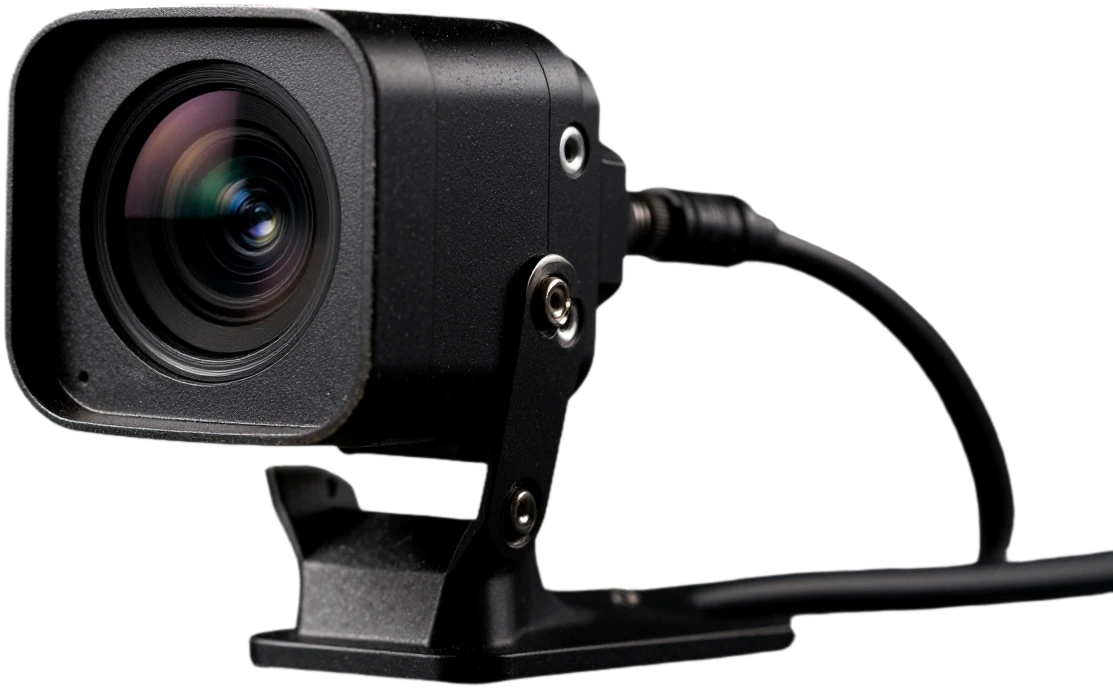
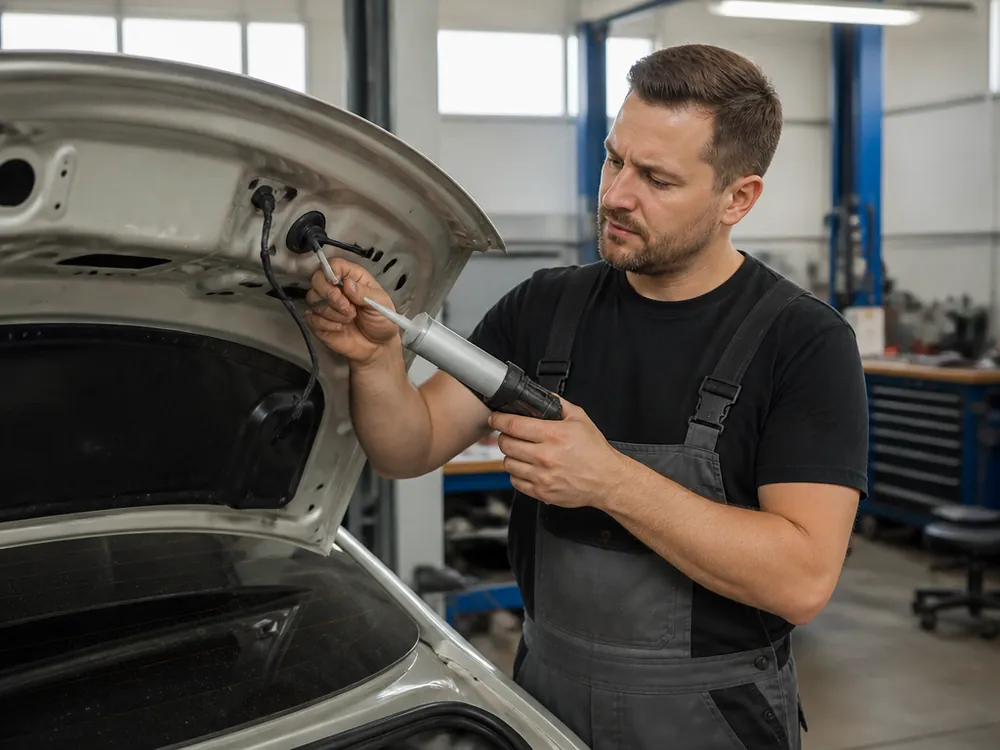
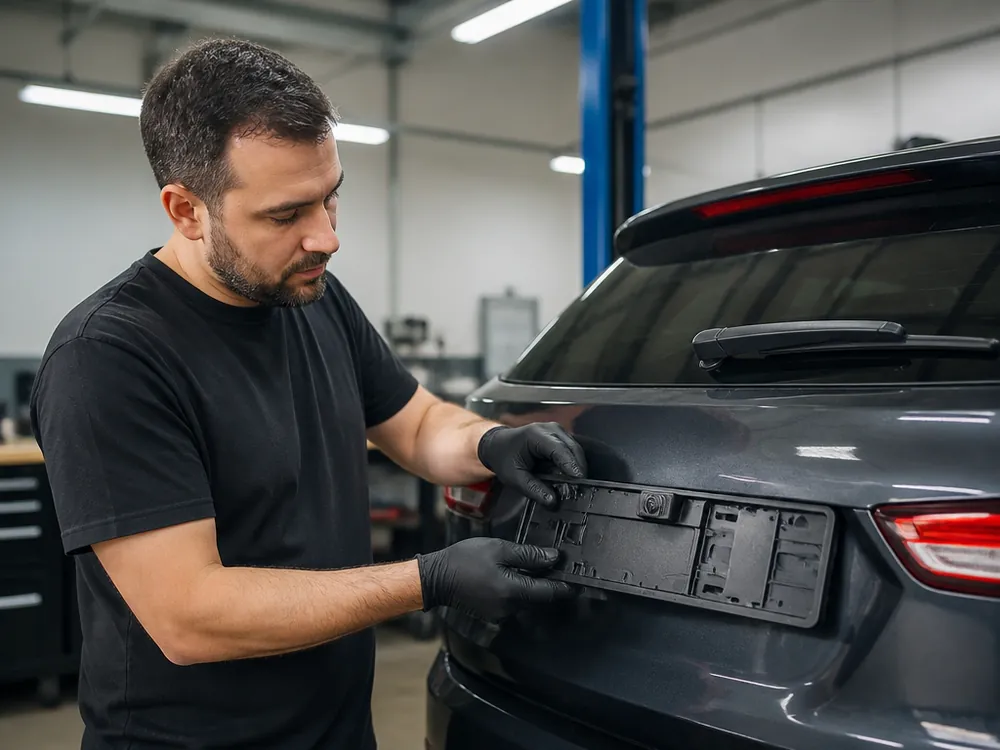
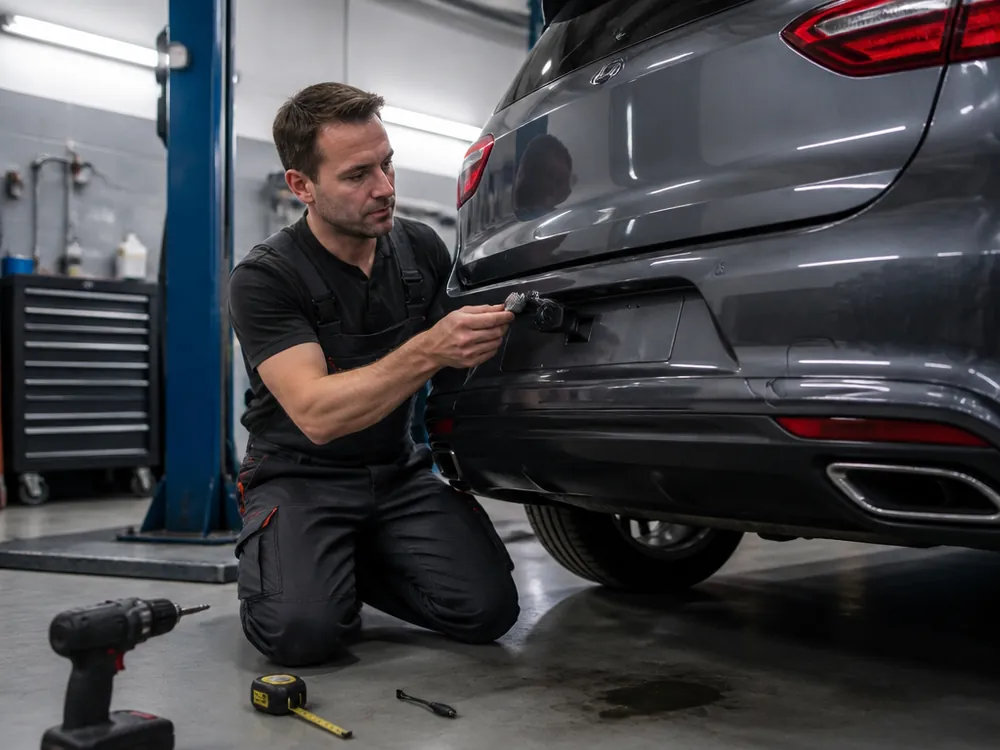
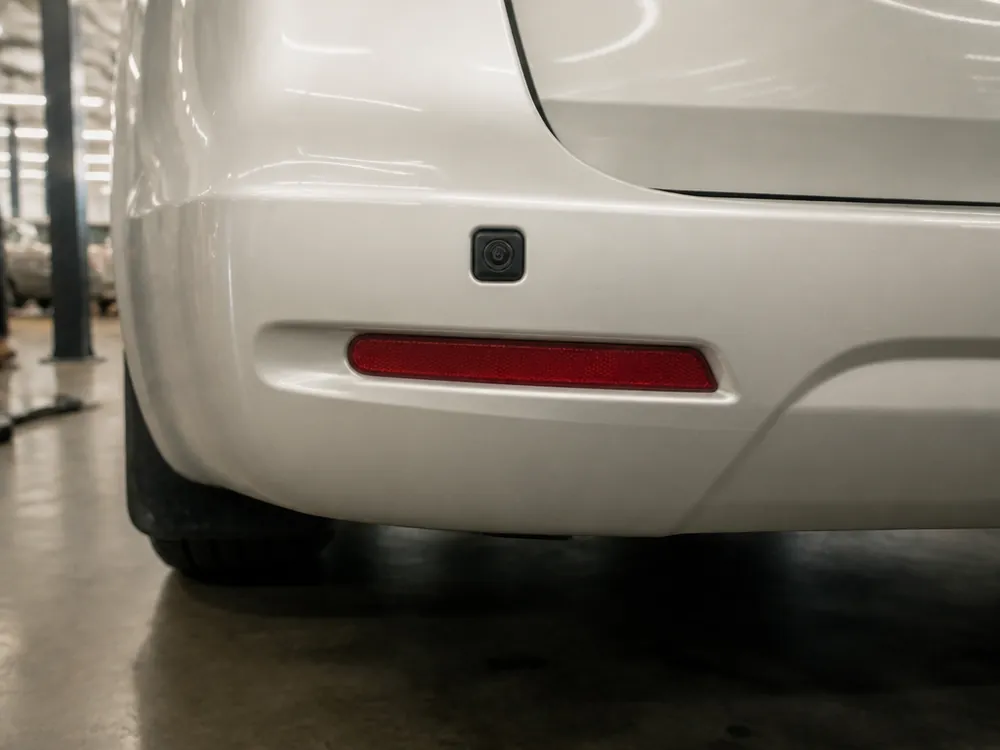
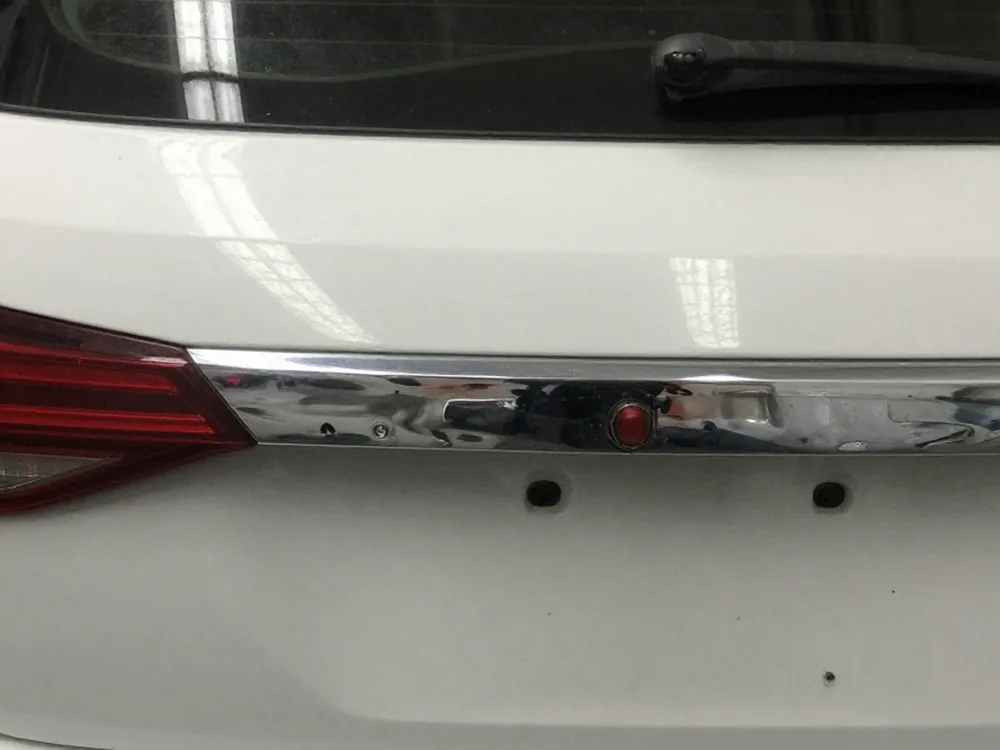
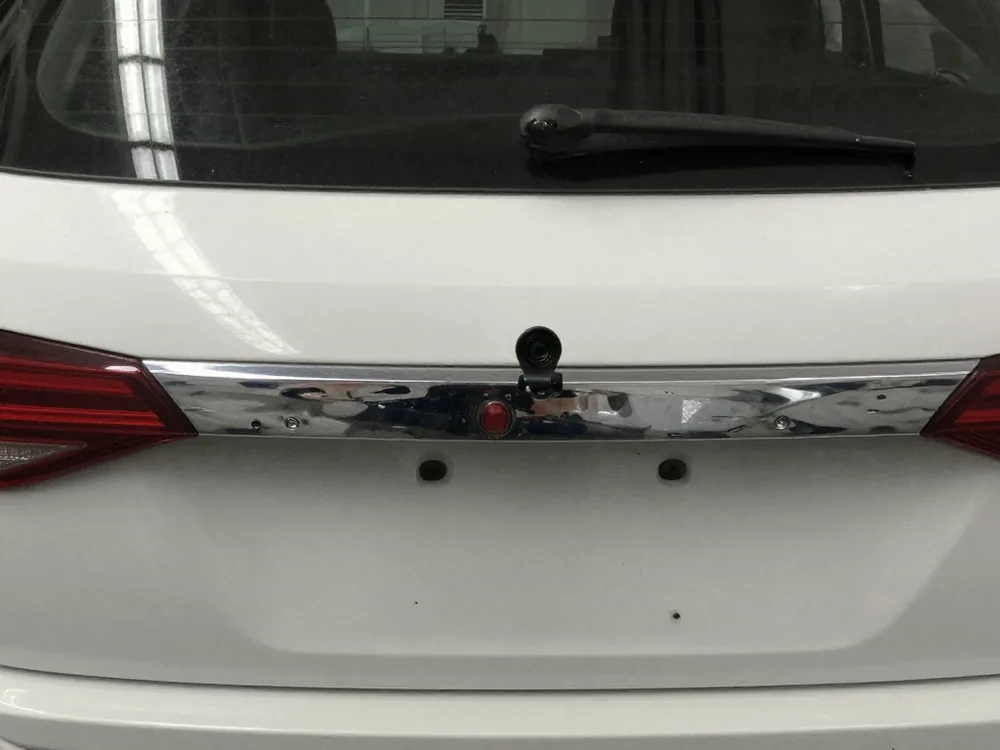
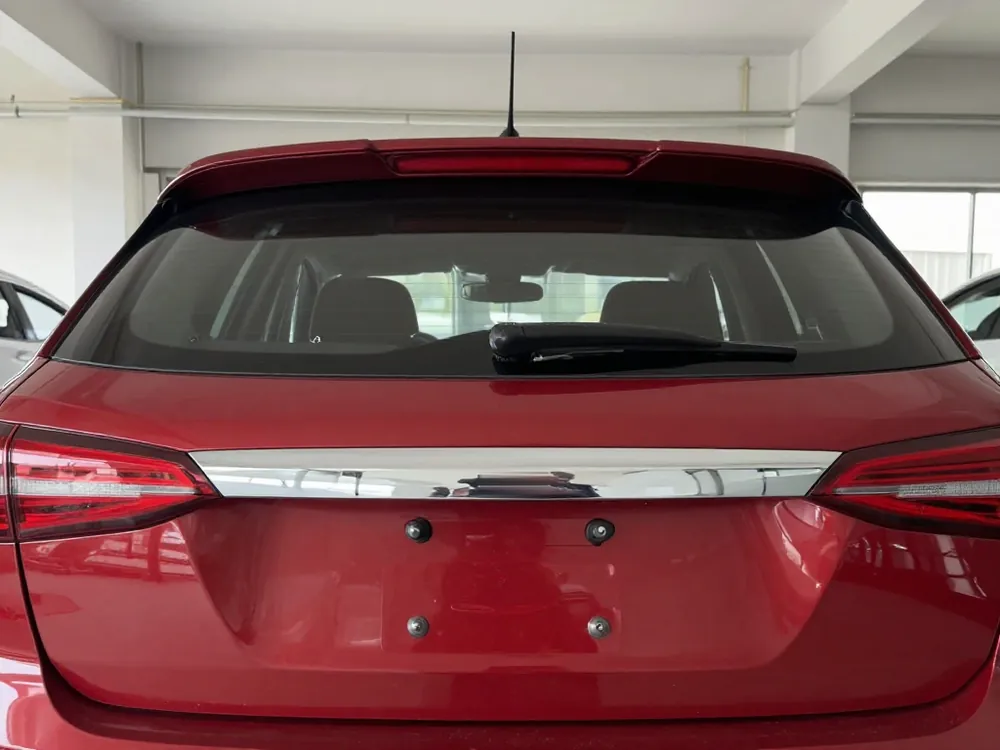
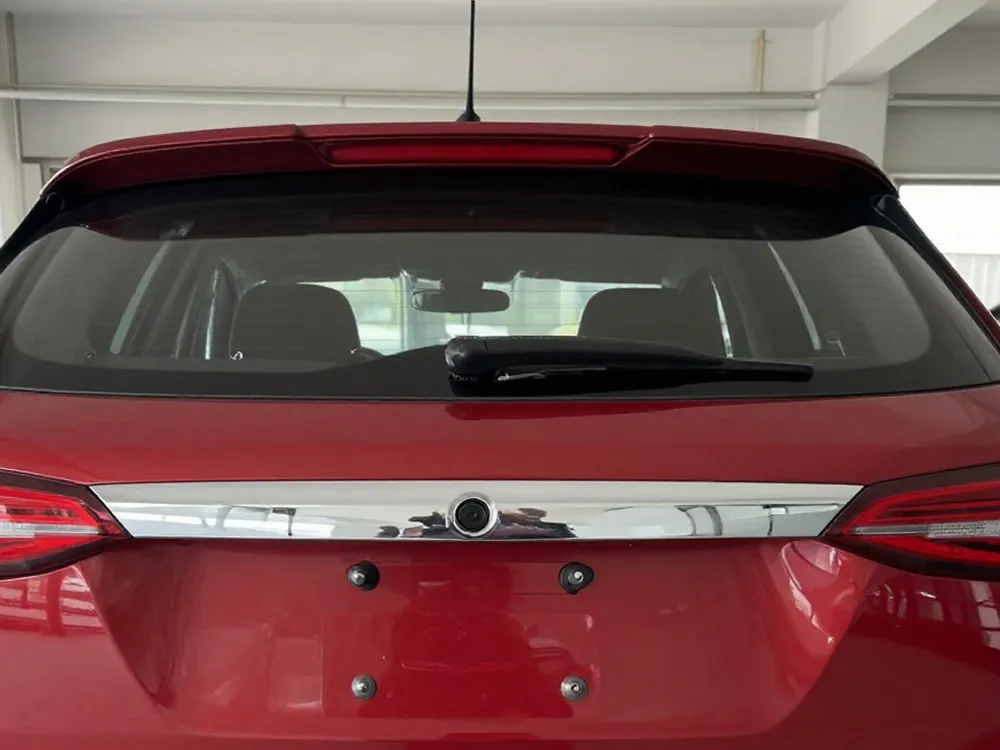
The mounting spot affects both how the car looks and what the driver sees on the screen while maneuvering. So you pick the spot before buying, not adjust it to a model you already bought.
Why Height and Angle Matter More Than Resolution
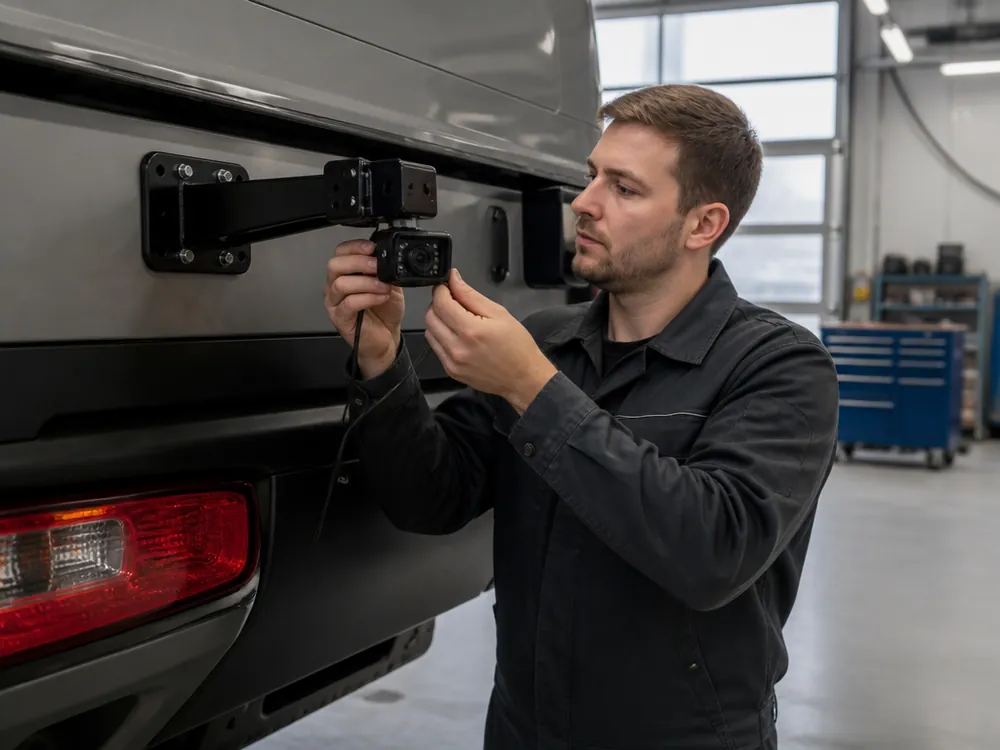
A well-set lens shows the edge of the bumper and the space behind the car for several meters. The driver judges the distance to an obstacle by the bumper edge, so it's worth keeping it in frame. If the housing sits too high, the near zone is lost: a low post and a curb slip below the bottom edge of the image. Too low — the lens quickly gets splattered with dirt and snow, and the picture goes blurry after the first drive on a wet road. A tow hitch also changes the math: the ball blocks the center of the frame, and the mount has to be raised onto a bracket. Even an expensive high-resolution model won't save a bad angle, while a simple one set precisely will show everything you need. Tip: before buying, check where the lens will end up on your car relative to the spray from under the wheels.
How We Choose the Spot During Inspection
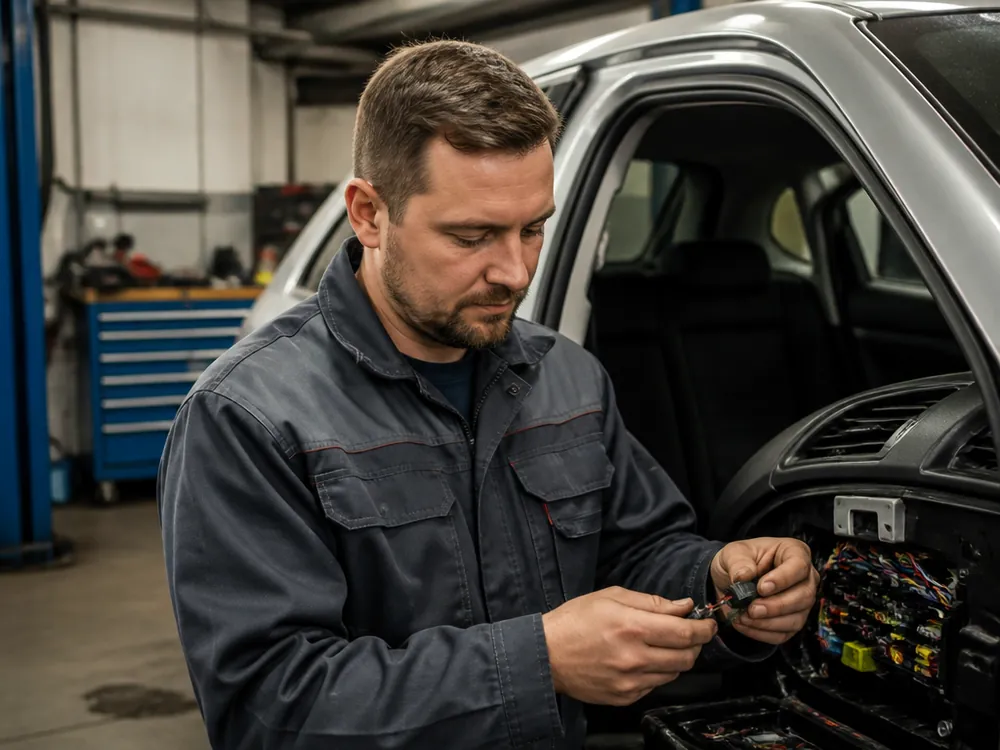
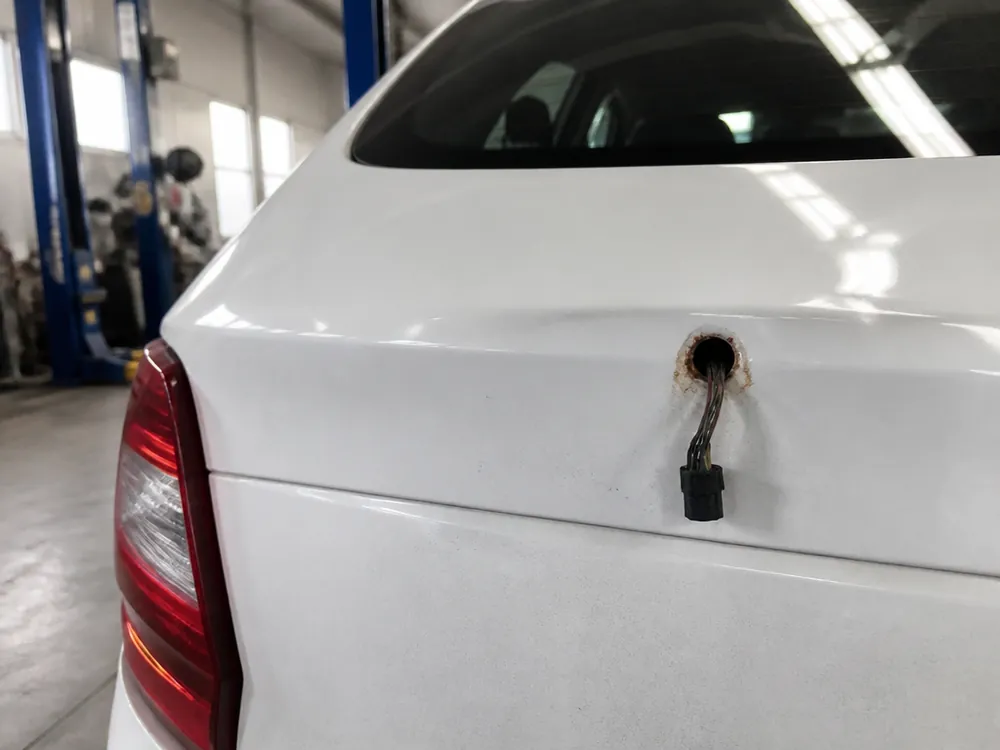
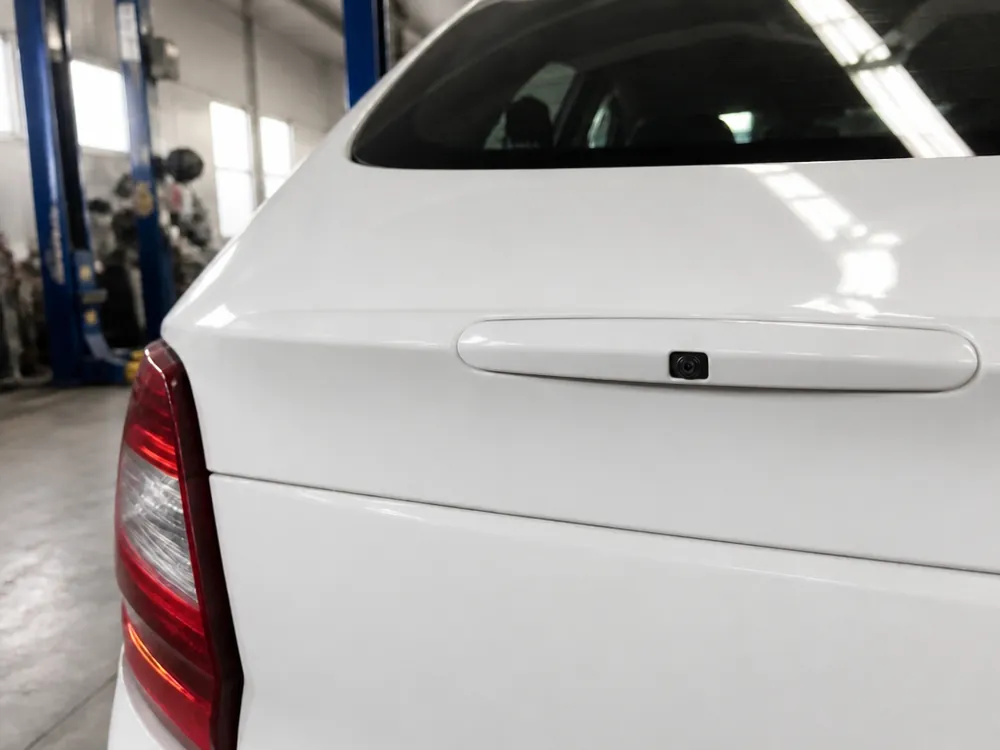
We decide on the spot after inspecting the car, not from a photo. The technician checks whether there's a factory spot and a factory blank, which head unit is installed, how the wiring runs in the trunk and the door. Many people want the rear-view camera to look factory, and the inspection immediately shows whether that's possible on a specific model without modifying the bumper. The car is received by the service advisor, and he also handles the work order through to handover. After the inspection we prepare a written estimate, and we start work only after the owner agrees. When there are several options, we explain the difference in plain words: what the bumper gives you, what the frame gives you, where the wire will run shorter and neater. Tip: come for the inspection in the car you need the installation for, not with a photo of a similar model.
Which Camera to Choose for Your Car and Head Unit
The lens is only half the system, the other half is the screen the picture goes to. The compatibility of these two parts is checked in advance so you don't have to hunt for adapters after installation.
OEM or Universal Camera
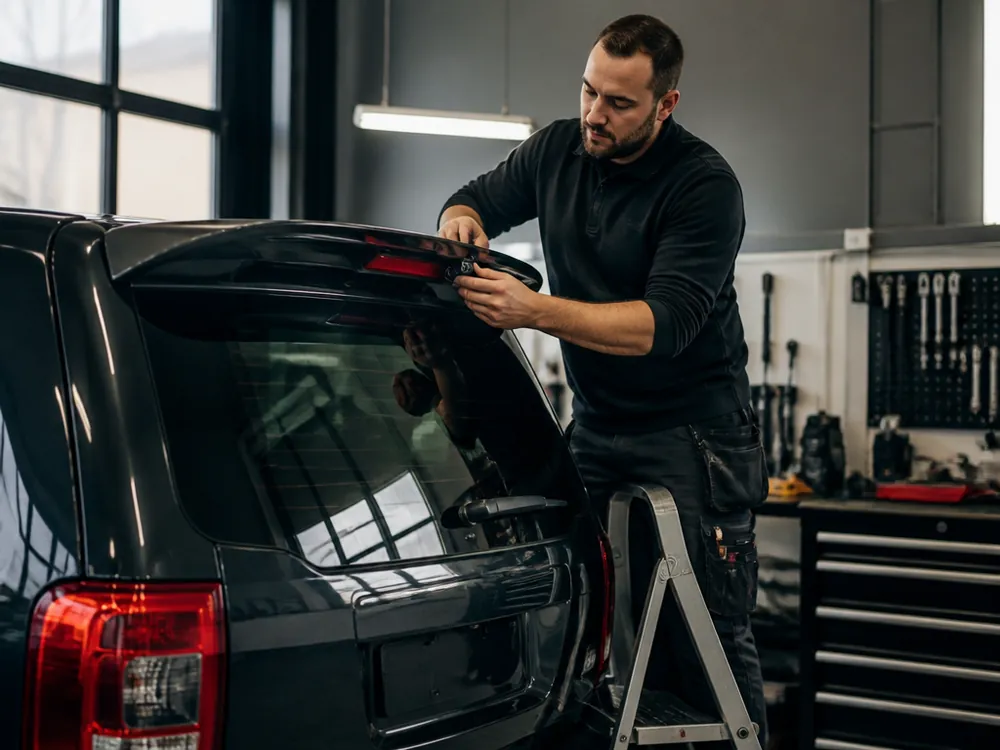
An OEM model is made for a specific car: it fits the factory spot, matches the shape of the trunk trim, and doesn't change the look of the car. It's chosen when the factory already provided a spot but put in a blank. A universal one fits any car: it's mounted on the license plate frame, in the bumper, on a bracket. It's easier to replace if the housing gets damaged while parking over time, and it isn't tied to one model. The devices also differ in features: one shows only the picture, another displays parking lines, static or dynamic. Dynamic guidelines are for those who often park in tight yards, while static is enough for open parking. Tip: if your car has a blank for the lens, check the OEM option first, it almost always looks neater.
What to Check in the Head Unit Before Buying
- Video input: without a separate input there's nowhere to send the picture, and then you'll need a separate monitor, such as a mirror with a screen.
- Switching: the screen should switch to the picture on its own when reverse is engaged, without the driver pressing any buttons.
- Signal format: both parts of the system must understand the same video format, otherwise the image will be black-and-white with stripes.
- Factory screen: the factory head unit sometimes needs the video input activated, this is worth checking before your visit by car model.
- Parking lines: check whether the screen can draw the guidelines itself, or the lens has to display them.
Your Own Camera or Sourcing from Us
You can bring your own device: whether to go with OEM, aftermarket, or your own purchase is up to the owner. Before installation, the technician checks that it works and is compatible with the head unit, so we don't pull the trim for nothing. If the device is faulty or doesn't work with the screen, we don't start the job and explain exactly what didn't fit. It's important to understand the warranty boundary: it covers our installation and wiring as usual, but not the part you brought in. If you haven't bought one yet, we'll tell you which type suits your car, the mounting location, and the head unit. Owners often show up with a model ordered from a photo, and it turns out it has a different connector or the wrong signal format. Tip: before you order, take a photo of the back of your head unit and show it to the technician.
How the camera is wired to power and the screen
Whether the picture stays clean a year from now depends on the wiring. Power and routing mistakes don't show up on installation day — they appear later, on rough roads and in freezing cold.
Power, ground, and signal
A proper rear view camera connection rests on three points: power, ground, and video signal. The camera should turn on with reverse gear and shut off after it, not run the whole time the engine is on. So we take power from the reverse light circuit, not straight off the lamp without protection. We ground to the body under a bolt, not to some random wire in the trunk: a bad ground is a common cause of flicker and stripes on the screen. We run the video signal to the input of the factory head unit or a separate monitor. Every connection is insulated so moisture from the trunk doesn't reach the contacts. Tip: if the camera runs constantly after someone else's install or only comes on every other time, check where the power is coming from.
Why a relay belongs in the camera circuit
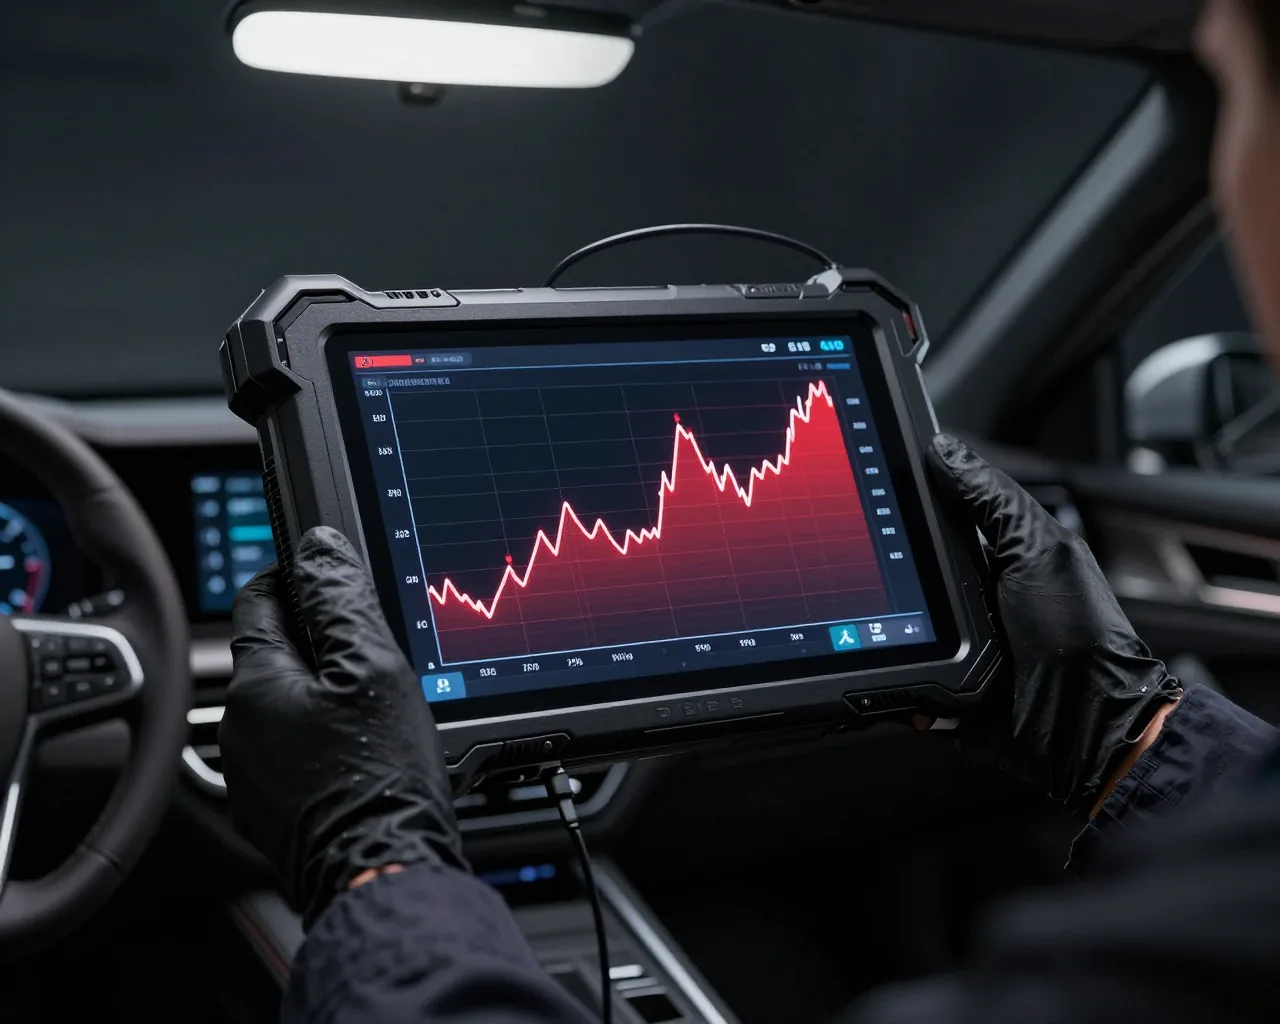
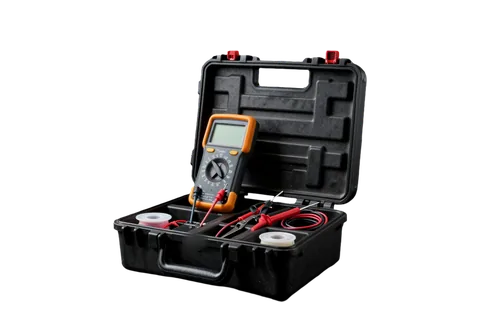
Not every car needs a relay, but where one is required, you can't do without it. We install it in the power line when the camera flickers while driving or draws constant current per the wiring diagram. The relay cuts the camera off when it's not needed and supplies power only when reverse gear is engaged. That way the camera doesn't drain the battery when parked and doesn't pick up interference from other electrics in the car. This is especially noticeable on vehicles where the reverse circuit carries a trailer or extra lights. We decide on a relay after taking measurements on your specific car, not just to be safe. Tip: if the screen flickers or stripes run across the picture while the engine is running, check the camera's power first, not the camera itself.
How we route the cable through the cabin
- Hidden route: the cable runs under the trunk, pillar, and sill trim, so it's not visible in the cabin and doesn't end up under passengers' feet.
- Factory harnesses: we secure the wire to the factory harnesses with zip ties, so it doesn't dangle behind the trim or rattle on rough roads.
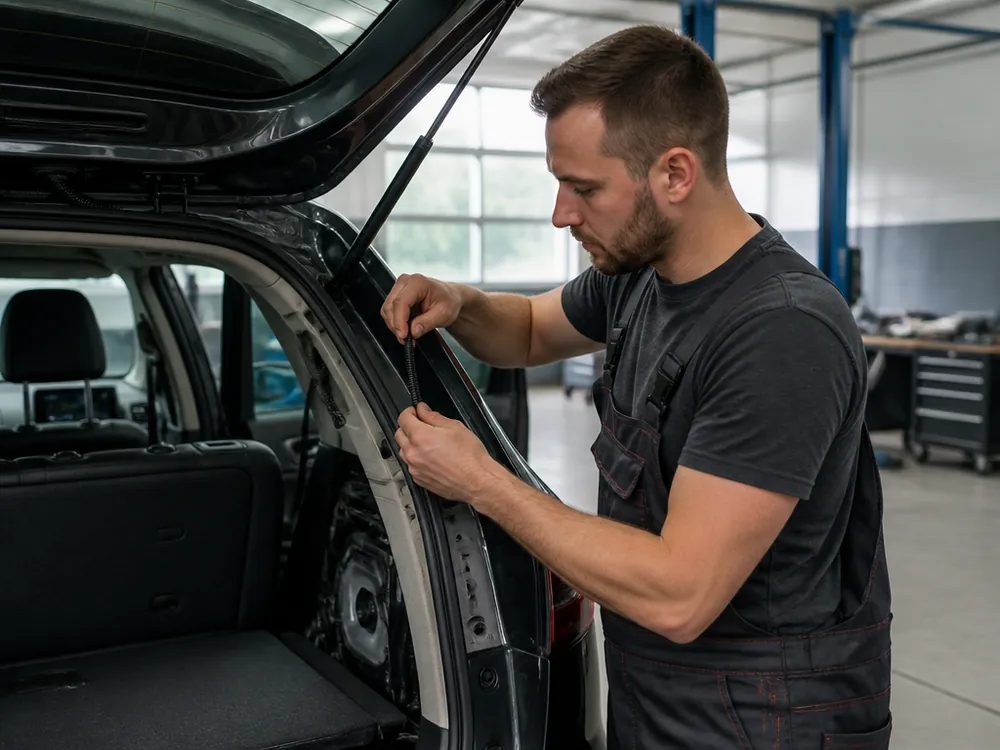
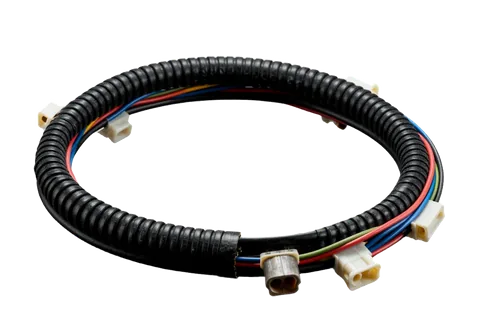
- Corrugated tubing at transitions: in the trunk lid and tailgate hinges the cable runs in corrugated tubing and doesn't wear through every time you open it.
- Weatherstripping: we don't pinch the wire under the door seals, otherwise a month or two later it will kink there and the signal will drop.
- Trim: we remove clips carefully and put them back, and replace broken ones so the panels don't squeak after the job.
Rear view camera installation times for different body styles
The job time depends not on the device itself but on how much trim has to come off and how long the cable route is from the back of the car to the screen.
What affects the job time
guidelines by body style| Vehicle | Where we usually mount it | What we take apart | Time guideline |
|---|
| Sedan | License plate frame, bumper, trunk lid | Trunk and sill trim | About two hours |
|---|
| Hatchback and wagon | Tailgate, license plate frame | Door trim, pillars, sill | About two hours |
|---|
| Crossover | License plate frame, door trim panel | Door, trunk, and pillar trim | About two hours |
|---|
| SUV and minivan | Bracket above the plate, door | A long route through the whole cabin | Up to four hours |
|---|
| Truck and van | Rear gate, body on reinforced mounts | Route from the body to the cab | Up to four hours |
|---|
SUV, minivan, and truck
On a large body the job takes longer, and it's not because the device itself is complicated. The cable has to run through the whole cabin, and on a truck also from the body to the cab, so more trim comes off and the route has to be laid more carefully. Rear view camera installation in Almaty on these vehicles takes us up to four hours; on a passenger car, about two. On a car with a tow hitch, we often raise the lens onto a bracket so the ball doesn't block the center of the frame. On a truck we reinforce the mounts and protect the connections from vibration and moisture: the body works differently than on a passenger car. Before starting, the technician gives you a time estimate for your car so you can plan your day. Tip: if your vehicle has a trailer or tow hitch, mention it when you book, and the technician will pick the right mount in advance.
How to prepare your car for the visit
- Empty trunk: clear out the trunk and the spare wheel well so the technician can pull the trim right away and not waste time moving things.
- Your own device: if you bought it yourself, bring it along with the box, cable, and all the mounting hardware from the kit.
- Head unit model: find out the name of your head unit, or better yet, photograph its back panel — that speeds up choosing the wiring diagram.
- Mounting preferences: decide in advance whether a factory look matters to you and whether a license plate frame mount is enough.
- Booking a time: with an appointment, your car is taken without waiting in line, and the technician knows in advance what work to plan for your visit.
Check on pickup and warranty on the work
The work is accepted based on the picture on the screen, not on how neat the trim looks. A few minutes of checking at pickup saves you a repeat visit and disputes later.
What we check before pickup
- Activation: the screen switches to the picture as soon as reverse gear is engaged and returns to the menu when it's disengaged.
- Clarity: the image has no flicker or stripes with the engine running, the headlights on, and other electrical loads in the car.
- Viewing angle: the frame shows the edge of the bumper and the space behind the car, and the tow hitch and plate don't block the center.
- Guidelines: the parking lines match the car's actual dimensions, aren't shifted to one side, and don't run deep into the frame.
- Mounting and trim: the housing doesn't wobble, the panels sit in place without gaps, and we do a short test drive before pickup.
What the installation warranty covers
We give a 12-month warranty on installation and connection, just like on our other electrical work. We record the term and conditions in the work order and the completion certificate when you pick up the car. If the screen stops switching to the camera image or the picture disappears, come in: diagnostics for a warranty case is free, and the technician will check our connection first. The warranty covers the work performed and the parts we installed. It does not cover an accident after installation, tampering by third parties, or a device the owner brought themselves. Before coming to the shop, check the circuit fuse: sometimes that's the cause, not the installation. Tip: if the picture starts cutting out on bumps, don't put off the visit — a broken cable is easier to find before the fault becomes permanent.
What documents the owner keeps
- Work order: it lists the work performed and records the warranty term, and any warranty question is handled based on it.
- Completion certificate: we sign it when you pick up the car, and it records the warranty terms for the installation once more.
- Photo report: we photograph the key stages of the work, so you can see where the cable was routed and how the power is connected.
- Estimate: the written estimate approved before work begins stays with the owner along with the other documents.
Getting rear view camera installation right
A camera only helps with parking when the location, power, and routing are chosen for the specific car. Below are the main things to decide before your visit.
- Location: a license plate frame needs no drilling, a bumper mount gives a clean look with no protruding parts, and the factory location suits models with a factory plug.
- Screen: before buying the camera, check whether the head unit has a video input and whether it switches to the image automatically in reverse.
- Power: the camera should turn on only in reverse, and if there's flicker or interference, a relay is added to the circuit.
- Cable: in door transitions the wire must run in a boot, otherwise it rubs through and the picture starts cutting out on bumps.
- Check: at pickup, look at the angle, the guidelines, and the image with the engine running, and keep the documents with the warranty until the term ends.