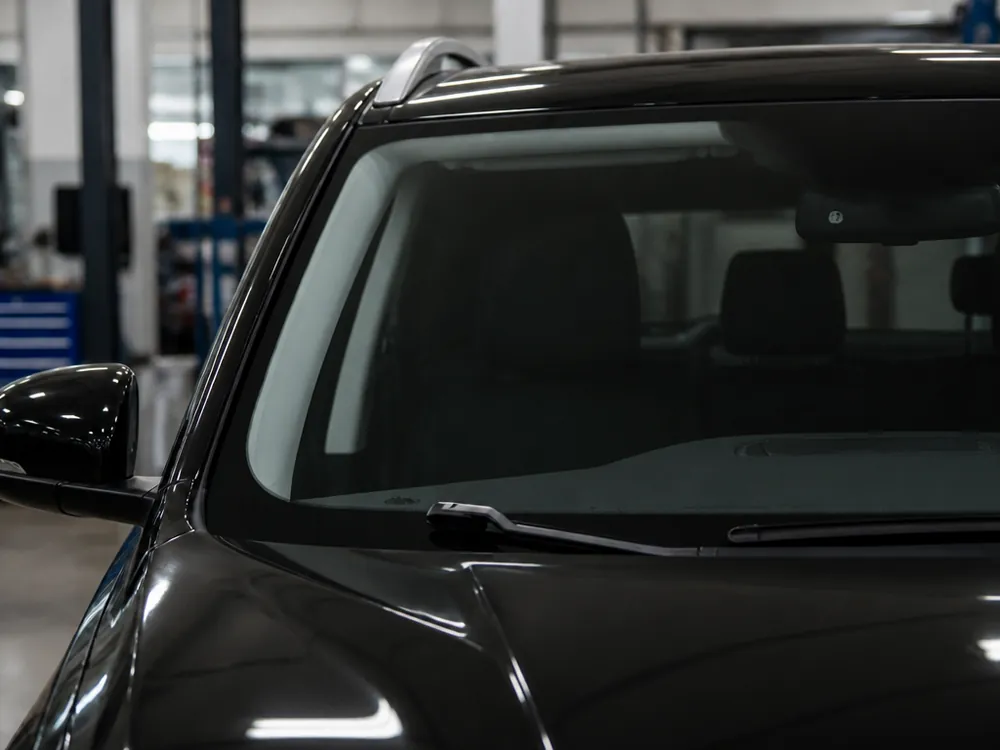
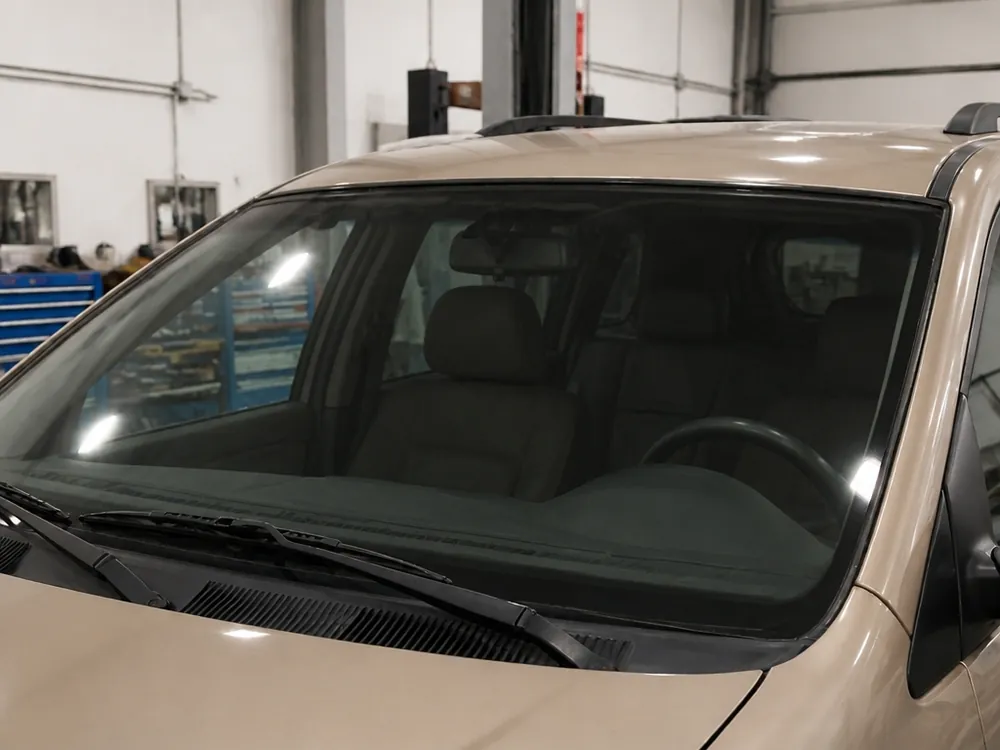
Protection film, tinting and athermal film are often confused, although they serve different purposes. Let's break down what each service does, what it protects against, and how they can be combined on one windshield.
How protection differs from tinting and athermal film
comparison of services by purpose and protected area| Service | What it does | What it protects | When it's needed |
|---|
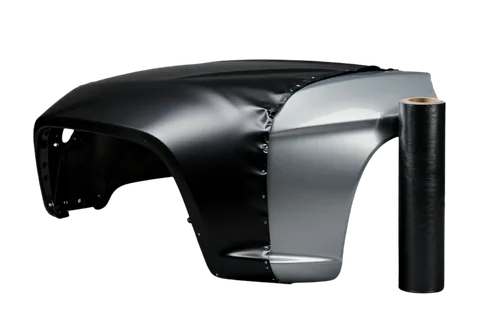
| Protection film | clear 200-micron layer | glass from stones and chips | highway, gravel, frequent trips |
|---|
| Tinting | changes light transmission | interior from sun and prying eyes | darkening as needed |
|---|
| Athermal tinting | reflects heat | interior from heating | hot summers |
|---|
| Tinting with protection film | protection plus heat reflection | glass and interior | combined task |
|---|
Can protection and athermal effect be combined
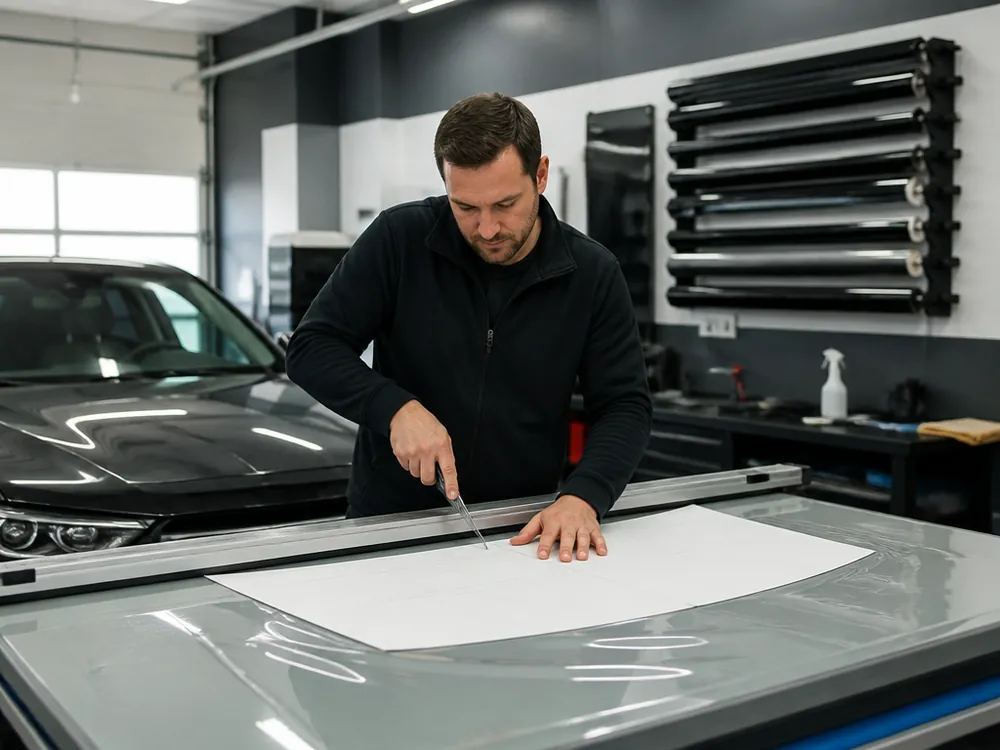
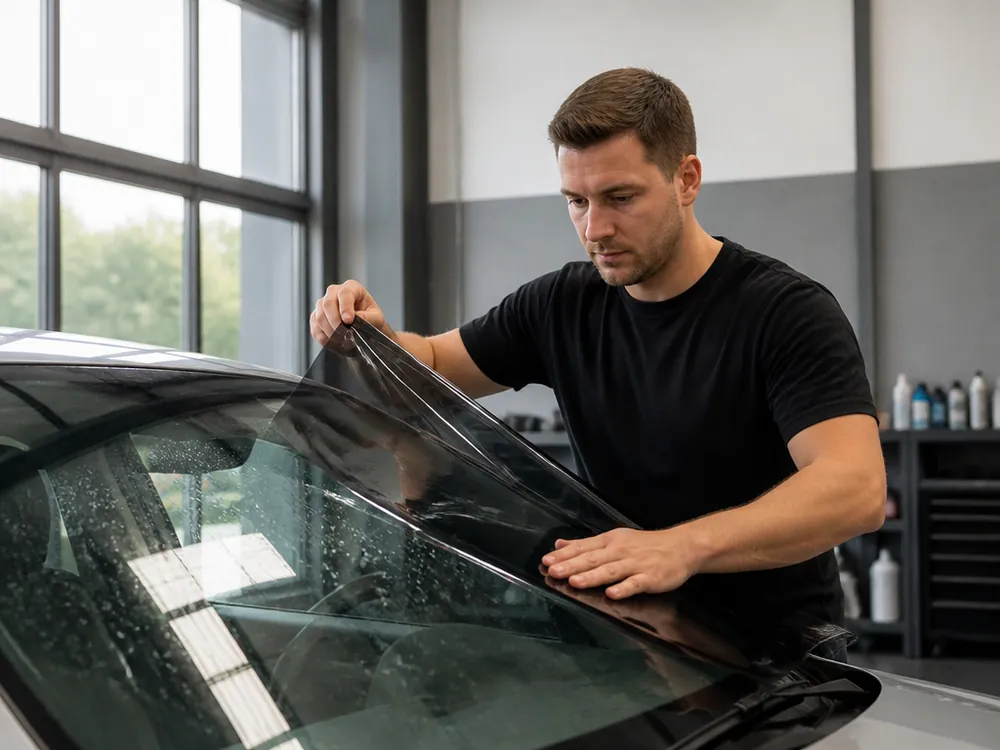
Yes, we combine athermal tinting with a protective layer: first we select the material for the task, then apply it taking sensor zones into account. The athermal layer reflects heat and reduces interior heating, while the top protective layer takes impacts from stones and gravel. We cut according to patterns — using a template for the specific model, not by eye. Combined application requires a single cut for two layers: if done separately in different places, the edges won't match and bubbles will form along the edge. In my opinion, it's cheaper to order both layers in one operation than to redo the edge later. We plan around the rain sensor and camera zones at the cutting stage — so the electronics remain open and the coating doesn't interfere with reading road markings.
Why protect the windshield and when it's really necessary
Protection film isn't always justified. Let's look at scenarios where it actually saves the glass and when you can skip it without overpaying for unnecessary protection.
When protection pays off
- Highway with gravel: stones from trucks constantly hit the glass, and windshield protection film takes the impact instead of the fragile laminated glass.
- Frequent country trips: the more kilometers on uncleaned roads, the higher the chance of catching a chip from oncoming traffic.
- Panoramic windshield: the large area and complex geometry make replacement expensive and time-consuming, so protection is more cost-effective than repair.
- New glass: it makes sense to cover a fresh part with film right away, while it has no defects and doesn't need polishing.
- Thickness matters more than brand: a 200-micron layer withstands small gravel, while thin film gets pierced by the same stone.
Does the film impair visibility
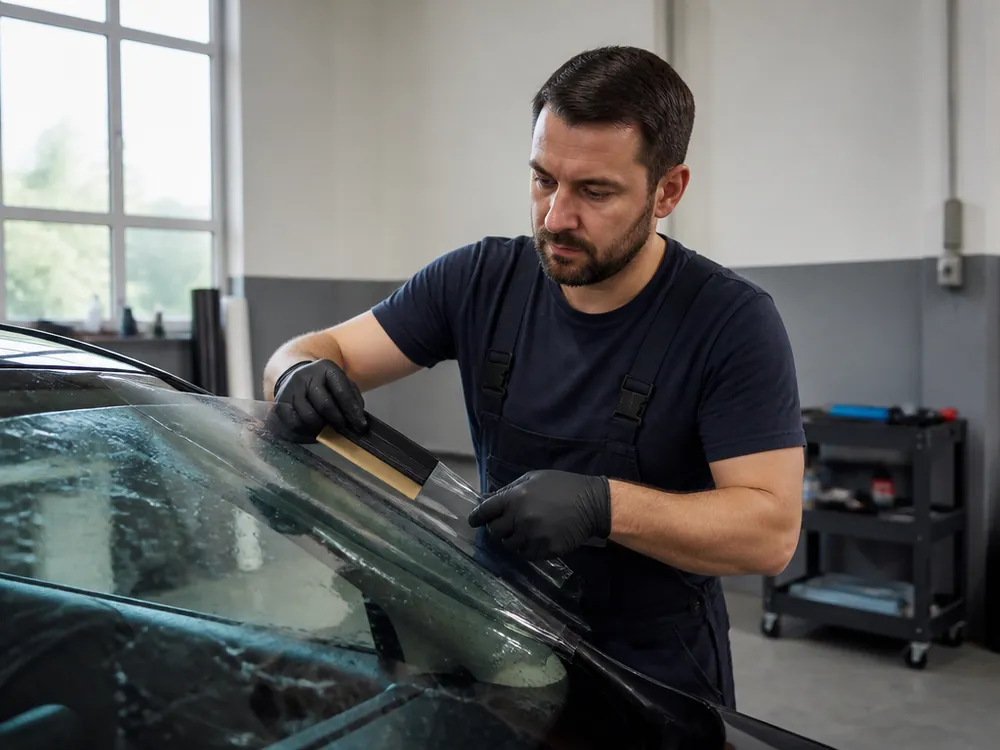
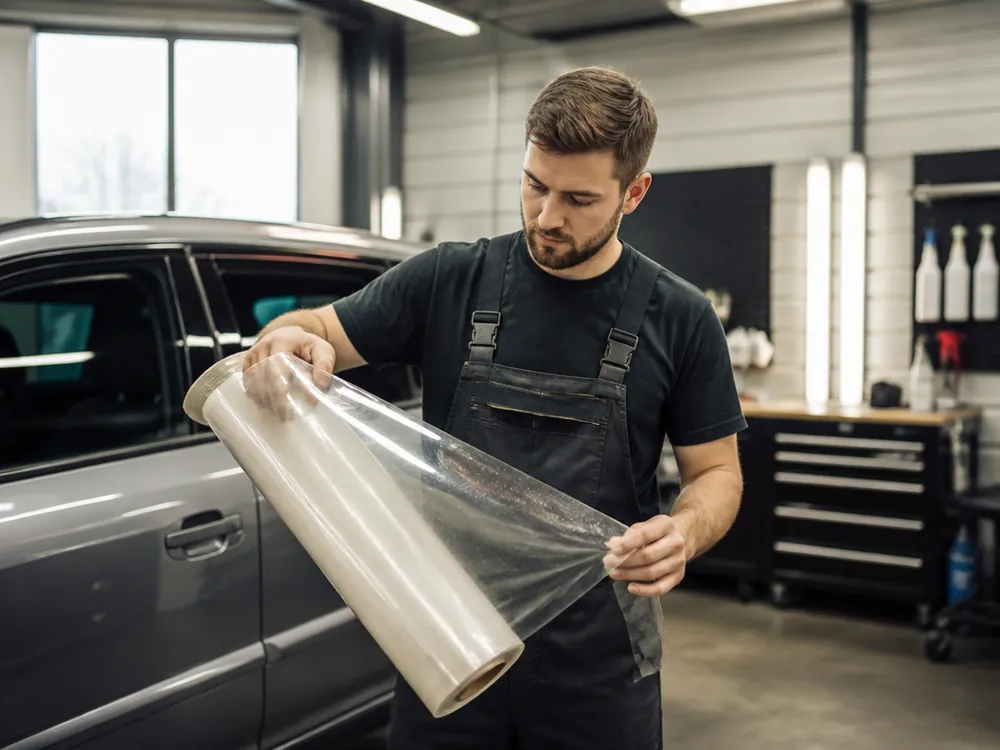
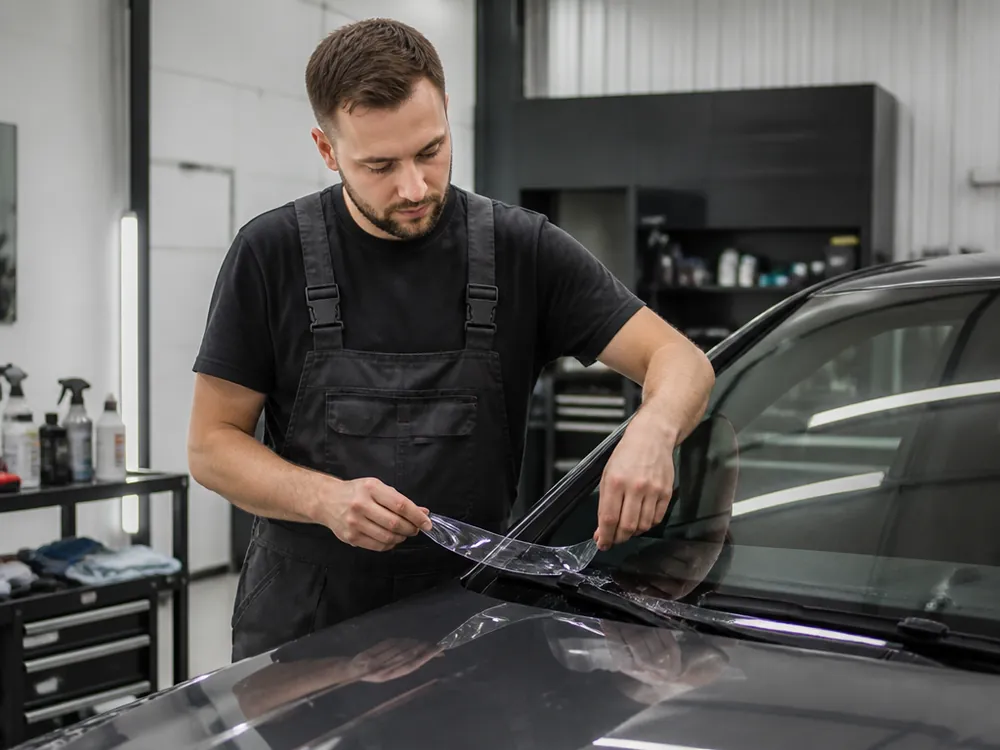
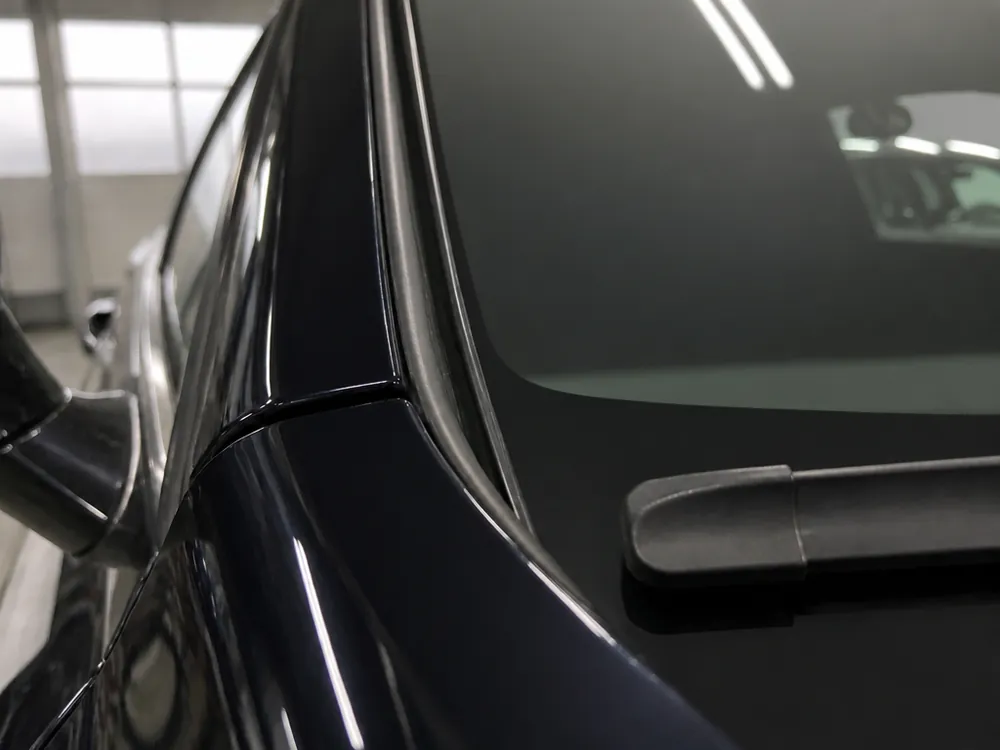
We use clear film with high light transmission, so visibility doesn't suffer — neither during the day nor at dusk. The high-strength 200-micron polyurethane layer is optically uniform: it doesn't produce iridescent streaks when backlit and doesn't distort the image at the edges. Cloudiness comes not from the film itself but from the adhesive layer on poorly degreased glass — that's why we clean and degrease the area as a separate step before application. The technician manually checks adhesion along the edge: if the edge hasn't bonded, dust and moisture will get in. In my opinion, careful preparation is more important than the brand of material: at our shop, technicians spend almost as much time on it as on the pattern cutting itself.
Protection for panoramic windshields
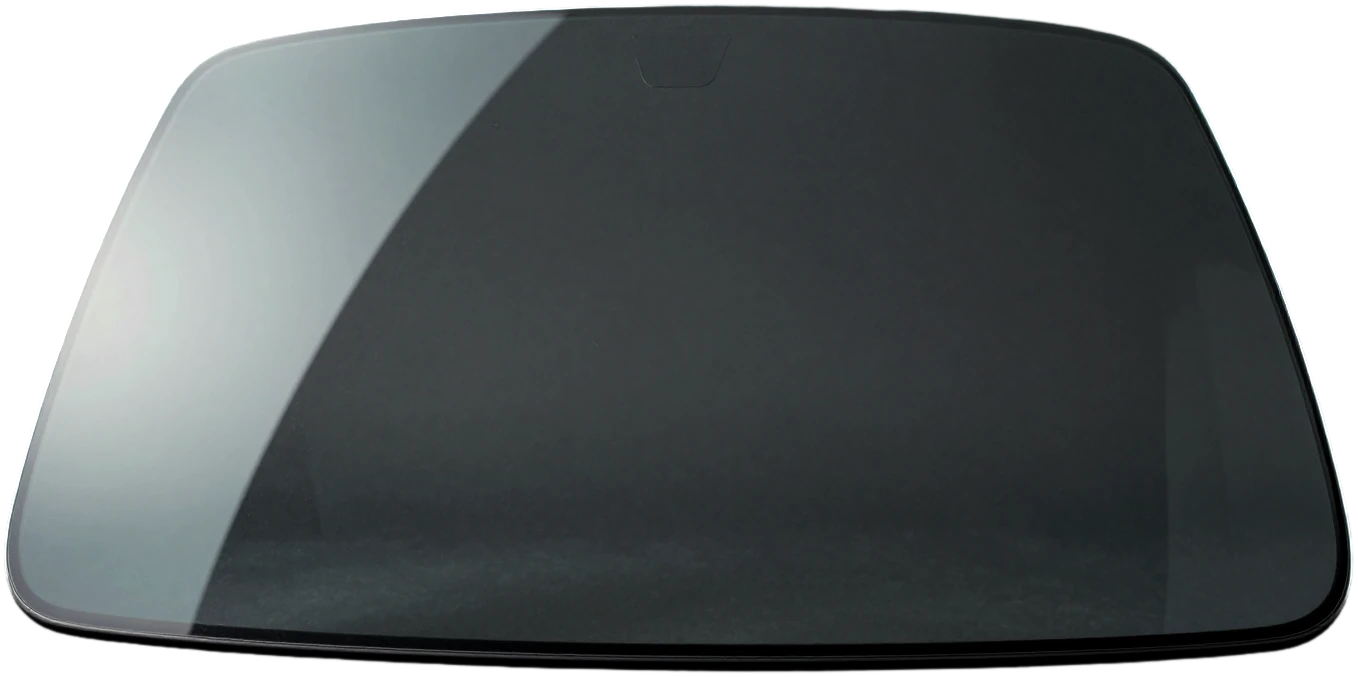
We cover panoramic glass with the same 200-micron layer, but cutting uses a separate pattern — taking into account the large area and complex curvature. We have patterns for specific glass models, and for panoramas we use a dedicated pattern with an edge margin and a precise line around the sensors. We apply it by smoothing from the center to the edges to drive out air from the steep radius. Tension control is critical on a panorama: if you stretch the polyurethane on a complex curve, bubbles will form along the edge and peeling will appear in the corners. Cutting by pattern saves material and nerves — the edge lies flat without stretching or bubbles in the corners. In our shop's practice, a panorama takes more time than a standard windshield, but it holds up without rework.
Chips, cracks and glass preparation before film application
The main question before application is what to do with defects already on the glass. Let's go over the work order, the limits of repair, and how we prepare the surface.
Can you apply protection film to a windshield with a chip
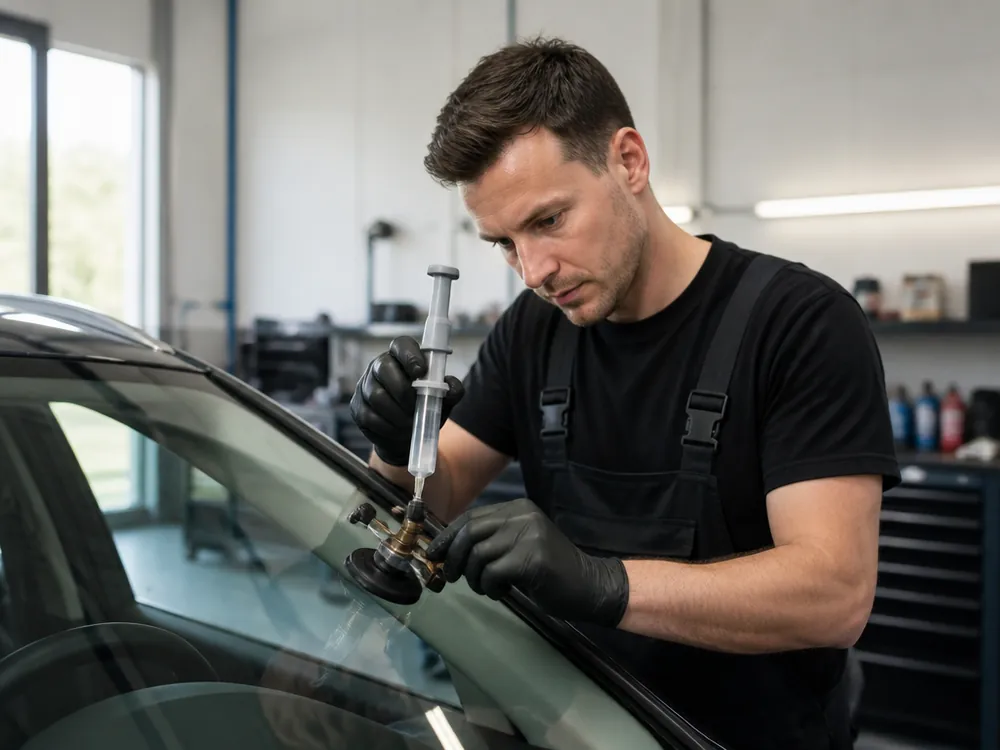
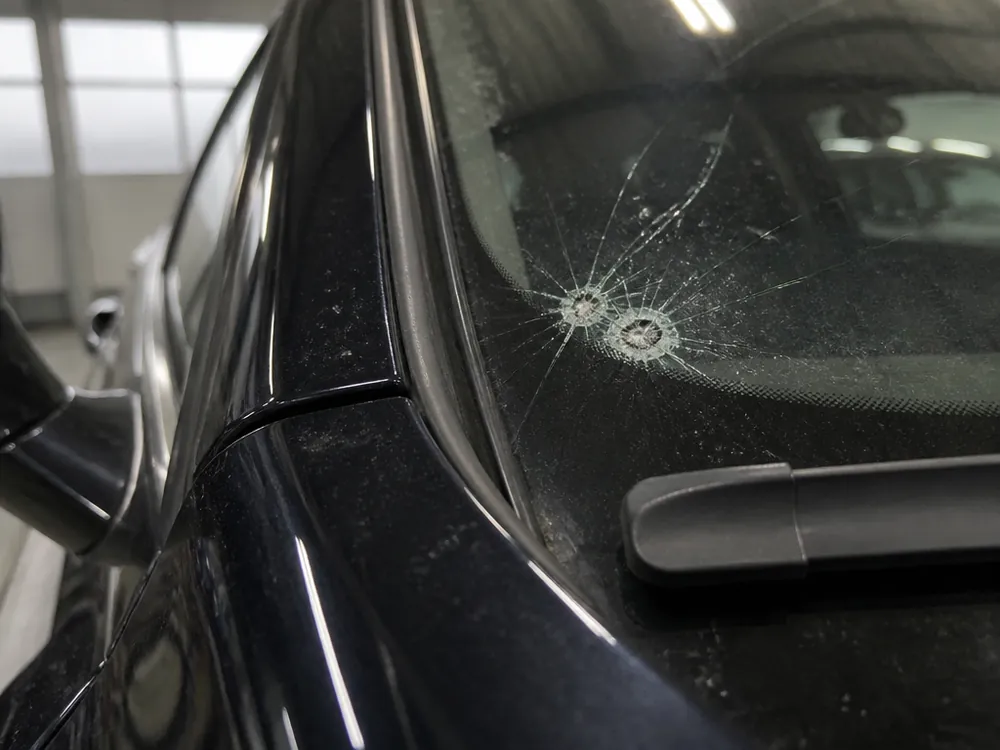
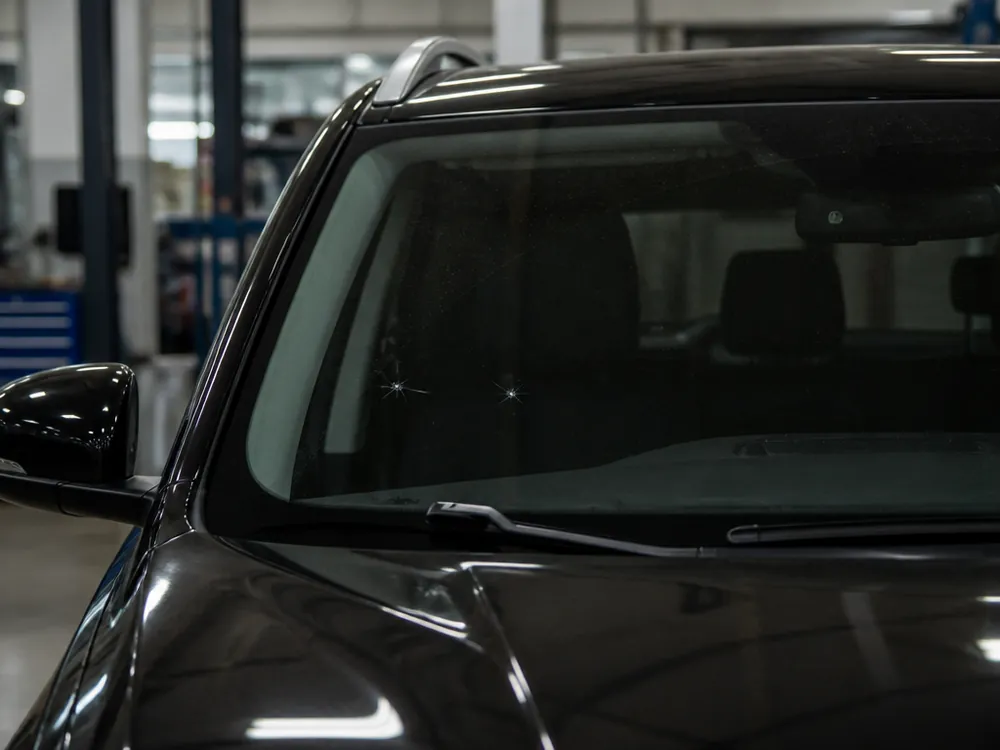
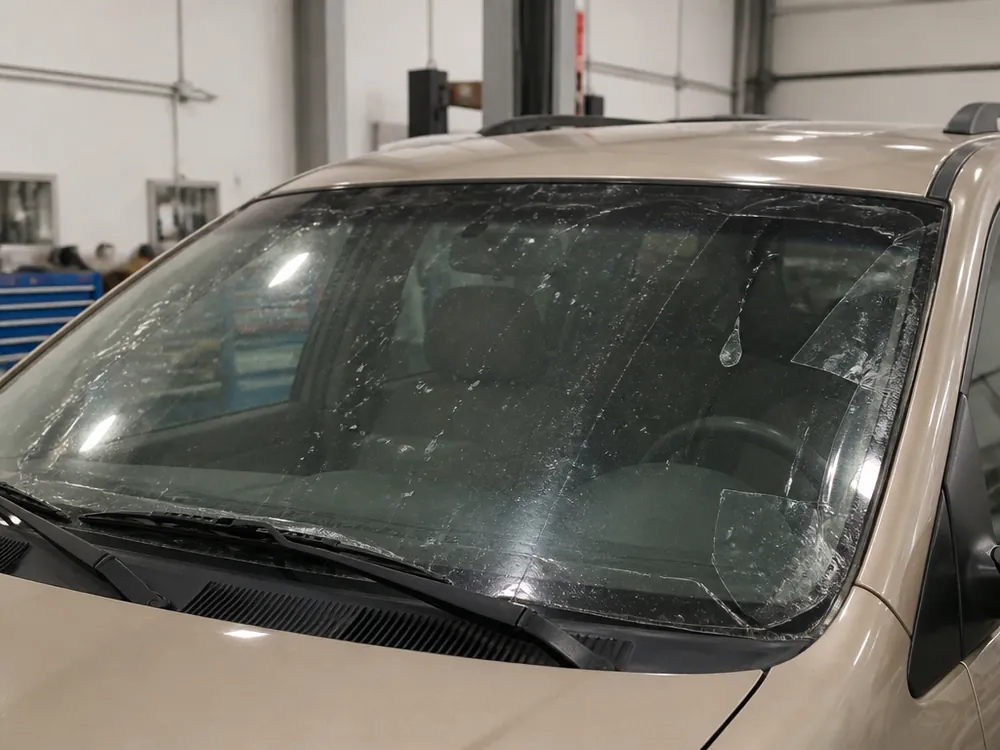
Yes, but first we repair chips and cracks, and only then apply the film — otherwise the protective layer will go over the defect and tear at its edge. Chip and crack repair is included in windshield protection film work: the polymer fills the cavity, the edge becomes solid, and the material goes on a flat surface. Damage that can't be fixed by repair and cracks extending into the driver's field of view we send for glass replacement — protecting them is pointless. The order “repair first, then film” is also important for the warranty: if you cover a live chip, the crack will keep growing and the work will have to be redone. In my experience, warranty claims on protective film are most often related to a defect being covered without repair. We start windshield protection film in Almaty with exactly this kind of inspection and defect repair.
How the film goes around the edge of damage
In 15 minutes of diagnostics we find chips by backlight and under a lamp, mark them, and go around them when applying the film so the material doesn't tear at the edge of the defect. We look at the glass at an angle to a light source: chip points and microcracks read as dark or iridescent spots that aren't visible in daylight. We mark damaged spots with a marker and, when cutting according to the template, take them outside the working area or leave them without tension. Small chips that aren't visible to the eye read as dots under backlight — it's better to mark them before applying the film, otherwise a bubble will appear right over them. Come for diagnostics before washing: water in microcracks distorts the picture and some defects go unnoticed.
Polishing and preparing the area before film application
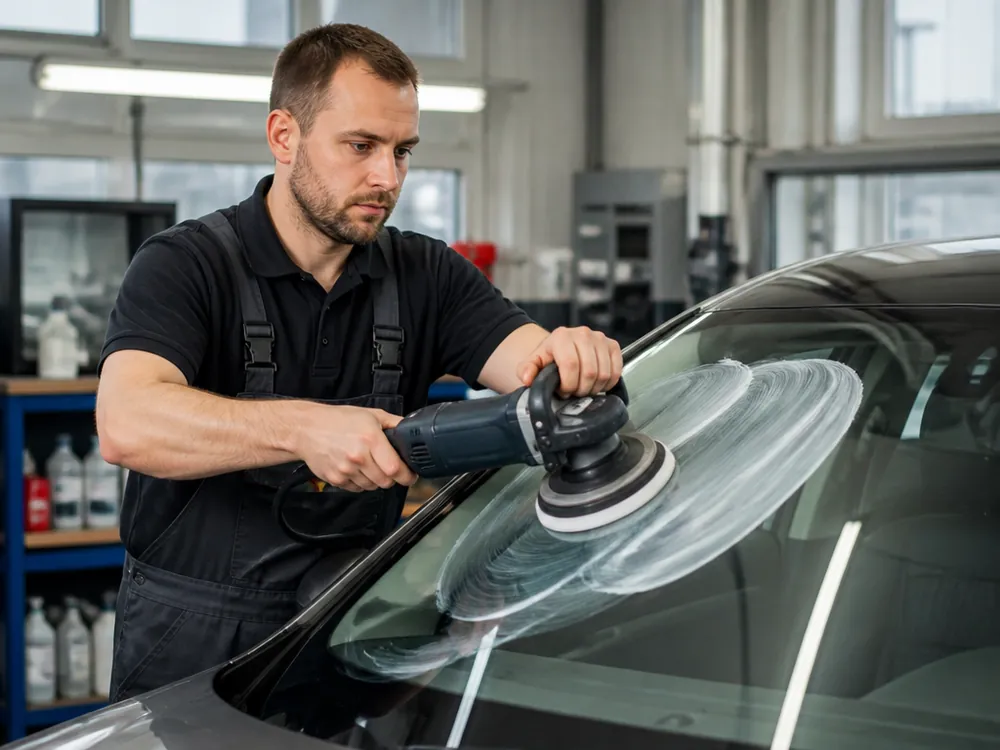
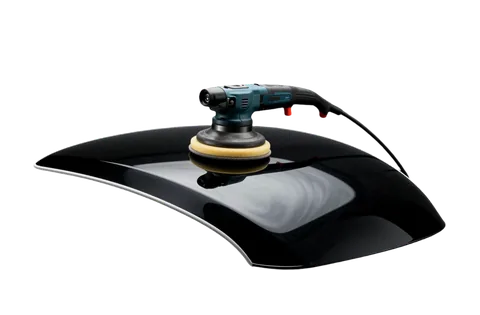
- Polishing: we remove minor scratches and film to make the surface even under the adhesive layer.
- Cleaning: we wash off dust and traces of reagents that interfere with adhesion over the entire area.
- Degreasing: we go over the film area with a compound without gaps, including corners.
- Drying: we let the surface dry so no moisture remains under the material.
- Edge control: we check the boundary of the working area by backlight so adhesion holds around the entire perimeter.
Sensors, cameras and electronics under the film
The windshield of a modern car is a platform for sensors and cameras. Let's break down how film application works with electronics and which areas are best left open.
Rain and light sensor under the film
We cut a technical window over the rain and light sensor so the automation isn't covered by the material and works as before. There are usually two such areas: near the interior mirror for the sensor itself and at the top edge for the light unit. We cut the window along the contour of the unit and tuck the edge of the material behind the mirror trim — so it doesn't lift from airflow at speed. We don't consider light transmission here: the automation needs a clean section of glass, not a layer of material. During intake, the technician checks the unit's location against the template for the specific model, because it's offset on different bodies. If you cover the sensor with dense material without a window, the automation starts to err — the wipers trigger with a delay or, conversely, too often.
Adaptive cruise and lane keeping cameras
We leave adaptive cruise and lane keeping cameras open or cover them with IR-transparent material so the systems can see the lane markings. The unit of such cameras is located in the upper part of the windshield behind the interior mirror, sometimes in the same housing as the rain sensor. When applying the film, the technician marks the window according to the unit housing and doesn't go over the lens. For models where the manufacturer allows an IR-transparent layer, we install it — it transmits the infrared spectrum that the camera needs at night. After film application, it's worth checking the assistants on a test drive: this way you can see if calibration has shifted. A test drive before handing over the car is part of our work — the technician drives a circle and checks if any driver assistance system errors have come on.
What not to cover with film
- Lane keeping camera: without a window it sees markings worse, the assistant errs on turns and at dusk.
- Rain sensor: a covered sensor causes false wiper triggers, and in rain the response is delayed.
- Adaptive cruise camera: requires a transparent zone or IR layer, otherwise it loses the target at distance.
- Light sensor: under dense material the headlight automation turns on low beams late.
- No universal template: the window layout for a specific model is confirmed before film application; sensors are located in different places on different cars.
How the work goes and why cutting by templates matters
We break down the car's journey from intake to handover and explain why cutting by template, not “by eye,” determines how the protective layer holds on the glass a year later.
Stages from intake to handover
- Intake: the service advisor inspects the glass and records its condition in the work order.
- Diagnostics: in 15 minutes we find chips by backlight and under a lamp, mark damaged spots.
- Preparation: we polish the glass, clean and degrease the film area before application.
- Cutting and application: we cut the material according to the template for the specific model and apply it with smoothing.
- Control and handover: we check the edge fit, do a test drive and return the car with a photo report.
- Documents: we record the warranty period and terms for the film in the work order and the completion certificate.
Why cut by templates, not by eye
We cut the sheet according to templates for the specific glass model, so the edge lies flat, without tension or bubbles in the corners. The template follows the radii and curvature of the specific car's windshield: in complex areas at the pillars and mirror, the material doesn't stretch, and the adhesive layer is distributed evenly along the edge. When cutting by eye, the technician stretches it at the corners to match the geometry — adhesion along the edge drops, and over time air and moisture get under the layer. In our practice, such reworks most often happen on panoramic windshields with large curvature. Cutting by eye saves minutes, but protection stretched at the corners eventually peels off — rework costs more than an accurate template.
Film application on the wiper area and additional work
On request, we cover the wiper area with reinforced material — this is the area that most often suffers from sand and ice. A 200-micron layer absorbs sandblasting and small gravel impacts, so no network of small chips appears on the edge. Before application, we polish the glass: on matte areas the protection doesn't adhere and starts to bubble along the edge. The wiper area wears out faster than the rest of the windshield, so its protection extends the glass's life without replacement. We do polishing and cleaning at all stages of work, not just before this area — this way adhesion remains even over the entire surface. The service advisor records in the work order which areas are covered so that at handover you see the full scope of work.
Glass care after film application and warranty
A filmed windshield needs time to dry, and then simple care without abrasives and hard blades. Let's go over the timing, washing rules, winter operation and what exactly the warranty covers.
How long the film takes to cure and when you can wash the car
We finish the installation and recommend holding off on the first pressure wash until the adhesive layer has fully set. Edge adhesion builds strength gradually: in the first days the edge holds weaker than it will a week later, so please don't leave the car in direct sun and don't roll the windows down in freezing weather right after pickup. Full curing of the adhesive layer takes up to several days, and during this period don't wash the glass with aggressive chemicals, wipe it with a dry cloth, or push water off with a hard scraper. In the first days a slight cloudy strip may remain along the edge of the film — that's moisture escaping from under the adhesive, and it goes away on its own as it dries. At a high-pressure wash, keep the nozzle at an angle to the edge rather than straight into it — that way the jet won't lift the edge of the film.
Winter care and what to do if the film is damaged
- In winter: remove ice with a soft scraper or de-icer, without a hard blade — that way the film won't get scratched.
- Washing: keep the jet at an angle to the edge, don't aim it straight at the edge so you don't lift it.
- Scratches: minor marks on the film are left alone, deep ones are shown to the technician for inspection.
- Cloudiness: if an area has gone cloudy, it's inspected and that specific fragment is replaced if needed.
- Gravel: the polyurethane layer absorbs the impact of sandblasting and small stones, so the glass doesn't get chipped by road debris.
What the 24-month warranty covers
warranty terms for windshield protection film| What the warranty covers | What it doesn't cover |
|---|
| the installation work performed | an accident after the repair |
|---|
| the film installed | third-party interference |
|---|
| peeling caused by the work | normal wear of consumables |
|---|
| diagnostics for a warranty case | a part brought in by the client |
|---|
Key points before film installation
Here's the main thing to keep in mind before booking a film installation: from what the service is for to the finer points of care and warranty terms.
- What the service is for: a clear 200-micron polyurethane film takes the hits from stones and sandblasting while keeping your view clear.
- Order of work: first diagnostics and repair of chips and cracks, then glass polishing and application of the protective layer.
- Electronics: cutouts are made for sensors and cameras so the assist systems work without interference.
- Cutting: a template for the specific windshield model gives a clean edge without stretching or bubbles in the corners.
- Care and warranty: the film needs careful washing and a soft scraper in winter, and the 24-month warranty terms are recorded in the documents.
- Choosing by scenario: highway driving and gravel justify the protection, calm city driving doesn't always.