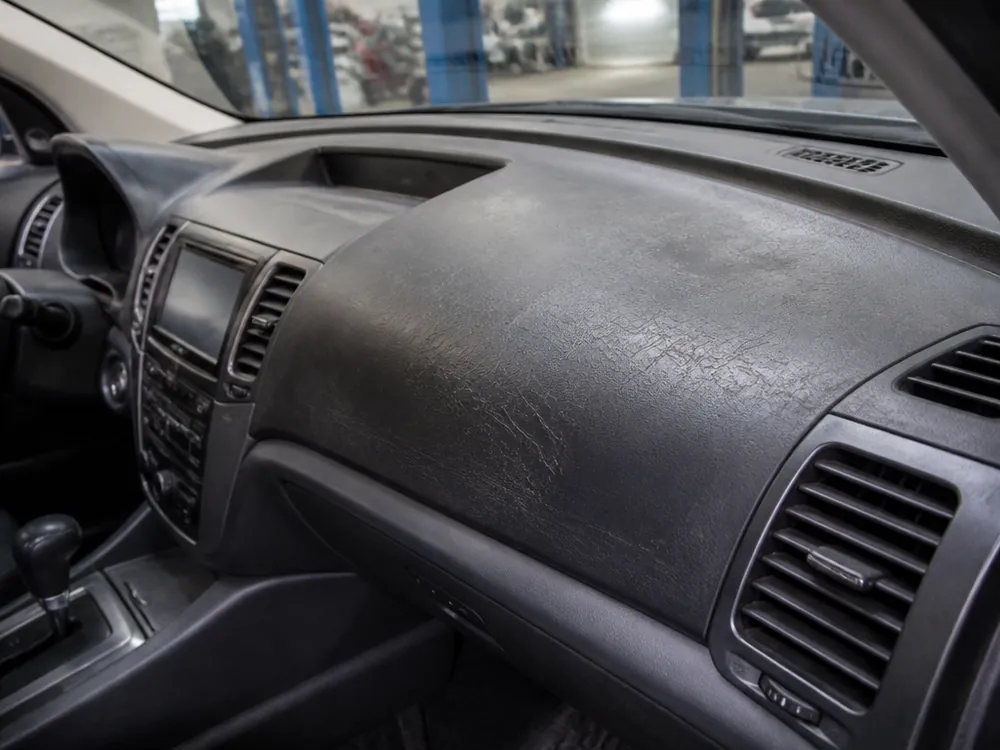
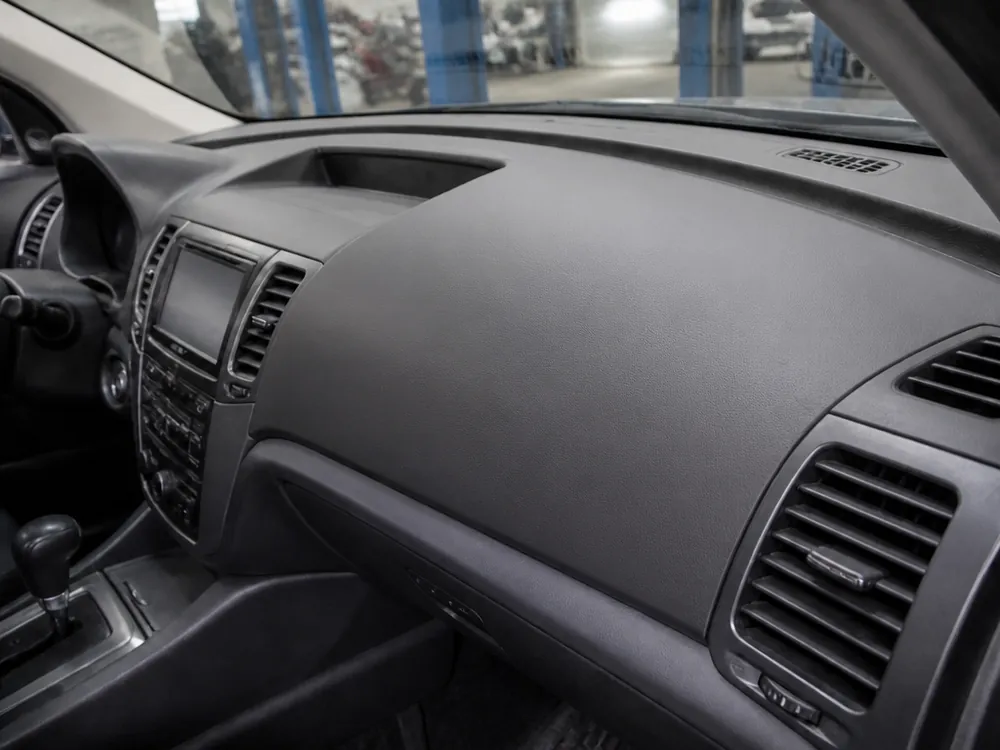
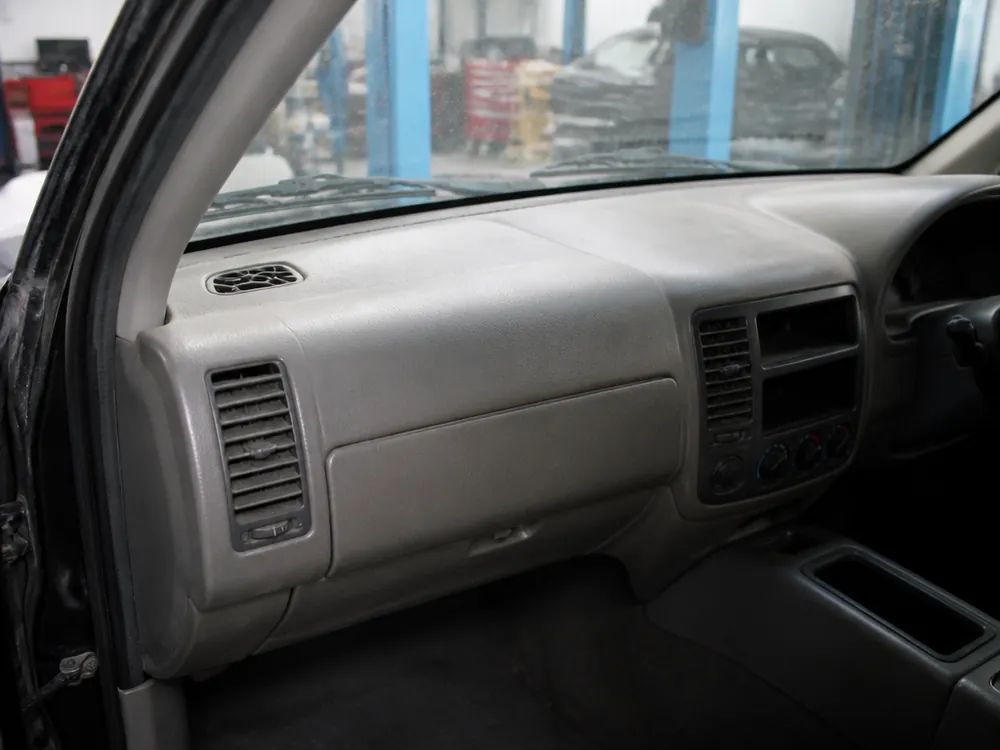
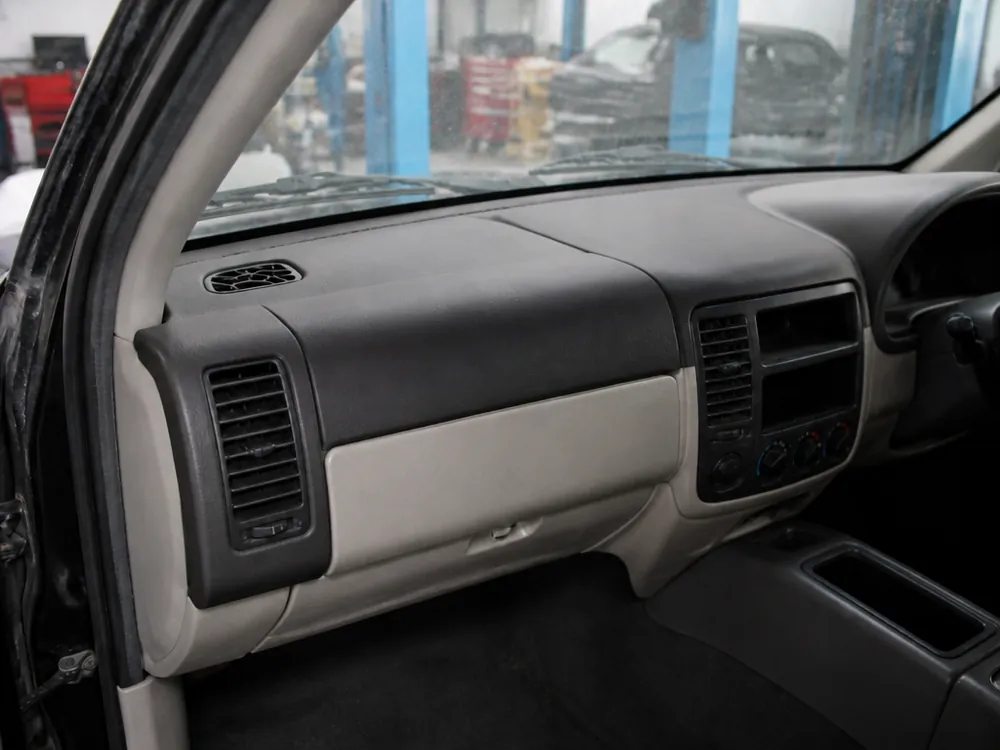
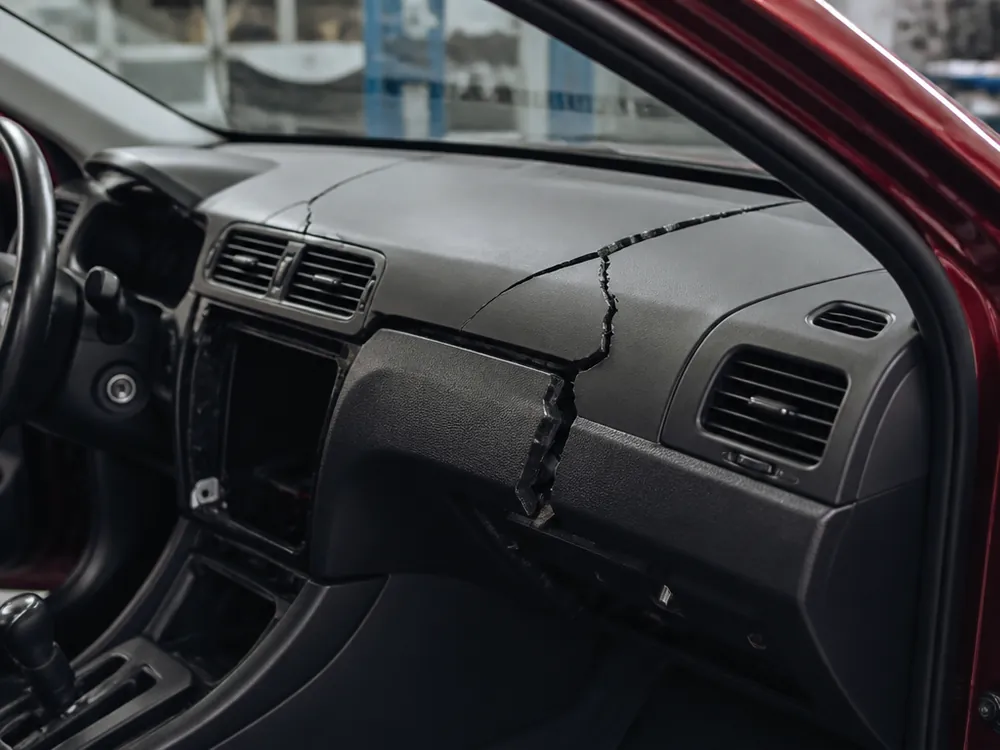
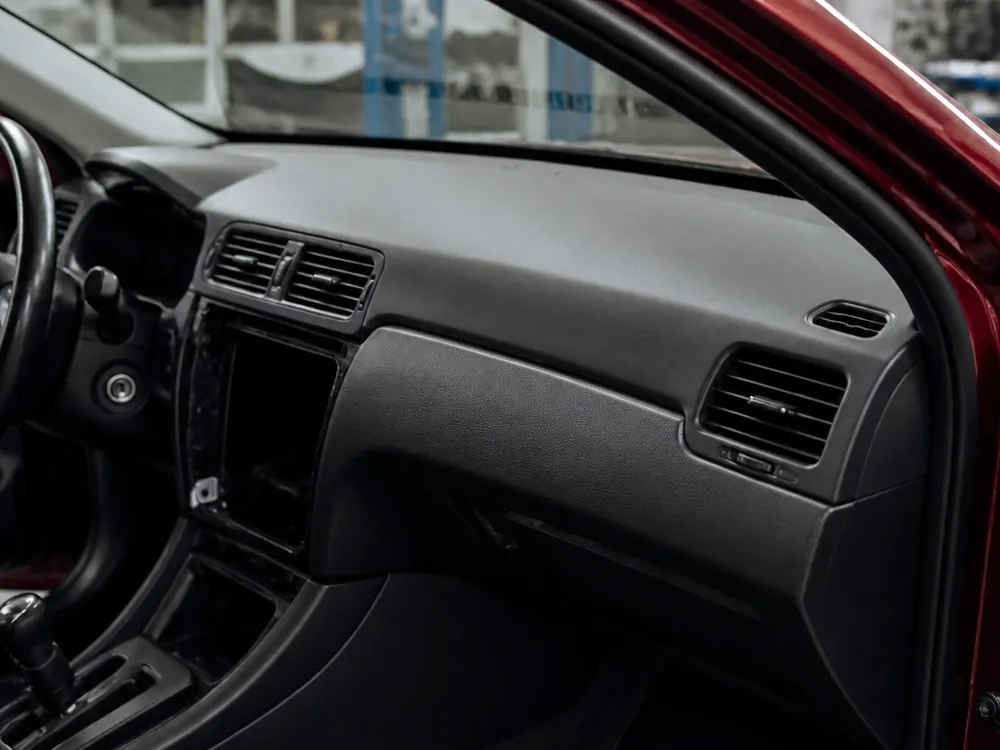
The panel cracks from the sun and temperature swings, and the owner needs to understand when local repair is enough and when full wrapping is required.
How wrapping differs from dashboard restoration
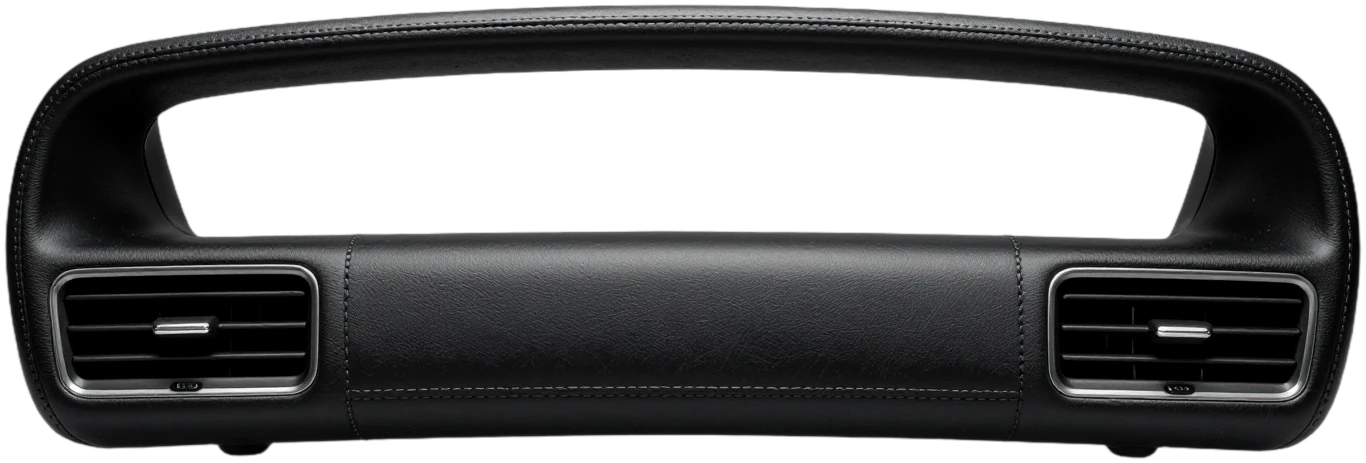
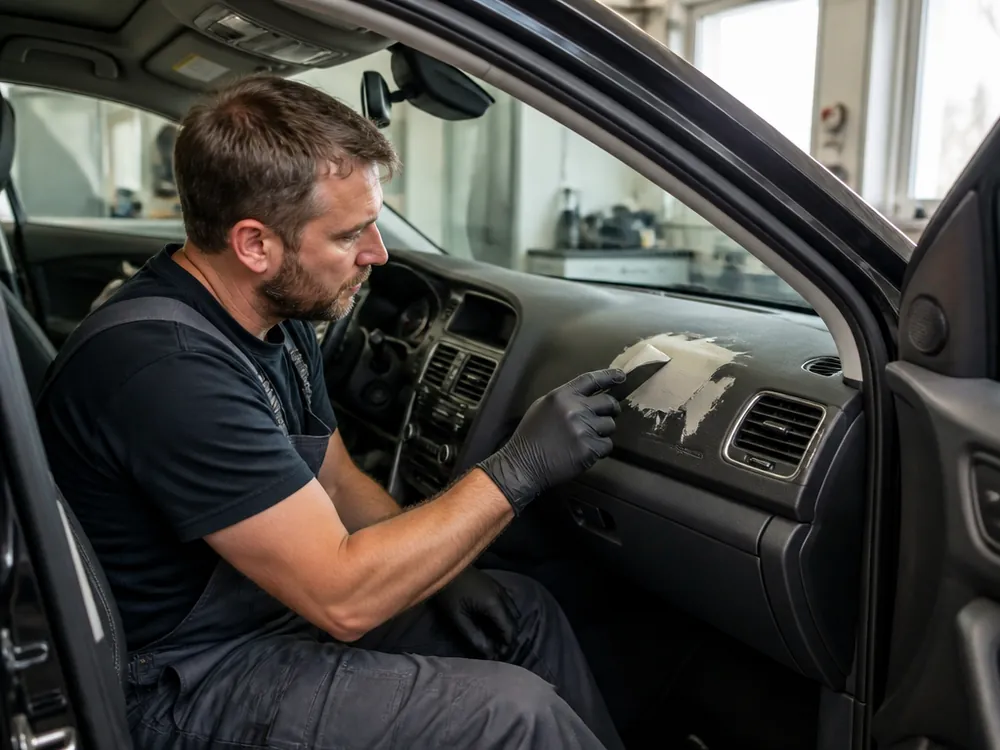
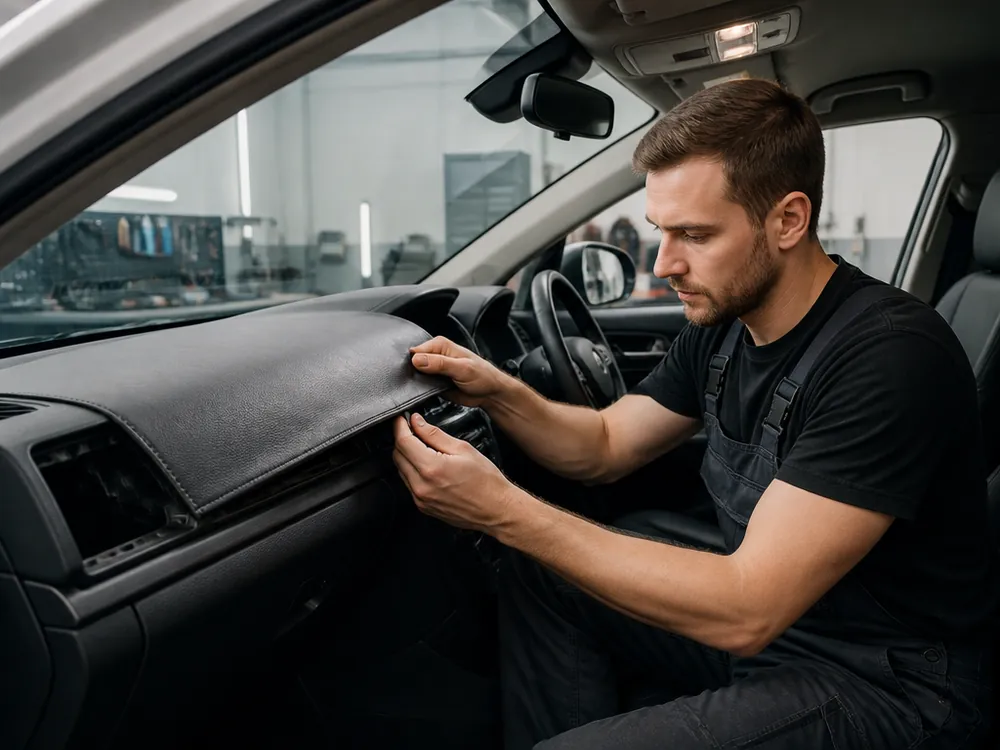
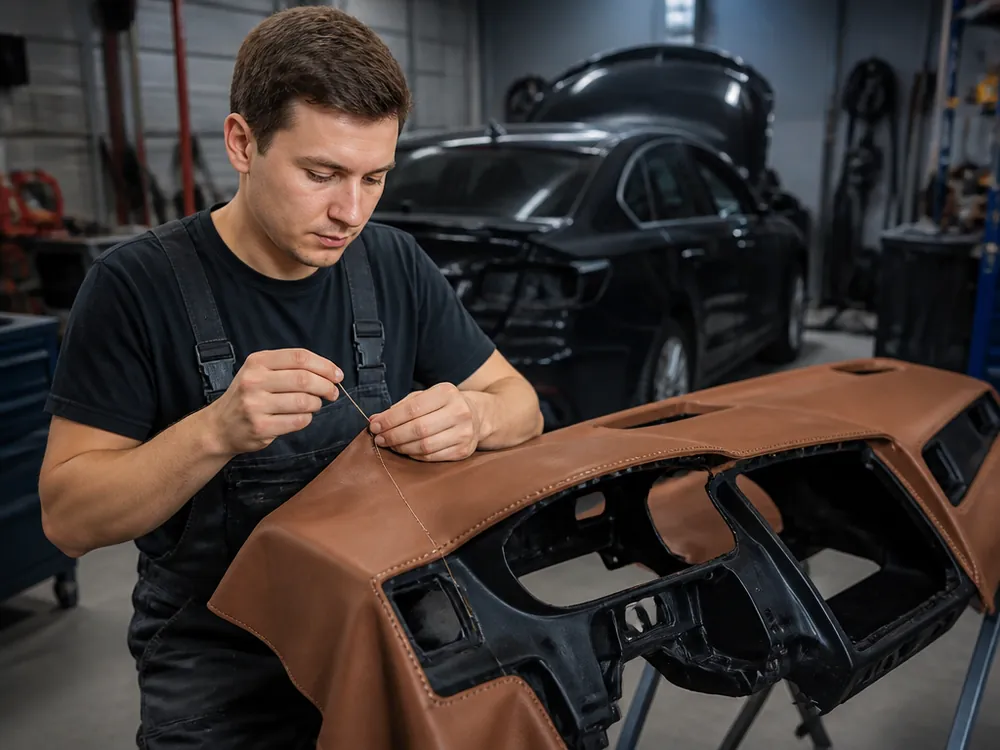
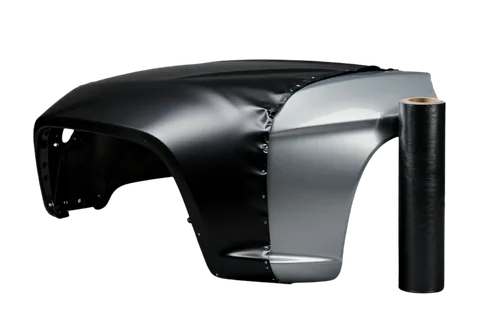
Restoration is repairing the base and filling cracks, while wrapping is a new covering over the prepared dashboard, and with us these operations go together. First, the technician removes the part, cleans and reinforces the cracks, restores the geometry around the vents and glovebox, fills base chips with epoxy, and levels the surface. Then genuine leather or eco-leather is applied to the prepared surface as the finishing layer that takes on UV and temperature swings. If the base is intact and there's no network of microcracks, dashboard restoration without subsequent wrapping is justified only on fresh chips. If the base isn't prepared, the new covering will lie over cracks and in a month will repeat their relief. That's why restoration always comes first — it holds the shape, and the covering protects it from the sun. When you need to reupholster the dashboard in leather, the technician selects the material to match the interior shade in advance and explains how it will behave in the sun.
Can you wrap only the top part of the panel
Yes, we also wrap a separate element — the top part, glovebox lid, or vent trim — in leatherette if the rest is in good condition. Working on a separate element takes less labor and time than wrapping the entire front panel: only the damaged fragment is removed, not the dashboard assembly. Wrapping the front panel in eco-leather is needed when the plastic has cracked in several places: local work will highlight the difference in texture and shade between the new and old surfaces. Moreover, if the dashboard was already wrapped at another shop and the material has waved, we first remove the old layer, assess the base, and only then propose a solution. Show the part to the technician before booking — from a photo they'll tell you whether a local area is enough or full wrapping is needed.
Which materials to choose for Almaty heat
The material determines how the panel will survive the sun and temperature swings, so let's go over the wrapping options, their behavior when heated, and what the client chooses themselves.
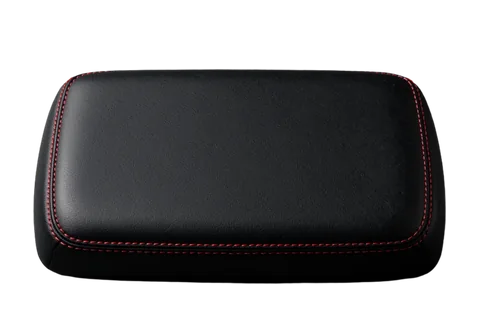
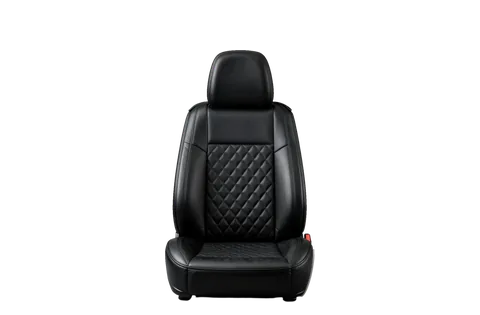
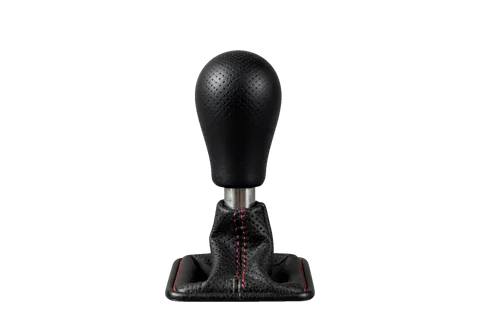
Leather, eco-leather, Alcantara, and leatherette compared
comparison of four wrapping options by zone and sun resistance| Material | Where it's appropriate | How it behaves in the sun | Choose it if |
|---|
| Genuine leather | top of the panel, premium interiors | requires care, prone to drying out | you need a natural look and feel |
|---|
| Eco-leather | top and sides of the panel | resistant to heat, easy to clean | you need a practical option for heat |
|---|
| Alcantara | top of the panel, accents | soft but collects dust | you need a matte premium look |
|---|
| Leatherette | individual elements | holds shape on small parts | you need local wrapping of an element |
|---|
Can I bring my own materials
Yes, we accept the client's material and wrap the dashboard with it, and you pay for the labor. We cut according to the patterns of the removed panel, with allowance for folds and shrinkage under the adhesive. Before cutting, we check genuine leather for elasticity: an overdried hide breaks at the bends near the vents and in the glovebox area. If the client brings leatherette or Alcantara, we check the thickness against the mounting points — a layer that's too thick prevents the part from seating in the standard mounts. Wrapping the instrument panel with your own material is possible if the hide is suitable in thickness and elasticity. In our practice, the hide was short specifically for the folds, and the person had to buy another piece. You should take your own hide with allowance for folds and shrinkage, otherwise it may not be enough on complex bends near the vents.
What the client chooses and what's included in the work
- Finish and wrapping method: the client chooses leather, eco-leather, Alcantara, or leatherette and decides whether we wrap the entire dashboard or individual elements need local wrapping.
- Full dashboard removal: we remove the panel rather than tucking the hide in place, so the edges lie flat and the joints near the vents don't stick out.
- Cleaning and degreasing: we remove the old finish, fill cracks, and prepare the surface for adhesive, otherwise the bond won't last long.
- Two-layer adhesive: we apply primer and fixing compounds with timed drying — one layer peels off in the sun, two hold the leather for years.
- Assembly and check: we reinstall the panel, check the electrics, and do a test drive before handing over the car.
How dashboard reupholstery goes and why it takes 3 days
The timeline and result depend on the technology, not the material. Let's show what happens to the panel from intake to delivery and where exactly three days come from.
Why we remove the panel entirely
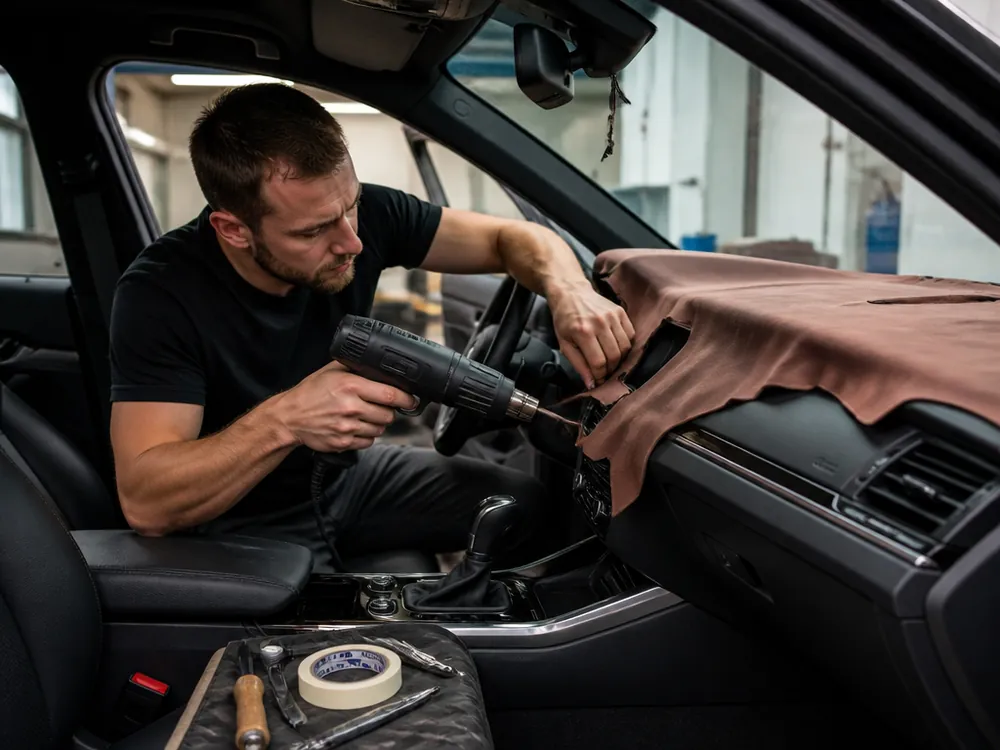
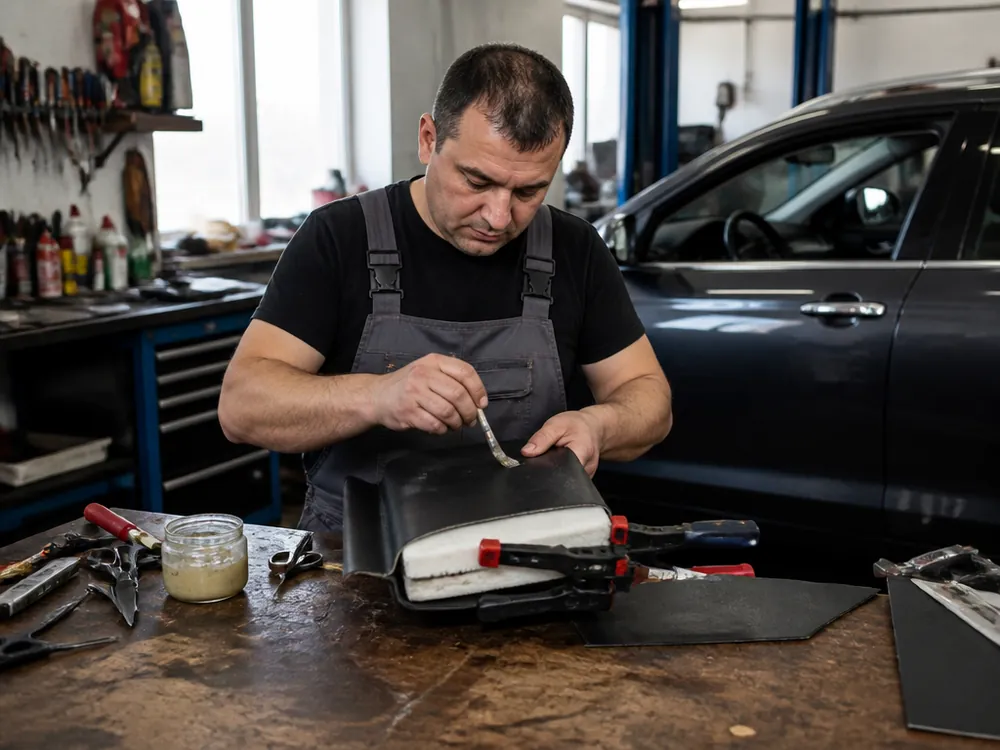
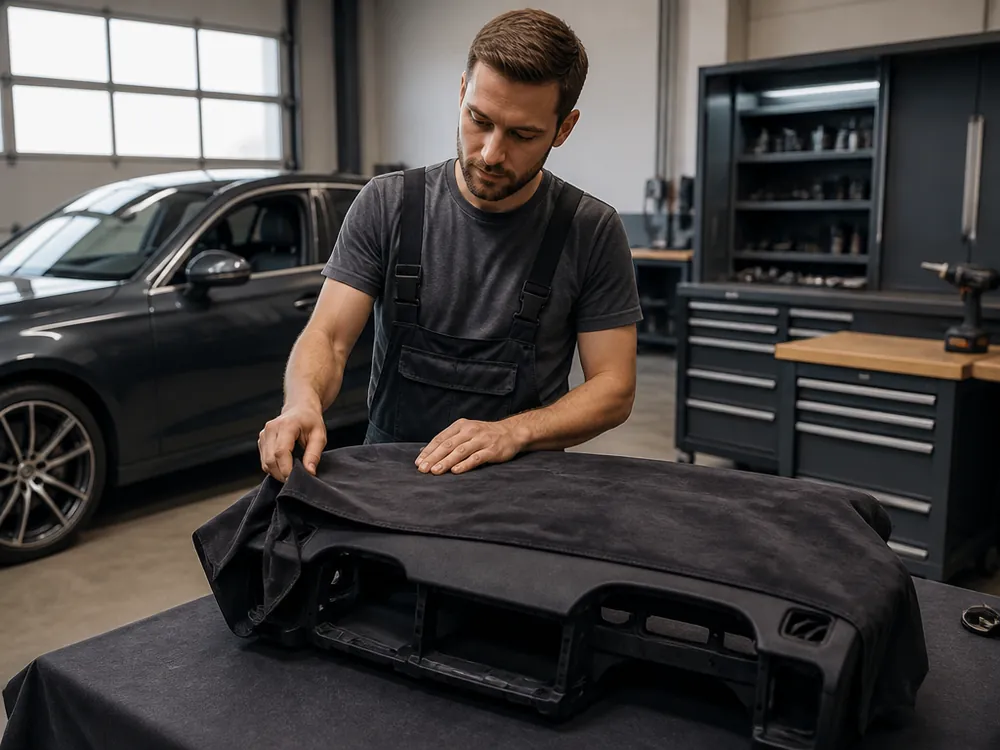
We remove the dashboard entirely instead of tucking material in place, so the edges sit flat and the seams around the vents don't bulge after a month. The removed unit goes on the workbench, and the technician wraps the upholstery over the edge with tension along the entire length, not just in accessible areas. On an installed panel, hands can reach the center and top, but not the corners near the windshield or the side edges by the pillars. Stretching in place doesn't let you reach the edges, and that's exactly where bubbles and peeling folds appear over time. During removal, we also check the mounts and clips, which after ten years in the heat often hold weakly. Ask at the front desk whether they remove the panel completely — the answer immediately shows which technology they'll use. This is exactly how dashboard reupholstery in Almaty goes when the technician works with the panel fully removed.
Why glue in two layers and dry under weight
We apply glue in two layers — a primer and a fixing layer, with timed drying, and then keep the wrapped panel under weight for a day. The first layer soaks into the base and bonds with the plastic, the second holds the upholstery itself, and between them we pause to let the solvent escape. One layer peels off in the sun, while two hold the leather for years, so picking up the car early means getting glue that hasn't reached full strength. The material stays under pressure for a day: even pressure across the entire area prevents the upholstery from lifting on curves while the compound gains strength. In summer, the dashboard surface heats up noticeably more than the cabin air, and saving on a layer or drying shows up right there — first at the edges, then in the center.
What makes up the 3 days of work
- First day — disassembly and stripping: we remove the panel, take off the old upholstery and glue, and prepare the base for the new material.
- Second day — wrapping: we cut the material, apply the primer and fixing layers of glue, and lay the upholstery with tension.
- Third day — drying under weight: the unit stays under pressure, then we reassemble it and check the fit at the seams.
- Crack repair: if the base is damaged, we fix it on the first day, so check the timeline at the front desk, not from memory.
- Interior disassembly: we remove only the panel and adjacent trims; half the interior doesn't need to be taken apart.
Airbags and tear lines
Reupholstering a dashboard with an airbag is the most common reason owners have doubts. We explain what happens to the tear lines and connectors when the dashboard is removed and how we check the systems after reassembly.
We preserve airbag tear lines
We preserve the technological openings and airbag tear lines so the upholstery doesn't interfere with deployment. On panels with a front passenger airbag, the base has a weakened zone — a channel along which the cover opens when triggered. During wrapping, we mark it according to the factory geometry, cut the material, and fold the edges inward without covering the seam with a solid layer of leather or synthetic leather. The module's connectors and fasteners stay in their standard places, and the unit itself is not disassembled during dashboard removal. In my opinion, this is the step that separates careful work from a quick job: a solid wrap without accounting for the weakened zone looks fine for the first few months, but at the moment of deployment it changes the direction the cover opens. Dense material laid over the weakened area without marking adds another layer of glue to the upholstery thickness — the cover has to break through more than the factory intended. The tear line is a weakened area in the base, and if you cover it with dense material thoughtlessly, the airbag may not come out in the right direction.
We check the electrics after reassembly
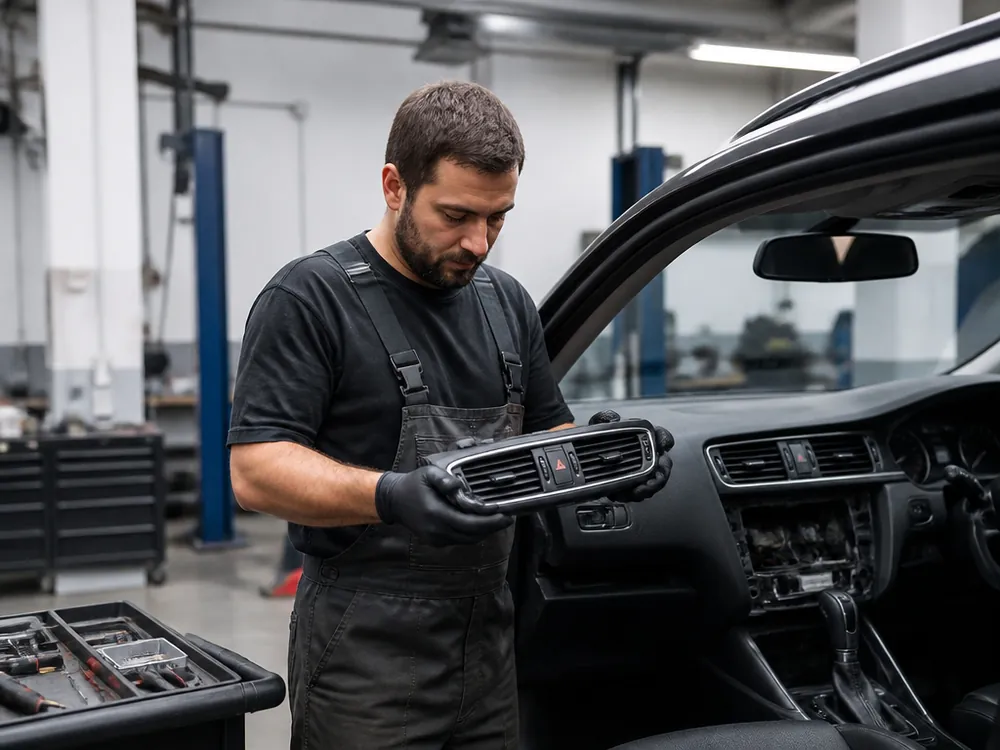
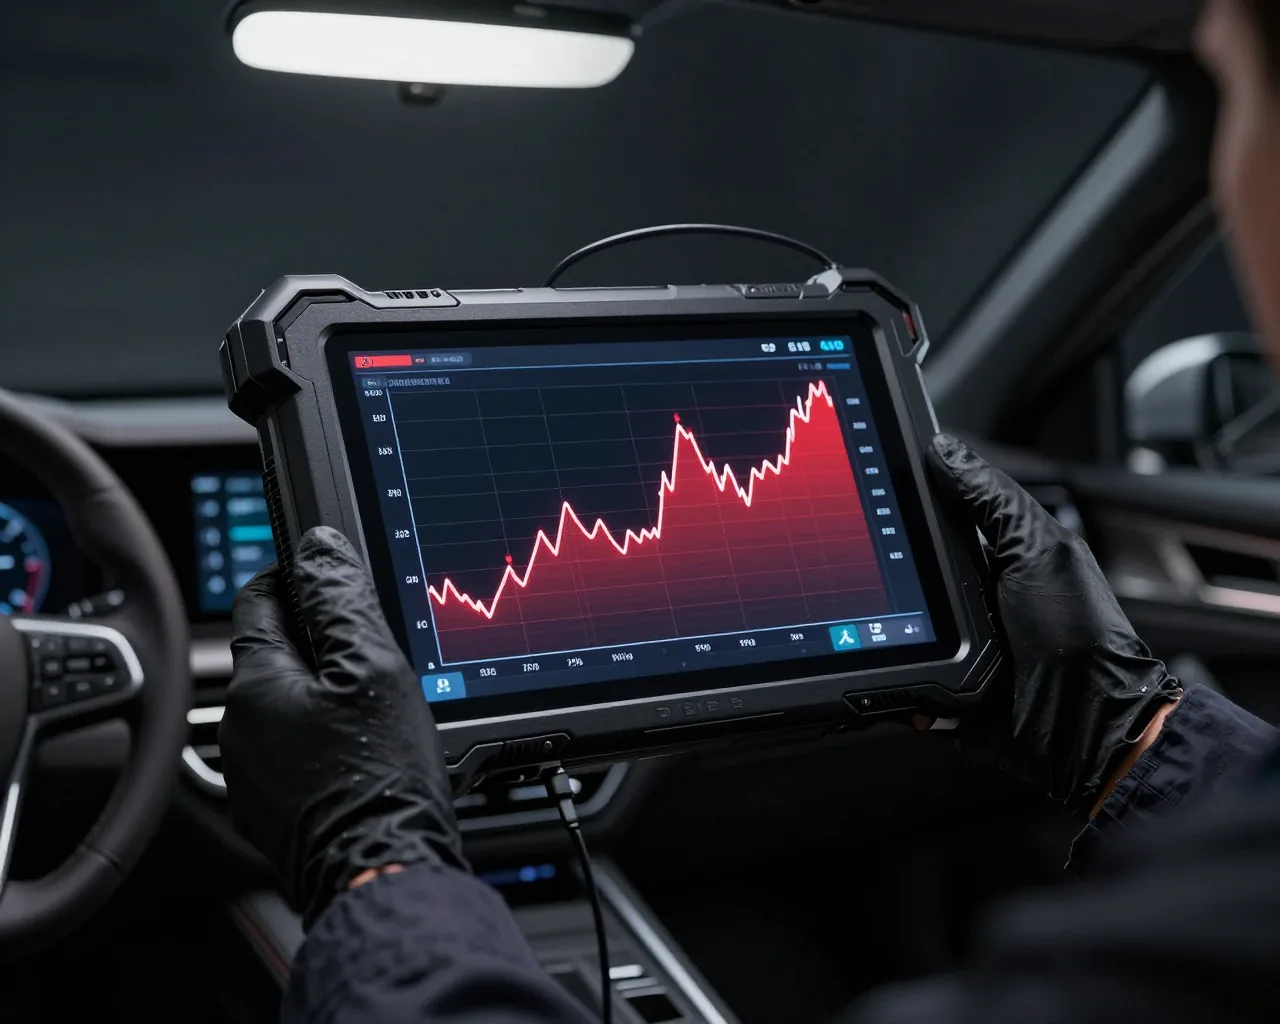
After reassembly, we check the electrics with dealer scanners for 40+ brands and take a test drive before handover. When the dashboard is removed, the airbag, impact sensor, and climate control connectors are disconnected — during reinstallation, each goes back in its place, and then the scanner reads errors from the SRS unit and related systems. If a fault remains in memory, the service advisor sorts it out before handover rather than giving back the car with a warning light on. We take photos at key repair stages: the images show how the contacts are clicked in and that the panel is assembled without extra gaps. We also check the impact sensor readings and the clock spring ribbon position — with rough assembly, they are the first to fail, and the SRS light doesn't come on immediately but after a few trips. Airbag and sensor connectors are disconnected during removal, and without a scanner check, an error can surface on the road — that's why a test drive and error reading are mandatory before every return of the car.
Warranty, care, and booking reupholstery
After the work, warranty and proper care matter, and before it — how to book and what to do if the panel has already been reupholstered elsewhere. We go through each point in order.
12-month warranty and what it covers
The warranty on dashboard reupholstery is 12 months; we record the term and conditions in the work order and the completion certificate when the car is handed over. Diagnosis for a warranty case is free: if after a few months the edge near the vent starts to peel, you come in, we open the area, see where the glue failed, and fix the cause rather than just gluing on top. The warranty covers the work performed and the parts installed, but not accidents after the repair, third-party interference, or natural wear. In my opinion, it's more honest to state the boundaries upfront than to argue about the cause of a defect later — that's why the conditions are written in the documents, not just spoken. Before picking up the car, check that the certificate lists this exact type of work.
How to care for a reupholstered dashboard
- Wet cleaning: wipe the upholstery with a soft cloth and water, no stiff brushes or scrapers.
- Chemicals by material type: for genuine leather use a conditioner, for synthetic leather use mild soap; solvents are unsuitable for both.
- Sun: park in the shade or under a canopy, otherwise the top of the dashboard heats up the most.
- Abrasives: powders and pastes with particles remove the protective layer and open the way for cracks.
- Silicone wipes: give a shine for a couple of days but collect dust in the seams and speed up edge wear.
Booking, intake, and redoing after another shop
We work daily from 09:00 to 20:00, by appointment without queuing, and the service advisor accepts the car and manages the work order through to handover. First an inspection and a written estimate; work begins only after your approval — so you see the scope in advance and don't face extra charges during disassembly. If the panel has already been reupholstered elsewhere, we first check the base and glue, and only then decide whether it's a local repair or a full reupholstery. In the Almaty heat, the material often peels at the edges, and redoing then comes down to re-gluing individual areas rather than the whole panel. Book in advance — intake takes time, and slots go quickly on busy days.
Key rules for dashboard reupholstery
We've put together our technicians' experience into a short set of rules — what the outcome of dashboard work depends on and what to check before starting.
- Remove the dashboard completely: taking it out instead of stretching material in place keeps the edges even, and the seams around the vents won't pucker after a month.
- Choose material for the dashboard zone and the sun: the top and the sides heat up differently, so the same piece of material behaves differently in different areas.
- Allow 3 days for the job: disassembly and stripping, then wrapping, then drying under weight — rushing means the adhesive hasn't reached full strength.
- Preserve the airbag tear lines: electricals are checked after reassembly, otherwise the dashboard looks intact but safety works incorrectly.
- Confirm warranty and care before work starts: the terms are put in the documents at handover, not mentioned verbally afterward.