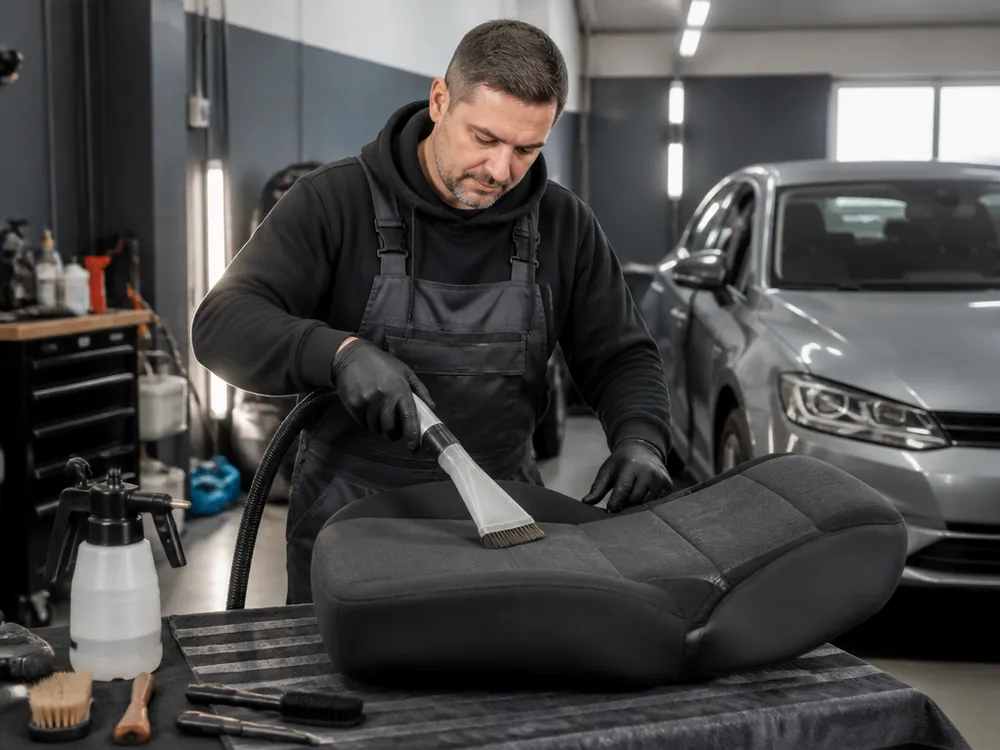
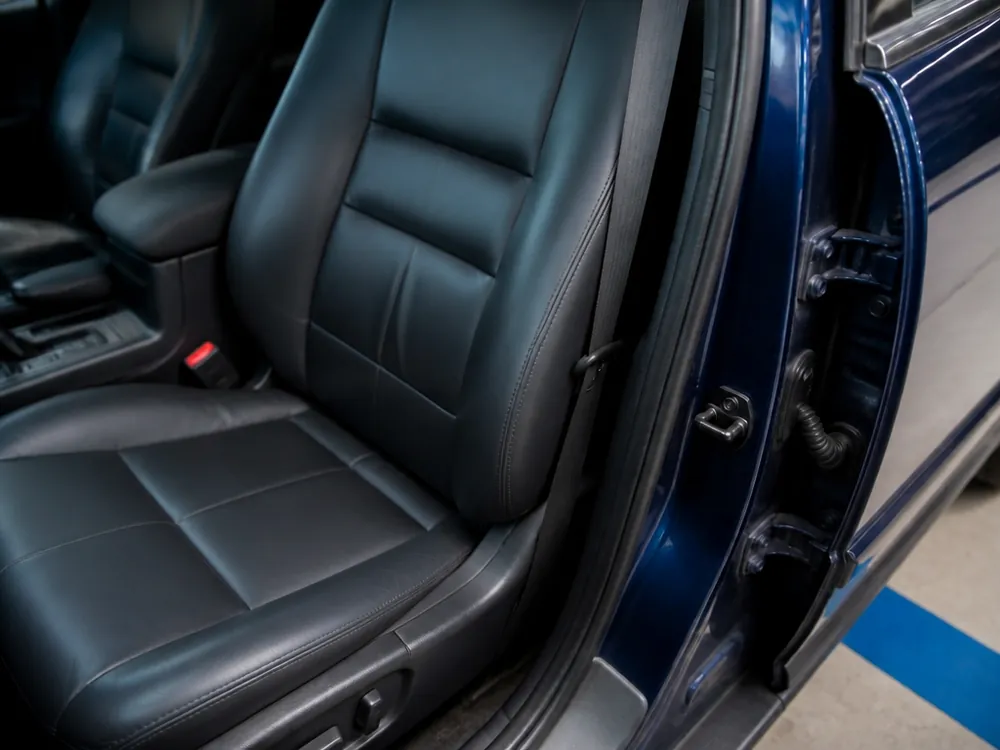
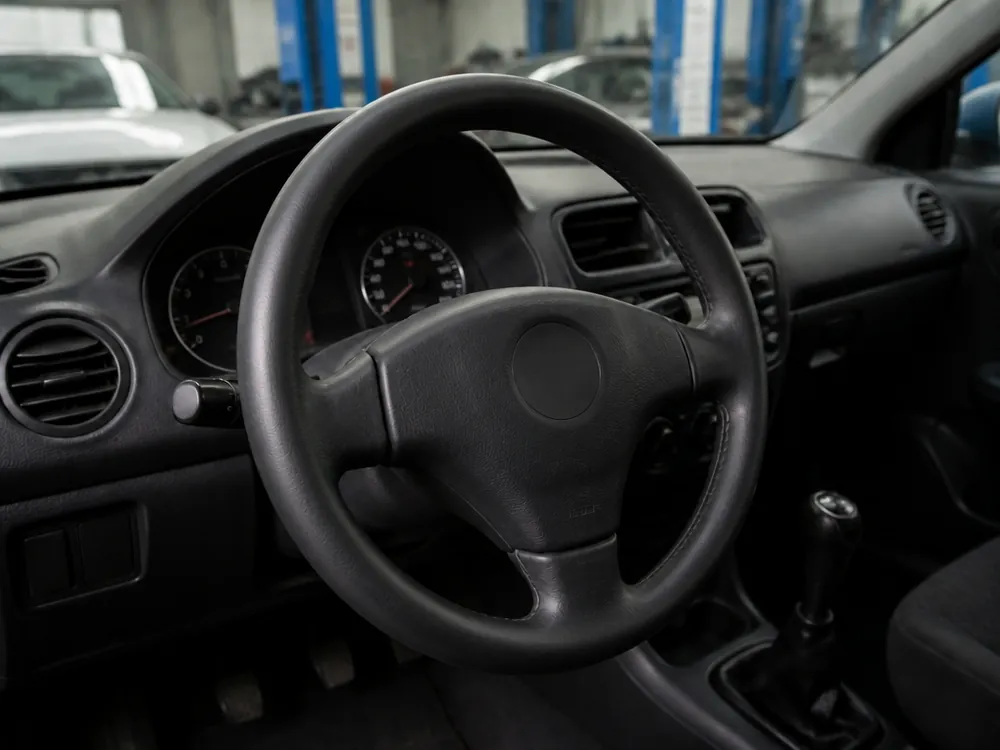
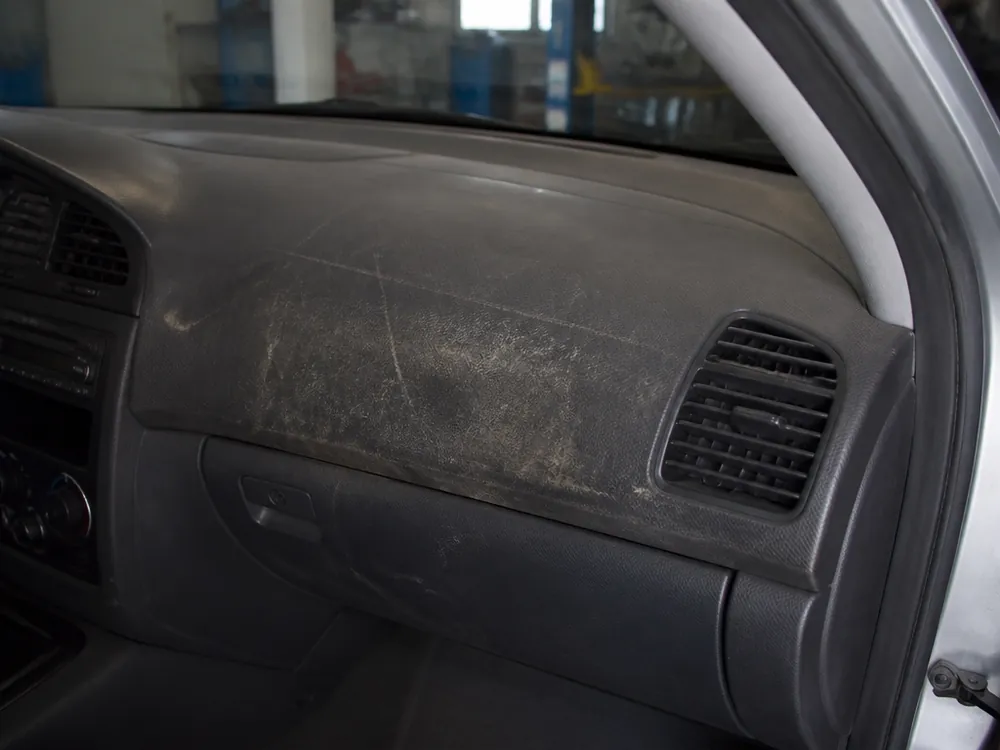
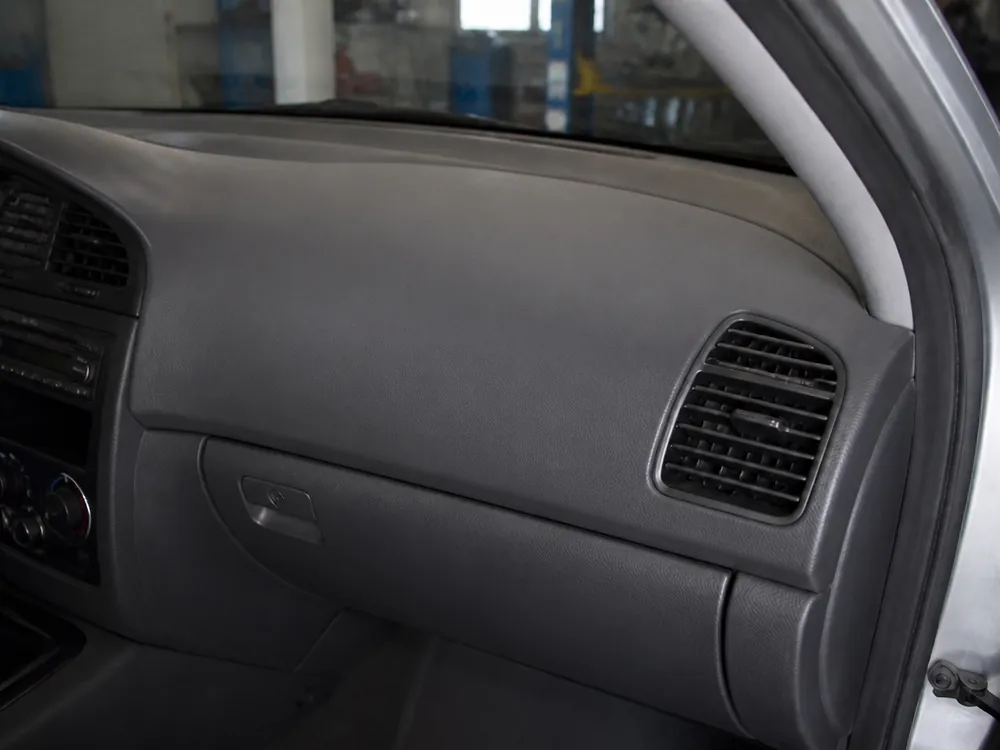
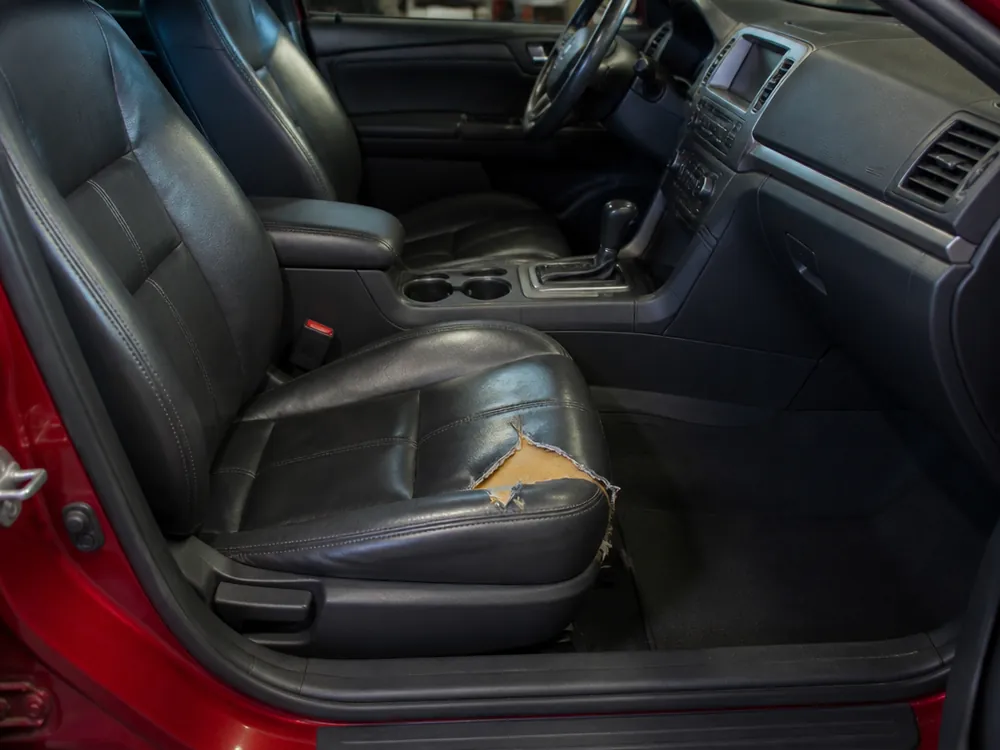
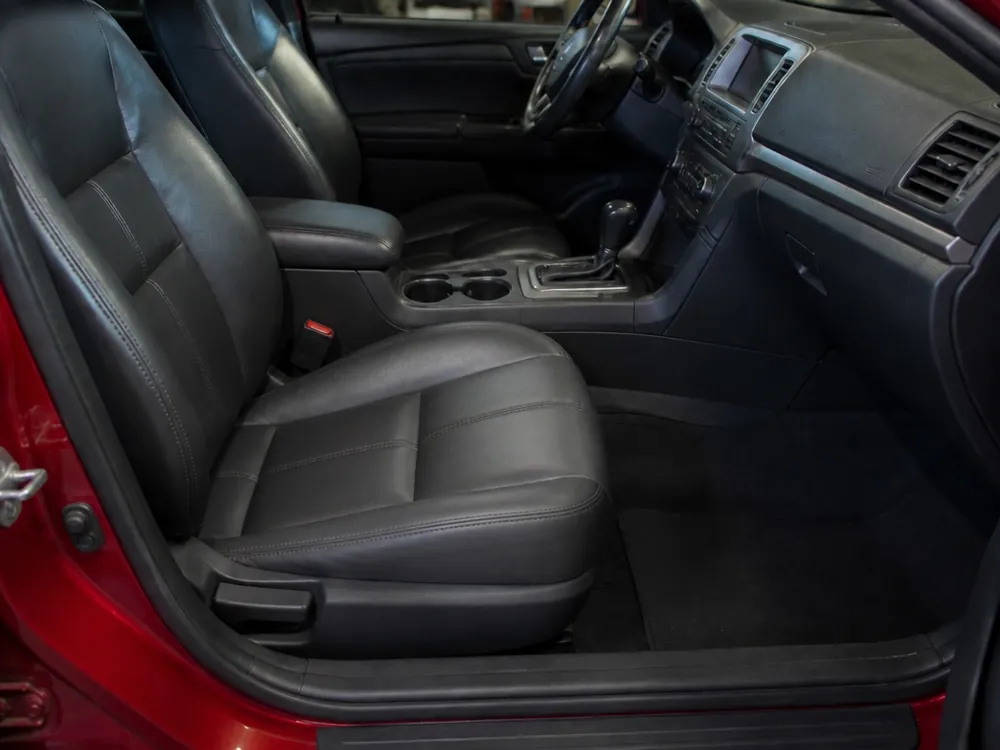
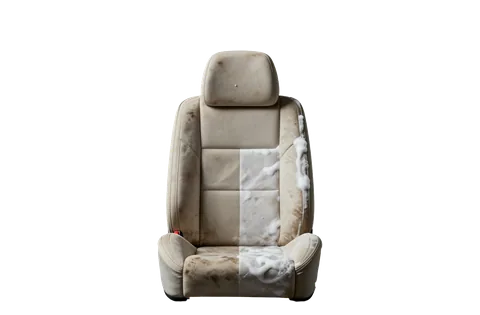
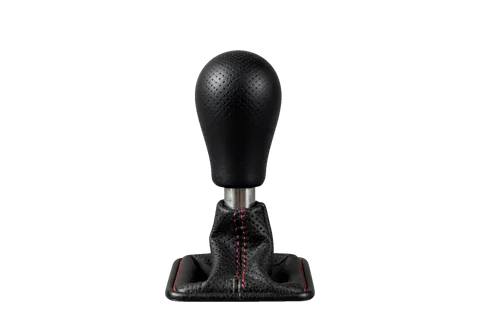
Restoration brings leather back to a working look without replacing the upholstery; reupholstery is needed when the leather itself is destroyed. Here's how to tell one case from the other by the condition of the base and the depth of wear.
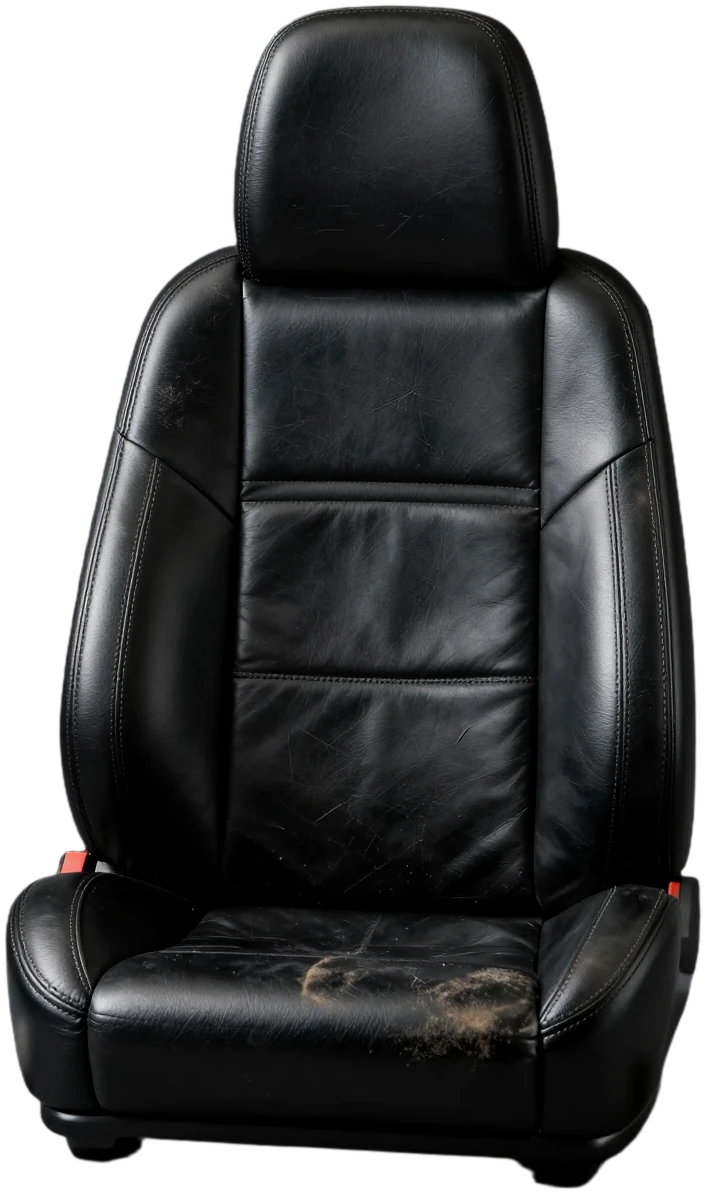
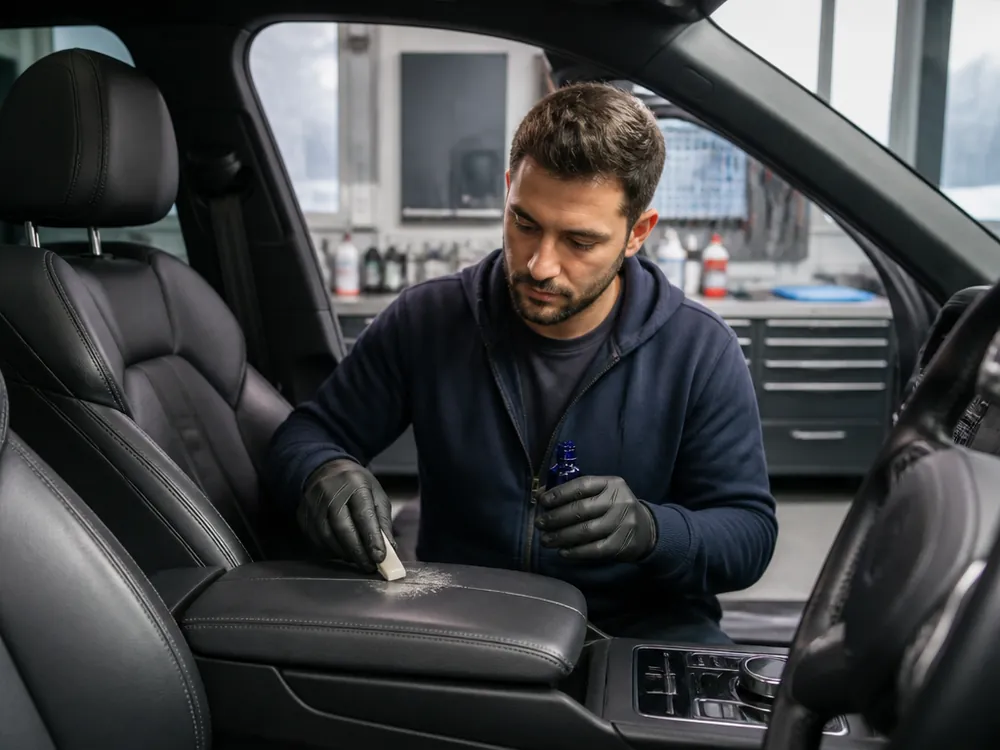
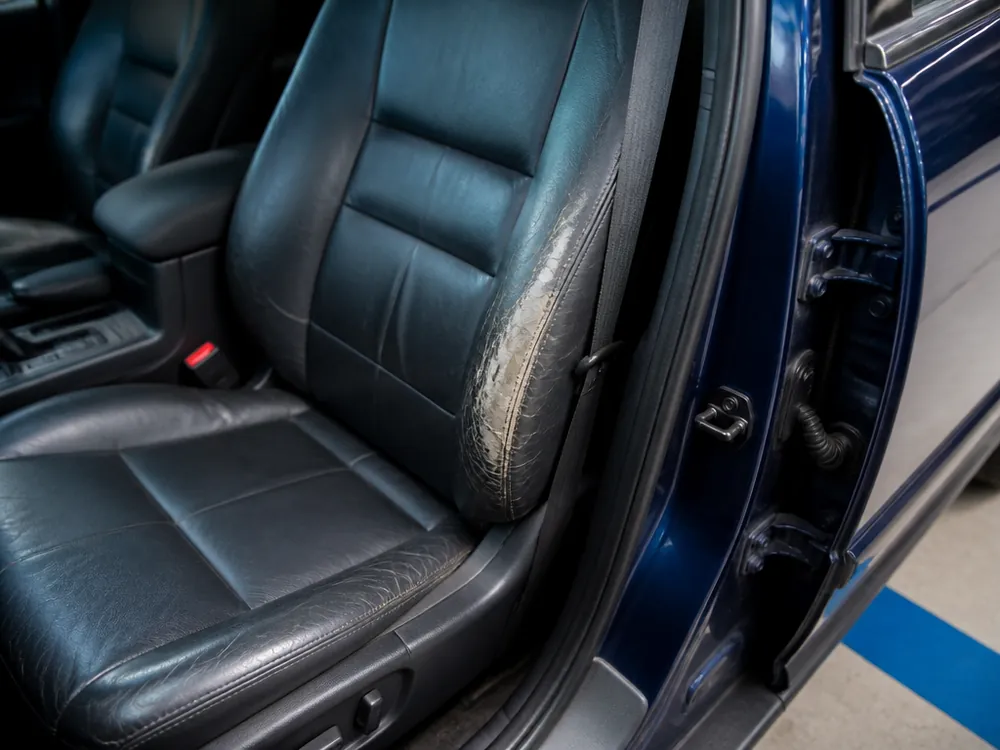
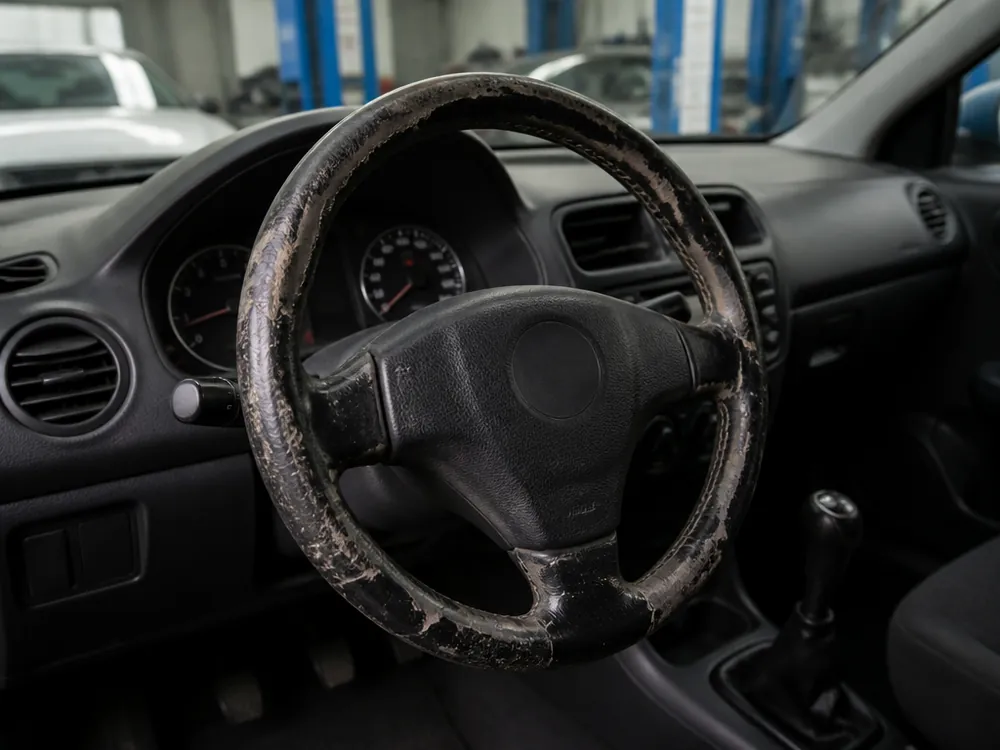
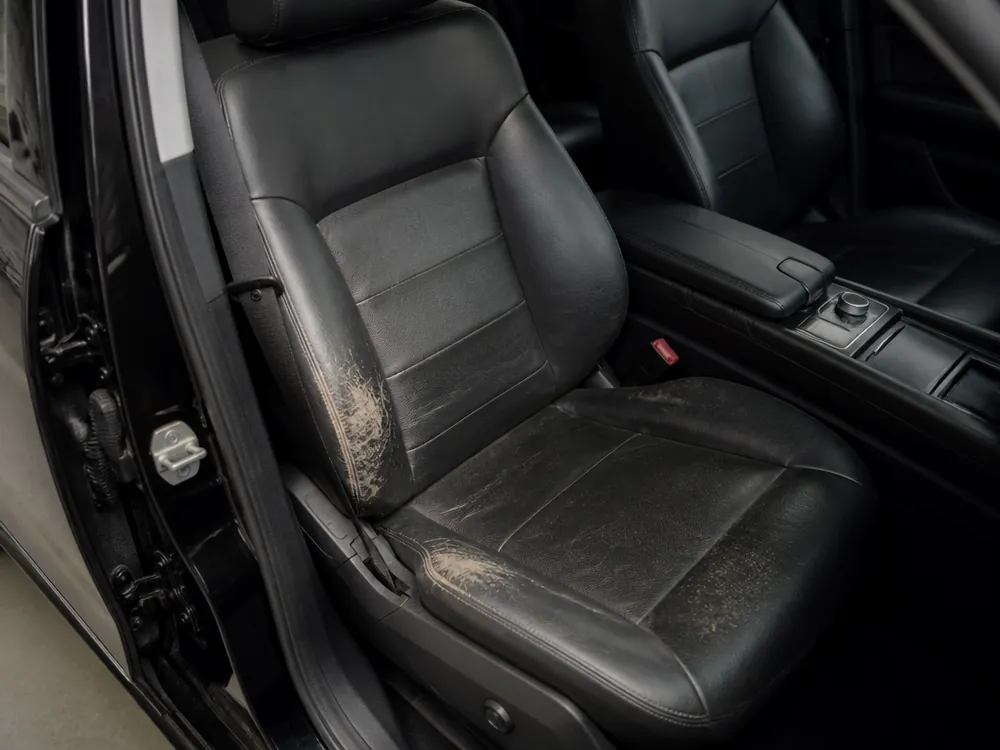
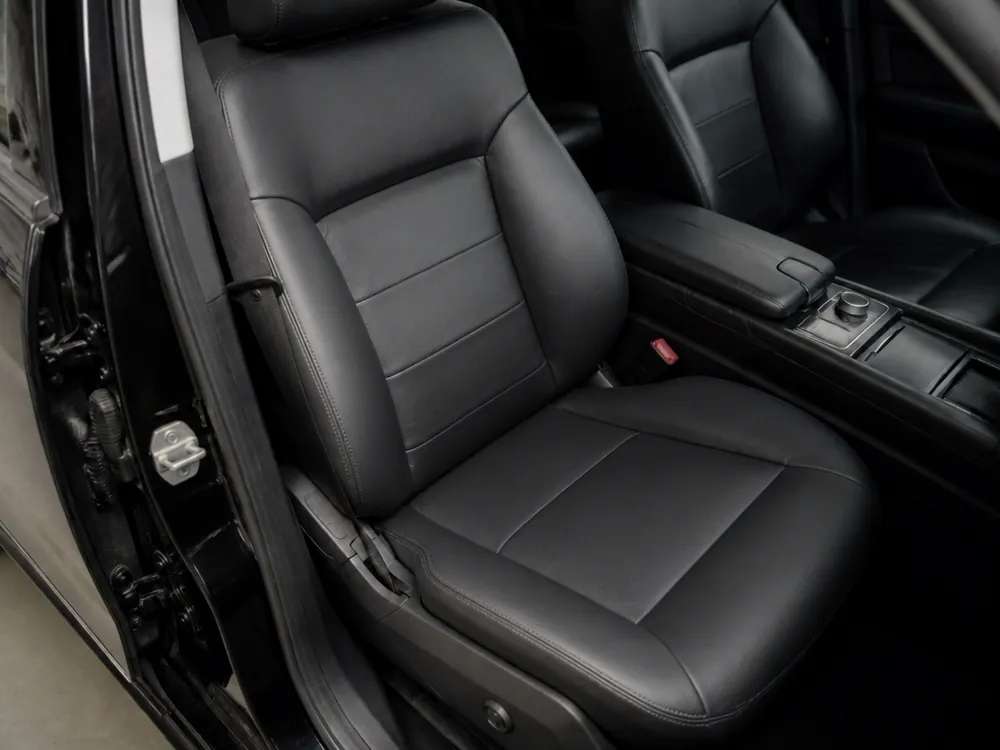
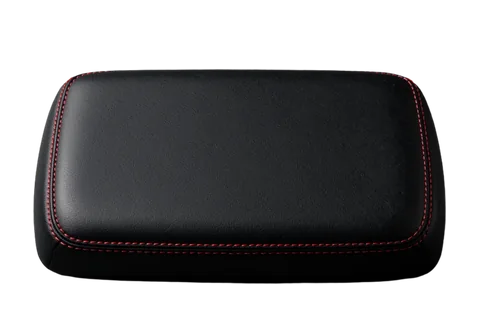
Local treatment removes scuffs and worn finish on intact leather, painting refreshes the color across the whole part, and reupholstery is needed when the leather is torn or worn through to the base. Scuffs on the armrest, side bolster, or steering wheel are surface wear of the top layer, and they're covered with a compound that restores the grain. Painting seat leather solves a different problem: fading across a row, uneven tone after cleaning, sun bleaching — here it's not about repair but an even color across the whole area. Interior reupholstery starts where the material no longer holds its shape. If the leather sinks when you press it and cracks along the edge, restoration won't hold the coating — first the base is restored or the upholstery is replaced. During the inspection we check exactly this: whether the base under the top layer is intact.
How to tell smooth leather from perforated leather during restoration
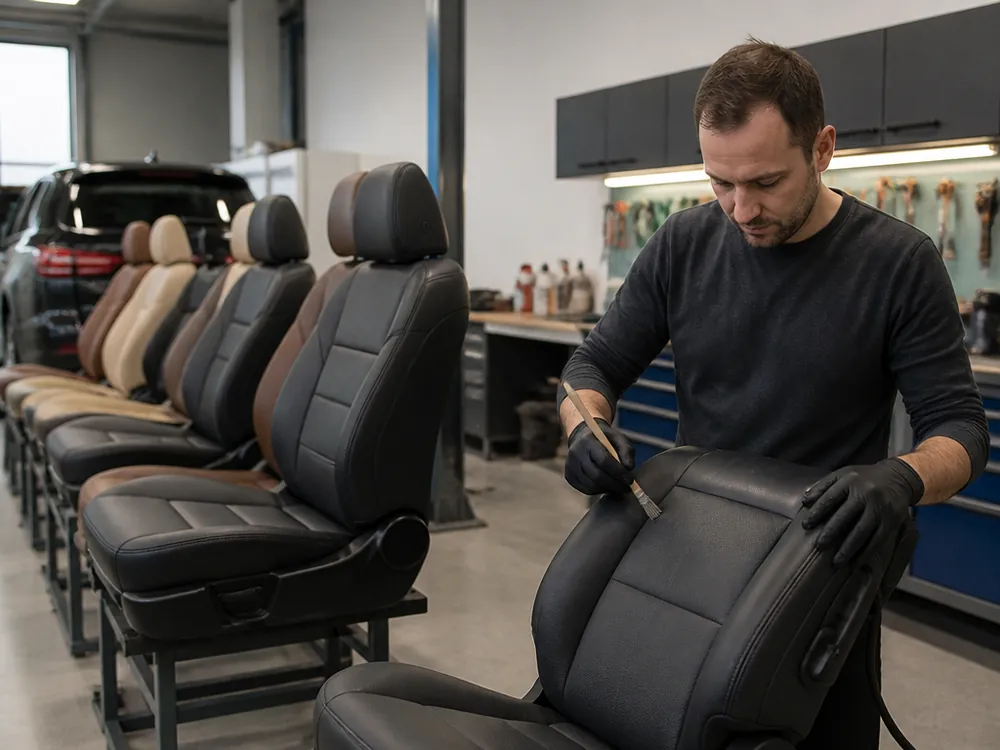
On smooth leather the compound goes on as a solid layer, while on perforated leather every hole must stay open, otherwise the seat ventilation stops working. Before applying the compound, we matte and degrease smooth leather across the whole part — that way the finish goes on evenly, without spots or color transitions. Perforated leather is treated differently: first we seal the holes with a masking compound, paint the base and the sealer, and after drying we clear each hole. We apply the protective lacquer in a thin coat so it doesn't close up the holes. Before painting, the perforation is sealed with a masking compound, and after drying each hole is cleared — otherwise the lacquer closes the holes and they stick together. On ventilated seats, check the airflow after the work: clogged holes can be felt by touch and show up as uneven airflow.
What's restored locally and what only as a whole
scope of work by type of leather damage| Damage | What we do | Scope |
|---|
| Scuff on the armrest | local restoration | one element |
|---|
| Scuff on the side bolster | full seat restoration | one seat |
|---|
| Cut or burn | cut repair with grain restoration | local |
|---|
| Fading across a row | seat leather painting | row |
|---|
| Wear across the whole interior | full interior restoration | interior |
|---|
Types of car interior leather restoration work, from the steering wheel to the whole interior
Here's which interior elements we take on and what each scenario includes — from an in-place steering wheel to restoring the entire interior.
Steering wheel restoration without removal and why it's safe
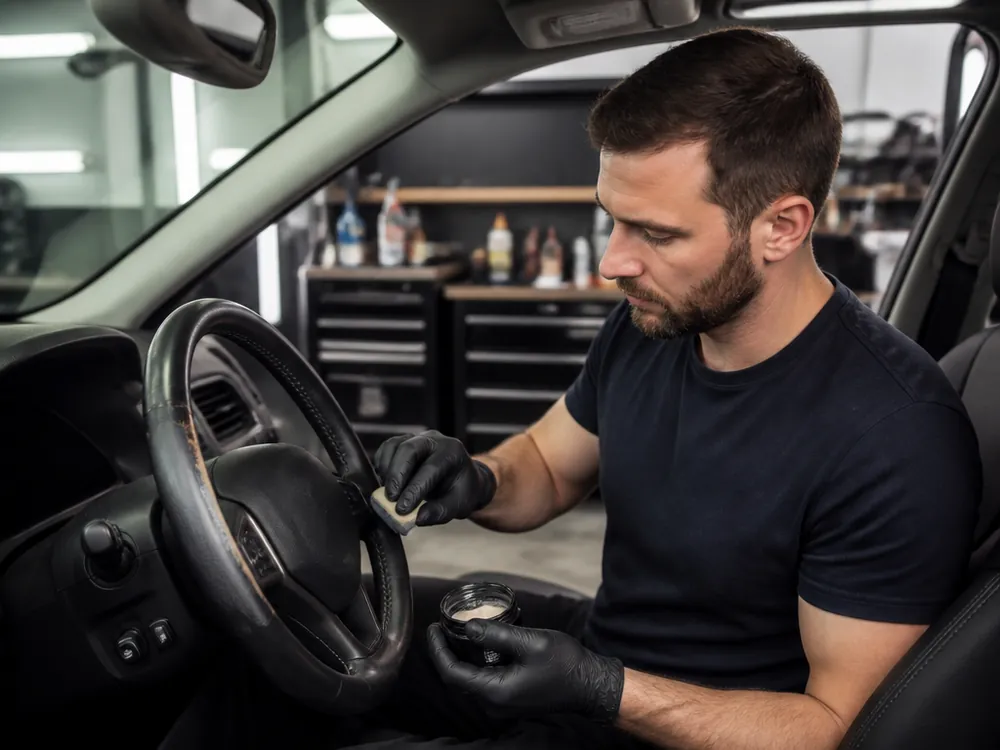
We restore the steering wheel in place: degrease, apply the compound, and dry with an infrared lamp at 60 °C right in the bay. This approach covers scuffs on the rim, shiny areas, and small nicks by the seams, while the car stays on the lift instead of going off for disassembly. We don't touch the airbag or the clock spring, so no airbag error lights up after the work — a common reason people come in after other shops. Removal requires disconnecting the battery and careful work with the pyrotechnic charge, and any mistake here means an SRS light on the dash. In my view, for a rim with scuffs, disassembly gives no quality advantage at all — just extra risk. That's why at CARGID the steering wheel is done in place, and we only remove it if the leather under the trim is damaged.
Repairing cuts and burns on leather
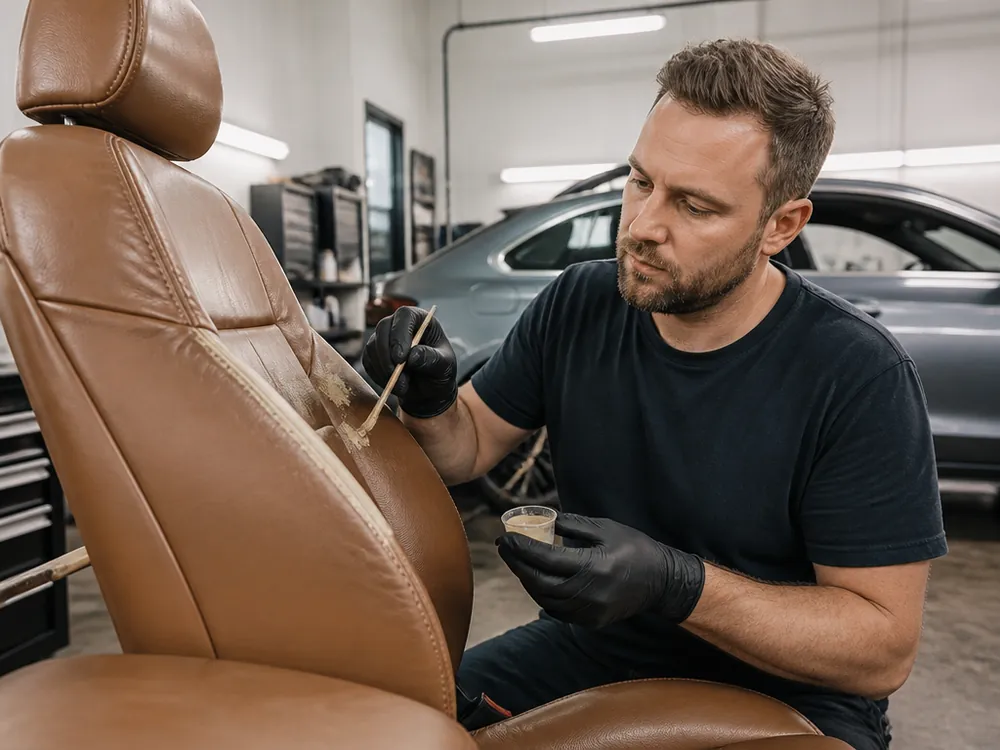
We restore a cut or burn in two stages: first we fill and level the grain, then we match the color and apply the finish so the mark can't be felt or seen. We apply the filler in layers and dry each one — a thin film sinks under daily use, a dense one holds its shape. Then a test spray on a hidden area and three coats of finish over the patch. The fresher the damage, the less work: an old cut with dirty edges is cleaned first, otherwise the compound won't bond and the patch peels off within a couple of weeks. A cigarette burn with a melted edge requires cutting the charred fibers back to healthy leather — otherwise the new layer goes on a loose base and sinks. From shop experience, small cuts on a seat are covered without replacing the upholstery.
Seats, armrests, and door trim — what we do by element
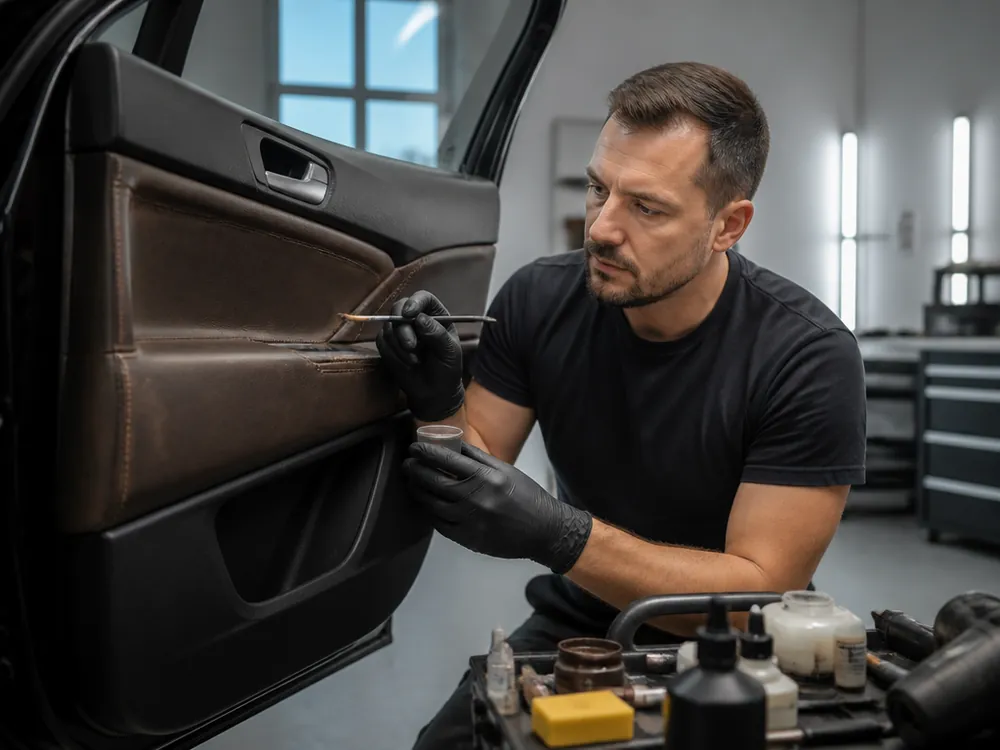
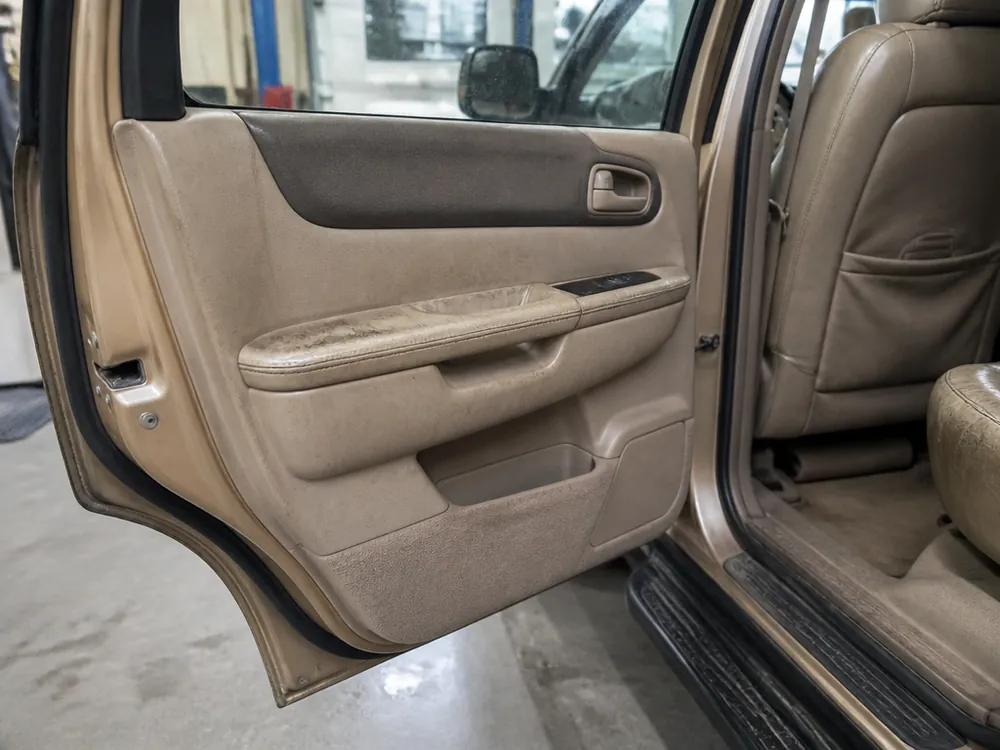
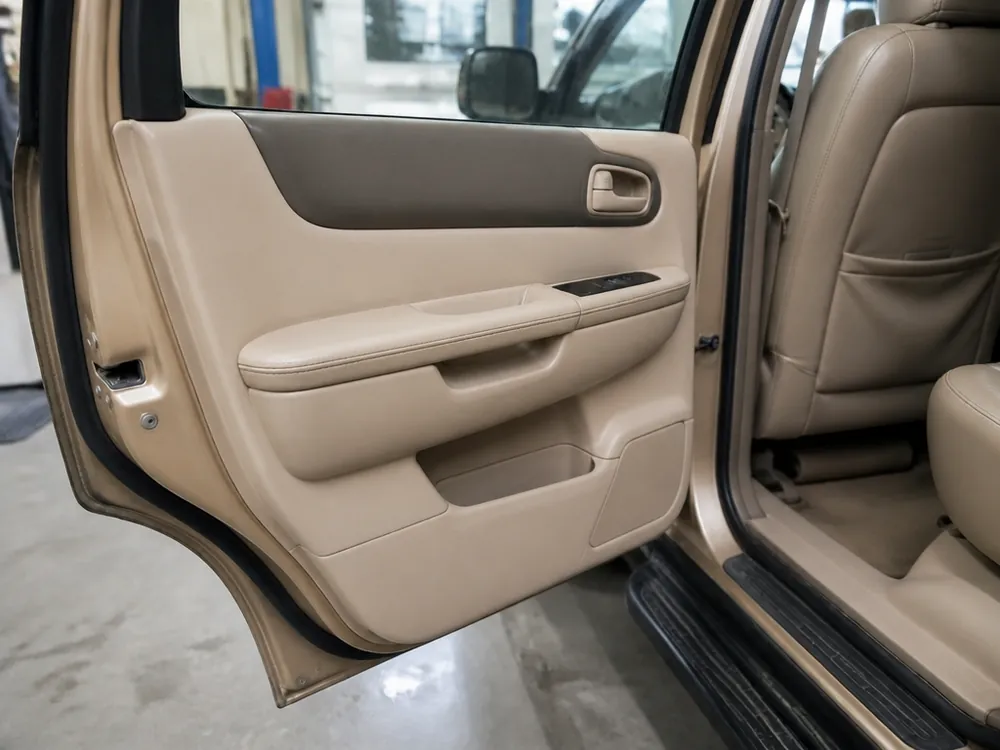
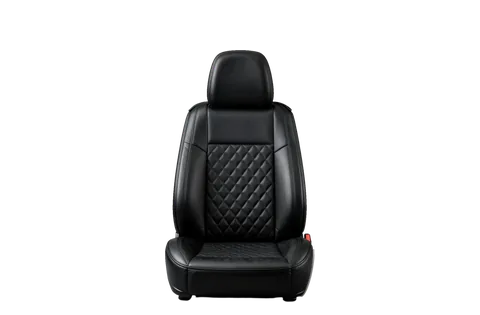
We take on a single seat, a row, an armrest, door trim, or the whole interior — we remove seats only where there's no other way to reach the leather. Locally we cover scuffs on the side, the bolster, and the armrest; we reupholster or restore a seat as a whole when the leather is worn across the entire area. On door trim, the most common issues are scuffs by the handle and on the armrest itself — these areas wear first with daily use. If we do one row, we match the color to the neighboring one so the row doesn't stand out from the interior in shade after drying. Restoring a row of seats and the whole interior takes longer, but the shade and grain match across the entire area. In my view, it's best to start with the most problematic element — that way you see the result and know whether the full scope is needed.
How car interior leather restoration is done and why the result lasts
We break down the process step by step — from color matching with a test spray to three coats of finish. This is what separates work that lasts from a patch that holds for a couple of months.
Color matching and a test spray on a hidden area
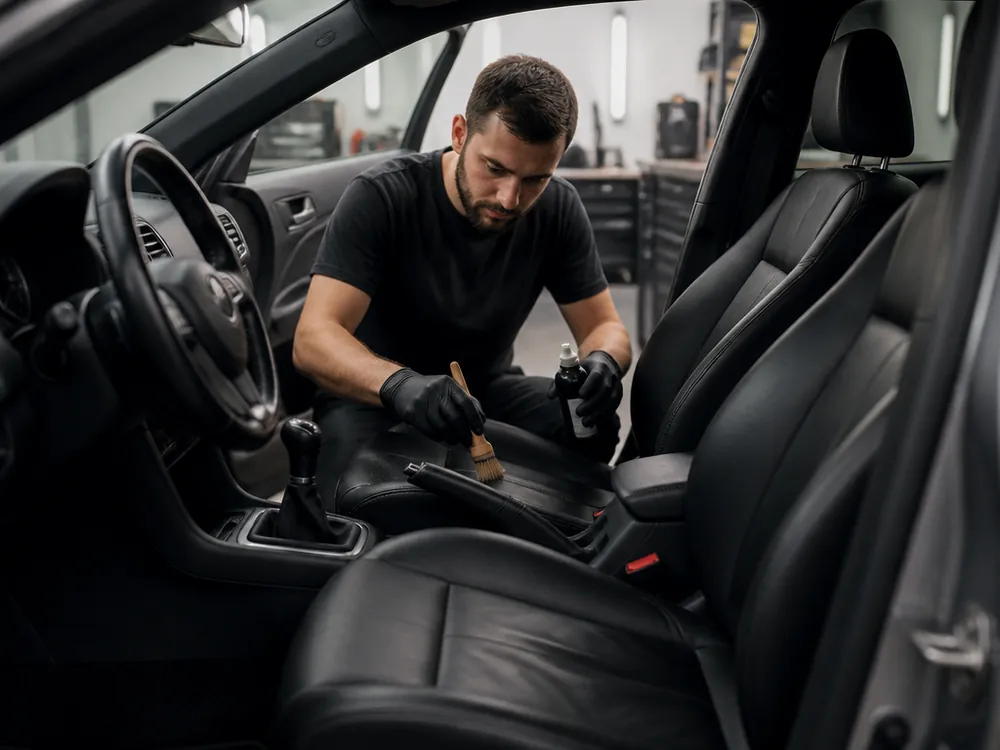
Every time we spray a test patch on a hidden area so the matched color holds after drying — otherwise the patch becomes noticeable a month later. First we identify the leather type: smooth, perforated, or embossed, each with its own absorbency and its own base for the coating. Then we mix the color for the specific interior shade, not by catalog number — upholstery faded over the years differs from the factory sample by several tones. We apply a test layer to the inner edge of the seat or the end of the armrest, let it dry, and compare it in daylight. Leather darkens when the coating goes on, so we match the color not against the can but against the dried sample on the part itself. On dark shades the difference is less noticeable; on beige and light gray every tone shows right away — there we spread the test over two or three spots.
Why 3 finish coats, not 1
We spray the base, then a sealer, then a protective clear coat — one layer wears off in a couple of months, three hold up to daily use for years. The base provides the color and covers the wear, the sealer bonds the pigment to the leather surface, and the clear coat takes the friction from clothing, keys, and buckles. Between coats we allow drying time, otherwise the top layer runs and picks up marks. The steering wheel and driver's seat wear fastest, so there we check coating thickness more strictly, while the back row is fine with the basic set. If color shows through a month after someone else's work, most often only the base was applied without sealer and clear coat — the coating can't handle friction. We check coat thickness by feel and by how even the sheen is: where too much clear coat went on, the leather starts to shine faster.
Can leather be dyed a different color
Yes, leather can be dyed a different color, but for a color change we prep the surface more thoroughly — the old pigment must be fully covered, or it shows through. First we strip the previous coating and degrease the part, then apply an opaque base in several passes, and only after that do we move to the finish. We dye seat leather in a paint booth — there's no dust settling on the fresh layer and ruining the texture. We do a full-interior color change in one go so the shade matches across the seats, doors, and steering wheel. Going from light to dark covers more easily than the reverse: from dark to beige sometimes takes two base passes, otherwise the previous tone shows on the curves.
Timing, booking, and interior restoration stages
Duration depends on the scope — a steering wheel is refreshed in a couple of hours, a full interior takes longer. Below we cover time estimates, how booking works, and using customer-supplied materials.
How long restoration takes by scope of work
estimated timing for different restoration scopes| Scope of work | Time estimate |
|---|
| Steering wheel without removal | about 2 hours (per the work schedule) |
|---|
| Local wear | agreed after inspection |
|---|
| A full seat | agreed after inspection |
|---|
| A row of seats | agreed after inspection |
|---|
| The whole interior | agreed after inspection and scope approval |
|---|
How to book and whether an appointment is required
We're open daily from 09:00 to 20:00, seven days a week, and by appointment we take you without a wait — the service advisor takes the car and manages the work order through to handover. This schedule suits those busy on weekdays: you can come in for an inspection in the evening or on Saturday, and a line of walk-in cars doesn't hold up booked appointments. At intake the technician records the interior's condition, points out the problem areas, and agrees on the list of elements — steering wheel, armrest, a single seat, or the whole interior. Car interior leather restoration in Almaty starts with this inspection and scope approval. After that the work proceeds in stages, and you get the car back after a test drive and a check of the result. It's best to arrive for inspection with the interior already cleaned — on clean leather you see the real wear, not a layer of dirt, and the estimate comes out more accurate. Book ahead: for a heavy scope like a row of seats, we need to reserve days for drying between coats.
Can I bring my own materials
We accept customer-supplied materials, but we warn you in advance — if the product is incompatible with our technology, the result and the warranty don't apply to it. In this kind of work it usually concerns the paint: a third-party color may not match our finish, so we still do the test patch ourselves. We match the product to the color and leather type, apply the base, sealer, and protective clear coat — three layers instead of one, otherwise the coating wears off within a couple of months of daily use. If you bring your own color, we first test it on a hidden area: incompatibility shows up after drying, when redoing it costs more. We start the work only after you approve a written estimate, and we record the term and warranty conditions in the work order at handover.
Car interior leather restoration warranty and what it covers
The leather restoration warranty is 12 months; we record the term and conditions in the work order and acceptance report. We explain what it covers, what falls outside it, and what to do if the interior was already redone somewhere else.
What the 12-month warranty covers and what it doesn't
The 12-month warranty covers the work performed and the parts installed; we record the term and conditions in the work order and acceptance report at handover. For leather restoration this means: if within a year a defect in the work itself appears on a treated area — finish peeling, uneven color after drying, orange peel on the steering wheel — we redo the area at our own expense. Car leather restoration is work where finish quality depends on surface prep, so we record every stage in the work order. The warranty doesn't cover an accident after the repair, third-party interference, normal wear of consumables, or a part supplied by the customer — this is stated in the acceptance report. In our experience, disputed cases almost always involve outside interference or the interior being treated with chemicals on your own. Before any chemical cleaning of a restored interior, tell the detailer which elements were treated — an aggressive product strips the protective clear coat in a single pass.
What to do if the coating was done poorly at another shop
We redo work after other technicians, but first we look at exactly what was done — sometimes it's easier to strip the other layer and restore the coating from scratch than to apply over it. A common picture: the color was matched by eye without a test patch, a single finish coat was applied, and a month later the patch darkens or starts to shine differently from the rest of the leather. We degrease the area, check whether the other coating is holding, and strip it down to clean material if the adhesion is weak. Diagnosis for a warranty case is free with us, and for someone else's work we first show you the cause and only then quote the scope. Remember: the 12-month warranty covers our work, it doesn't transfer to someone else's, but we'll diagnose the cause for free.
How to care for restored leather
Restored leather just needs a wipe with a soft cloth and a leather conditioner every few months — that's enough to keep the finish from drying out. Don't use alcohol wipes, acetone, or all-purpose glass cleaner: they dissolve the protective lacquer faster than the friction from getting in and out. On the steering wheel and armrest, where your hands are in constant contact, conditioner is appropriate more often — every two to three months. Care keeps the interior looking good and pays off when you sell the car: well-kept leather reads as careful ownership, not as a fresh patch. Get in the habit of keeping a separate microfiber cloth for leather in the glovebox — one rag for everything spreads dust across the restored areas and clogs the pores.
Leather restoration: what decides the result
We've gathered in one place everything that determines the result of upholstery restoration: when the procedure is appropriate, what makes up the quality, and which parameters to look at when choosing a specialist.
- Limits of the method: restoration brings leather back to a working look without replacing the upholstery, while reupholstery is needed when the base material itself is damaged.
- Color matching: a test spray on a hidden area is the technique that keeps the patch from showing after drying and from appearing a month later.
- Finish layers: three layers hold up to daily getting in and out, one wears through in a couple of months of use.
- Timing: a steering wheel without removal and the whole interior — by agreement after inspection.
- Warranty: 12 months on the work is recorded in the work order and the acceptance report, with the terms spelled out there as well.