Polishing doesn't always help: some defects go away completely, some only diminish, and deep damage requires grinding or replacement. Below is how to tell by appearance and depth what will work.
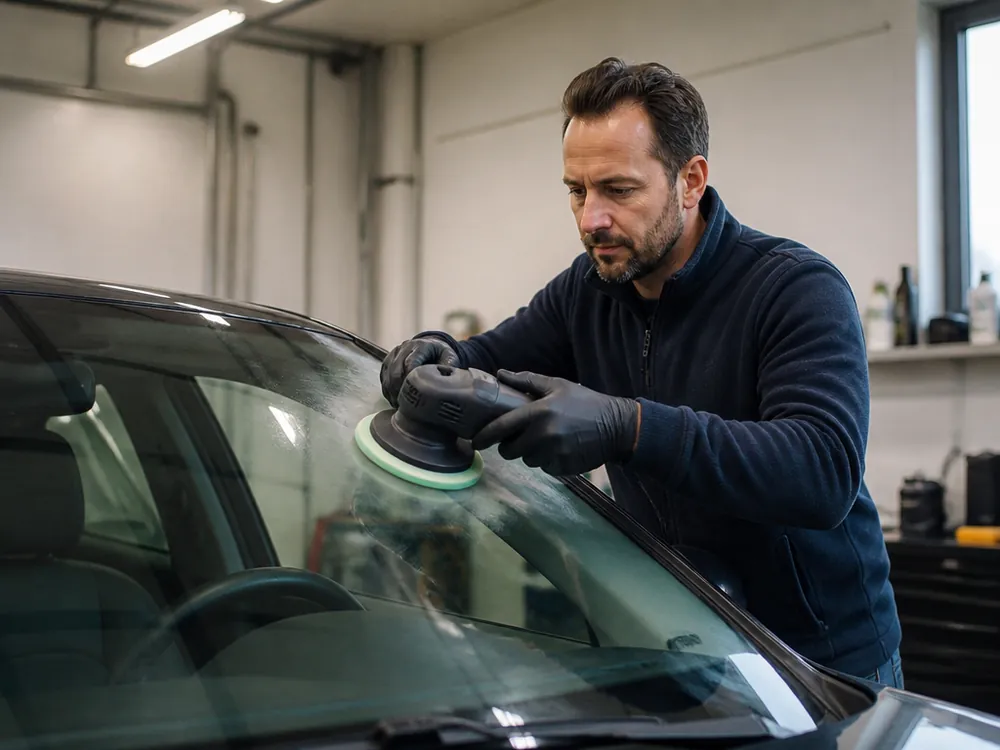
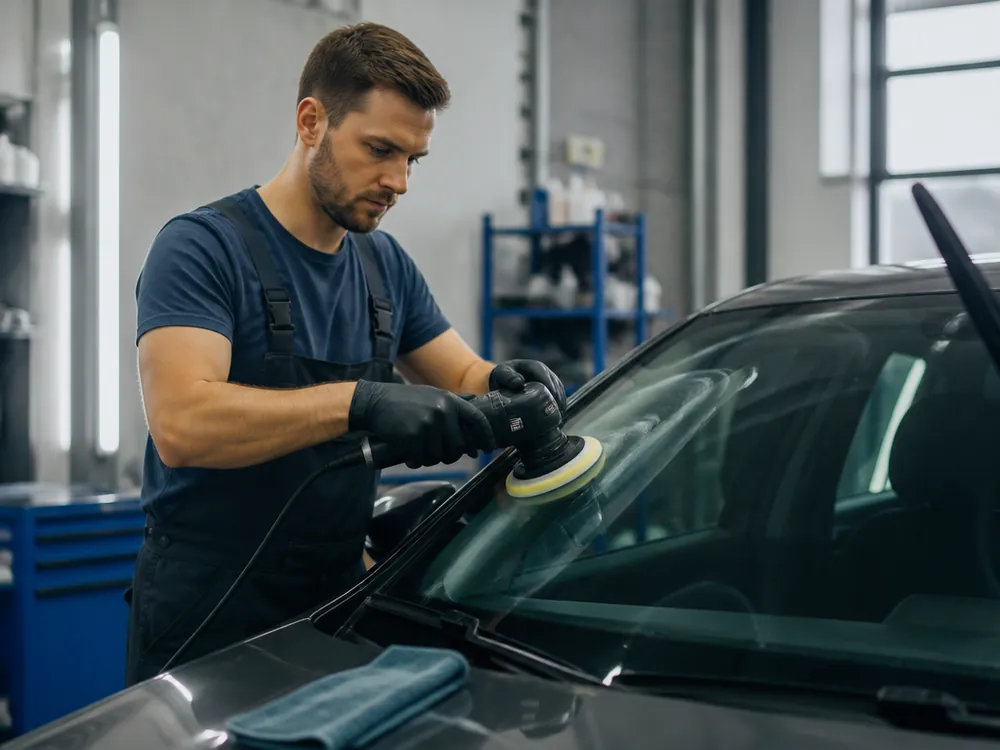
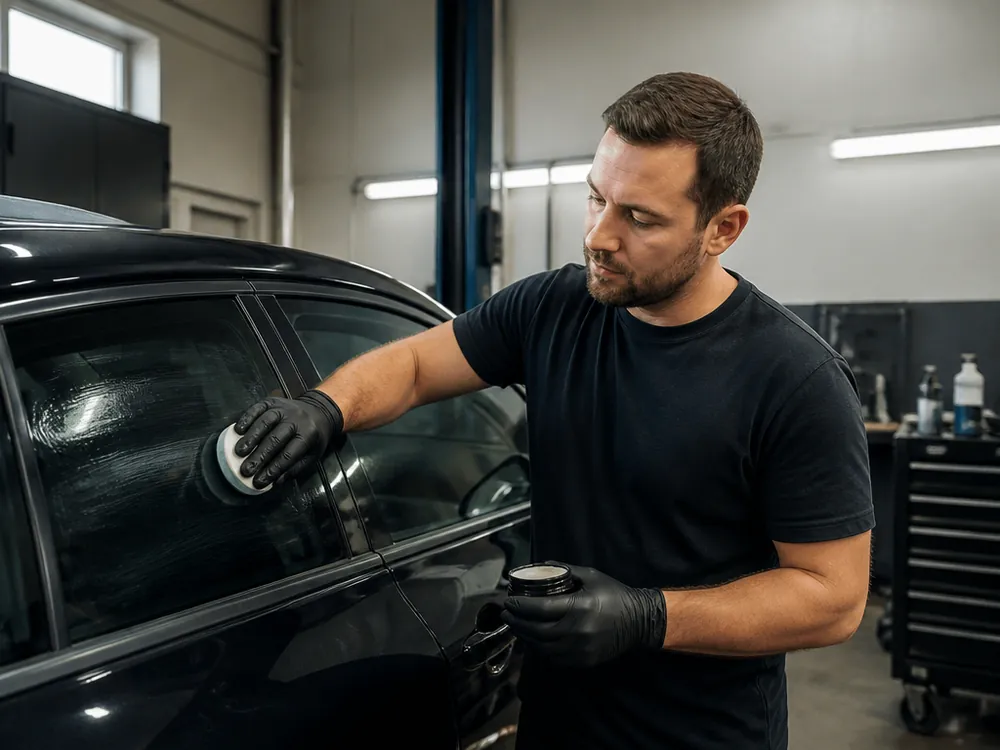
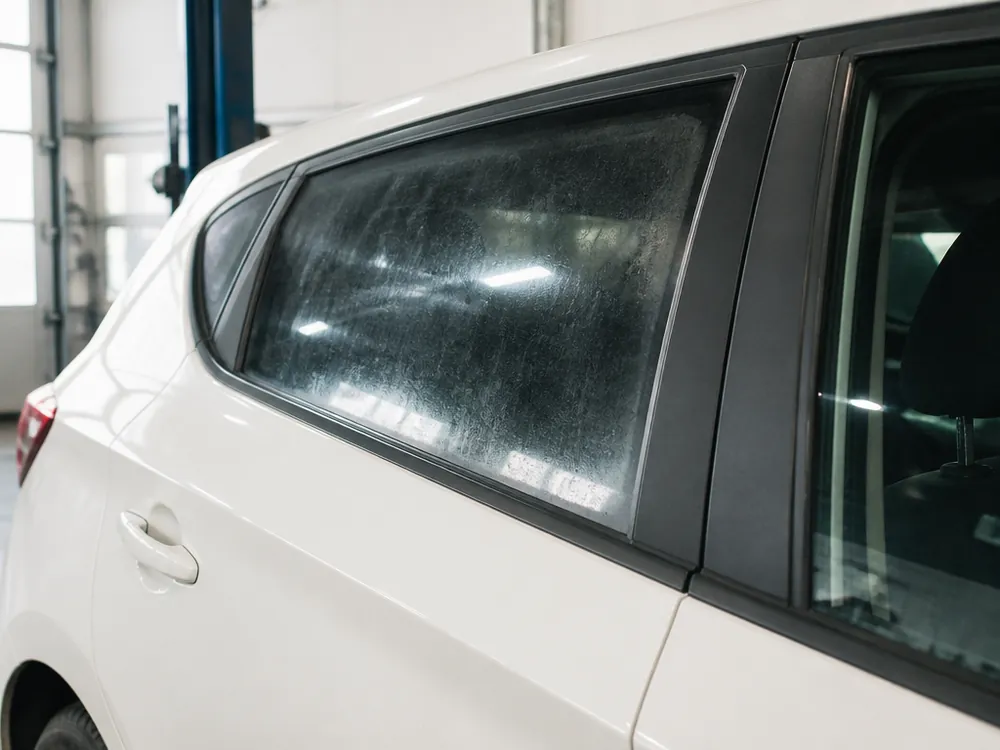
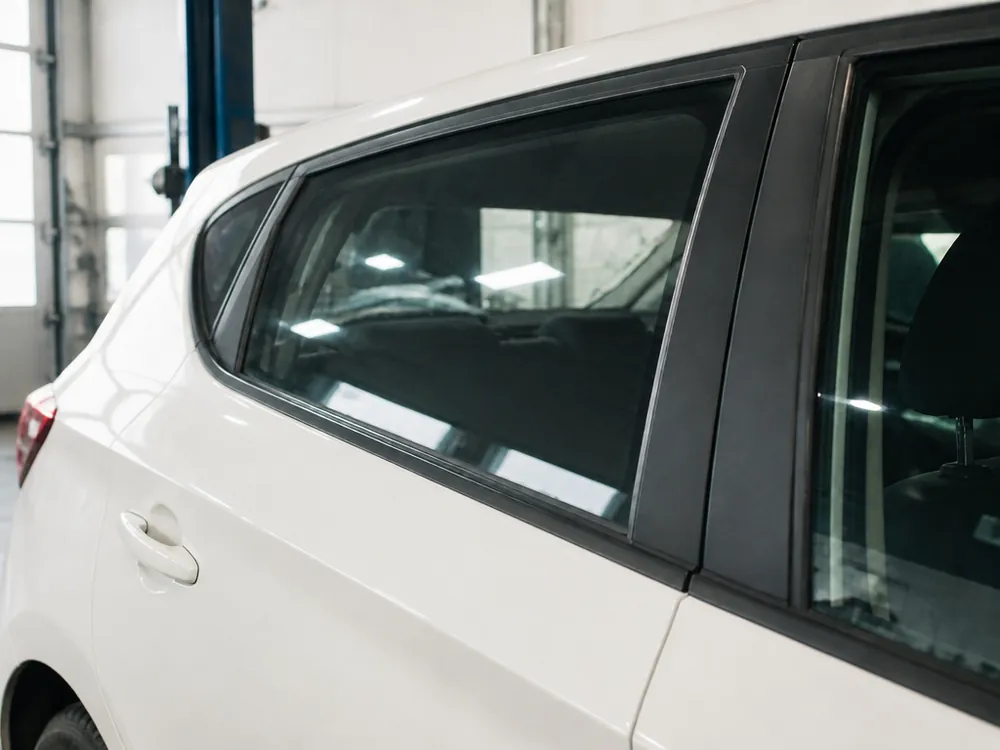
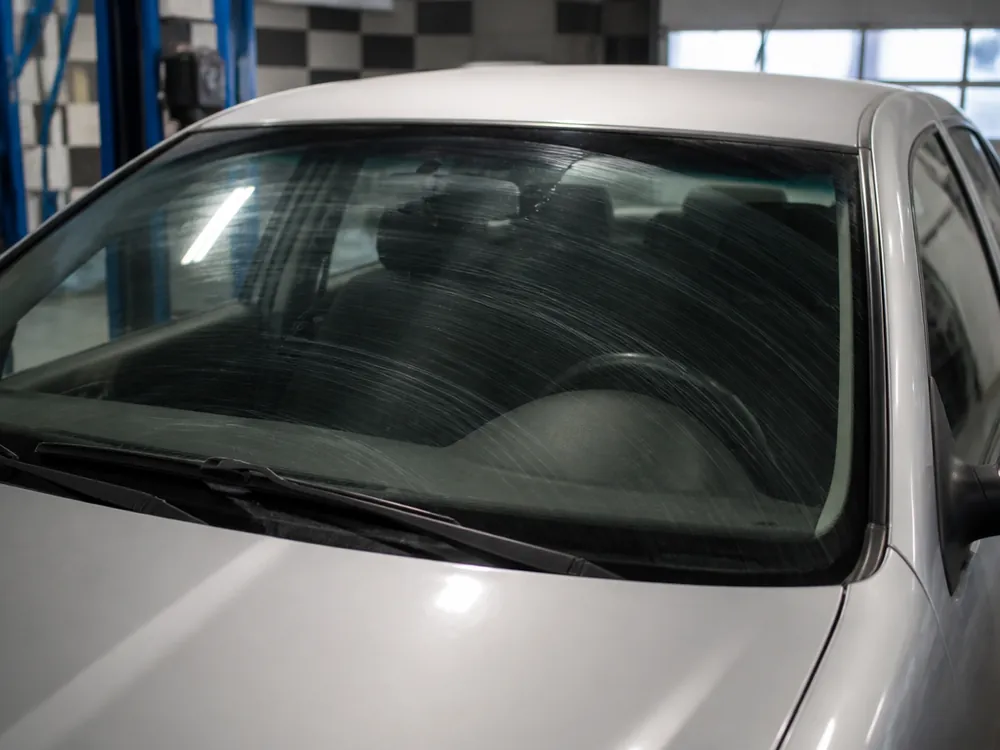
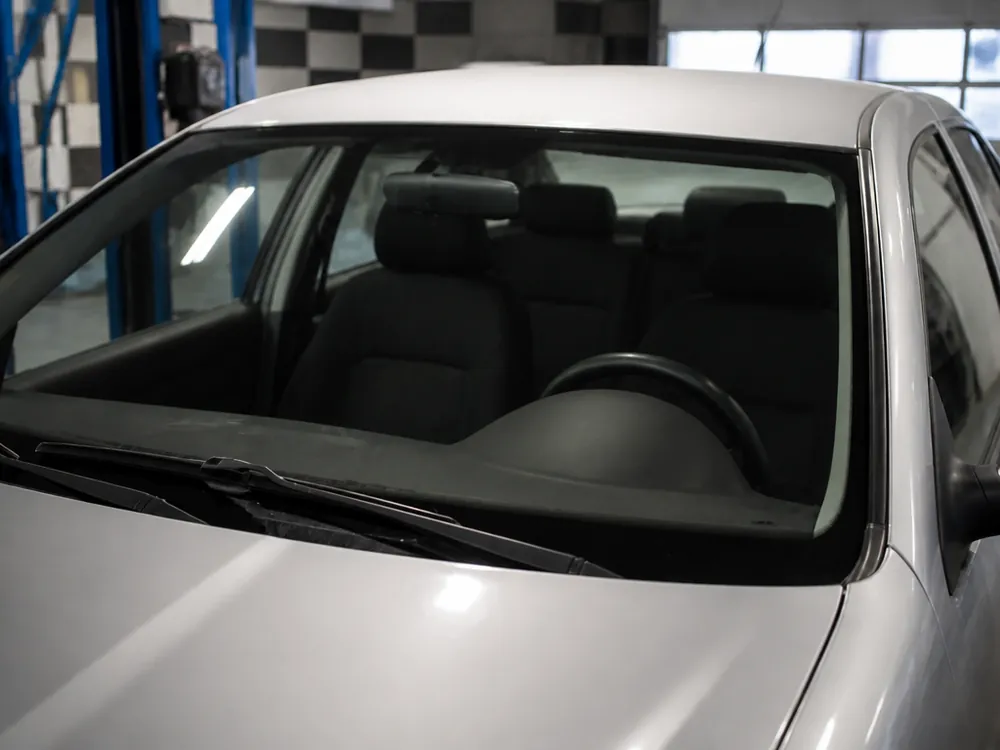
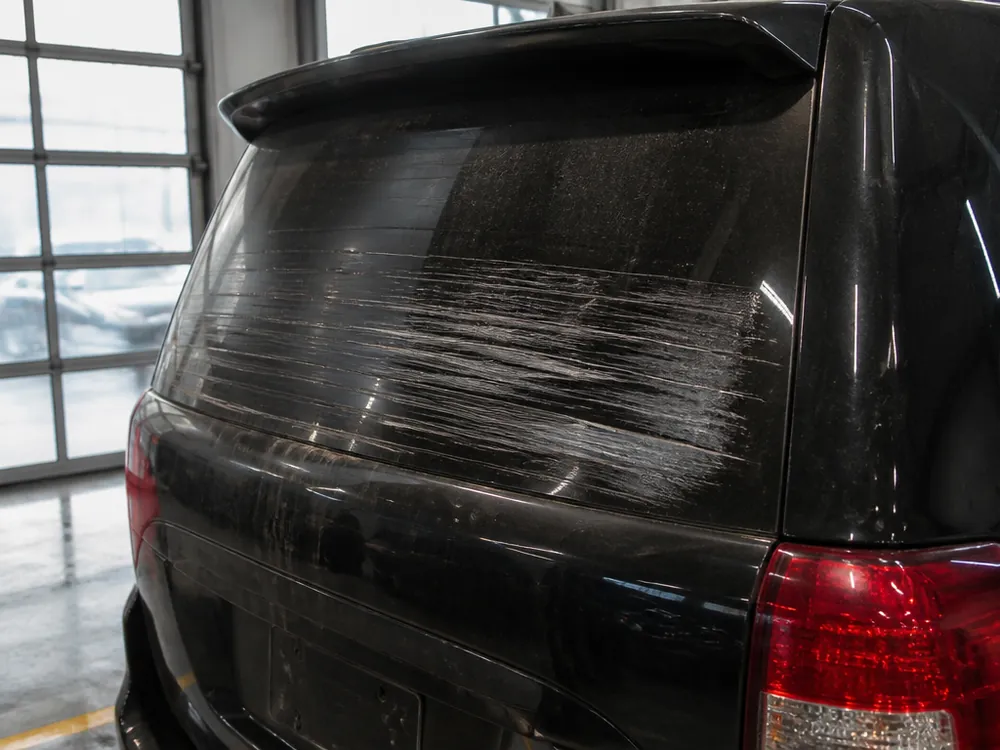
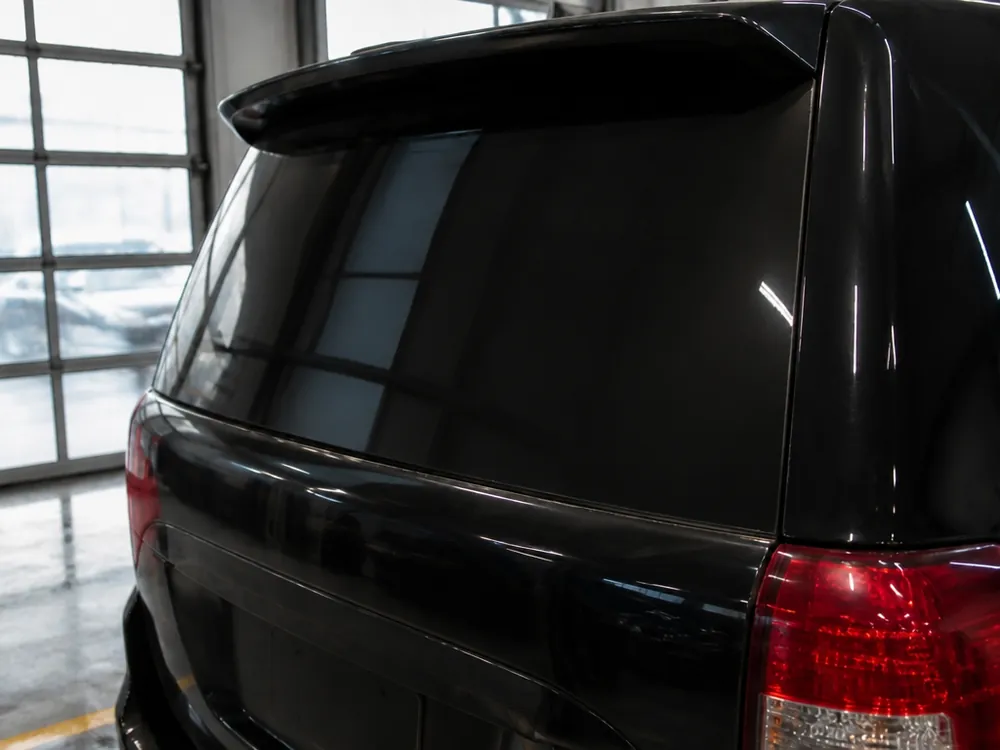
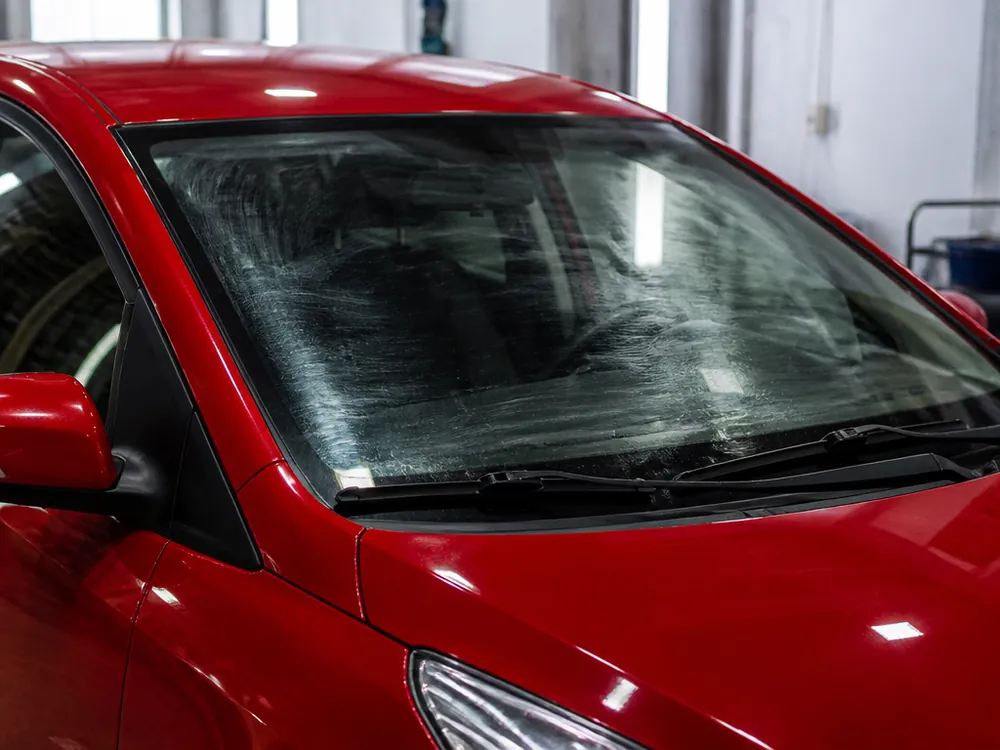
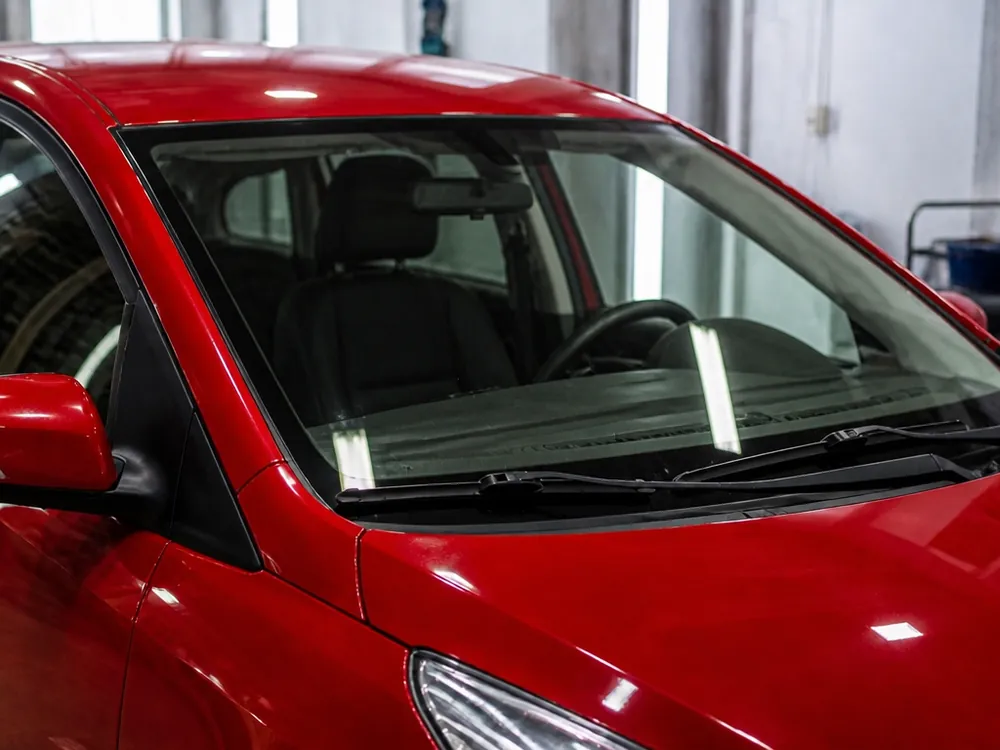
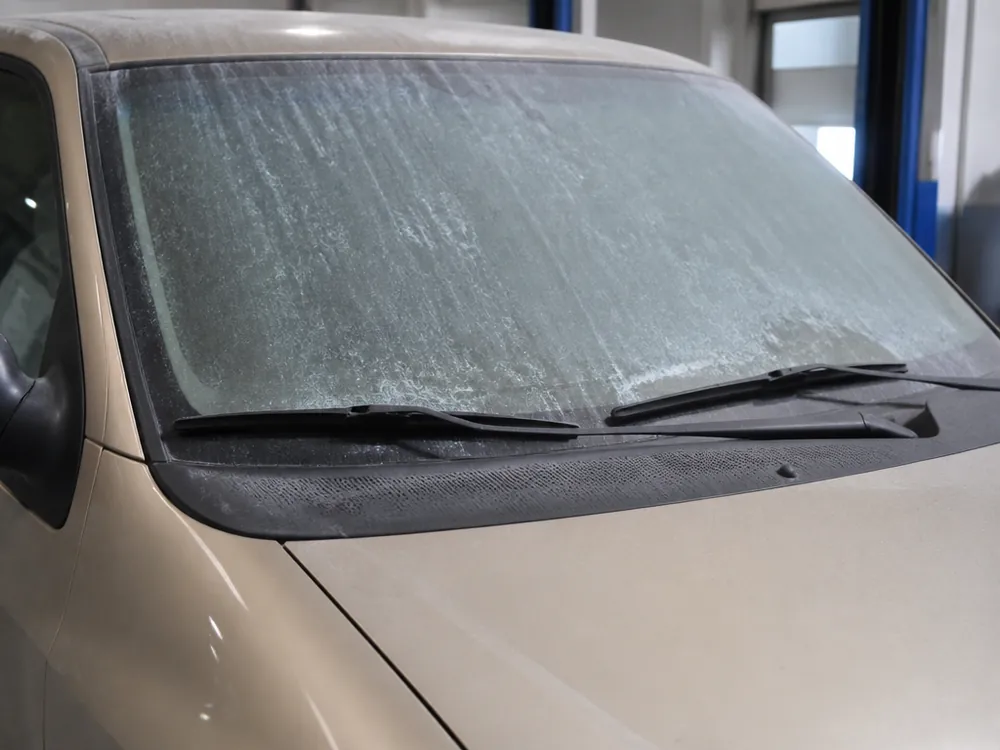
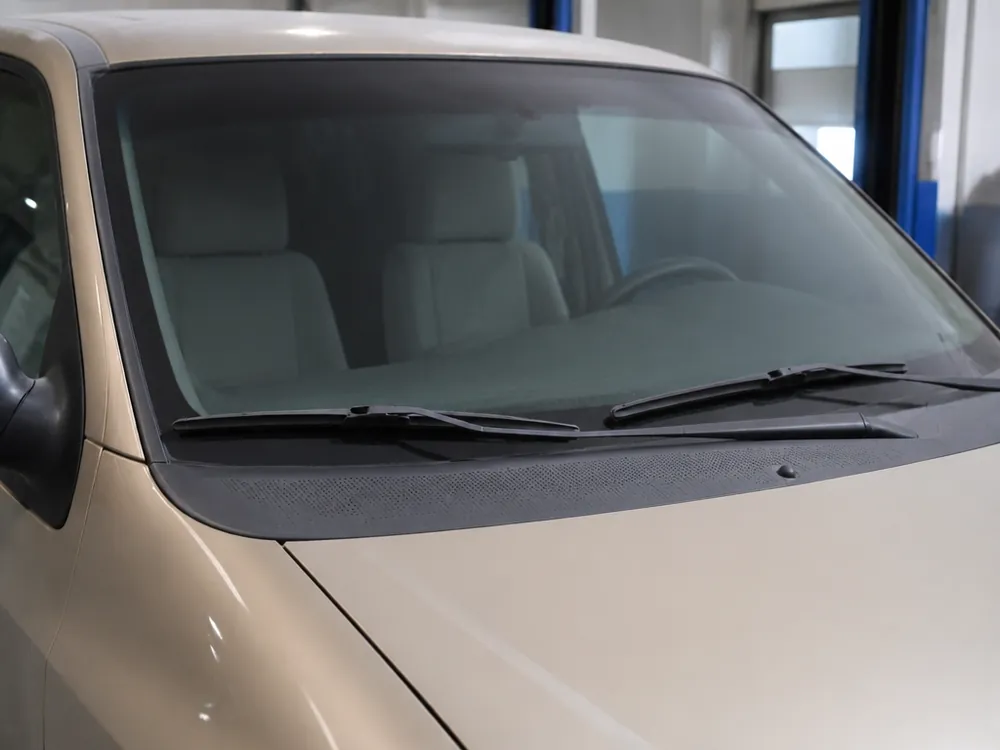
We remove wiper marks, oil film, bitumen, and fine scuffs that don't catch a fingernail. Wiper arcs are the most common reason people come in: a rubber blade with embedded dust cuts a track into the top layer over the years, and in the slanting light of oncoming headlights it glows white. Car glass polishing in Almaty removes such defects in one or two passes. Oil film and bitumen traces are removed with a degreaser before and after the paste pass, so the wipers stop smearing the film. Fine scuffs from sand and branches come out at the abrasive stage, and the finishing stage restores clarity without holograms. We inspect every glass under an inspection lamp and assess the depth: what will go away in one pass, what will remain barely noticeable. A defect that feels like a step under your fingernail won't come out with polishing — it's visible during inspection, and we tell you honestly before starting work.
When polishing won't help and grinding or replacement is needed
If a scratch is deeper than the working layer or a chip has gone all the way through, polishing won't restore clarity — grinding or glass replacement is needed. Grinding removes more material and levels the surface, but it has its limits: it won't remove a groove that's too deep, and thinned glass is less resistant to stone impacts. Polishing a chip with radiating cracks is pointless — the crack will keep growing from temperature changes and wiper operation. During inspection we show the edge of the defect under an inspection lamp so the client sees the difference between 'will go away' and 'will remain' instead of finding out after the work. If the defect is in the driver's field of view and exceeds acceptable limits, we suggest replacement — that's safer than leaving glass with a stress point. We start with diagnostics and a written estimate, and begin work after the client agrees.
How often can the same glass be polished
The procedure is repeated as new scuffs appear, usually no more than once every few years — each pass removes a thin layer of glass. The abrasive paste works like a mild grinding compound: it levels the micro-relief, and the finishing paste polishes the surface to clarity, and both remove fractions of a millimeter. The windshield has a thickness reserve, but it's not infinite, and it's not worth spending it on prevention without a visible defect. Two-stage processing removes wiper marks and leaves no holograms, so there's no point repeating it more often than new arcs or film appear. Frequent passes 'just in case' thin the glass and increase the risk of chips, so it's better to work on a specific defect rather than on a schedule.
Wiper marks and oil film after car glass polishing
The two most common reasons people come in are wiper arcs and oil film, which makes the blades smear in the rain. We explain where both defects come from, why they build up unnoticed, and how they're removed.
Why wiper arcs appear on the windshield
Arcs appear when sand gets stuck in the wiper rubber and the blade rubs along the same path for years, leaving matte streaks in the sweep area. Abrasive dust and fine gravel particles trapped under the edge work like sandpaper: each swipe removes a micron of glass, and over a season or two a network of fine scratches appears on the windshield. The wiper parking area suffers first — that's where the rubber travels most densely. The streaks build up gradually and are first noticeable only in the sun against the light, so they're easy to miss until they start interfering with visibility in the rain. It's easy to check: wipe the area and look at it at an angle to a light source — matte tracks in the wiper sweep area are immediately visible. Change the rubber every 6–12 months, otherwise sand will keep working on the glass. If the arcs are already deep, removing scratches from glass by polishing helps — it restores clarity to the wiper sweep area.
How wiper marks are removed and why no holograms remain
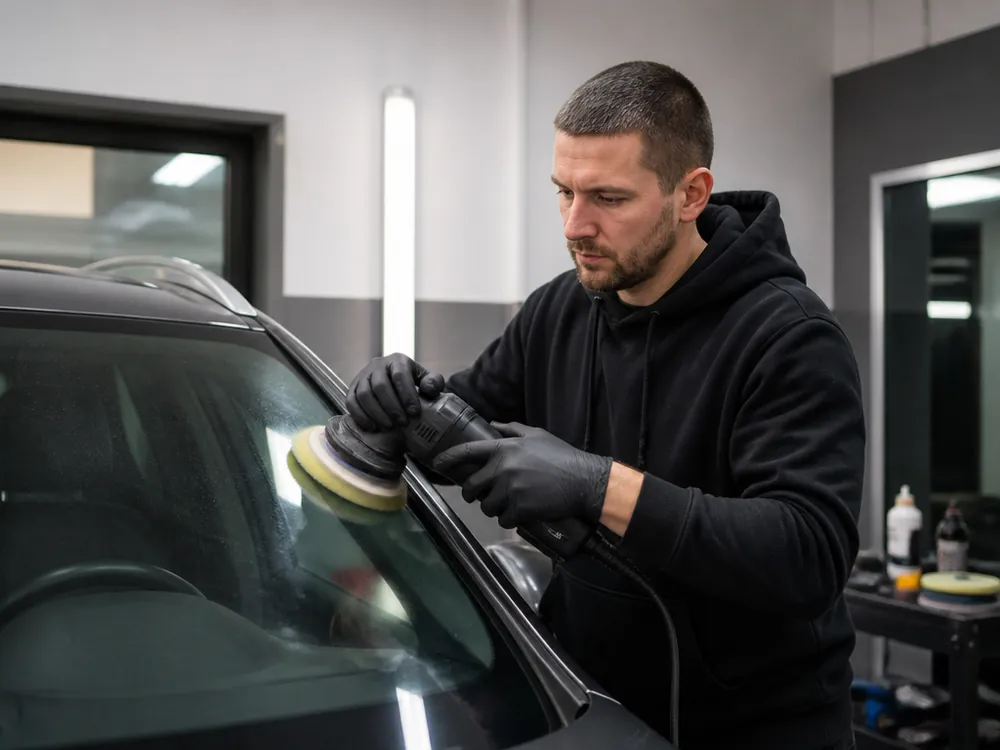
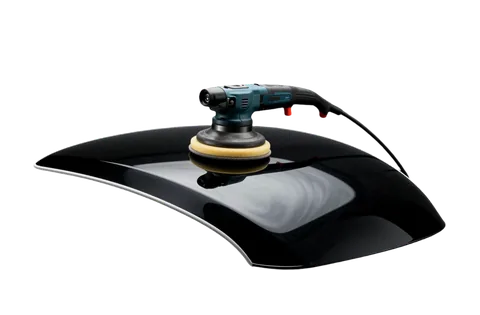
We process in 2 stages — first an abrasive paste, then a finishing paste, and it's the second pass that removes wiper marks without holograms. The first stage works with a coarse abrasive on a hard pad: it removes the matte layer and levels the surface micro-profile. The second uses a fine-grained paste on a soft pad, which smooths the marks from the first pass to optical clarity. The technician checks the result from different angles to the light to catch any residual streaks before handing over the car. Holograms are most often the result of a single rough pass without finishing; when a technician skips the second stage, streaks show up in the sun after the car is handed over. Ask how many stages are included in the work: if it's one, rainbow circles will appear on the glass in bright light.
Oil film and smearing wipers
We remove oil film with a degreaser before and after treatment, so the film doesn't remain and the wipers stop smearing. The source of the film is exhaust and bitumen mist from the road: the greasy substance settles in a thin layer, water doesn't wet the glass but beads up, and the blade smears dirt instead of wiping it away. Degreasing before work opens the surface pores so the abrasive doesn't get clogged with oil. If you only degrease before work, paste residue mixes with oil and leaves a rainbow film — that's why the second degreasing pass is as important as the first. A simple check: pour water on the glass — if it doesn't run off in an even sheet but beads up, the film is still there.
How two-stage car glass polishing works
We break down the process itself: how polishing differs from grinding, what happens at each stage, and how to tell the work was done properly and not just 'by eye'.
How polishing differs from glass grinding
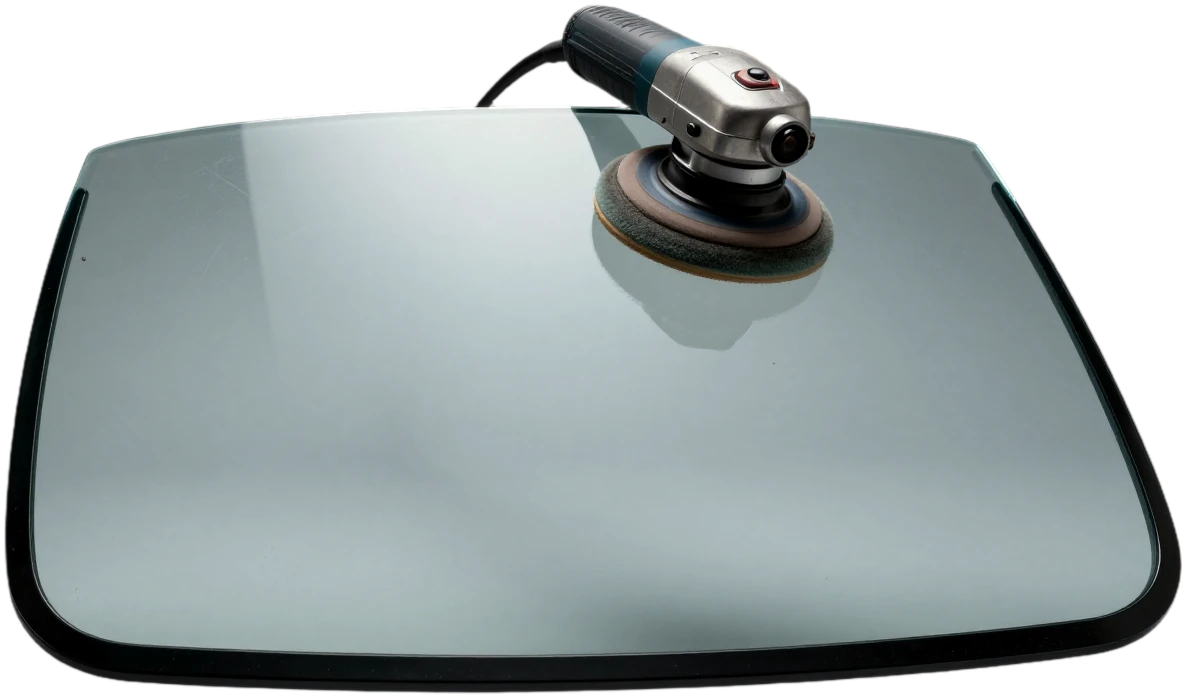
Polishing removes a thin layer and eliminates surface defects, while grinding removes more material and is used for deep scratches. Car glass treatment deals with a web of fine lines, wiper marks, and oily film—where the thickness of the glass is not critical. In this case, car glass polishing is the first step and sets a smooth base for the finish. Grinding comes in when a scratch can be felt with a fingernail: a coarse abrasive paste cuts deeper and levels the edge of the damage. Both operations are performed with a machine at low speed with water supply to avoid overheating the area and leaving thermal microcracks. Grinding without a subsequent finish leaves a haze, so it is almost always followed by a finishing step—these are not mutually exclusive but sequential steps. On a heavily worn windshield, we first go through the grinding stage and then the finish—otherwise clarity cannot be restored: the hazy area is visible against the light even after washing.
Work stages and paste selection for the defect
- Diagnostics at an angle: we inspect the glass under a lamp from different sides, note the depth and area of defects to choose the paste grain and pad hardness.
- Abrasive stage: we go over the area with a coarse-grained paste and a hard pad, remove the top layer and level the scuffs to a uniform matte surface.
- Degreasing: we treat the glass with a special compound before and after processing—the film does not remain, the wipers do not smear, and the finish applies evenly.
- Finish: we go over with a soft pad and finishing paste, remove abrasive marks and bring out clarity without scratches or holograms.
- Control: we check the result under different lighting angles—there should be no holograms or streaks, the defect is gone over the entire area, not just in the center.
Which glass we polish and what about tinting and heating
treatment areas and specifics for each| Area | What we polish | Treatment specifics |
|---|
| Windshield | wiper marks, scuffs | main scope of work |
|---|
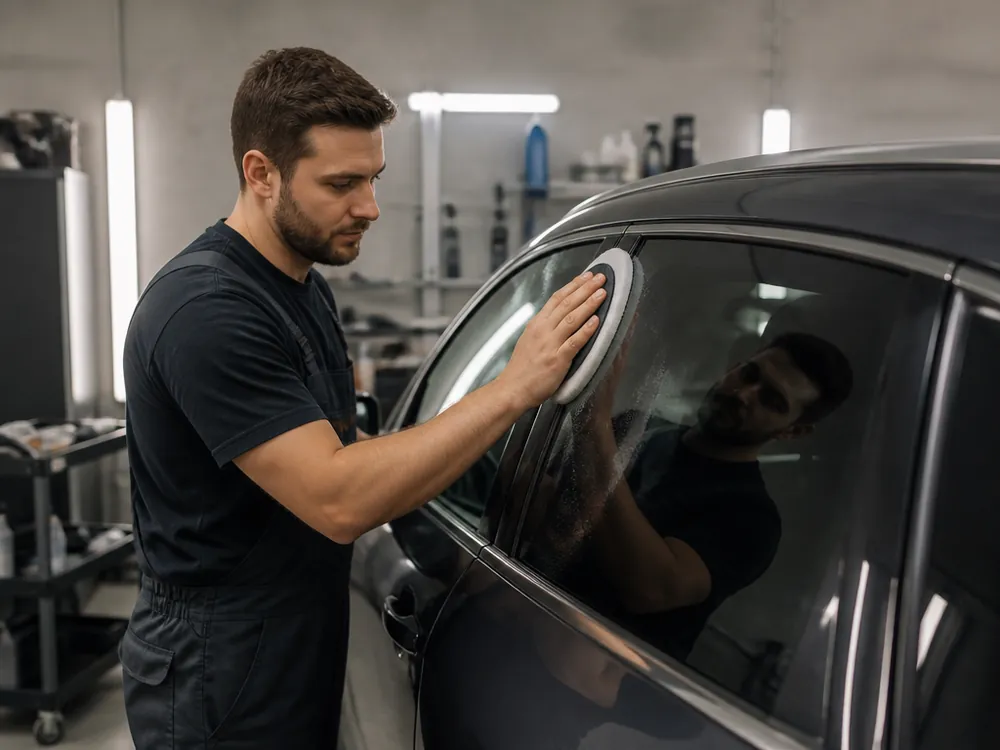
| Side windows | scuffs, film | faster by area |
|---|
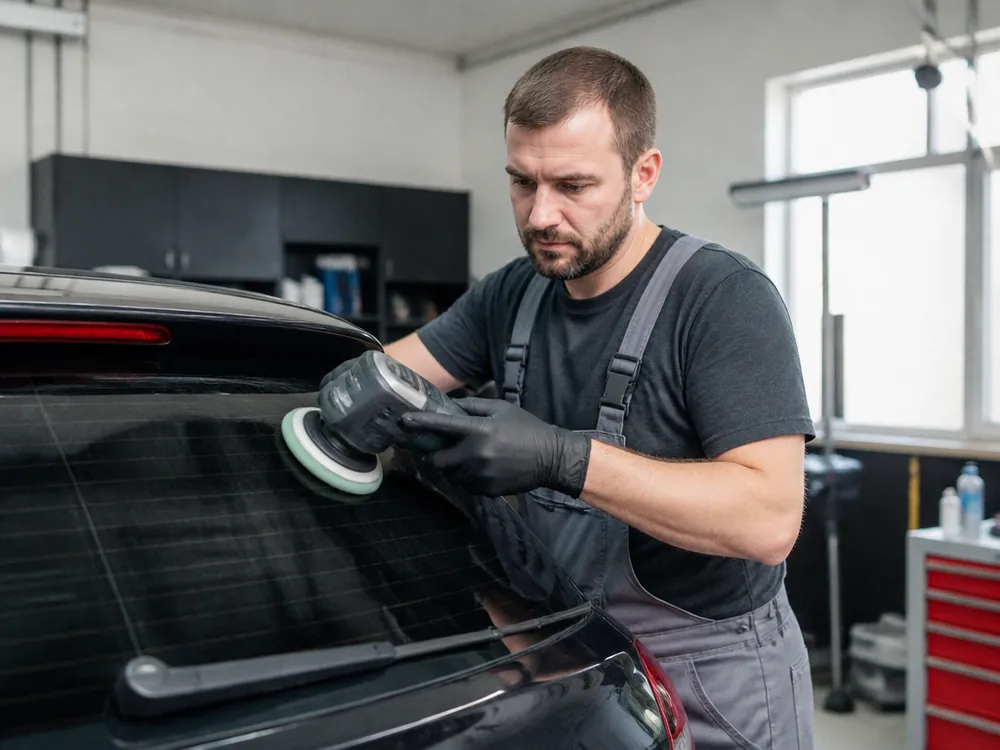
| Rear window | film, fine scratches | careful with heating elements |
|---|
| Windshield | wiper arcs | wiper sweep area |
|---|
| SUVs and minivans | all of the above | larger area and time |
|---|
Timing, work order, and result of car glass polishing
How long the treatment takes, in what order the visit goes, and by what signs the result is accepted—we break it down step by step so you know what to expect from booking to vehicle pickup.
How long windshield polishing takes
We treat the windshield in 3 hours, side and rear windows faster, and the exact time depends on the degree of contamination. The two-stage scheme sets this duration: first an abrasive pass with paste, then a finishing pass, and at each stage the technician assesses how many defects remain. Side and rear surfaces are smaller in treatment area, so they leave the shop earlier than the windshield, while SUVs and minivans add time for large surfaces and vertical slopes. We keep scheduled appointments without queues—the car is taken into work, not put on hold. Deep wiper arcs require more passes at the abrasive stage, so it's worth allowing extra time rather than 'exactly 3 hours': if the wipers left marks for years, the technician needs 1–2 more passes.
How the visit goes from check-in to pickup
- Check-in: the car is received by the service advisor, who manages the work order through to pickup and records which panels are treated.
- Diagnostics and estimate: first we inspect the transparent elements and prepare a written estimate; we start work only after the client's approval.
- Photo report: we take photos at key treatment stages so the surface condition before and after is visible.
- Test drive: before pickup we check the result in motion, not just when parked.
- Pickup: we hand over the car with a work completion act that records the warranty period and terms.
How to accept the result and what to look for
The result is accepted by inspecting the surface from different angles and in sunlight—that's exactly how residual streaks and holograms are visible if they exist. It's worth looking both from inside and outside: some streaks are noticeable only against the light, not from the driver's seat. At pickup, three zones are checked—the central part of the windshield in the wiper sector, the edges near the pillars, and the side panels near the mirrors, where film most often remains. It's useful to run a gloved finger or a napkin over the clean surface: roughness and stickiness reveal a missed finishing step. Another sign is how water behaves: on a smooth area it beads up and runs off evenly, without spots. It's also worth looking at the treated area against the sun: holograms show up exactly that way, not from the driver's seat in the shade.
12-month warranty and care after polishing
We explain what exactly the polishing warranty covers, how it is documented, and what to do with the glass in the first days so the treated surface stays clean and clear longer.
What the 12-month warranty covers
We provide a 12-month warranty on glass polishing and record the period and terms in the work order and the work completion act at vehicle pickup. The warranty covers the work performed: if within a year a defect appears on the treated surface that was not there at pickup, we handle it as a warranty case. In such a case, diagnostics are free of charge, and the service advisor records the period and procedure for claims in the documents before work begins. We photograph every treatment stage—these images show the initial condition of the glass and the result after finishing, so there are no disputes when a warranty claim arises. The warranty applies to the work performed but does not cover accidents after repair, third-party interference, natural wear, or a part brought by the client—it's worth knowing this in advance to avoid surprises.
What to do if streaks remain after polishing
If streaks show up after polishing, we diagnose it as a warranty case free of charge and, if confirmed, redo the finish. Streaks that appear in the sun a few days later usually mean a missed final pass — that's fixable with another finishing pass, not a glass replacement. The service advisor compares the surface condition with the photo report taken at pickup and determines the cause: an incomplete finish, fresh bitumen film from the road, or marks from a careless wash in the first day. Based on the inspection, we schedule another finishing pass and degreasing — usually that takes less time than the initial treatment, because the abrasive stage doesn't need to be repeated. Take photos of the streaks in daylight before your visit: that makes it easier to match them to the areas that were treated, and the technician will immediately see exactly where the mark was left.
Glass care after polishing
- First day: don't wash the glass and don't run the wipers on a dry surface — let the finishing layer stabilize.
- Washing: use a soft sponge and car shampoo without abrasives, rinse off sand and road chemicals with water before rubbing them across the surface.
- Wipers: replace worn blades on time — old rubber will wear arcs back into clean glass within a couple of months.
- Hydrophobic coating: apply it to glass that's already polished and degreased, otherwise the product will seal the film underneath and the wipers will start smearing.
- Bitumen and film: remove them spot by spot with a degreaser, without rubbing the spot across the whole windshield — otherwise you'll spread the resin over the clean area.
What glass polishing removes and how
Glass polishing solves a limited set of problems, and it's worth understanding its limits, the workflow, and the care rules in advance. Below is a short summary that's useful before your visit and in the first days after.
- What polishing removes: wiper marks, oily film, bitumen, and minor scuffs come off, but deep scratches and through chips don't — those need grinding or replacement.
- Two stages and degreasing: first an abrasive paste, then a finishing one, and the degreasing compound is applied twice — before and after — so no holograms are left behind.
- Work time: a windshield takes about three hours, side and rear glass go faster, and the result depends on the area and how dirty it is.
- Accepting the result: inspect it from different angles and in the sun, and the warranty period and terms must be stated in the work order and the completion certificate.
- First day: don't wash the glass or rub it with wipers on a dry surface, then it's normal care without abrasive products.