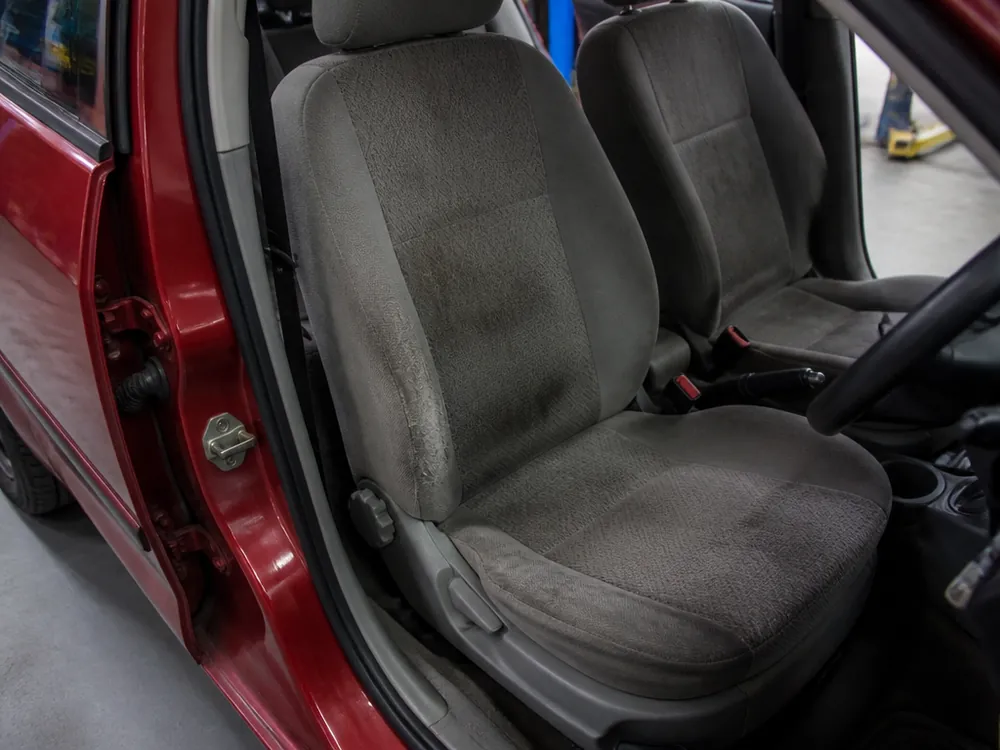
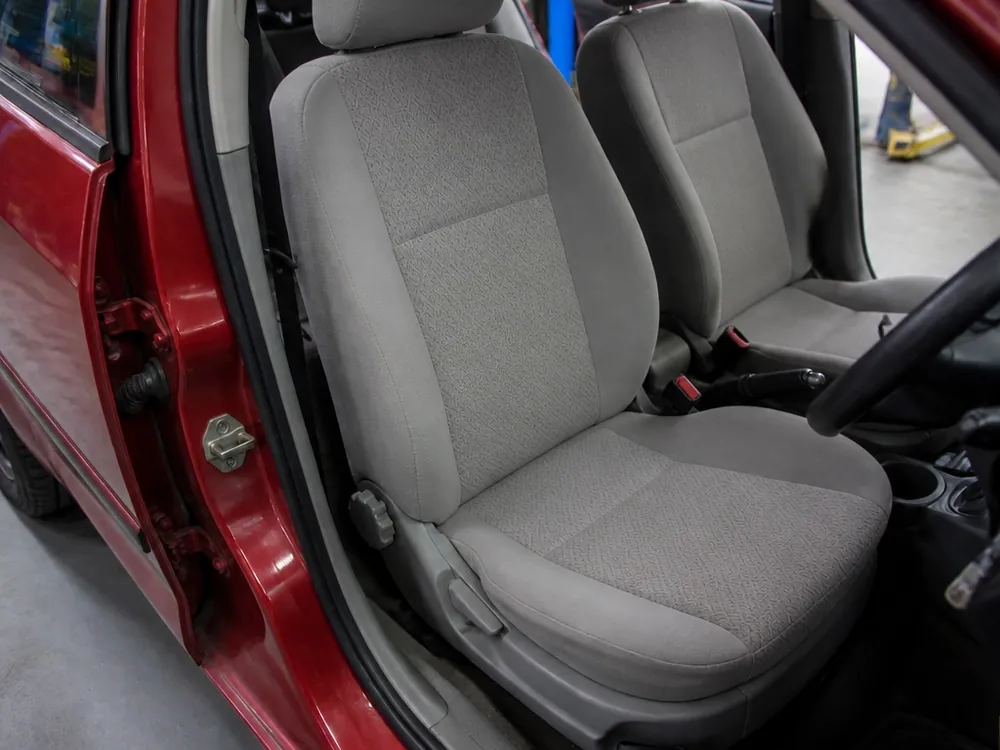
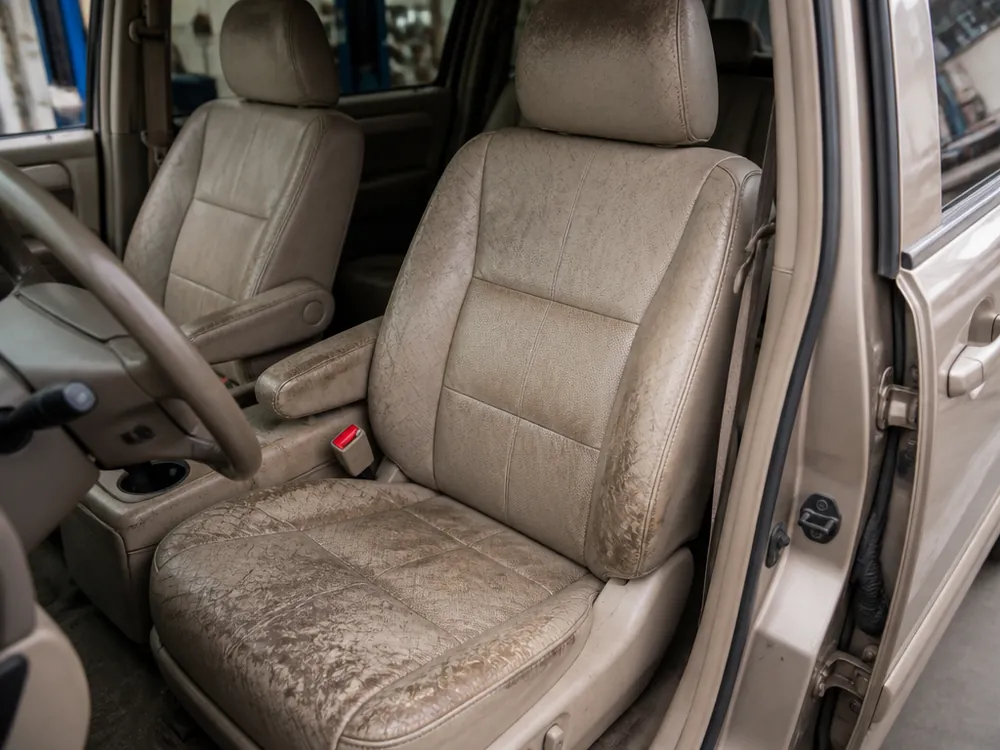
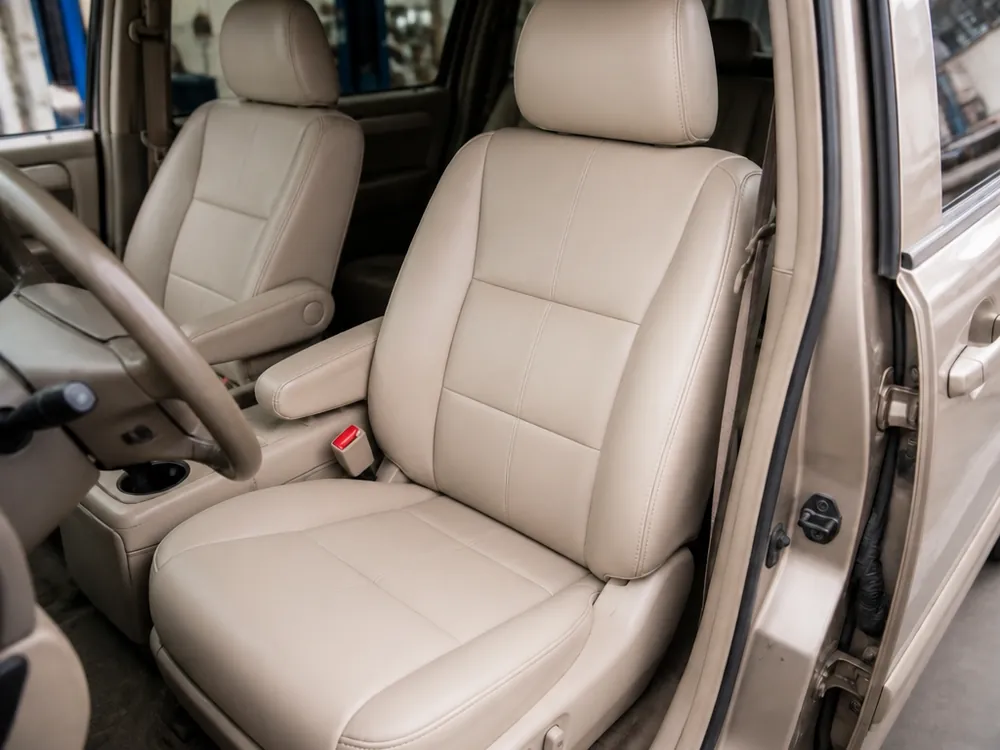
The line between a local repair and a full material replacement depends on the condition of the upholstery, padding, and frame. We explain when a spot repair is enough and when it's easier to reupholster the whole piece.
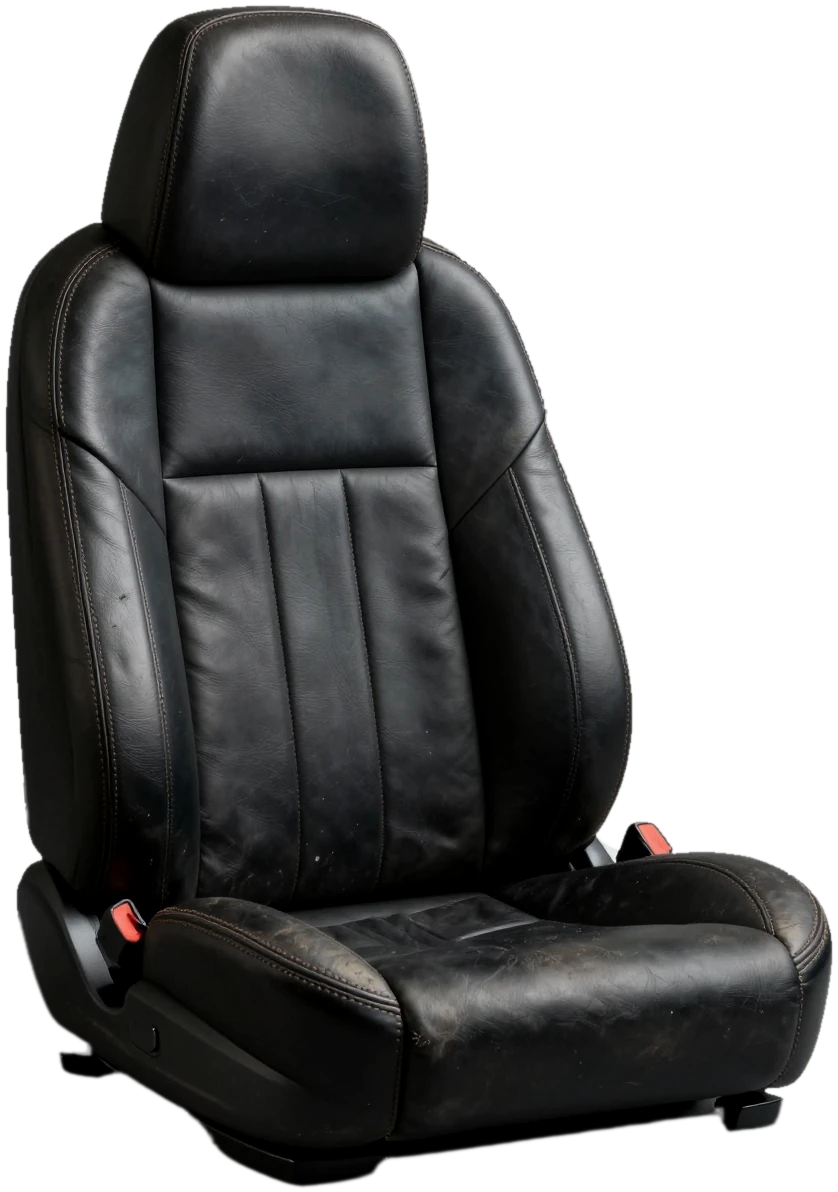
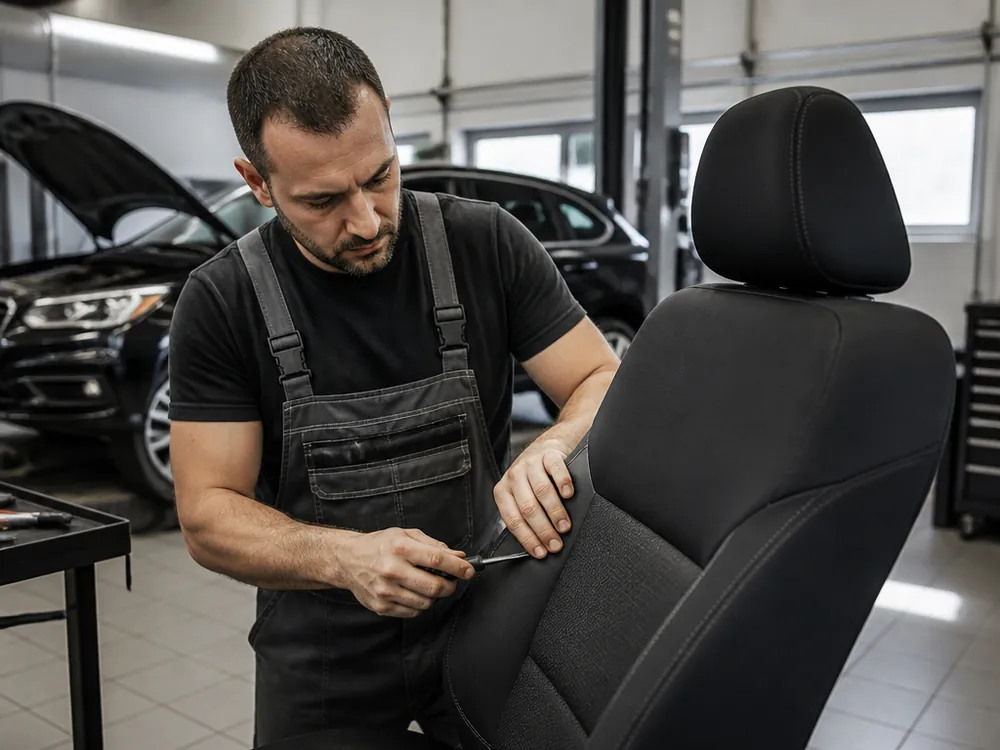
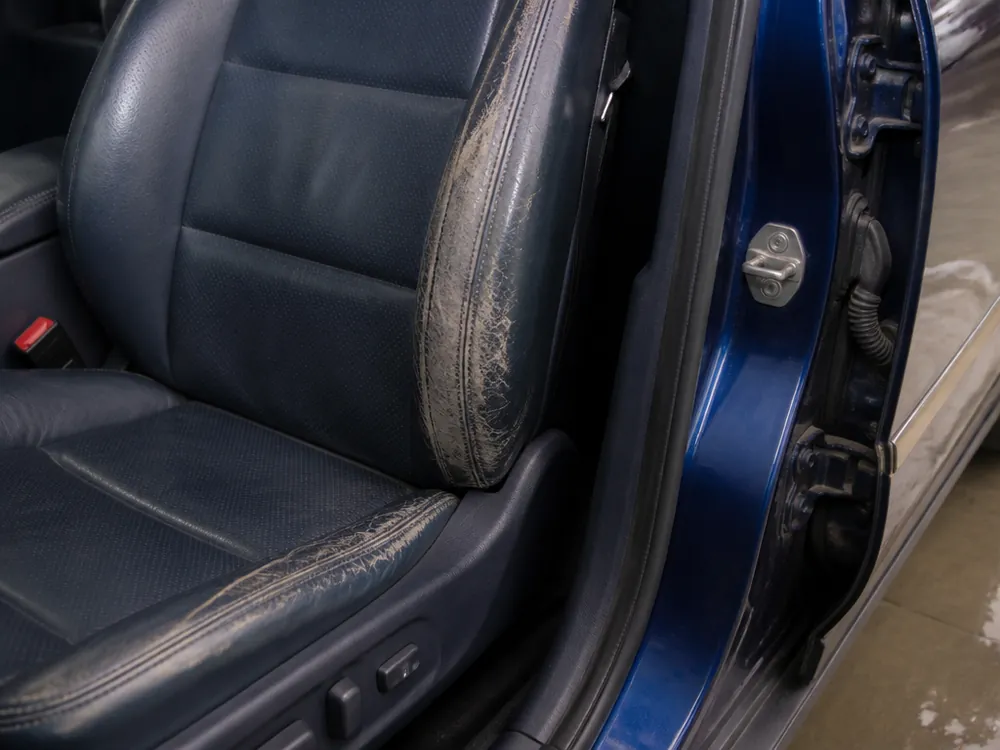
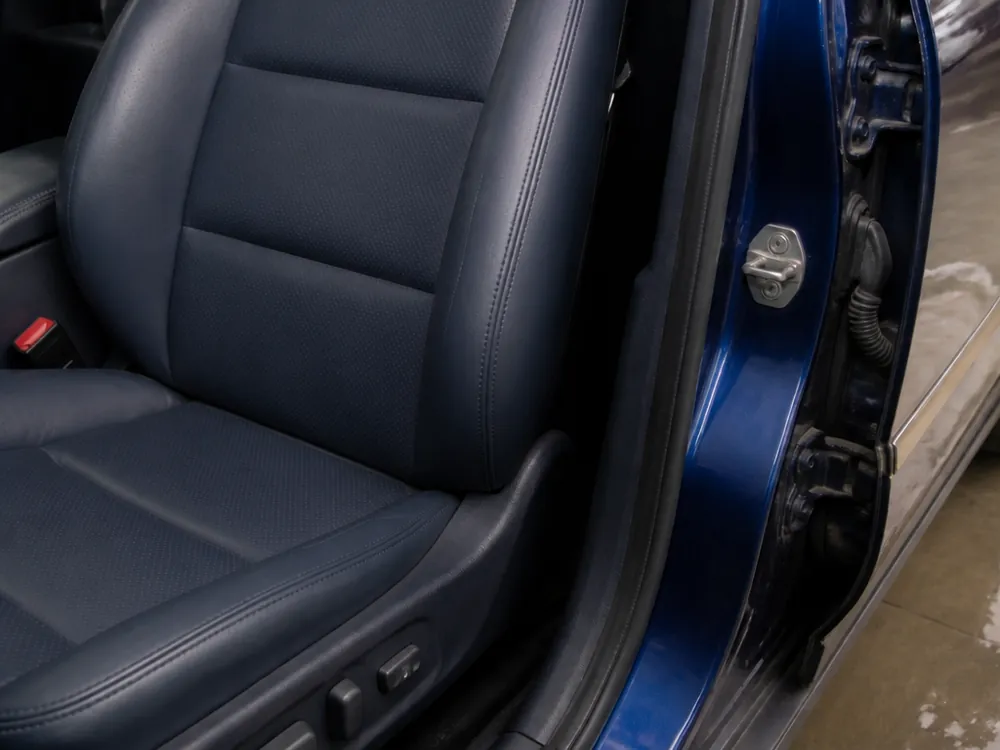
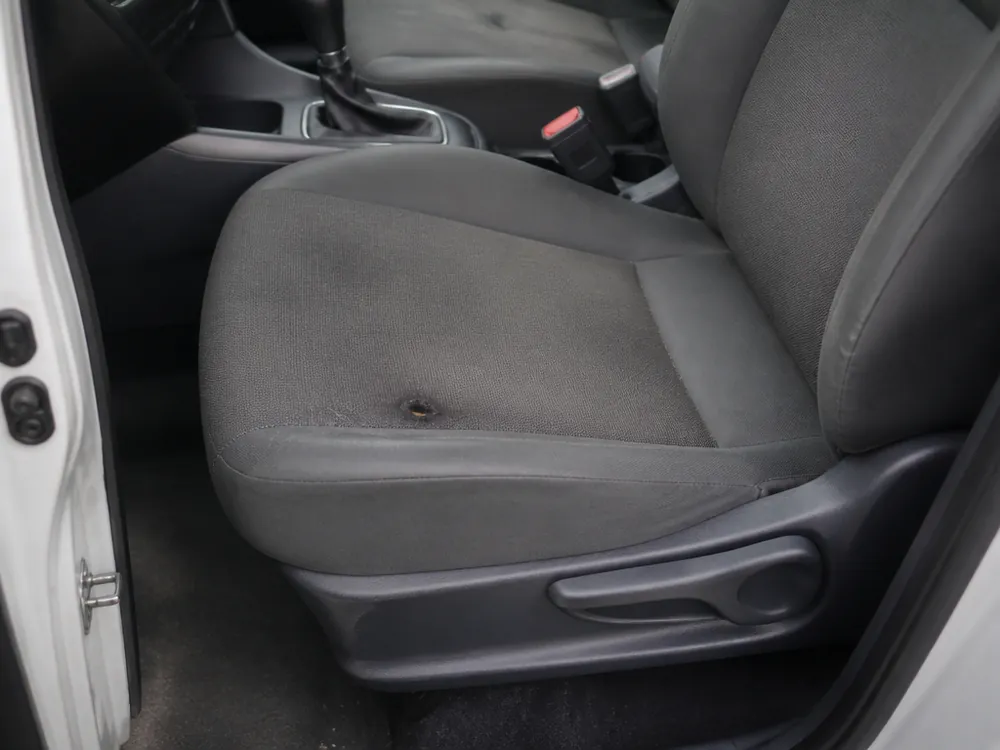
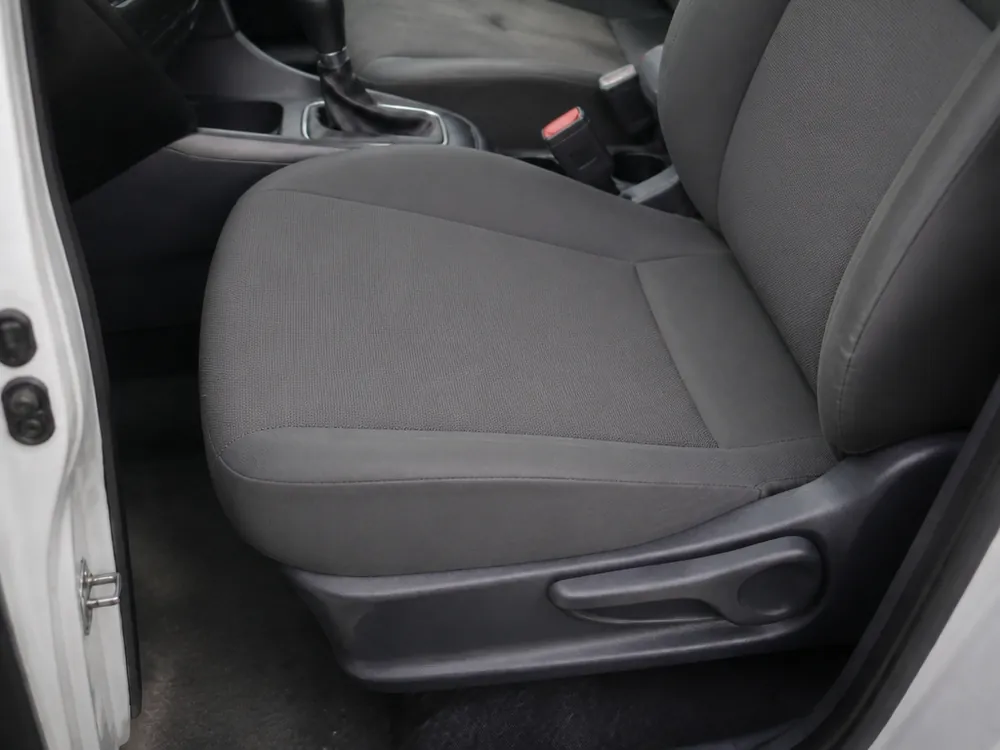
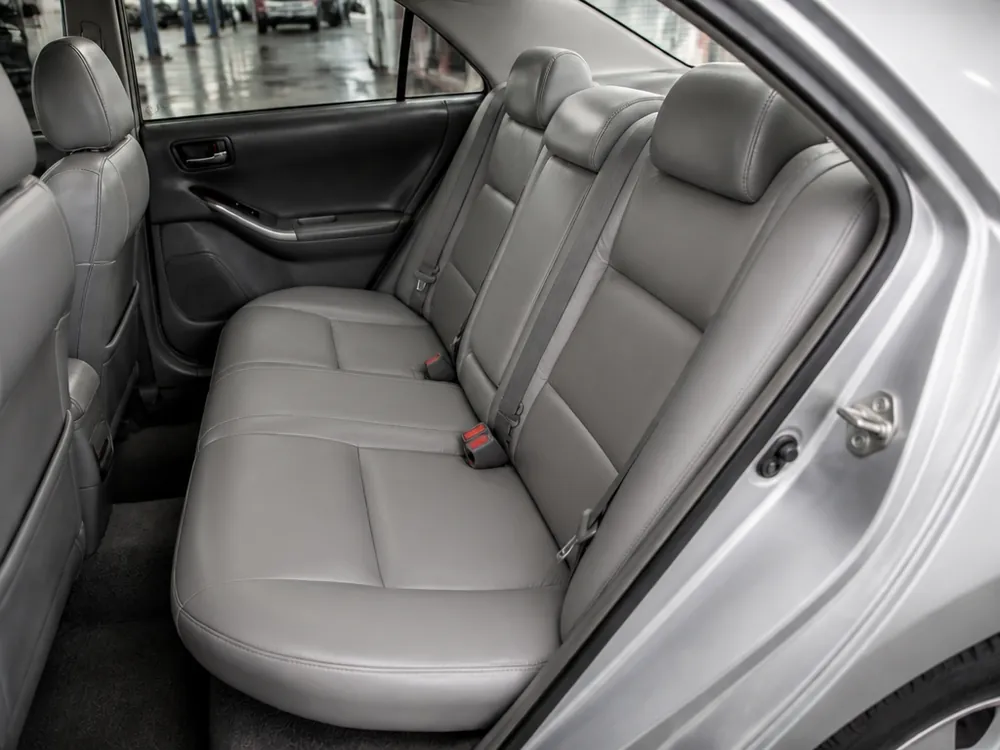
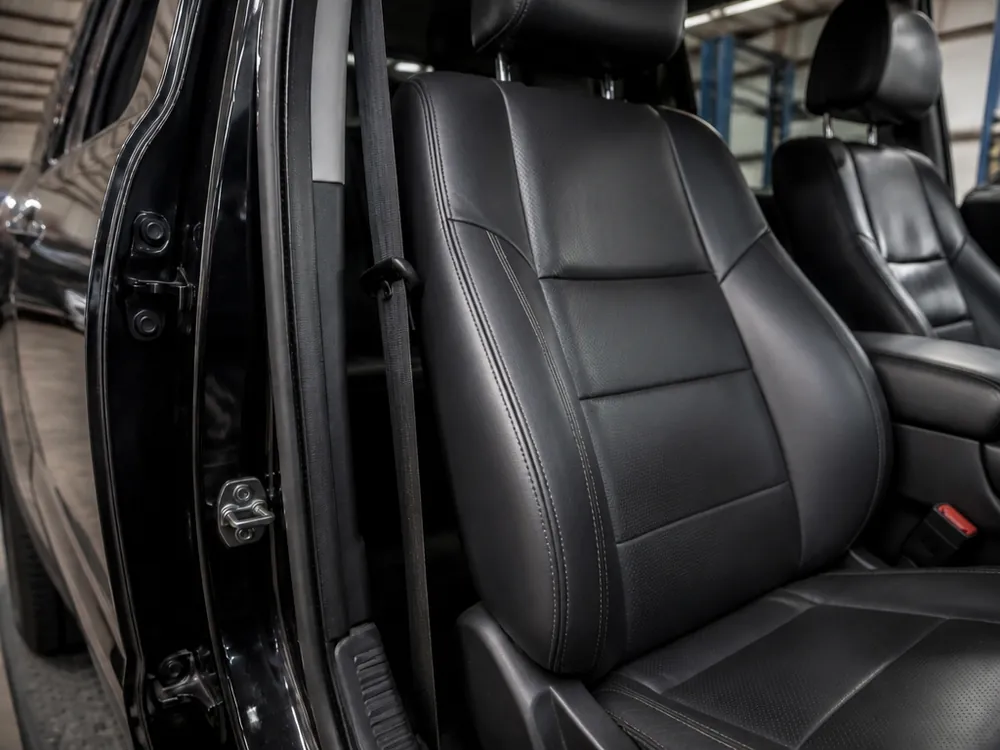
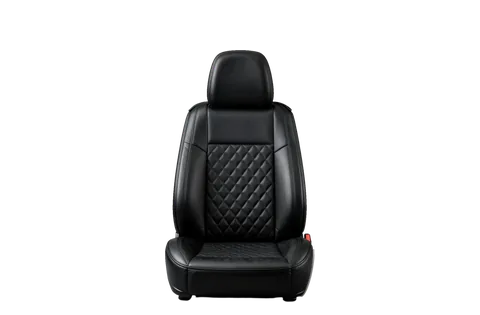
Restoring car seats preserves the factory upholstery and brings it back to look good with spot repairs, while reupholstery completely replaces the material on the piece. With local upholstery repair, the technician works with the original leather or leatherette: fills a cut, removes a burn, restores the side bolster. Reupholstering one seat means removing the old covering and installing a new panel cut to patterns. Factory material is usually denser and fits the frame shape more precisely than universal panels, so if the base is intact, it's better to keep it. If the leather is intact over most of the area, a local repair costs less and preserves the original look of the interior; with through tears across the entire surface, reupholstery is more reasonable. Check the underside of the upholstery: if the backing isn't crumbling or peeling, such a repair will last longer. Car seat restoration in Almaty starts with an inspection that shows which part of the upholstery can still be restored.
How to tell it's time to restore rather than wait
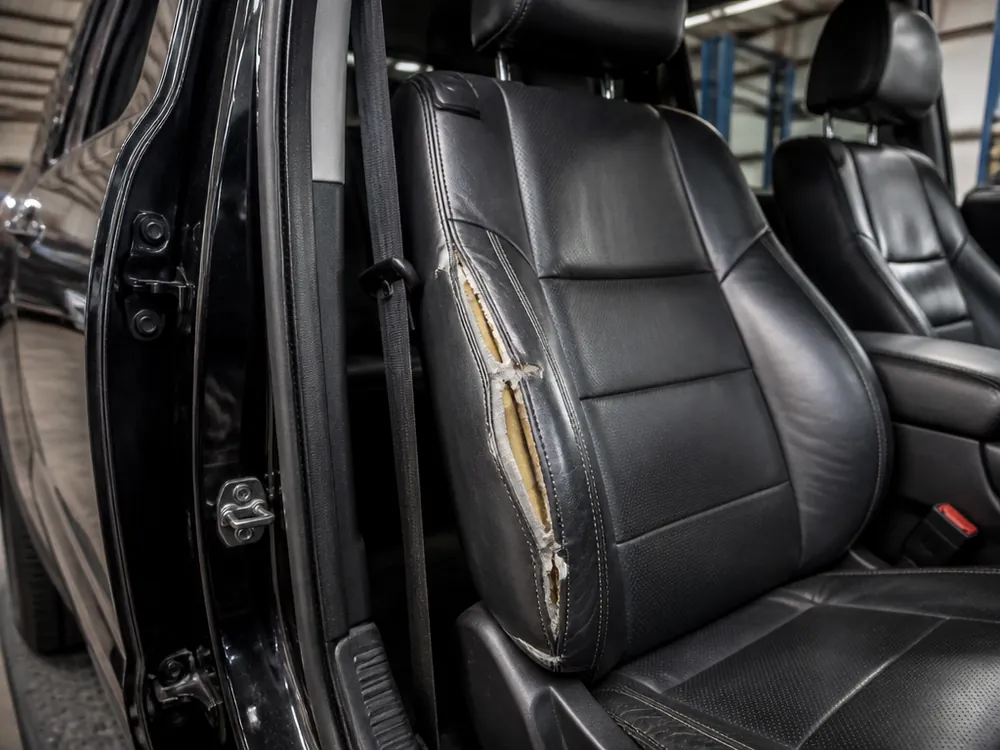
- Wear on the side bolster: the leather thins where you get in and out, and without intervention a through crack appears.
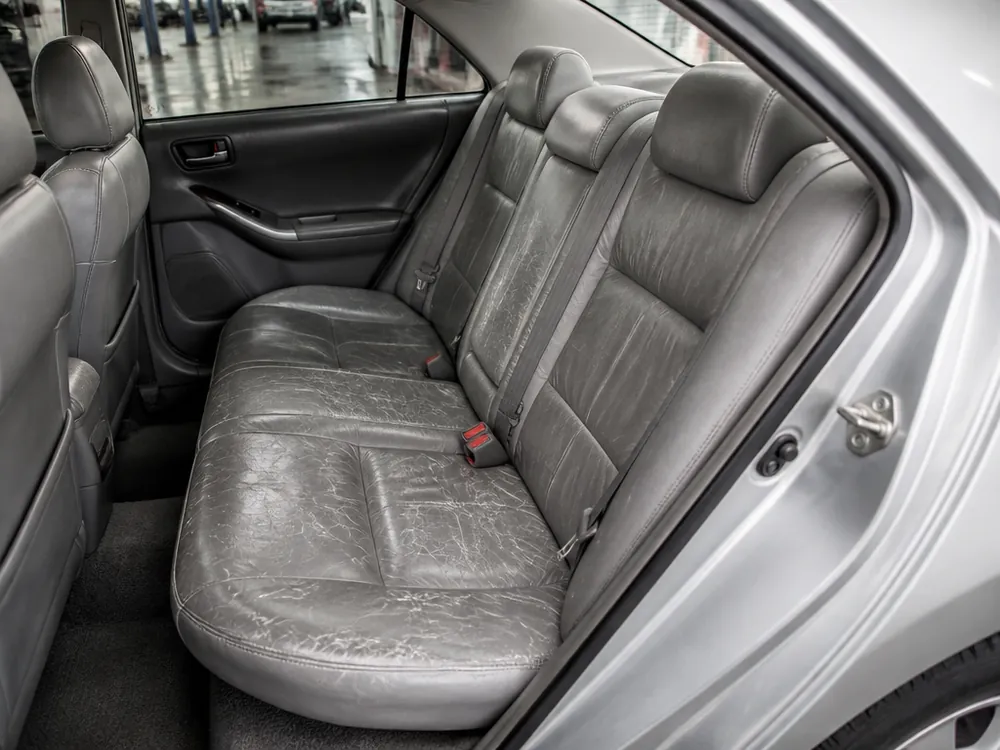
- Cracks and creases in the leather: a network of microcracks on the cushion means the top layer has dried out and won't recover on its own.
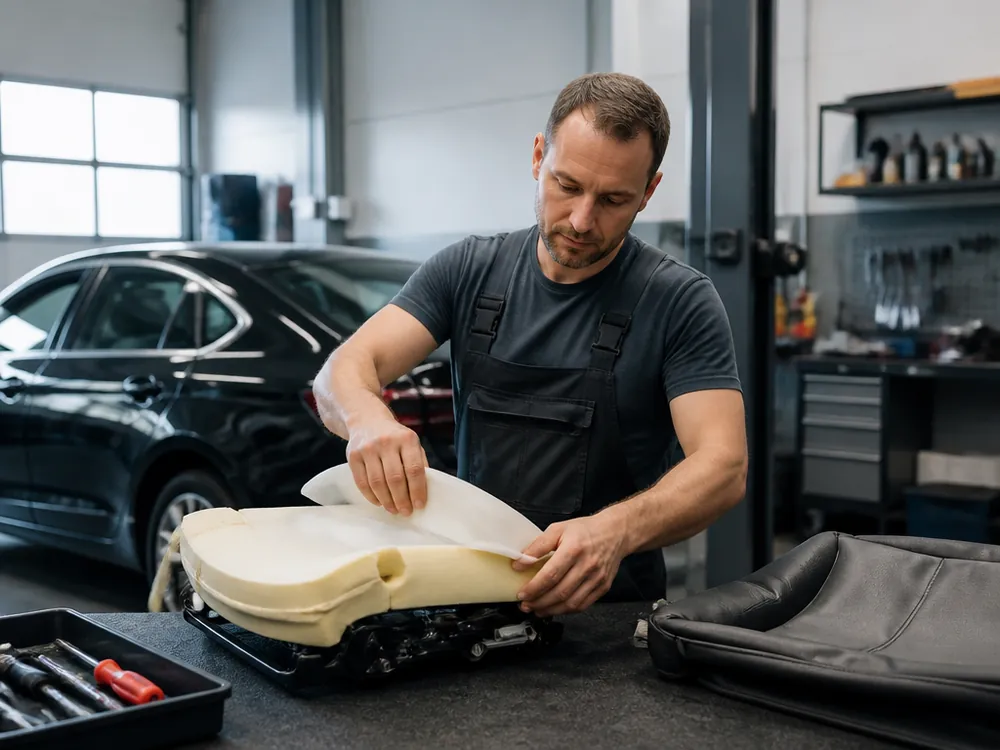
- Collapsed foam padding: the seat cushion sags, the upholstery droops over emptiness instead of a firm base, and over time the leather over the dip stretches and tears, turning a local repair into reupholstery.
- Burns and cuts: local damage from a cigarette or tool is closed with a patch without replacing the panel.
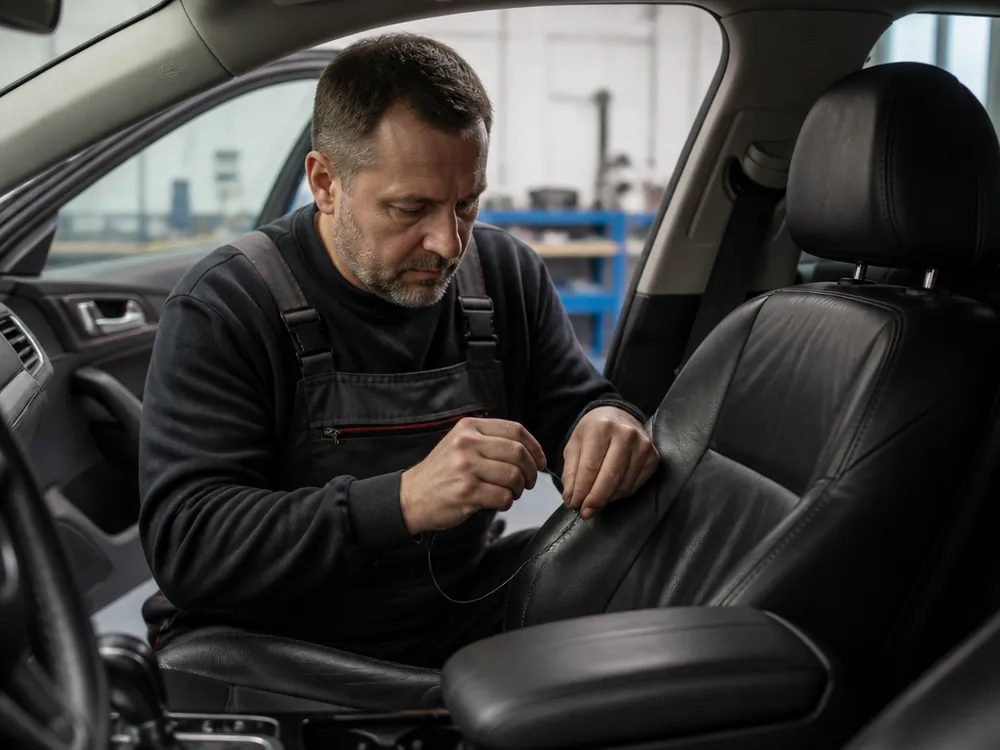
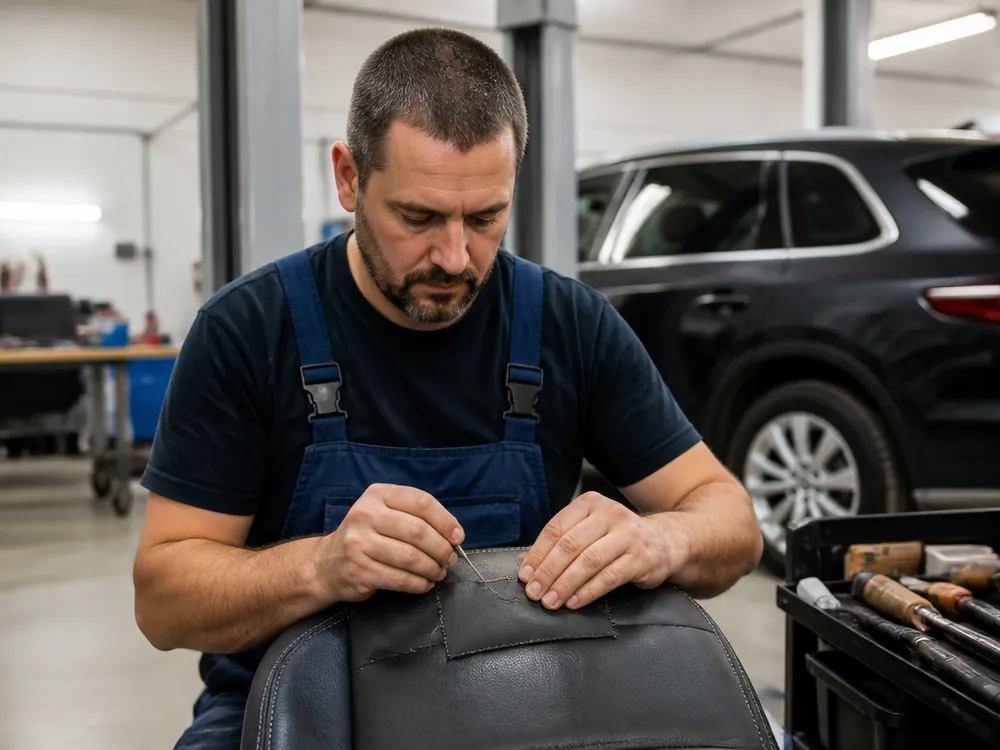
- Coming-apart seams: the thread at the joint snaps under load, and without restitching the tear spreads further through the material.
Can you restore one seat or just the cushion
We restore one seat or a separate cushion without touching the backrest or the rest of the interior. Around the city, most often it's the seat cushion that needs repair—it takes the main load when you get in—or the side bolster of the driver's seat. Reupholstering one seat is also done separately: we remove the piece, disassemble the cover, and work through the full depth rather than masking the defect on top. If the interior has faded unevenly, we match the color to your specific piece—otherwise the fresh area stands out against the neighboring ones. In my opinion, a spot repair makes sense when the frame is intact and the neighboring seats are in decent condition. Before starting work, the service advisor shows which areas will be replaced and which will stay original.
How car seat restoration is done and why the cover is disassembled
The work starts not with a can of paint but with disassembling the seat. We show the steps and explain why we remove the cover instead of painting over the defect.
Work stages from intake to handover
- Intake: the car is received by the service advisor, who records the upholstery defects and manages the work order through to handover.
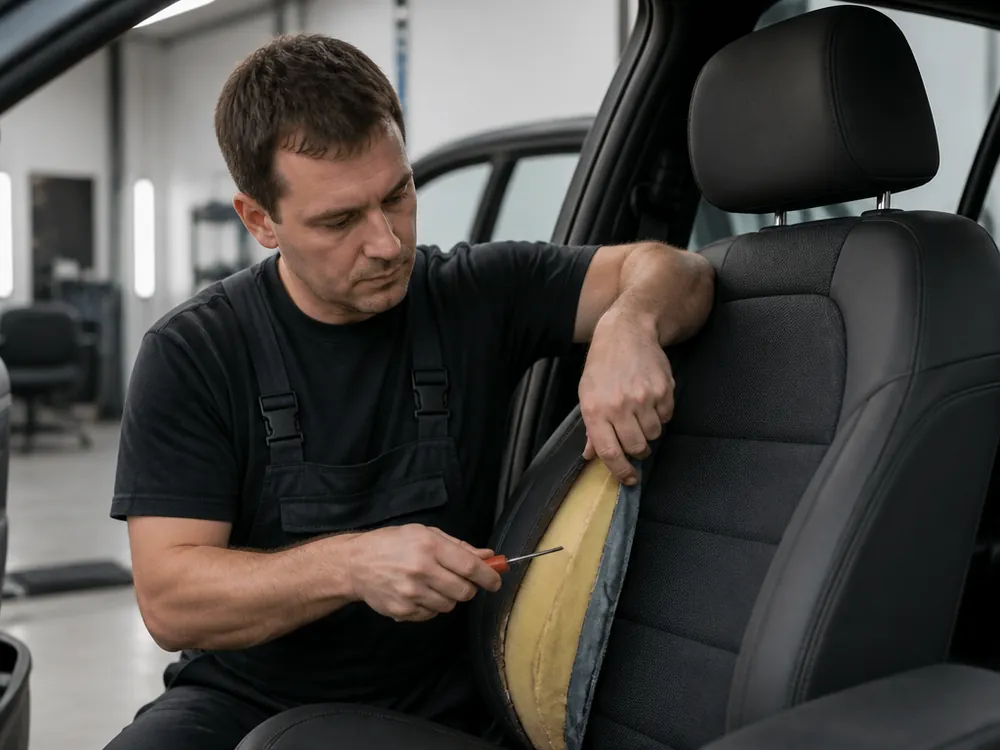
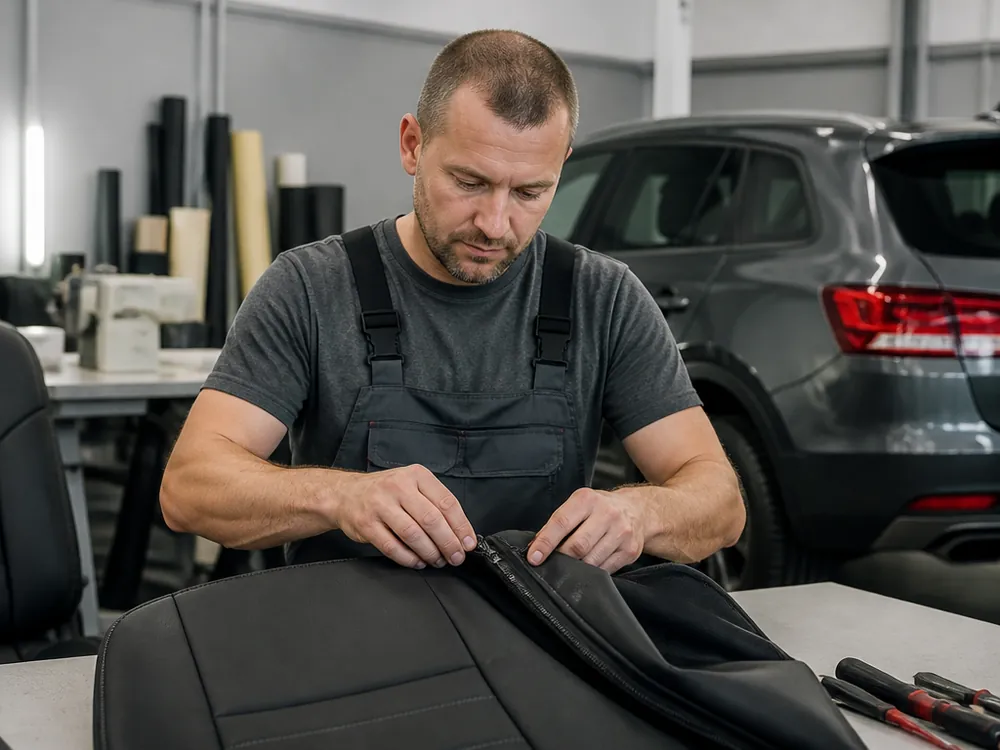
- Disassembly: we remove the seat from the rails, disassemble the frame, and separate the cover from the foam to reach the defect.
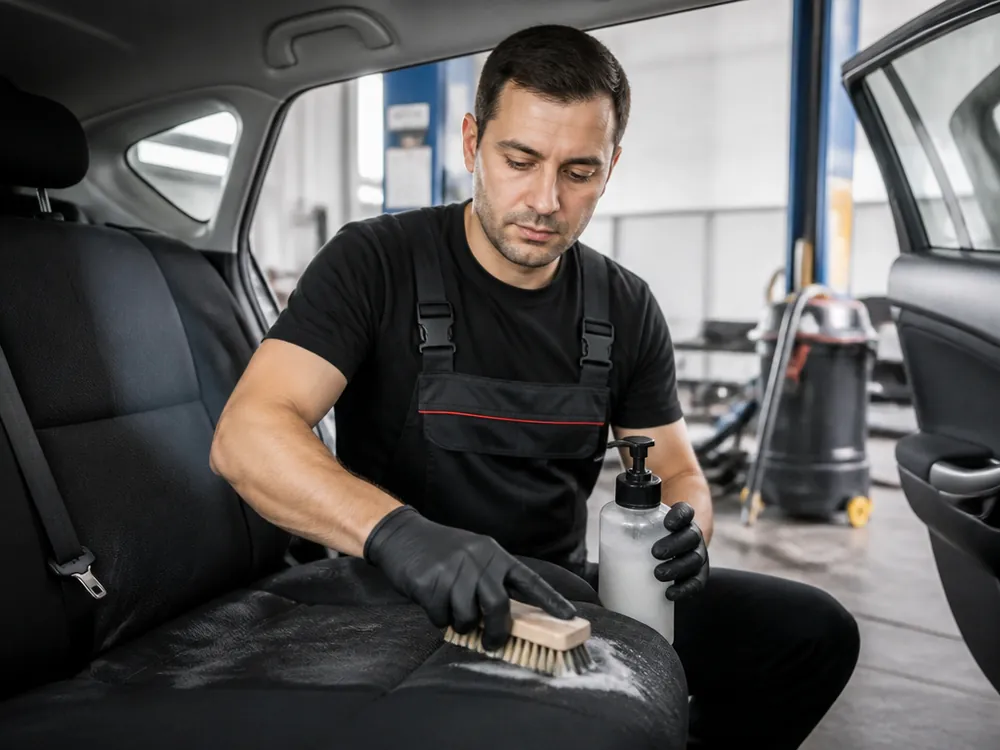
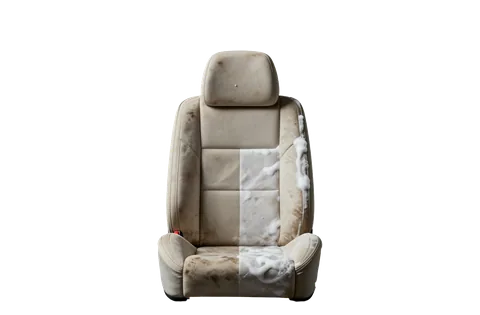
- Chemical cleaning: we treat the upholstery with a brush and a mild solution and extract the moisture—leather and fabric don't shrink.
- Seat upholstery repair: we fix burns and cuts, restore the side bolster, and replace the zipper on the cover if needed.
- Assembly: we stretch the cover onto the frame, check the fit on the cushion and backrest, and reinstall the seat.
- Handover: before handover we take a test drive and show what changed in the fit and upholstery.
- Photo report: we photograph the key stages so you can see what was done before assembly.
Why we remove and disassemble the cover instead of masking on top
We remove and completely disassemble the cover to fix a burn or cut through its full depth rather than mask it on top. The top layer of leather on a seat is thin: beneath it are foam, reinforcing fabric, and a joining line, and the defect almost always goes deeper than the visible spot. The CARGID technician opens up the area, assesses how damaged the padding is, and restores it layer by layer. A masked cut holds until the first serious load—body weight and friction when getting in press on it. Disassembly takes more time, but the result lasts the entire warranty period. In my opinion, skimping on disassembly makes no sense: redoing after a failed masking costs more, and damaged foam is harder to restore than to replace right away.
4-layer seam and chemical cleaning without stains
We stitch the leather with a double seam and glue it—the 4-layer joint doesn't come apart under load and doesn't let moisture through to the padding. A single stitch on the side bolster is the first to snap because this area is under tension every time you get in, and the gluing seals the needle holes. We clean the upholstery with a brush and a mild solution, and we extract excess moisture right away instead of letting it dry on the seat: fabric and leather don't shrink, and no stains remain after drying. Seat chemical cleaning is done before repair; otherwise dust gets into the fresh stitching and the seam loses its seal. When restoring leather seats in our shop, every joint is manually checked for stretch before assembly, and fabric inserts are dried separately from the frame.
Car seat restoration timelines and whether you can leave the car
The timeline depends on the scope: one seat, a pair of front seats, or the whole interior. Below are time estimates and how to leave the car with us during upholstery restoration.
How long does it take to restore one seat and a set
volume and seat count guidelines| Volume option | What's included | Time guideline |
|---|
| One seat | Local repair, cut elimination | 1–2 days |
|---|
| Cushion or side bolster | Cushion repair, side bolster restoration | 1 day |
|---|
| Pair of front seats | Upholstery restoration, zipper replacement | 2–4 days |
|---|
| Full interior set | Complete restoration of all seats | from 4 days |
|---|
Can I leave the car at the service center during the work
You can leave the car with us during the work — we take appointments, no waiting in line, daily from 09:00 to 20:00. We remove and disassemble the seat in the workshop at 129 Mukagali Makataev Street, so the car stays on the lot while the upholstery is being restored. Car seat restoration takes longer the deeper the defect, so the exact timeframe is given by the service advisor after inspection. The service advisor handles intake: he creates the work order and keeps it until handover, so you get status updates from one person, not different shifts. A scheduled client doesn't have to wait in the general queue — the specialist starts working on the car right away according to the work order. If the process drags on due to the depth of the defect, the advisor calls before the deadline exceeds the agreed one — in my opinion, that's more convenient than finding out about a delay at handover. Plan your visit so the car is available for the entire time guideline from the table above.
Why the timeframe stretches with deep defects
Restoring one side bolster takes less time than a full set, but foam collapse and zipper replacement add separate stages to the base cycle. Foam crumbs accumulate under the cushion, and they have to be cleaned out and a new layer laid — otherwise the new fabric will sag quickly. We replace the zipper on the cover together with the upholstery: the old slider breaks under load, and re-sewing later costs more than doing it right away. We glue and double-stitch each layer of leather, and drying after chemical cleaning takes time that can't be shortened with heat without risking shrinkage. In our practice, a set of front seats with two defects on each requires more time — that's why we give the exact timeframe after inspection, not over the phone.
Warranty on car seat restoration and warranty cases
A warranty only works when its terms are clear in advance. We explain the term, the master's area of responsibility, and situations that are not covered by the warranty.
What warranty is provided and where it's documented
We provide a 12-month warranty on upholstery restoration and record the term and conditions in the work order and the completion certificate. Twelve months is the same term as for the engine, cylinder head, timing belt, automatic transmission, electrical system, glass, and headlights: upholstery work is classified as complex, not consumables like oil or brakes. The service advisor manages the work order from intake to handover, and he also enters the warranty obligations into the documents and gives them to you along with the car. The terms on paper at handover are your argument if a seam comes apart: you don't have to remember what was agreed verbally. Keep the certificate until the end of the term — it's what you use to file a claim if a defect appears.
What is considered a warranty case and what is not
- Seams and gluing: separation of the double seam or peeling on a restored area is fixed under warranty at no charge.
- Completed work: local upholstery repair, side bolster restoration, zipper replacement on the cover, seat cushion repair.
- Accident after repair: upholstery damage in a crash is a new insurance case, not a defect in our work.
- Third-party intervention: if the seat was reupholstered by another technician or by yourself, the warranty on that area is void.
- Normal wear: scuffs from daily use and leather fading are material wear, not a defect.
- Free diagnostics: in a disputed situation, we first determine the cause, and only then decide who pays.
Photo report and test drive before handover
We take a photo report at key stages of the repair and test-drive the car before handover. The photos show the seat before disassembly, the condition of the foam and frame under the cover, intermediate seams, and the final appearance of the upholstery after chemical cleaning. We show and give you the old parts — removed covers, worn zippers, leftover foam — so you can see exactly what was replaced. The test drive isn't just a formality: while driving, we check that the heating and power adjustments work, the cover doesn't pull or squeak in turns, and the seating position remains the same. The photo report shows how the upholstery looked under the cover before repair — the photos prove the defect was fixed, not just covered up. If anything seems off during the test drive, we'll disassemble the seat again before handover.
Your own materials and related work in one visit
Some owners bring their own leather or Alcantara, others come with a non-working seat heater. We answer both questions: what we do with the client's material and how we combine upholstery restoration with electrical repair.
Can I bring my own leather or Alcantara
We work with leather, eco-leather, Alcantara, fabric, and velour, and the client can bring their own material — we accept it for work just like our own. Before starting, the service advisor inspects the material: checks thickness, elasticity, color uniformity, and defects, because thin or dried-out material behaves differently when stretched and stitched. With their own leather, clients more often order reupholstery of one seat or side bolster restoration when they want to preserve the factory interior shade. Some also bring Alcantara for worn inserts — the pile on creases wears faster than smooth leather, and replacing the insert restores the seat's look without full reupholstery. The warranty does not cover parts brought by the client — the material is outside our control, so we check its quality at intake and record the inspection result in the work order before starting work.
Heated seat and power seat repair together with upholstery
We repair heating and power adjustment with our own electrical specialist — in one visit with upholstery restoration. We have technicians with 9–18 years of experience, and a dedicated specialist for electrical work: he tests the heating element, checks the control unit, connectors, and seat position drives, and dealer scanners for 40+ brands help read errors for the specific model. There's no need to disassemble the seat twice: while the cover is off, the electrician checks the heating wiring and adjustment motors so everything works after reassembly. Often the cause of failure is a worn wire at a bend or a corroded connector under the upholstery, and finding it without removing the cover is impossible. This approach saves time — related work goes in parallel with restoration, not as a separate visit. We provide a 12-month warranty on electrical work and record the term in the certificate at handover.
Booking, intake, and care after restoration
We break down what goes into the scope of work and how the estimate is put together, how to book a time that suits you, and how to care for restored leather so the result holds up for years.
What determines the scope of work and the estimate
First we run diagnostics and put together a written estimate, and we only start the repair after the client agrees. During the inspection, the technician assesses the size of the defect, the depth of cuts and burn marks, the condition of the foam padding under the upholstery, and the type of material — genuine leather, synthetic leather, or Alcantara each require a different technique. If the cushions have sagged, replacing just the top layer isn't enough: the padding is replaced, otherwise the new section will quickly wear through along the old contour. Local upholstery repair, restoring the side bolsters, and reupholstering a single seat are priced separately — these are jobs of different labor intensity. We also include disassembly of the seat in the estimate, because we fix the defect through its full depth. The scope of work is determined by the size of the defect, the condition of the foam, and the type of material — which is why an estimate from a photo is always approximate, and the exact one comes after inspection.
How to book and what to bring
You can book a time that suits you — we're open daily from 09:00 to 20:00 at 129 Mukagali Makataev St., Almaty. When you book, describe the defect and send a photo of the seat: the technician will prepare the materials in advance and free up a bay. Your car is received by the service advisor, who also handles the work order through to handover — one person is responsible for the whole cycle, so you don't have to explain the problem again to different staff. Bring your vehicle documents and, if you have them, your own upholstery materials. With an appointment you arrive without waiting in line: the service advisor is expecting you specifically and opens the work order right away. It's better to book in advance — that way the inspection and estimate take less time, and the seat goes into work without sitting idle.
How to care for restored leather
- Wet cleaning: wipe the upholstery regularly with a soft damp cloth, without soaking the seams.
- Neutral product: choose a formula without alcohol or alkali — harsh chemicals strip the protective treatment.
- Sun and heat: don't leave the car under direct sun for long periods; in summer, sunshades or a seat cover help.
- Soft brush: stiff bristles scratch the top layer and speed up wear on the restored section.
- Stains right away: blot up any spilled liquid with a napkin before it soaks into the seam — that makes it easier to preserve the treatment.
- The right product: a neutral formula and a soft cloth make the results of the treatment last noticeably longer than occasional cleaning with harsh chemicals.
Seat restoration: when it beats reupholstery
Seat restoration solves the problem more cheaply and faster than reupholstery, as long as the upholstery and frame are still repairable. Below are a few key takeaways to keep in mind before your visit to the shop.
- Factory upholstery vs. reupholstery: restoration preserves the original leather and seams; a full replacement is needed when there are through-and-through tears across the entire seat.
- Spot repair: collapsed foam and cracks are fixed locally, as long as the frame is intact and holds its shape.
- Cover disassembly: the part is removed and taken apart to eliminate the defect through its full depth, not just mask it on top.
- Timing: the technician gives the exact duration after inspecting the condition of the upholstery and padding — the scope depends on it.
- Warranty: 12 months on the work is recorded in the work order, and diagnostics for a warranty case are free of charge.