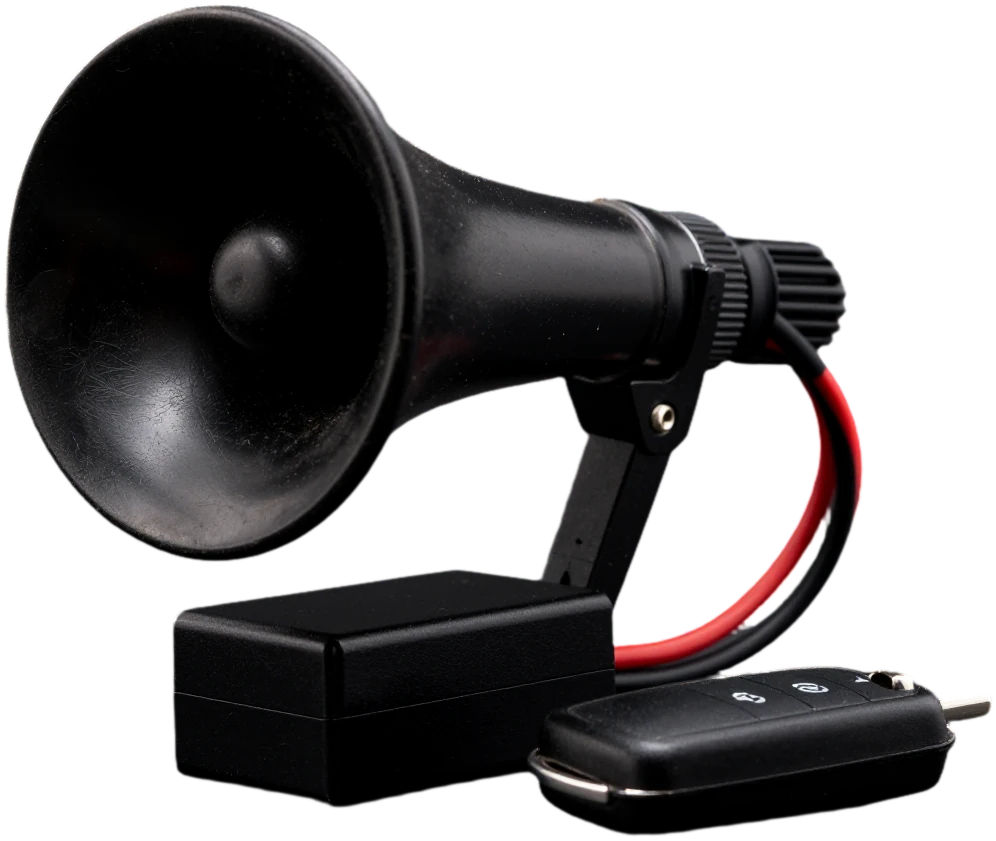
The best alarm is the one that solves the owner's needs, not the one with the most features. So the choice starts with the question of why you need it, and only then moves on to models and configurations.
How We Choose a System
Our car alarm installation starts with a free consultation and an inspection of the car, not with picking a box off the shelf. The technician checks the make, model, and trim, looks at whether there is a factory alarm, a CAN bus, a start button, and then asks where the car spends the night, whether you need winter warm-up, and how often you leave it for long periods. The answers determine whether you need feedback, a GSM module, or whether a simple system with a siren and central lock connection will do. We offer several options for your budget and the features that will actually be useful, not the maximum configuration. If you bought the alarm yourself, we check the kit and compatibility before work begins. Tip: think in advance about which two or three features matter most to you — that way the choice takes minutes, not an hour.
What to Ask Before Buying
- Connection to your car: ask whether a CAN module is needed and how the system bypasses the factory immobilizer.
- Warranty: find out how long the installation warranty lasts and, separately, the manufacturer's warranty on the unit itself.
- Removal when selling: ask whether the system can be removed without cutting the factory wiring.
- Current draw: for a car that sits for long periods, it matters how much the system draws from the battery in armed mode.
- Service and parts: find out where the remote and the unit of this brand are repaired and whether spare remotes are available.
- Practical takeaway: the answers to these questions matter more than the number of features in the brochure.
Remote start without risk to your car
Remote start is one of the main reasons to install a security system in Almaty with its cold winters. But this is exactly where installation mistakes most often happen that make theft easier or damage the engine.
Immobilizer bypass
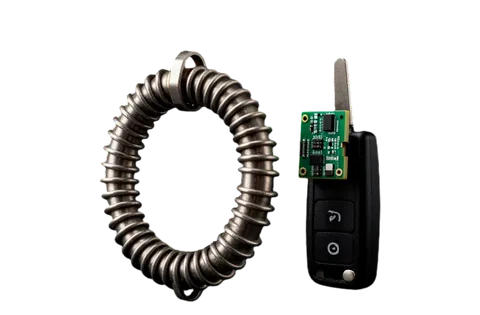
A remote-start alarm must bypass the factory immobilizer, otherwise the engine won't start without the key in the ignition. There are two main approaches. The first is a bypass module with a spare key or chip hidden in the cabin: it's simple, but a key inside the car reduces theft protection. The second is a keyless bypass via a CAN module that sends the needed signal to the factory electronics itself, while the key stays with the owner. We choose the method based on the car model and always explain how the chosen option affects security. If a bypass with a key can't be avoided, we hide it so it can't be found in a couple of minutes and supplement the system with an engine kill switch. Tip: if your car already has a key-based bypass, check where it's located — sometimes it's left right under the dash in plain sight.
Remote start on automatic and manual
On an automatic, remote start works only from position P, and the system checks this before starting, so the risk of the car moving is minimal. On a manual, it's more complicated: the engine can be started remotely only if the gearbox is in neutral and the parking brake is engaged. For this there's a software neutral — a sequence of steps when arming during which the system remembers that the gear is disengaged. If the driver opens the door or releases the parking brake, the mode resets and remote start won't work. Starting can be set by alarm, by timer, by cabin or engine temperature, and on some systems by battery voltage drop. Practical takeaway: on a manual, remote start is safe only with properly connected door switches and a parking brake sensor, so you shouldn't cut corners on these connections.
Safe warm-up rules
- No closed garage: exhaust in an enclosed space is dangerous, so remote start is used only in an open parking area.
- Short warm-up: a few minutes is enough for the oil to thin out; a long idle warm-up just wastes fuel.
- Battery: in winter, frequent short starts drain the battery, so it helps to enable starting on low voltage.
- Gear on a manual: always check neutral and the parking brake before leaving, otherwise the system will refuse to start.
- Communication range: a two-way remote confirms the start; without it you won't know if the car started.
- Practical takeaway: temperature-based winter warm-up is more convenient than a timer — the engine starts only when it's actually cold.
Installation when you have a car alarm installed with us
Installation quality doesn't show up right away but over the years — through false alarms, battery drain and the condition of the factory wiring. That's why care matters more than speed here.
Inspection and wiring diagram
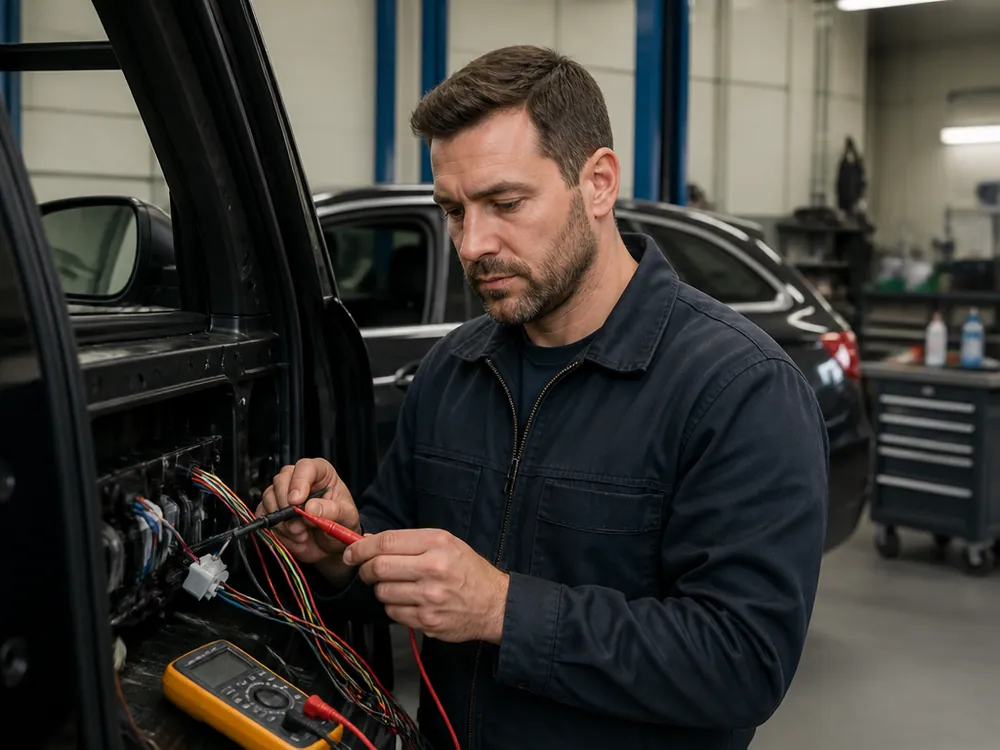
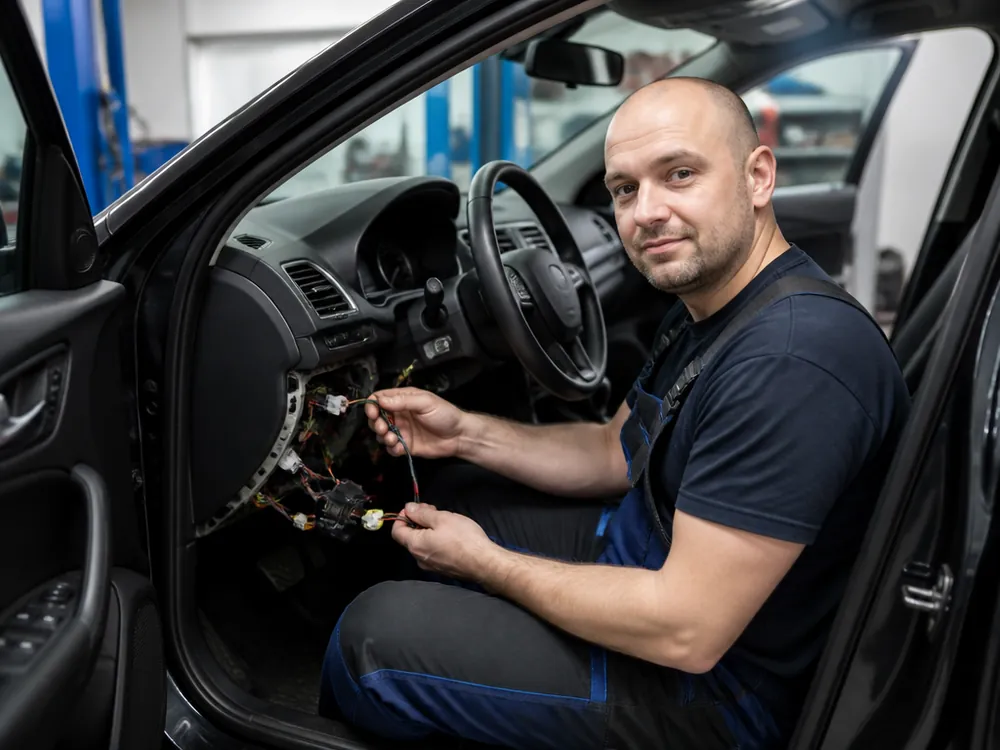
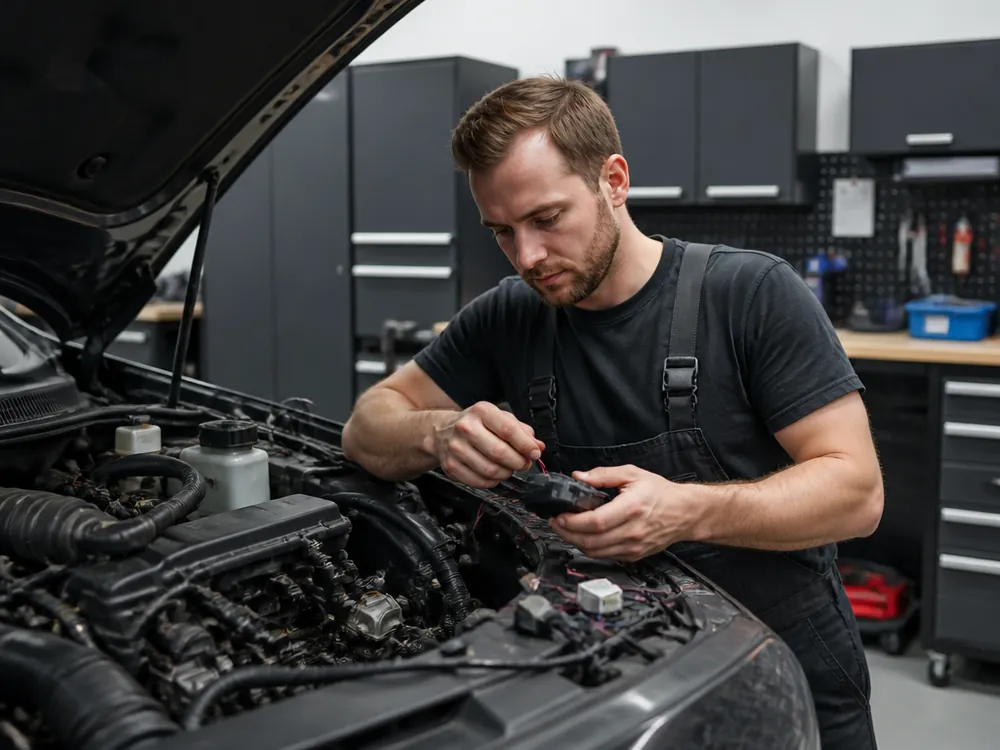
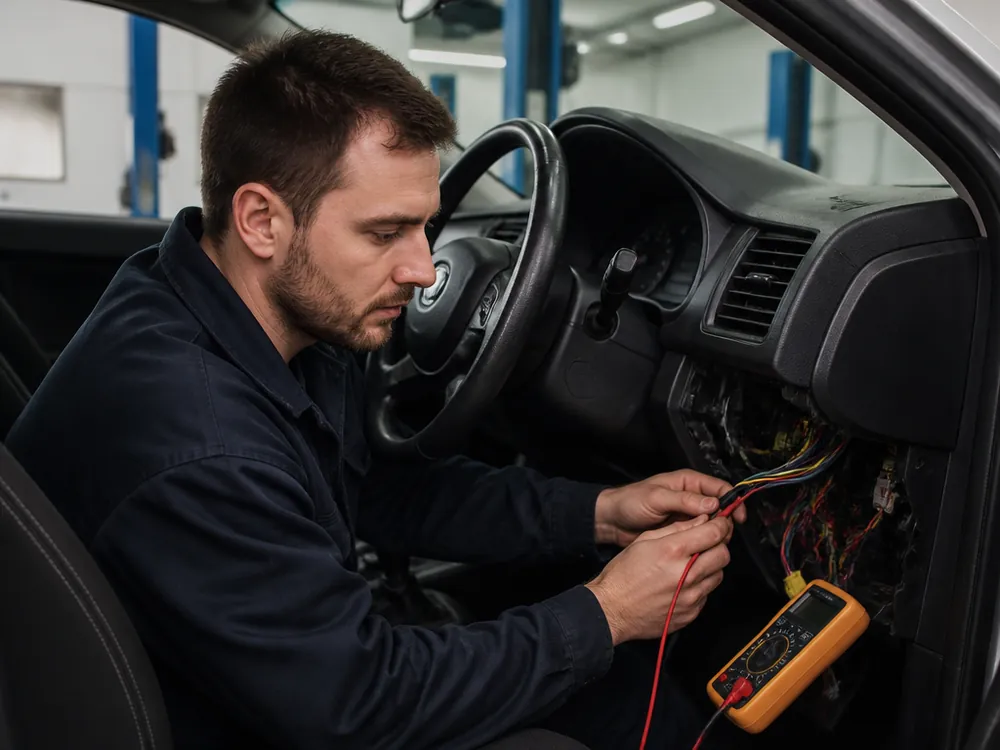
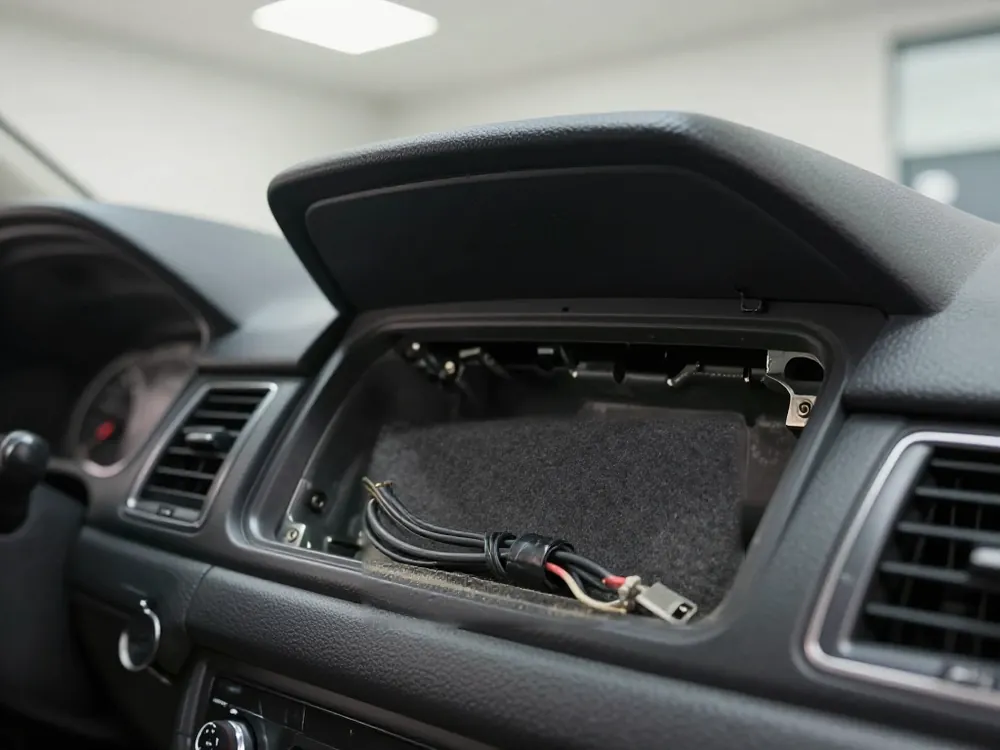
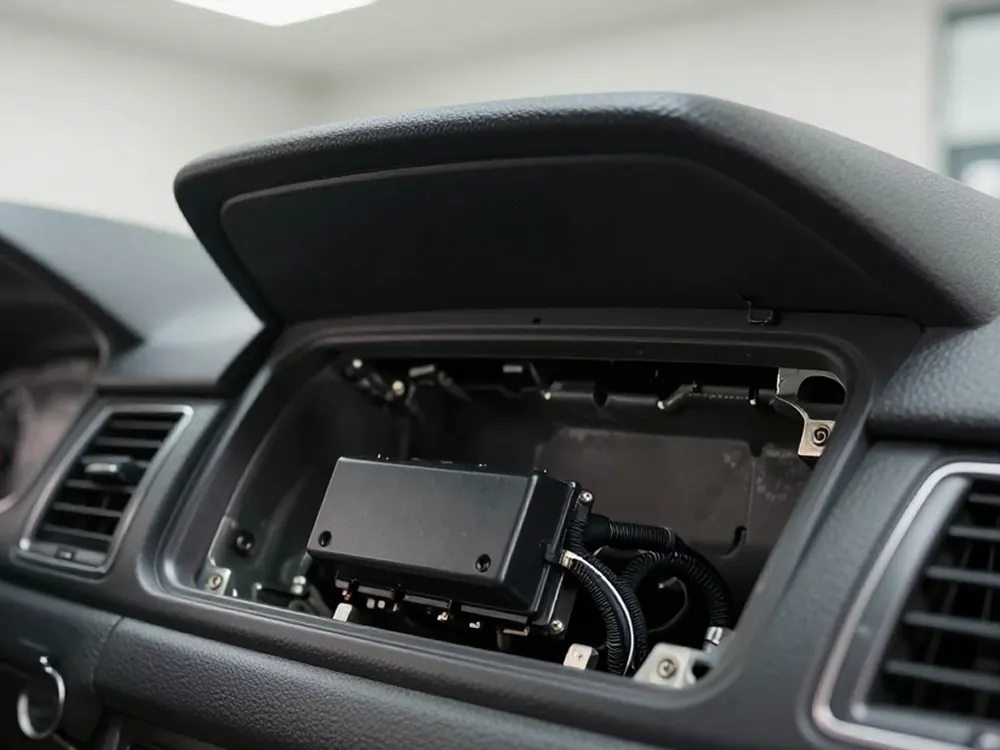
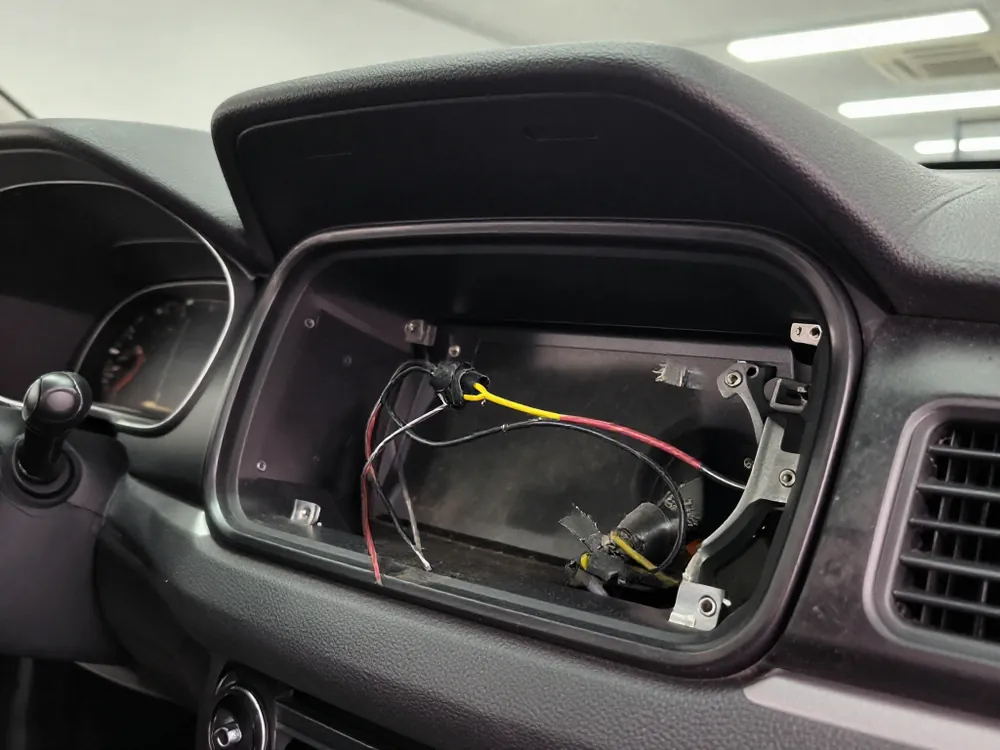
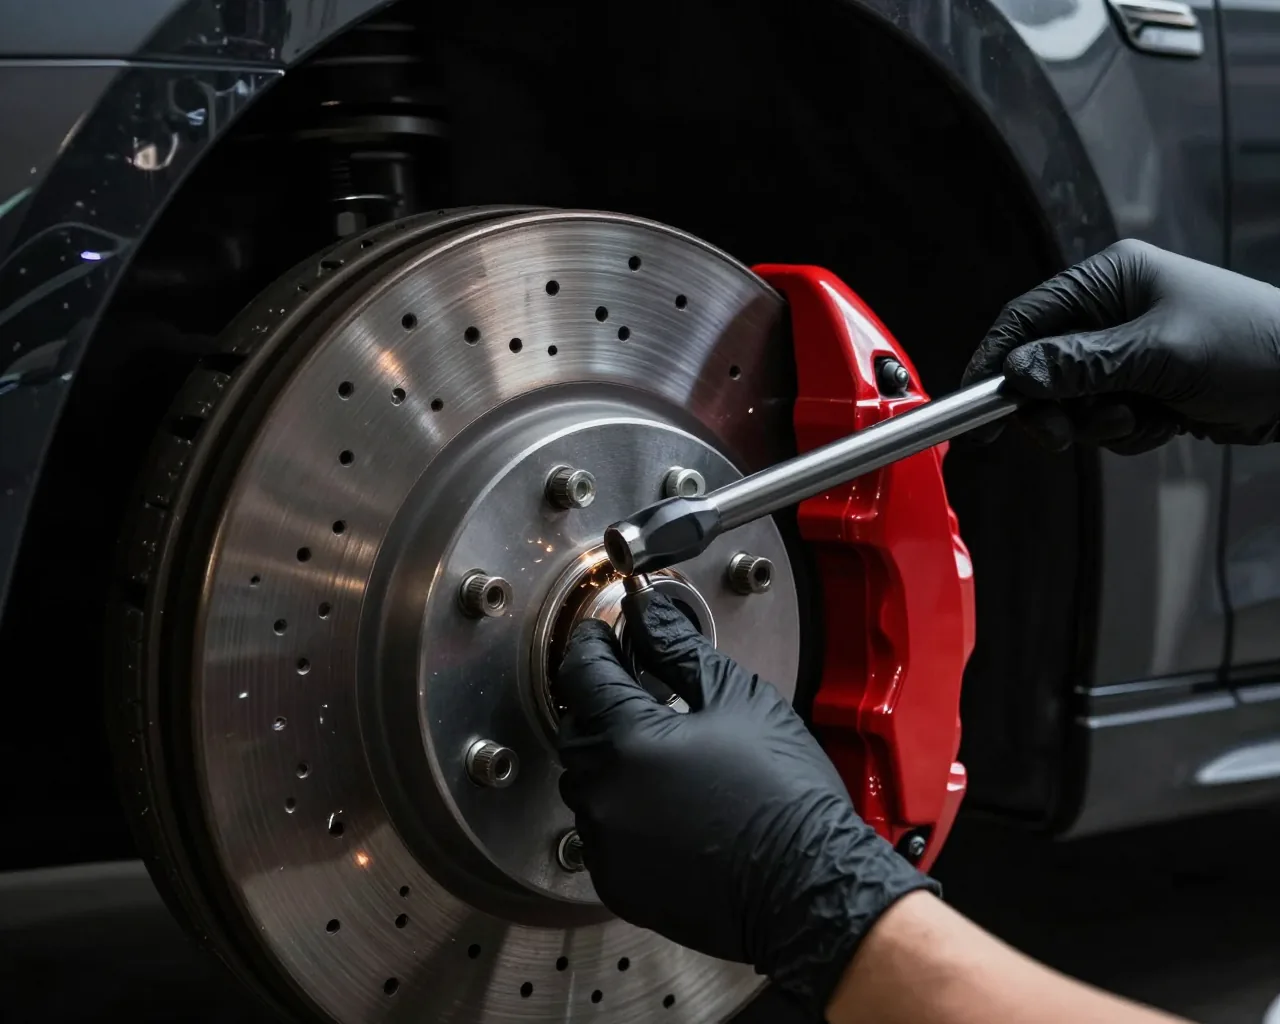
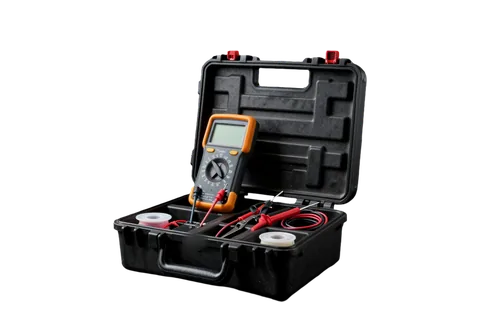
Car alarm installation in Almaty with us starts with an inspection of the factory wiring and electronics: we check voltage, the condition of connectors, traces of previous installations and DIY connections. Then the technician determines the optimal scheme — which circuits to take through the CAN bus, which to connect directly, where to place the unit, antenna and siren. If the car had an old alarm, we remove it and restore the factory wiring rather than adding on top. We redo the twists and unsoldered connections of the previous installer right away: these are what most often cause remote-start failures and battery drain. We remove trim and panels carefully, without broken clips or scratches. Tip: if electrical oddities appeared after a previous installation, tell us about them during the inspection — that way the technician will find the problem spot faster.
Soldering, labeling and routing
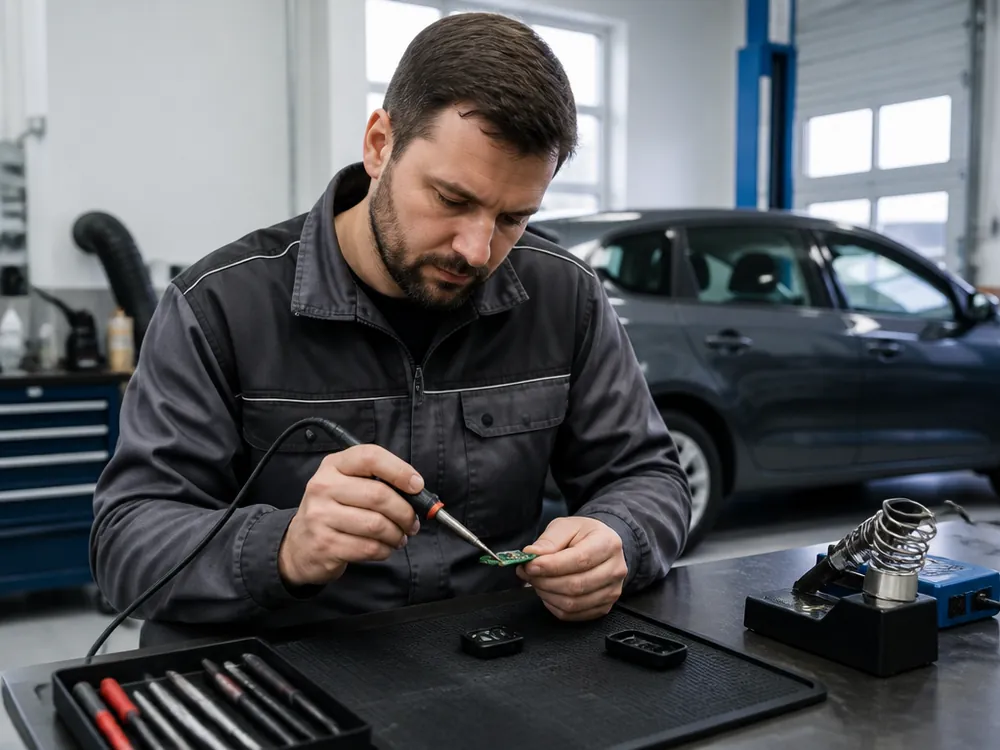
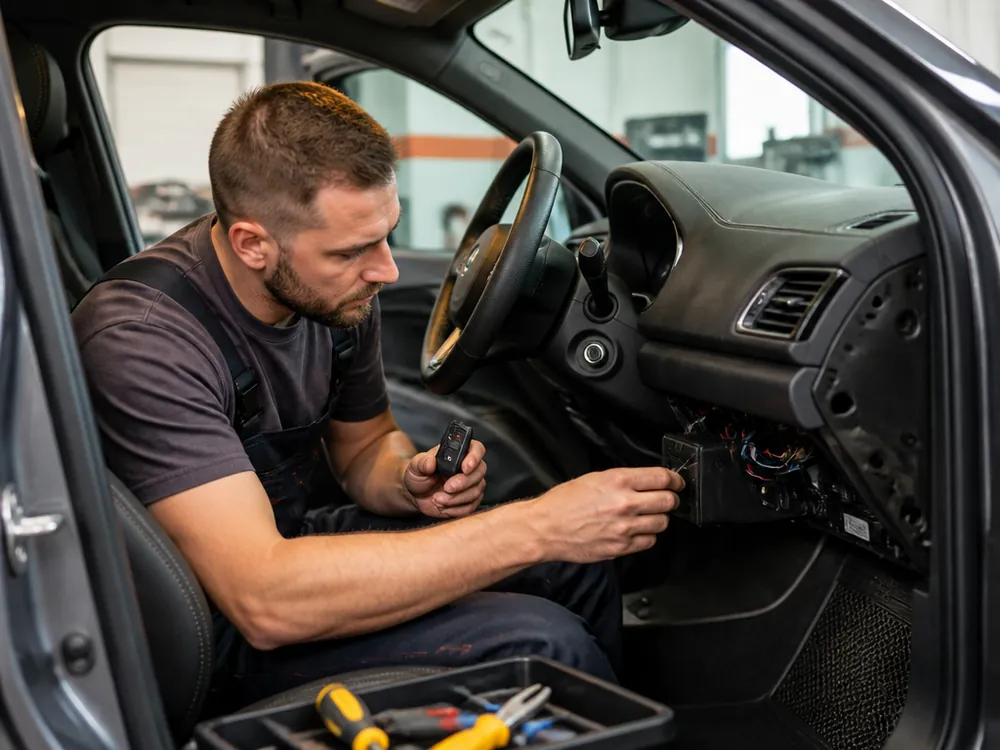
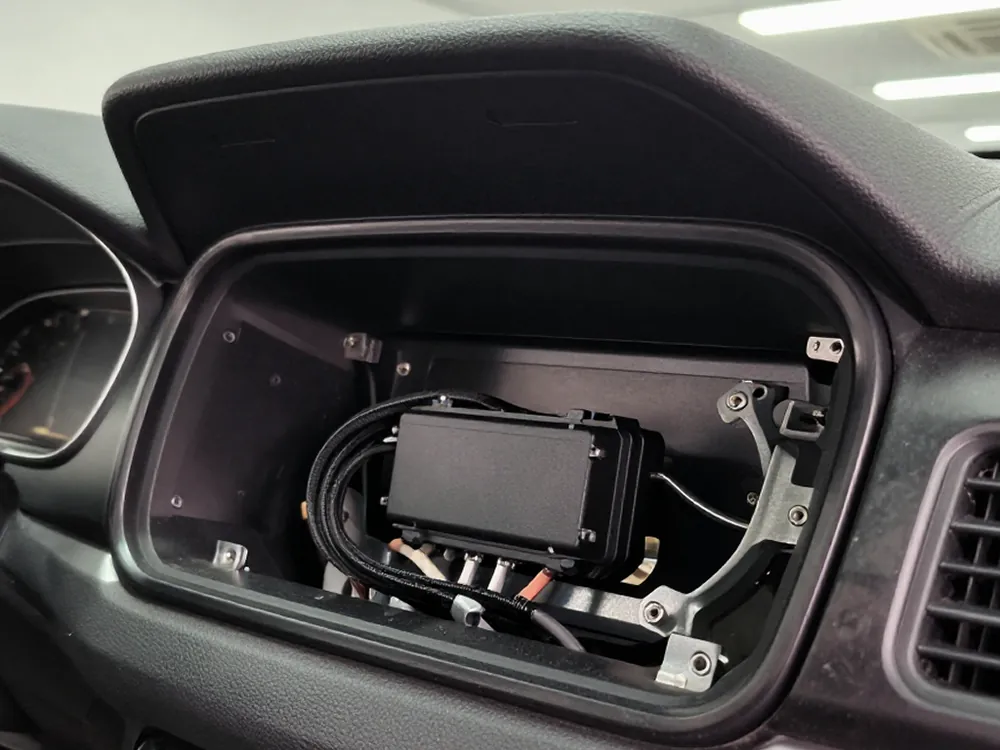
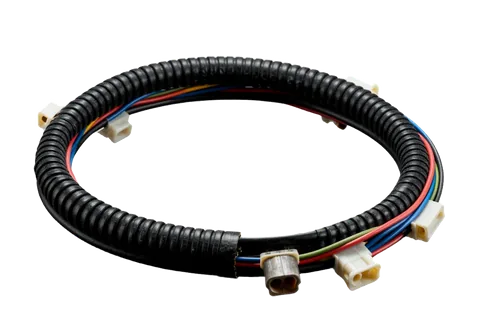
We solder connections and insulate them with heat shrink rather than twisting and wrapping with electrical tape. A twist oxidizes over time, the contact weakens, and after a season or two you get false alarms, remote-start failure or doors unlocking on their own. We label the connectors in the harness and put them on locks so that, if needed — for repair, unit replacement or selling the car — the system can be removed without traces or cuts to the factory wiring. We route wires along the factory harnesses and secure them with zip ties so they don't rub against metal or rattle. We fix the unit so it doesn't dangle under the dash. A standard installation with remote start takes 3–4 hours, a complex system with a CAN module — up to 6–8 hours, and we hand the car back the same day. Tip: ask to see how the wires are routed before the trim is put back in place.
Where not to place the unit
- Under the steering wheel in plain sight: this is the first place a thief checks, and the unit there can be removed in minutes.
- Near heat sources: the heater and exhaust system overheat electronics and shorten their service life.
- In water-prone areas: under the sills, near drains and in the recess under the floor mat, the unit corrodes.
- Without access for repair: hide the unit securely, but so the technician can reach it without disassembling half the cabin.
- Antenna under metal: a shielded antenna cuts the remote's communication range several times over.
- Practical takeaway: only the owner knows the exact installation location; the technician doesn't record it in open documents.
Theft protection beyond the alarm
The siren scares off an opportunistic thief and alerts the neighbors. What protects against a prepared car thief isn't volume but engine kill switches and properly selected sensors.
Engine kill switch
An engine kill relay prevents the car from starting without the remote or tag, even if the thief has opened the door and bypassed the factory protection. We install the relay in circuits without which the engine won't start and hide it separately from the central unit so that removing one component doesn't open the way. Several kill points are more reliable than one: the thief has to find each one, and that's time he usually doesn't have. For cars with remote start, we coordinate the kill switch with the start algorithm so the engine starts remotely but doesn't drive off without the owner. The tag can be set to a mode where the car stalls if the tag isn't in the cabin. Tip: keep the tag separate from your main key — if the bunch is stolen, the second line of defense stays with you.
Sensors and what they protect against
what each sensor does and the fine points of setting it up| Sensor | What it protects against | Setup nuance |
|---|
| Shock sensor | Broken glass, impact on the body | Two sensitivity zones |
|---|
| Tilt sensor | Tow truck, wheels being removed | Accounts for parking slope |
|---|
| Interior volume sensor | Break-in into the cabin | Turn off if there's an animal inside |
|---|
| Door triggers | Opening of doors, hood, trunk | Check every trigger |
|---|
| Voltage monitoring | An attempt to cut power to the car | Threshold for winter and summer |
|---|
Setup without false alarms
We set sensor sensitivity for the specific car and parking spot instead of leaving factory values. A shock sensor reacts differently on a sedan and on an SUV, and in a yard next to a road with passing trucks it has to be desensitized so the siren doesn't wail at every vibration. The tilt sensor accounts for the slope the car is parked on, so it's calibrated after arming. Two-zone sensors give a warning signal first and trigger a full alarm only on a strong impact. After setup we test triggering on site and show you how to change sensitivity from the key fob. Tip: if the alarm starts going off at night for no reason, don't disable the sensor entirely — just adjust the sensitivity, otherwise the neighbors will stop reacting to the siren.
Checking, removal and warranty on car alarm installation
The job doesn't end with connecting the last wire. What matters is the check at handover, the walkthrough, and what happens to the system a few years down the line — during a repair or when selling the car.
Check and walkthrough at handover
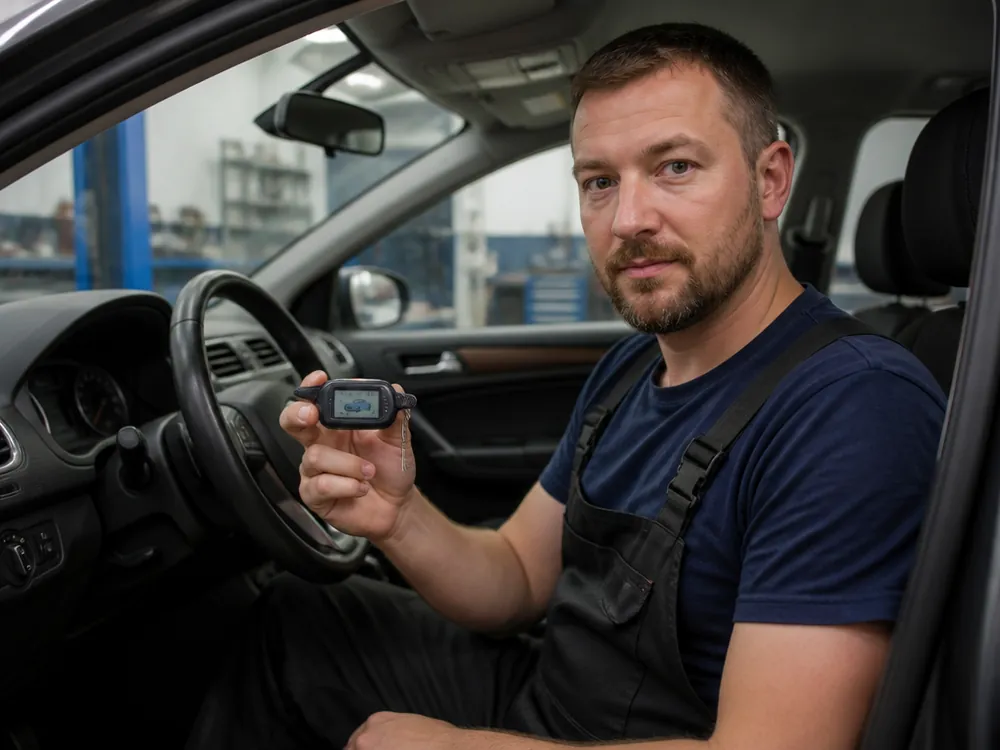
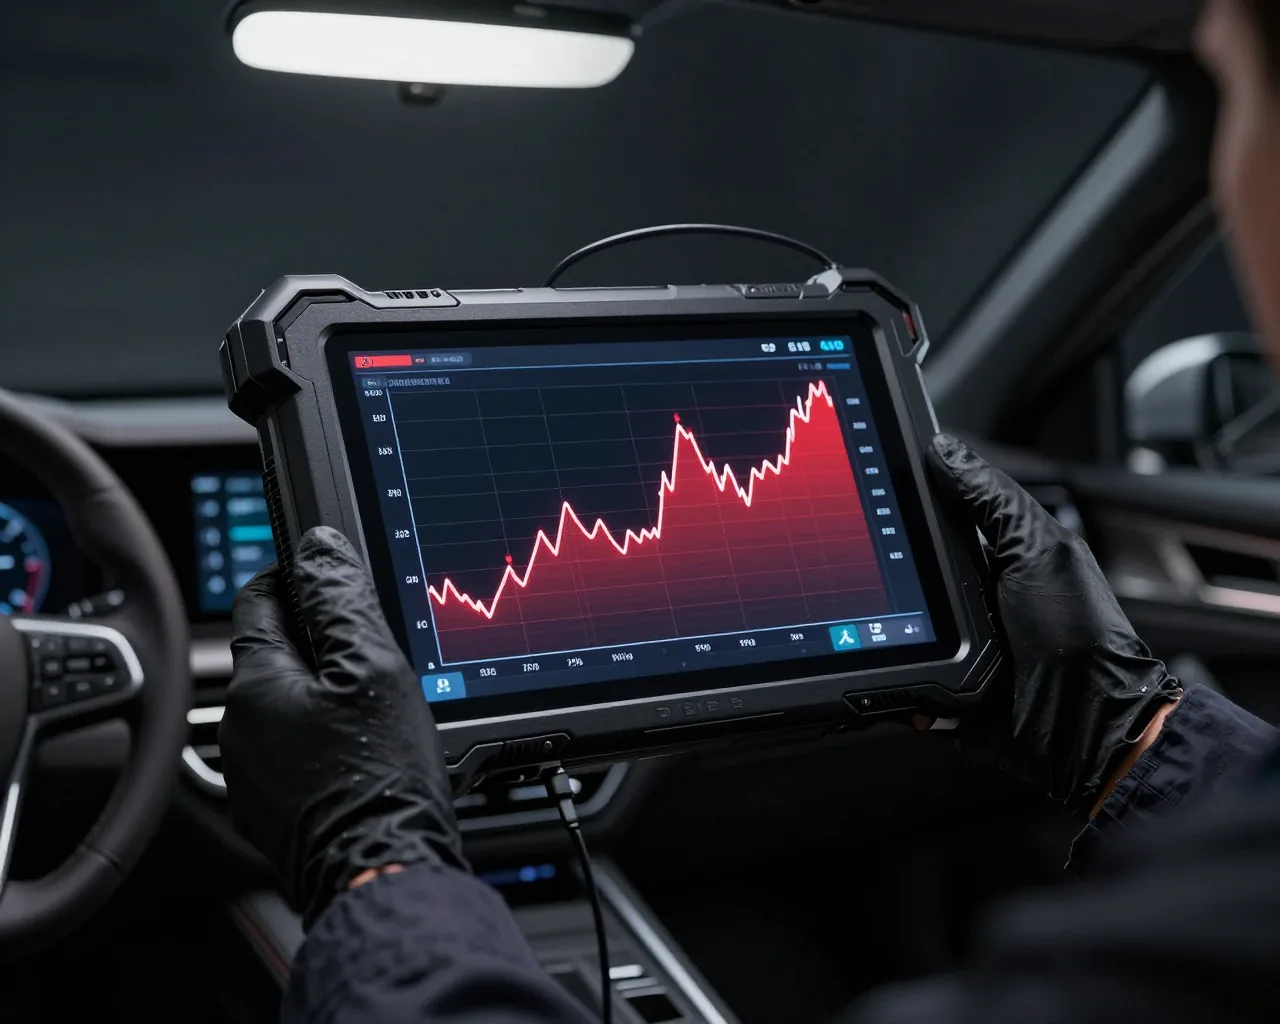
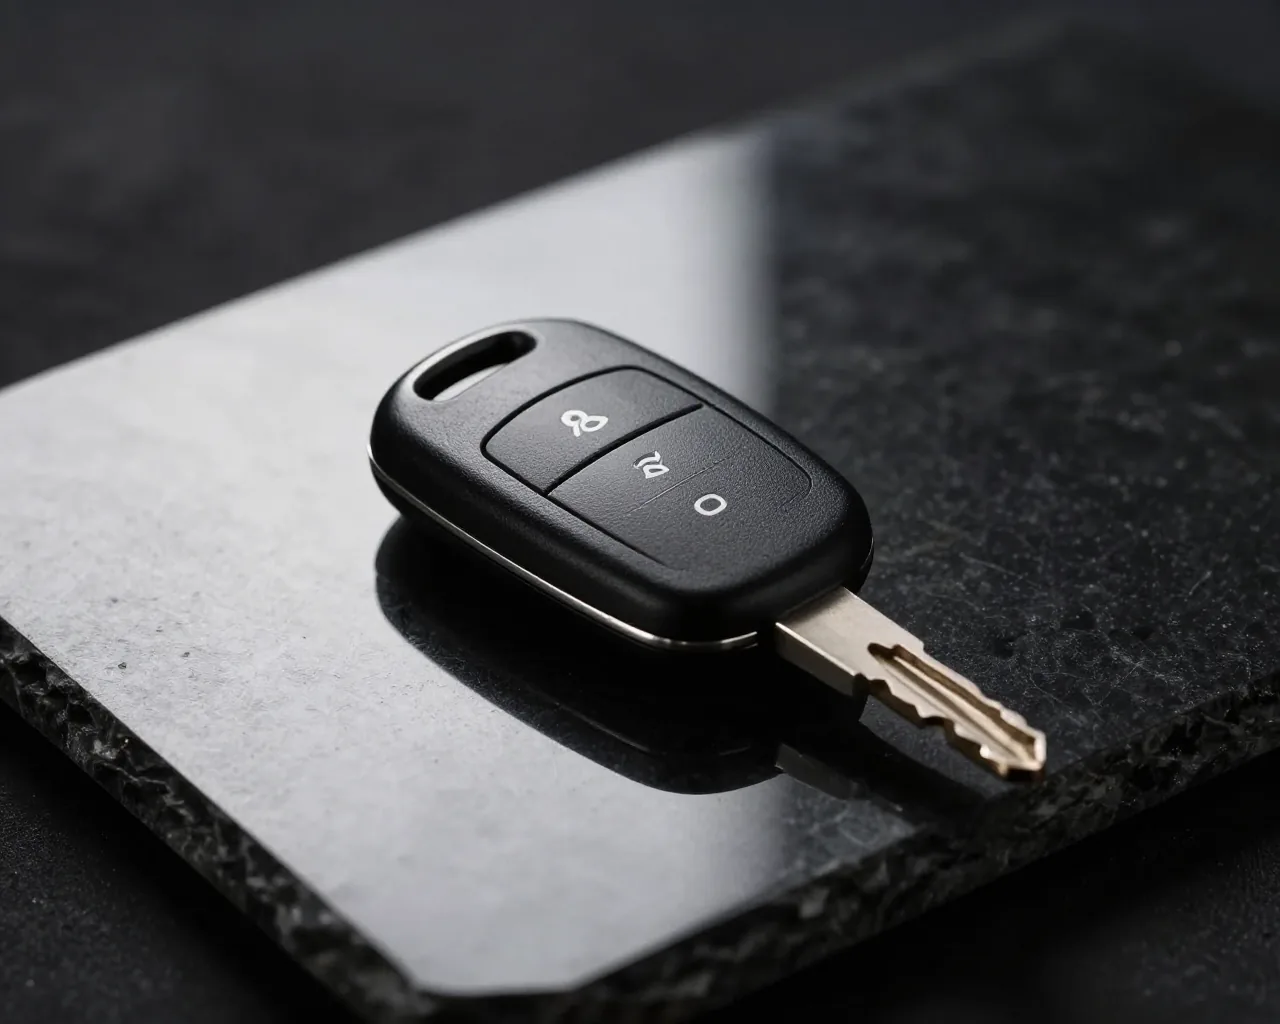
After installation we check the system across four channels: key fob, remote start, shock sensor and feedback, and we confirm each mode on site, with you present. Then we program the key fobs, reassemble the interior and show you how to arm the car, start it remotely, change sensor sensitivity and use service mode when dropping the car off for a car wash or repair. If a GSM module is installed, we help you set up the app on your phone. We issue a warranty card that records the warranty period for the installation. We take cars daily from 09:00 to 20:00, by appointment with no waiting, and if needed the installation can be done on-site at the customer's address. Tip: while the technician is still there, press every button on the key fob yourself and check the response — that way you'll remember the functions better than from the manual.
What the warranty covers
- Term: we give a 12-month warranty on alarm installation, and it's recorded in the warranty card.
- Installation: soldering, connectors and unit setup are covered by the warranty; failures caused by us are redone free of charge.
- The unit itself: the alarm carries the manufacturer's warranty, and we replace factory defects under it.
- Removal without traces: labeled connectors let the system be removed when selling the car without cutting the wiring.
- What's not covered: damage from third-party interference and do-it-yourself wiring modifications.
The alarm and the battery
A properly installed system draws very little from the battery in armed mode, but on a car that sits idle for weeks even a small current gradually drains the battery. That's why during installation we check the quiescent current after arming and make sure the unit and modules go to sleep as the manufacturer intended. If the car often sits for long periods, we recommend turning off extra functions like constant GSM module polling or setting up remote start on low voltage so the engine recharges the battery on its own. A weak or old battery is a common cause of complaints about a "glitchy" alarm: when voltage sags, the key fob loses connection and remote start fails. Tip: check the battery before winter — with a worn-out battery, no system, even the most expensive one, will help.
Key steps for reliable car alarm installation
A security system works for years if it was chosen for the job and installed carefully. A short checklist will help you avoid mistakes at every stage.
- The goal matters more than the features: warming up, feedback and anti-theft protection require different configurations, and extra features aren't needed.
- Remote start done right: keyless bypass is more reliable than a key left in a bypass module, and a manual transmission needs a software neutral.
- Solder instead of twists: soldered connections and labeled connectors don't fail and let the system be removed without traces.
- Immobilizer relays and sensors: a blocking relay and a tilt sensor protect against theft better than a loud siren.
- Check at handover: it's worth testing all the key fob functions together with the technician before driving away from the shop.