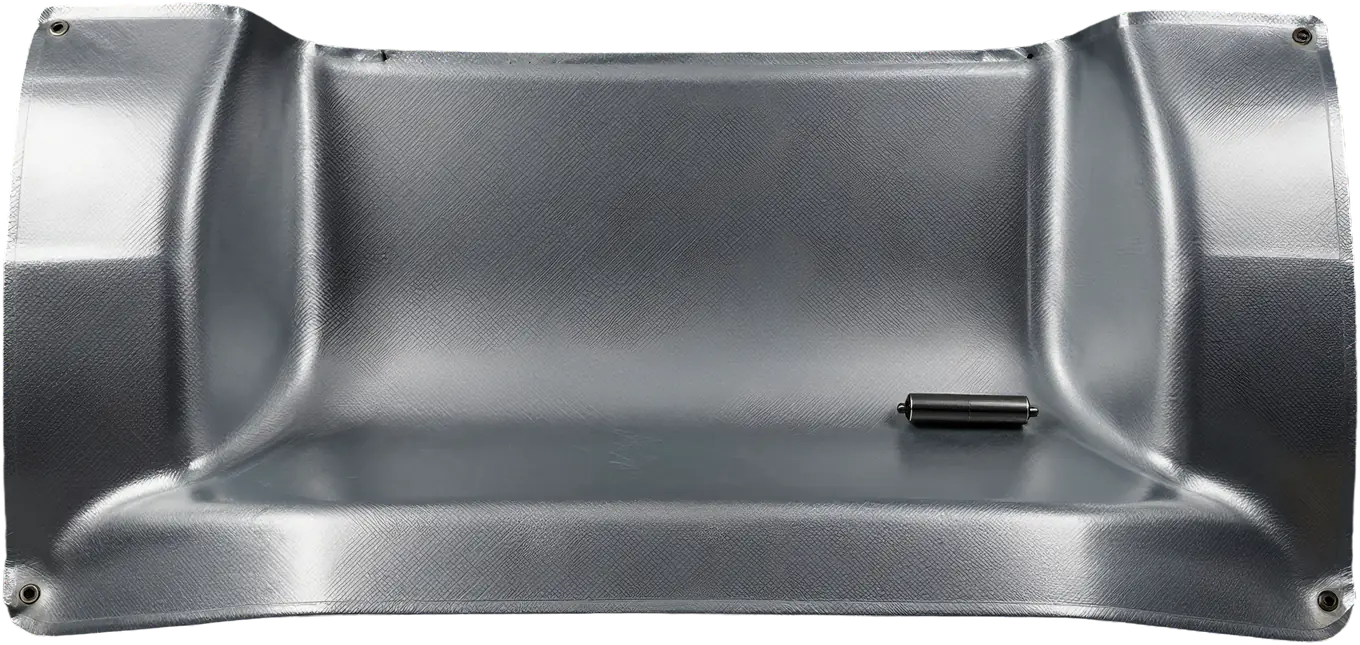
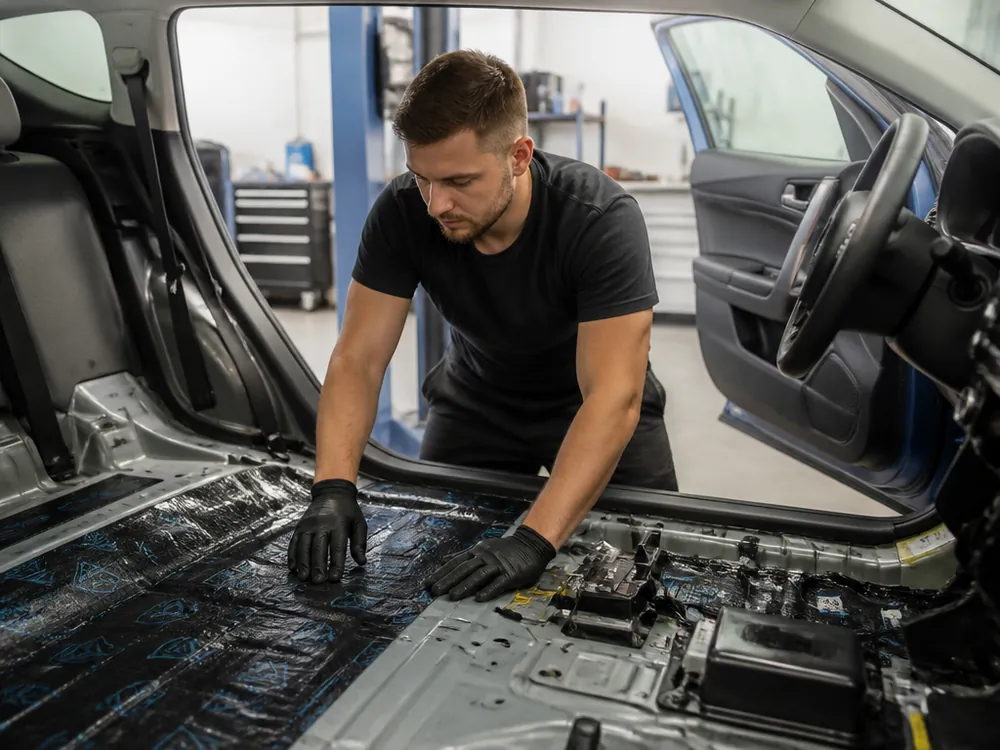
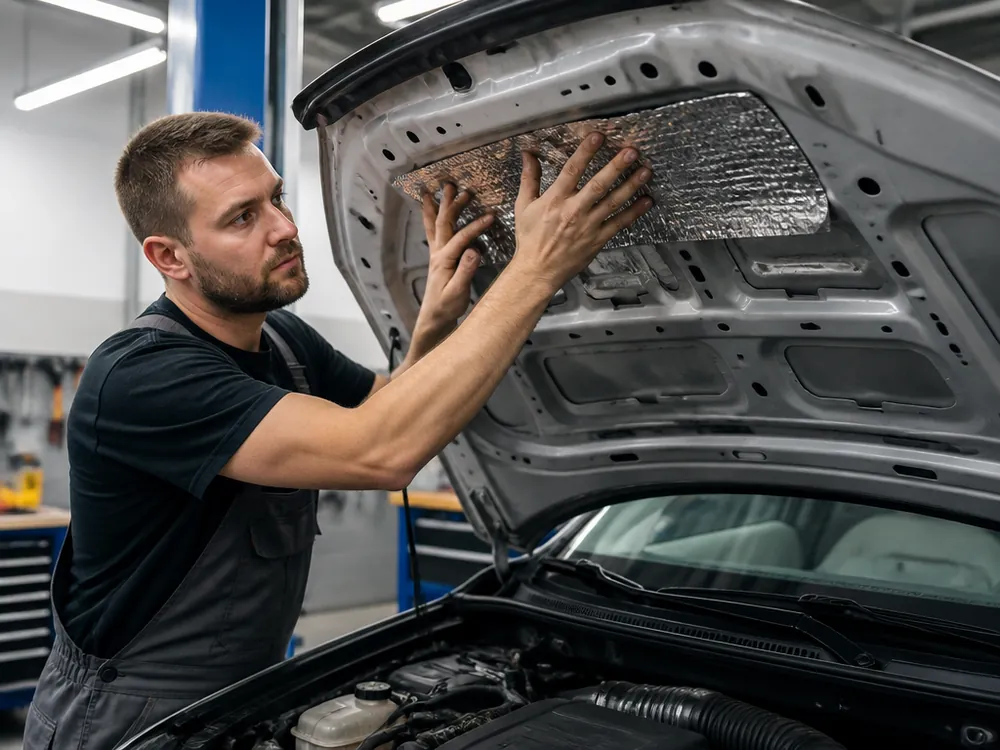
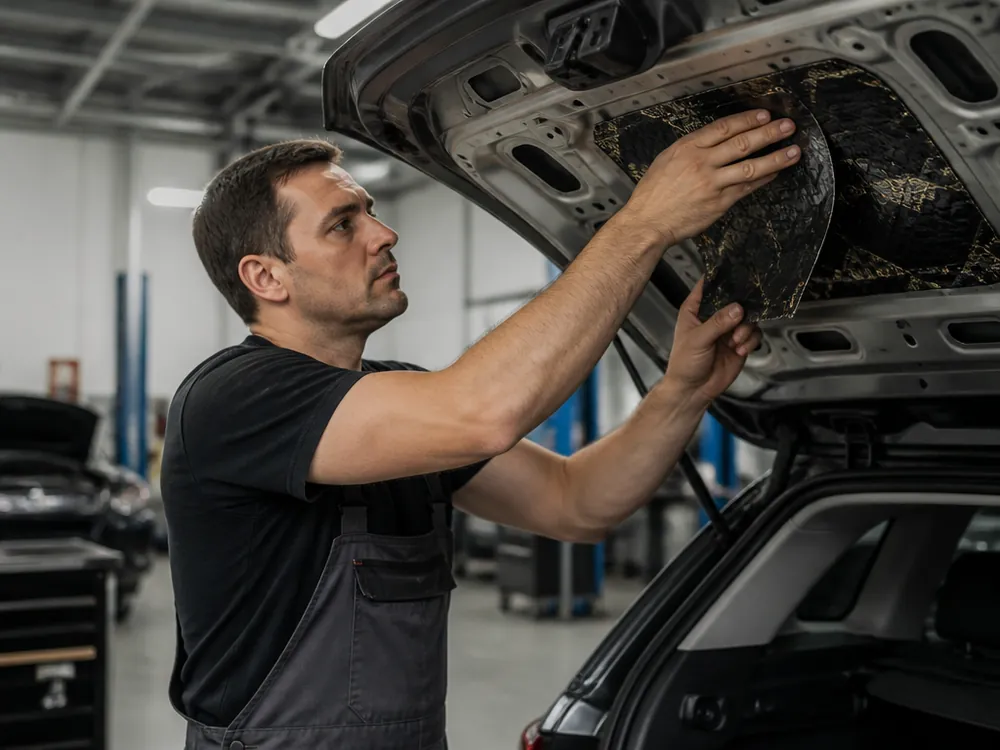
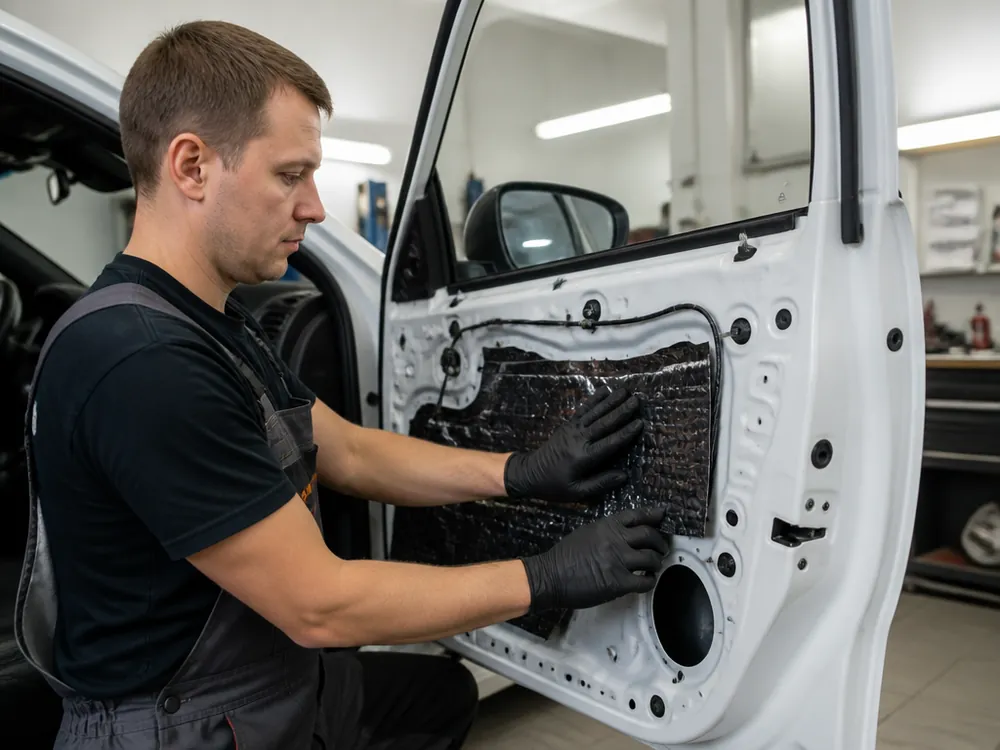
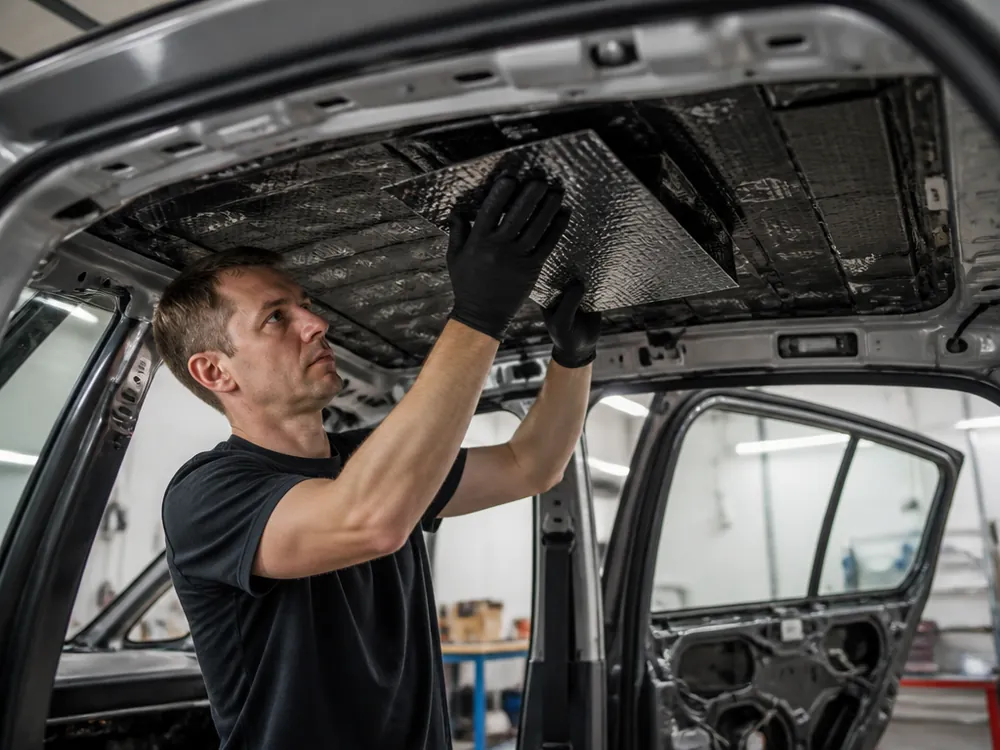
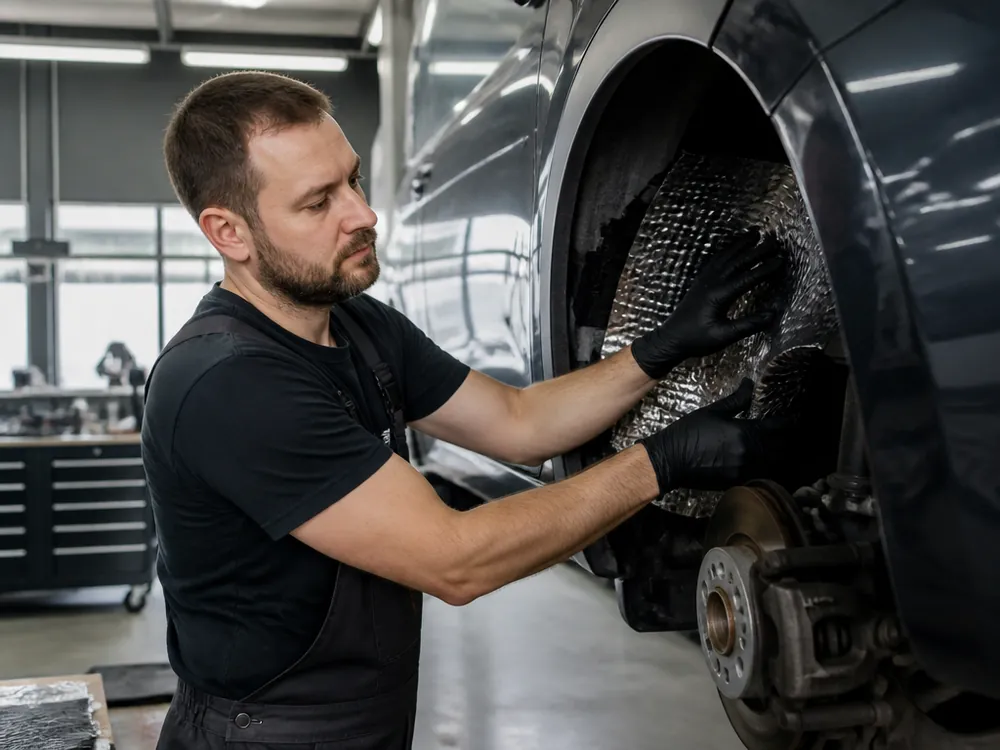
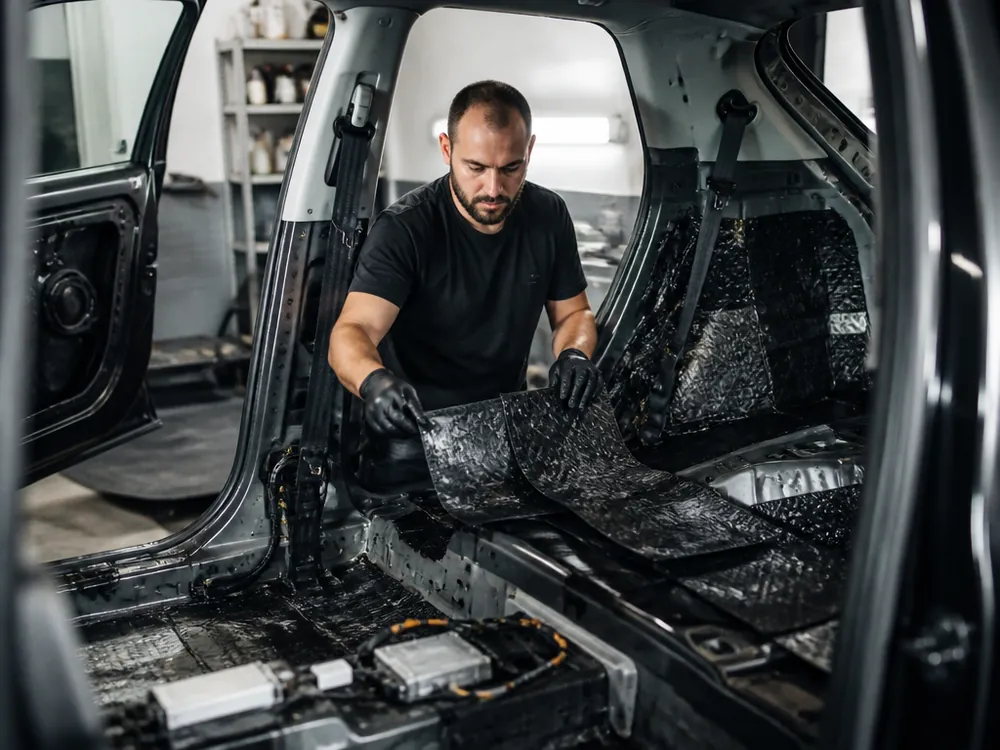
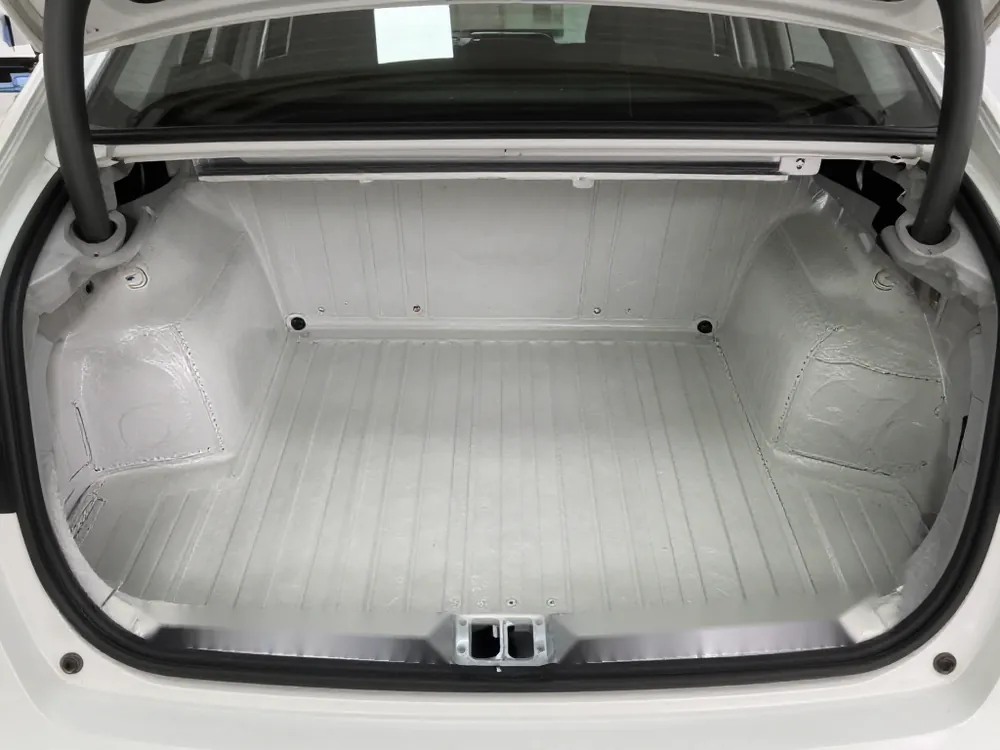
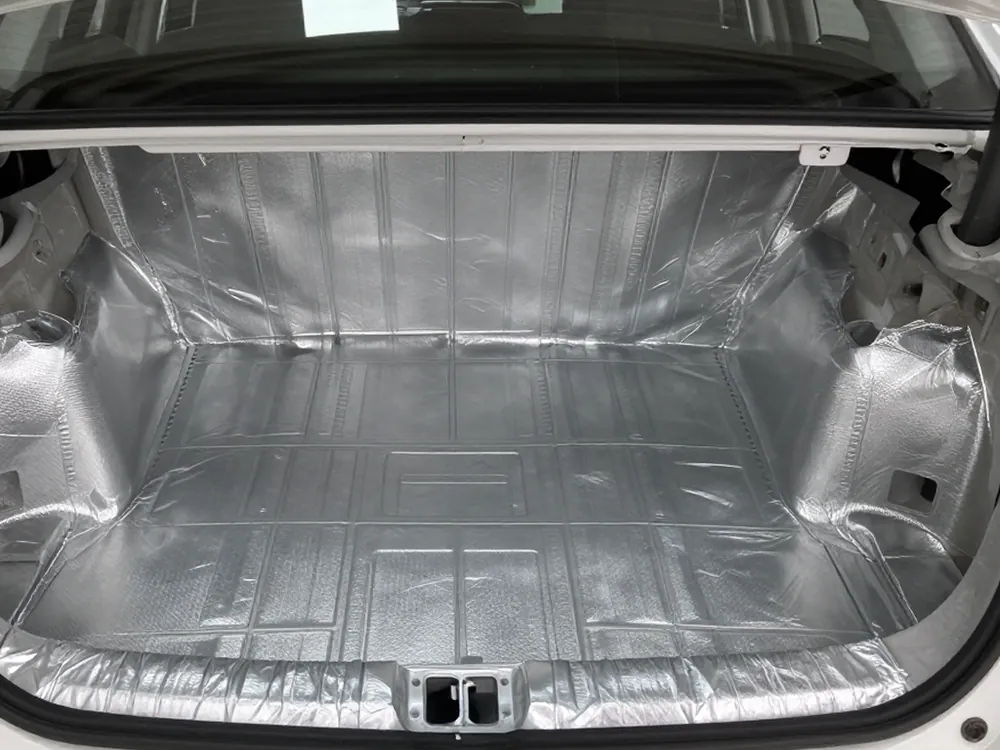
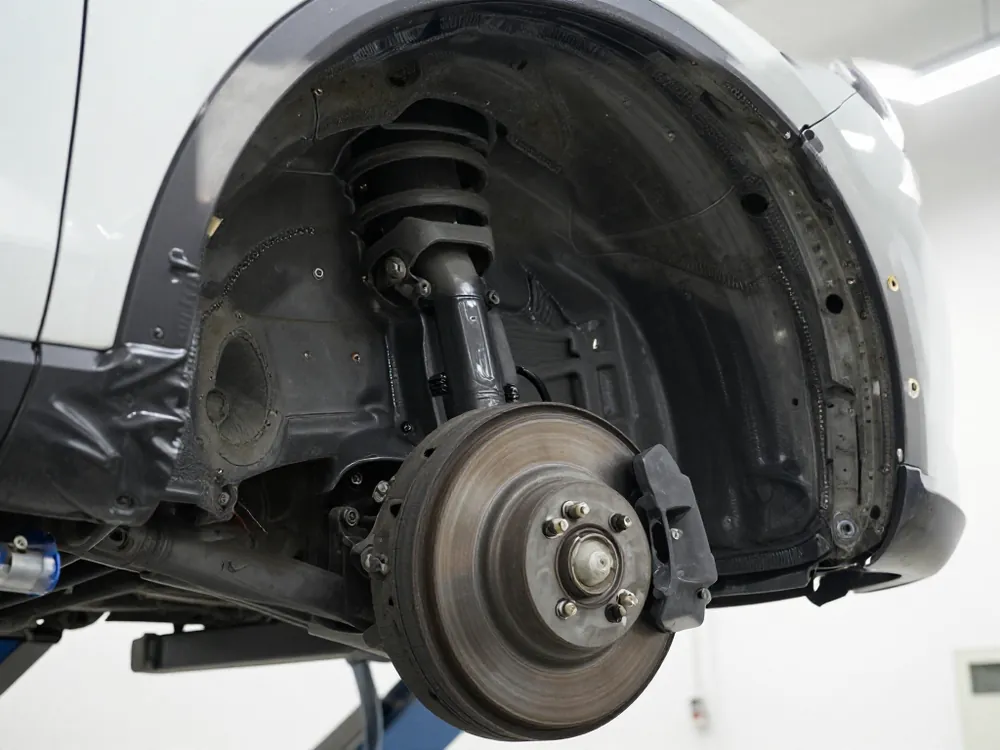
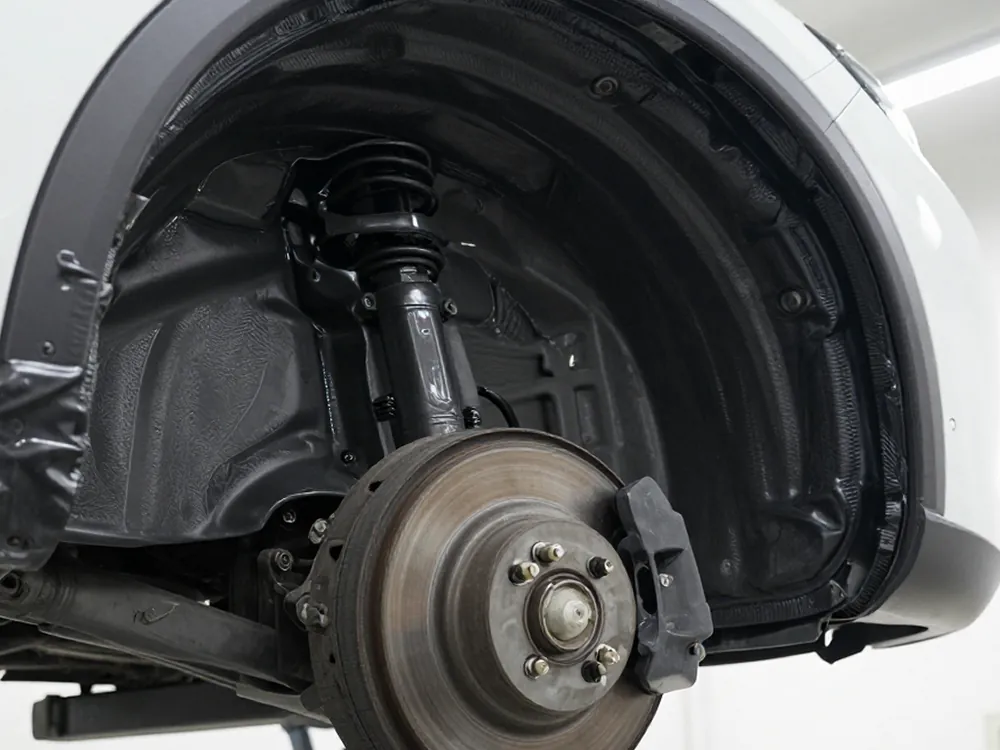
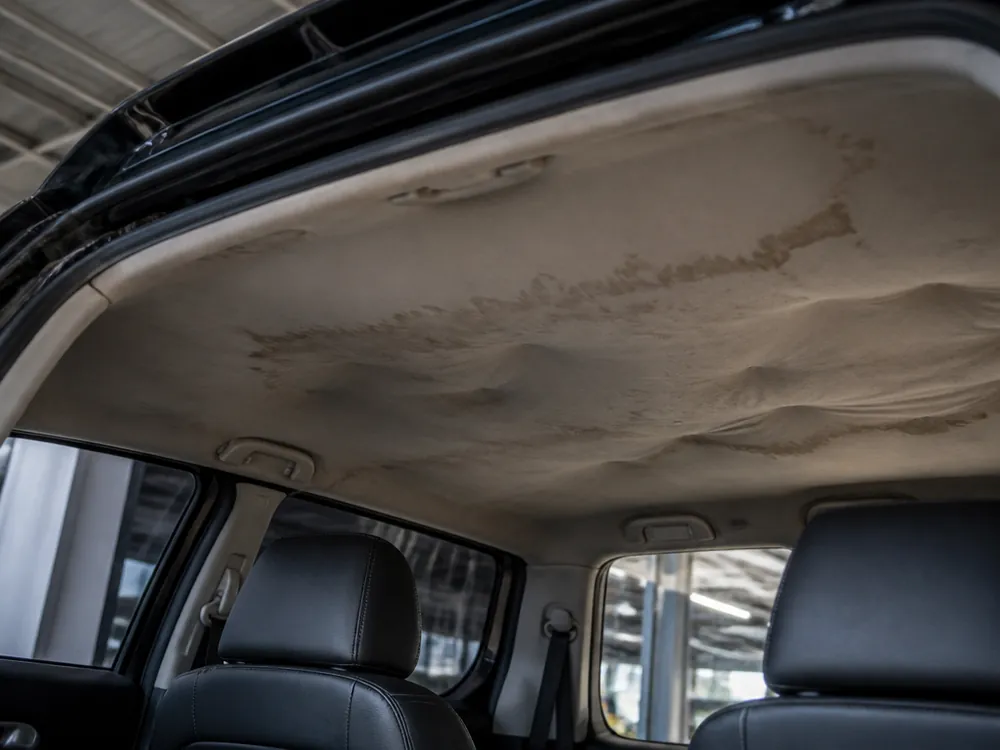
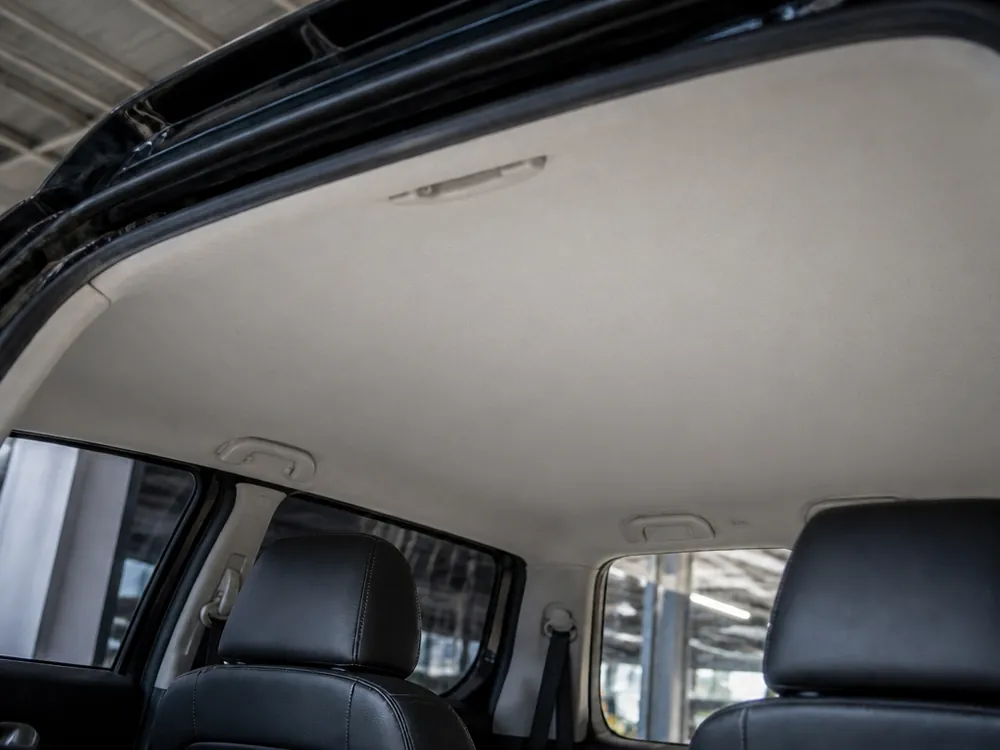
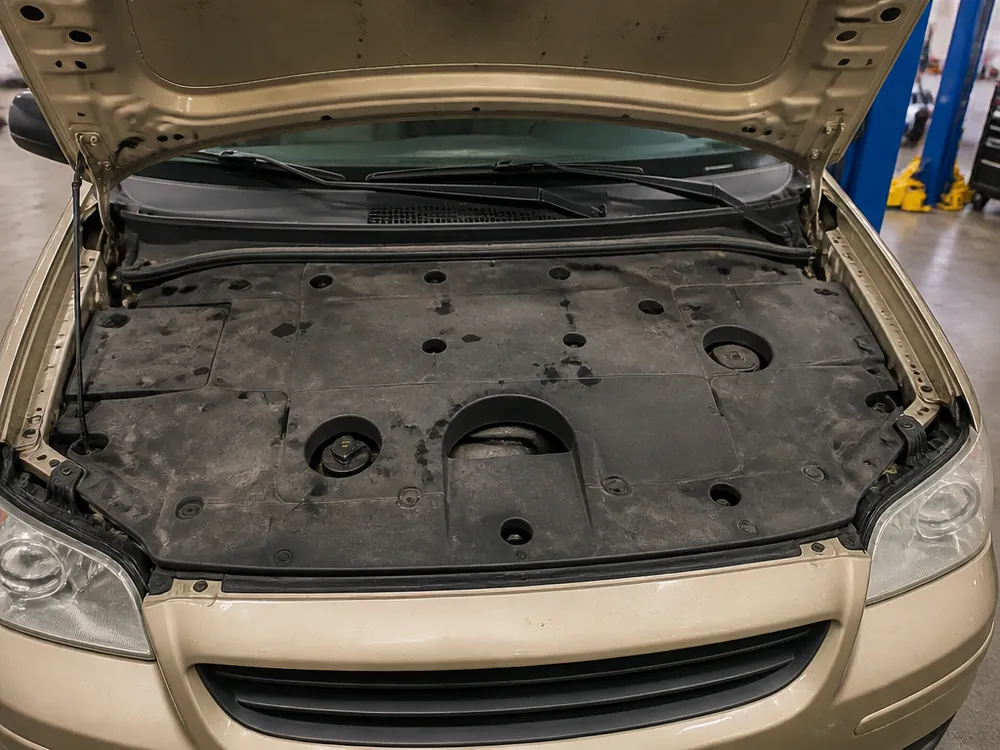
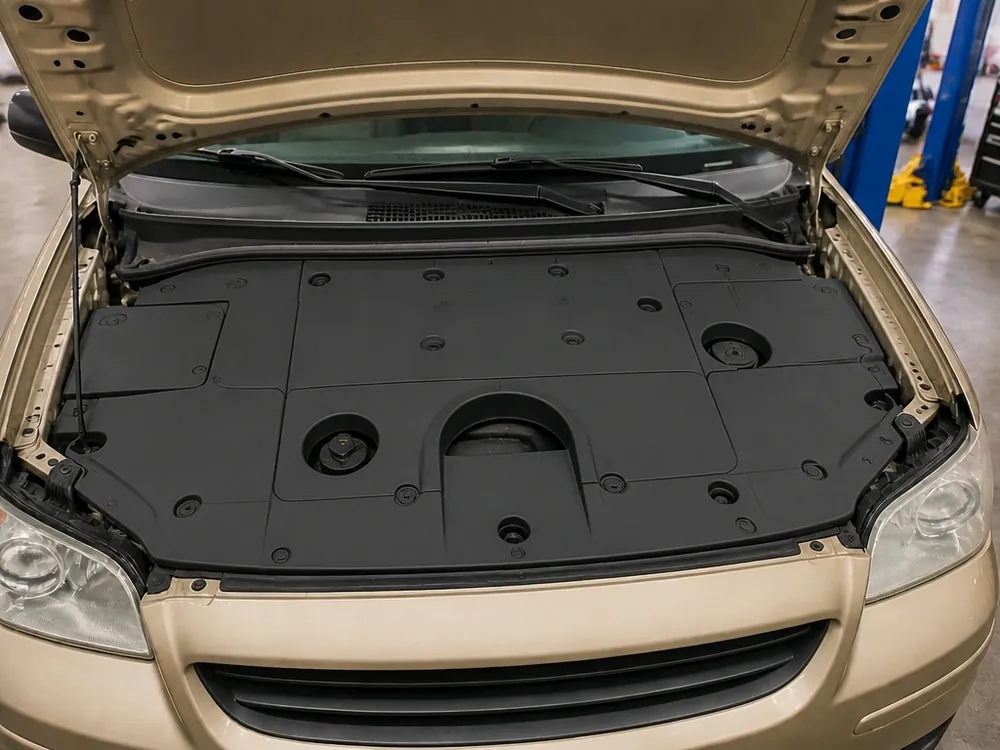
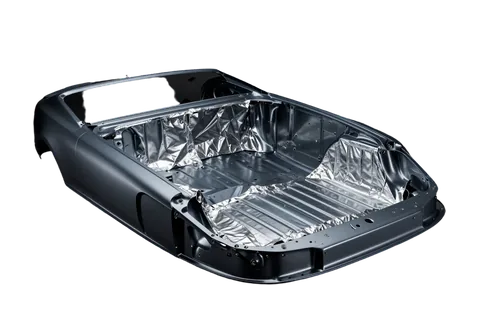
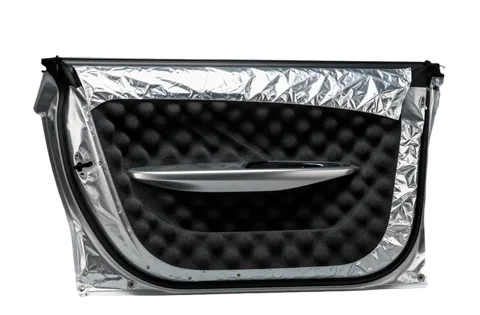
We treat the floor, doors, trunk with lid, roof, wheel arches, hood, and the entire interior. The package is assembled from individual zones for a specific problem: low-frequency road hum, tire noise on the highway, trim rattle, or panel squeaks.
We do vibration insulation of the floor, doors, trunk and lid, roof, arches, hood, and interior as a package — each zone dampens its own noise source. The floor absorbs low-frequency hum from the road and exhaust, door panels handle airflow noise and trim rattle, wheel wells deal with tire hum at speed, the engine bay with engine sound, and the roof with drumming rain and solar heat. Car vibration insulation in Almaty most often starts with the floor and wheel wells: on the highway and rough asphalt they produce the most audible low-frequency hum. The engine bay and wheel wells only have an effect when paired with the floor and door panels — alone they remove one source, but the overall hum in the cabin remains.
What the Interior Package Includes and What You Can Skip
The interior package covers the floor, door panels, trunk, and wheel wells in one visit; we add the roof and engine bay on request if rain drumming or engine noise bothers you. Treating the car as a package addresses all sources at once: after this procedure the cabin stops humming at speed, and the trim no longer responds to every bump. The engine bay is taken separately when the engine is louder than the road, and the trunk lid — if it rattles on uneven surfaces. We only remove the dashboard for the roof — without this zone, the interior package is completed in one shift, not two days. We don't combine the roof and engine bay with the package in one visit: that's already two days of work and separate disassembly.
Comparison of Zones by Task and Scope of Work
treatment zones and number of material layers| Zone | Protects Against | Layers |
|---|
| Floor (partial / full) | road and exhaust hum | vibration-damping material + sound absorber |
|---|
| Doors and front doors | airflow noise, trim rattle | vibration-damping material + sound absorber |
|---|
| Trunk and lid | exhaust hum, rattle | vibration-damping material + sound absorber |
|---|
| Arches (4 pcs) | tire noise on the highway | vibration-damping material + sound absorber |
|---|
| Roof | rain drumming, heat | vibration-damping material |
|---|
| Hood | engine sound | vibration-damping material |
|---|
| Interior (package) | all sources at once | two layers across all zones |
|---|
Installation Technology and Why Car Vibration Insulation Doesn't Peel Off
The result doesn't rely on the adhesive layer but on three things: clean metal, heating the material, and rolling with a roller. Let's go through each step — from interior disassembly to inspection after installation.
Heating to 60 °C and Rolling with a Roller in Two Layers
We heat the material with a heat gun up to 60 °C and roll it with a roller in two layers — first 2 mm vibration-damping material, then a sound absorber. The heat gun softens the bitumen base so it adheres to the stiffening ribs, and the roller pushes air out from under the sheet across the entire area. The 2 mm vibration-damping material absorbs panel vibrations, the sound absorber dampens residual hum, and together they work at different frequencies. Without heating, the bitumen doesn't soften and doesn't bond to the stiffening ribs — that's exactly why car vibration insulation falls off in winter when the adhesive loses plasticity in the cold. In my opinion, heating is the most underrated step: it's the one most often skipped, and it shows up a season later.
Metal Preparation and Interior Disassembly
Before installation, we clean and degrease the metal, remove the trim, seats, and floor — on a prepared surface the material lays down without bubbles and holds up in heat and frost. Interior disassembly exposes the stiffening ribs and panel joints: if you lay the sheet over dirt or factory grease, the adhesive bonds to that instead of the metal. Degreasing takes more time than the installation itself, but it determines how long the coating lasts. The roller removes air under the sheet — if you leave a bubble, a month later the material will start to peel at that spot. Almaty heat up to +40 and winter −20 test adhesion differently: on heated and degreased metal the coating survives both seasons, on unprepared metal it peels off after the first temperature swing.
What to Do If There's an Odor or the Material Peels Off
Odor in the cabin usually comes from material installed without heating, and peeling is a result of bubbles underneath or poorly degreased metal. Cheap bitumen without heating continues to release volatile compounds for months, especially in heat when the cabin warms up in the sun. If the vibration insulation has peeled off in one spot, don't glue it back on top — the coating is removed, the metal is degreased again, and the material is installed with heating. Odor and peeling almost always go together: where the sheet didn't stick, an air pocket remains, and the bitumen in it heats up more than in a pressed area. It's easy to check — tap the problem area: a dull sound means a bubble, not tight adhesion, and such an area is redone entirely, not patched at the edge.
Work Timeline and How a Vibration Insulation Visit Goes
The timeline depends not on the treatment area but on the depth of disassembly: we finish the floor and doors in one visit, while the package with the dashboard requires two days. Let's break down how a day at the shop works, from check-in to handing over the keys.
How Long Treatment Takes by Zone
We do the floor, doors, and trunk in one shift, while the full package with dashboard removal up to the roof takes two days. Floor soundproofing is the most area-intensive part in terms of metal coverage, but it still fits into the same workday because the seats and carpet come out in an hour. We treat the doors one at a time, and the trunk and wheel arches along the way while the bitumen layer dries. If you add the hood and trunk lid to the main set, the shift doesn't get longer. What stretches the timeline is dashboard removal: to reach the firewall and roof, the panel has to come off, and reassembly takes several hours. So plan your visit like this: floor and doors first, then the roof and firewall as a separate visit when you're ready to leave the car for two days.
How the day goes from check-in to pickup
The service advisor takes in the car, after diagnostics you get a written estimate, we start work only after you approve it, and we do a test drive before pickup. The service advisor manages the work order from check-in to pickup: he records the treatment areas, approves materials, and shows what we remove and in what order. With an appointment, we take the car without a queue — that matters for soundproofing because stripping the interior occupies the bay for the whole shift, and pushing the start to midday makes no sense. Diagnostics before the estimate are needed to spot hidden corrosion under the carpet: if the metal is loose, the vibration damping layer won't hold on it. With an appointment, check-in takes about half an hour, then the car goes onto the lift. Approving the estimate isn't a formality: we don't start without it, and you see the full list of work and materials before disassembly.
Photo report by stages and working hours
We take a photo report at key stages, and we work daily from 09:00 to 20:00, seven days a week. The photos capture interior disassembly, the condition of the metal before installation, heat gun warming, and two-layer roller rolling — they show that the areas are fully covered, not partially. Such a report is especially useful when the car is brought in by someone other than the owner: the photos show which floor and door sections were treated and where factory mats remain. A seven-day schedule is convenient for those who can only leave the car on Saturday or Sunday, and appointment-based check-in eliminates waiting in the shop. At pickup you receive a work order with the list of work and a certificate stating the warranty period for the treatment. Come at opening if you plan to pick up the car the same day: that leaves time for the layers to dry.
24-month warranty and what car vibration insulation covers
Vibration insulation comes with a 24-month warranty. Below we explain exactly what it covers, when it stops applying, and how the terms differ by type of work performed.
What the vibration insulation warranty covers
We give a 24-month warranty on car vibration insulation — it covers the work performed and the materials installed, and we record the term and conditions in the work order and the certificate at pickup. The document states the start date, the list of treated areas, the material brand, and the claims procedure. Here's how the protection works: if the layer separates from the metal, bulges, or ripples without external impact, we redo the area at our own expense — warm it again with a heat gun, roll it in two layers, and check adhesion along the stiffening ribs. Diagnostics for a warranty case is free — the technician first looks at the cause of separation rather than billing for the inspection. In my opinion, it's the paper with the date and list of areas that prevents disputes: the client sees what was promised and when, and we see exactly what to check when a claim comes in.
When the warranty doesn't apply
The warranty doesn't cover an accident after repair, third-party interference, normal wear of consumables, or a part the client supplied themselves. An impact, body distortion, or interior disassembly elsewhere breaks the integrity of the layer — restoration is then a new job, not a warranty case. Consumables like fasteners, clips, and seals wear for natural reasons, and that's not a manufacturing defect in installation. If after treatment the car was disassembled at another shop and the layer was disturbed, that's third-party interference — not a warranty case, even when the material has separated. I know it sounds strict, but the rule protects both sides: we're responsible for our installation and heating, not for someone else's disassembly. Before any third-party work on the interior, tell the service advisor — he'll explain which areas must not be touched so you don't lose the warranty.
Warranty by type of work at the shop
warranty periods for three groups of shop operations| Type of work | Warranty |
|---|
| Vibration insulation, rustproofing, body repair, painting | 24 months |
|---|
| Engine, cylinder head, timing belt, automatic transmission, electrics, glass, headlights | 12 months |
|---|
| Oil change, brakes, suspension, wheel alignment, tire service | 6 months |
|---|
Your own materials for car vibration insulation or soundproofing
Let's cover the two questions we hear most often before booking: whether you can bring your own materials and how vibration treatment differs from soundproofing — both affect the result and the service life of the coating.
Can I bring my own materials and what about the warranty
You can bring your own materials — just like parts, you choose OEM, aftermarket, or client-supplied parts, but the warranty doesn't cover a part the client supplied. Our vibration insulation comes with a 24-month warranty, and we record the term and conditions in the work order and the completion certificate at pickup. The service advisor accepts the material along with the car and manages the work order through pickup, and before work begins he assesses the thickness of the vibration damping material and the condition of the adhesive layer. You can bring a roll or pre-cut sheets — as long as there's enough material for the chosen areas with extra for folding over the stiffening ribs. If you bring your own vibration damping material, the technician will assess its thickness and adhesive layer before starting — with thin material, heating and rolling won't give the same result, and the coating will separate at the stiffening ribs.
How vibration insulation differs from soundproofing
Vibration treatment damps metal oscillation, soundproofing absorbs sound — that's why vibration damping material goes on as the first layer and sound absorber as the second. 2 mm vibration damping material is glued to the metal and reduces panel oscillation, while the sound absorber on top takes care of the remaining hum in the cabin. The layer order never changes: vibration layer first, then sound-absorbing material, otherwise the whole structure makes no sense and all the work is wasted. The vibration layer works through mass and the bitumen layer that damps panel oscillation, while the sound absorber works through its porous structure, where the sound wave fades and doesn't reach the cabin. Without the vibration layer, the sound absorber performs worse — the metal keeps oscillating and transmits hum into the cabin even with sound-absorbing material on top. In practice, we always check that the first layer is rolled over the entire area — otherwise the second layer simply won't sit flat.
When factory soundproofing is no longer enough
Factory sound insulation stops doing its job when road roar drowns out conversation in the cabin and you hear the arches and floor rumbling over bumps. Treatment adds weight, but it affects fuel consumption less than you'd think — and laying it yourself without a heat gun and roller usually ends with the material peeling off. We've been repairing cars in Almaty for 12 years, over 9,000 vehicles have been through our shop, and from experience I know a DIY job lasts a season or two, after which it has to be removed and redone. Before you take on the job yourself, check whether you have a heat gun and a pressure roller — without them the vibration damping mat won't bond properly, and it will peel off the stiffening ribs by the first cold snap.
Key Points of Car Vibration Insulation
Here's a quick summary of car vibration insulation — from choosing the zones to the warranty terms, so you can decide before booking a service, not after the interior has been taken apart.
- Zones: the floor, doors and arches deliver the main effect against road roar and tire noise — that's where insulation starts.
- Technology: the result depends on heating to 60 °C, rolling with a roller and two layers — vibration damping mat, then sound absorber.
- Timing: the floor, doors and trunk are done in one shift, the full package with the dashboard takes two days.
- Warranty: 24 months on vibration insulation, but not covering accidents, third-party interference or parts brought in by the customer.
- Your own materials: you can bring them, but the warranty doesn't apply to them — factor that in before booking, not after the interior has been taken apart.