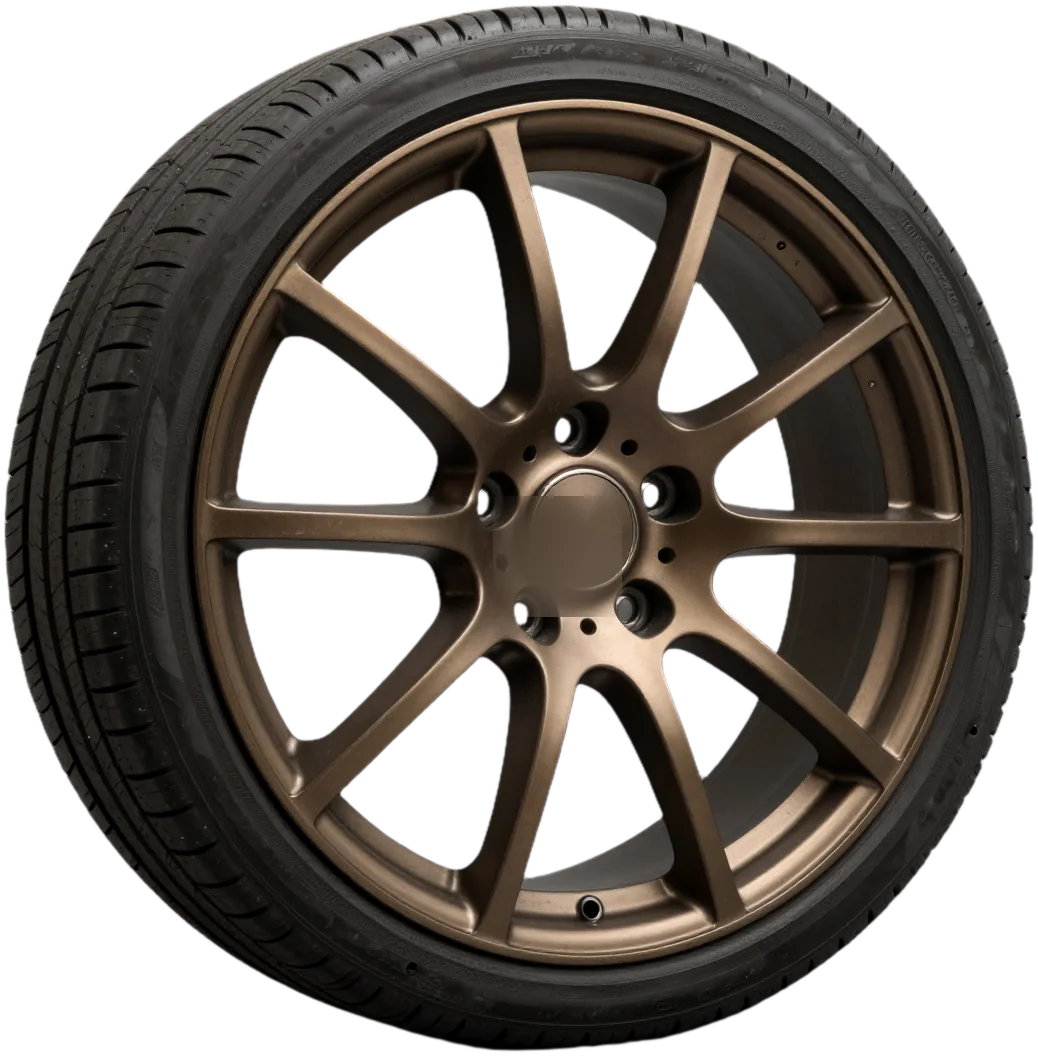
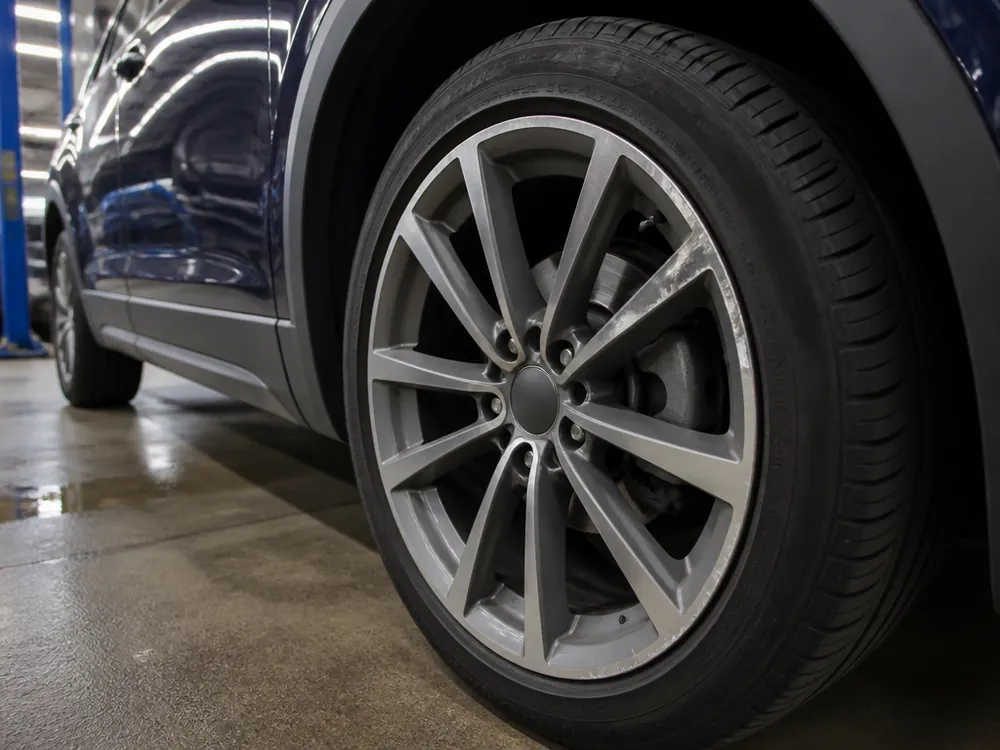
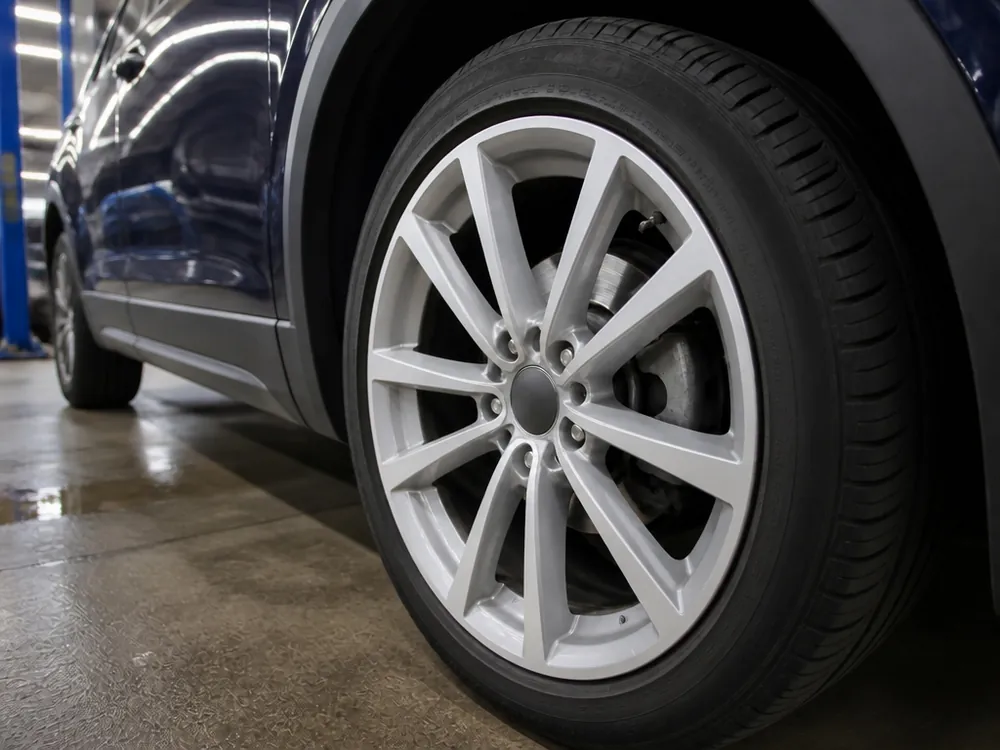
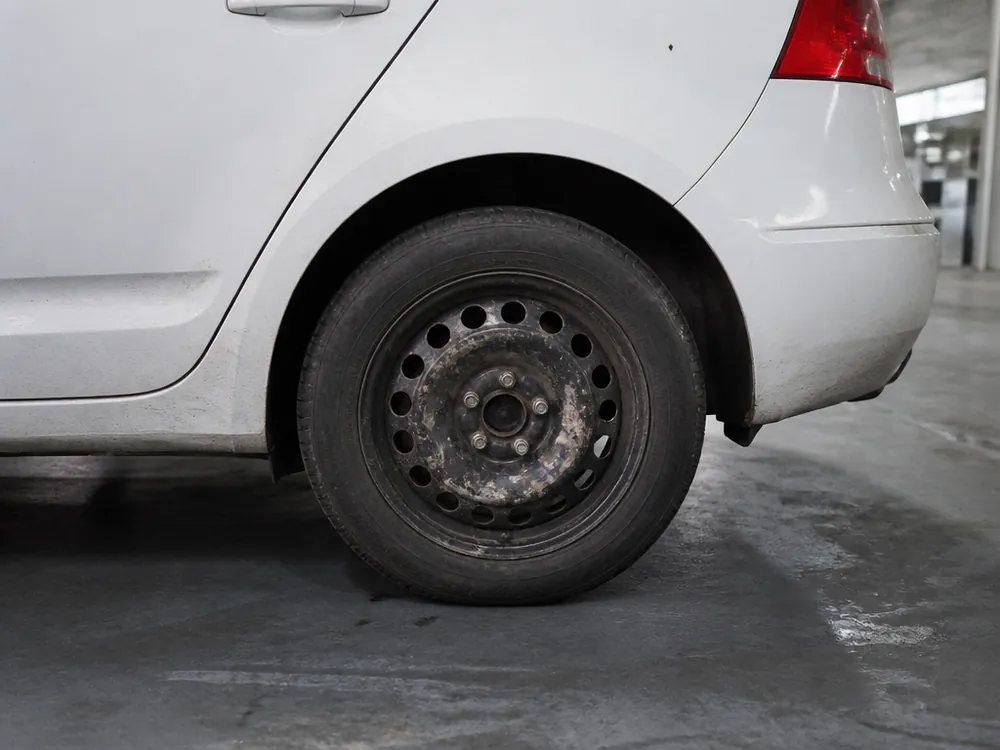
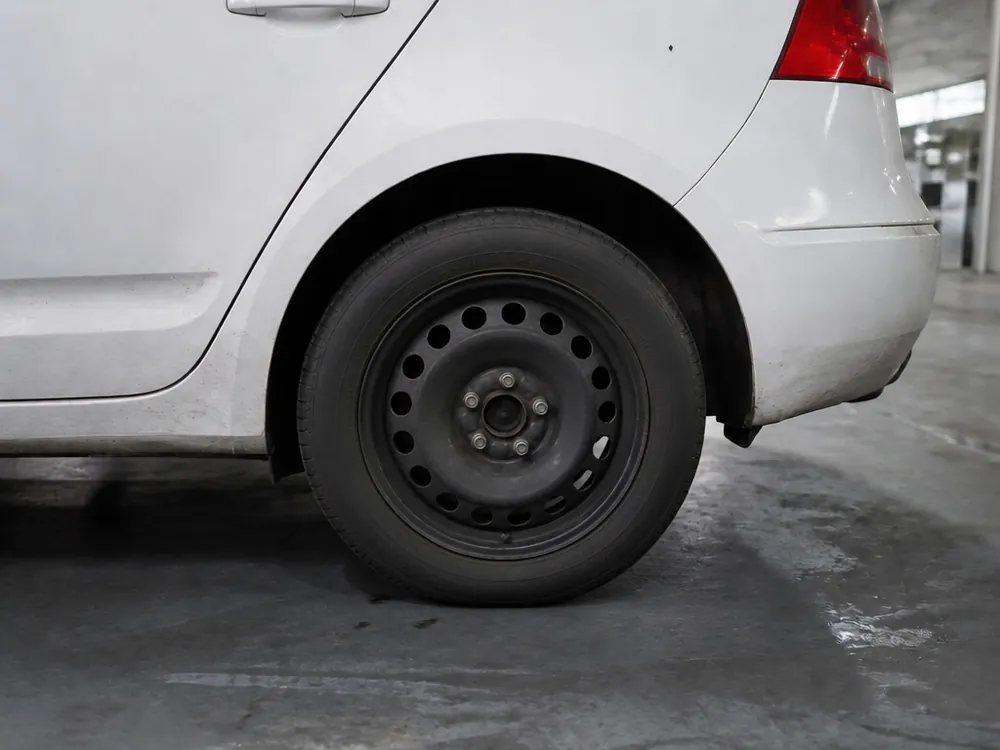
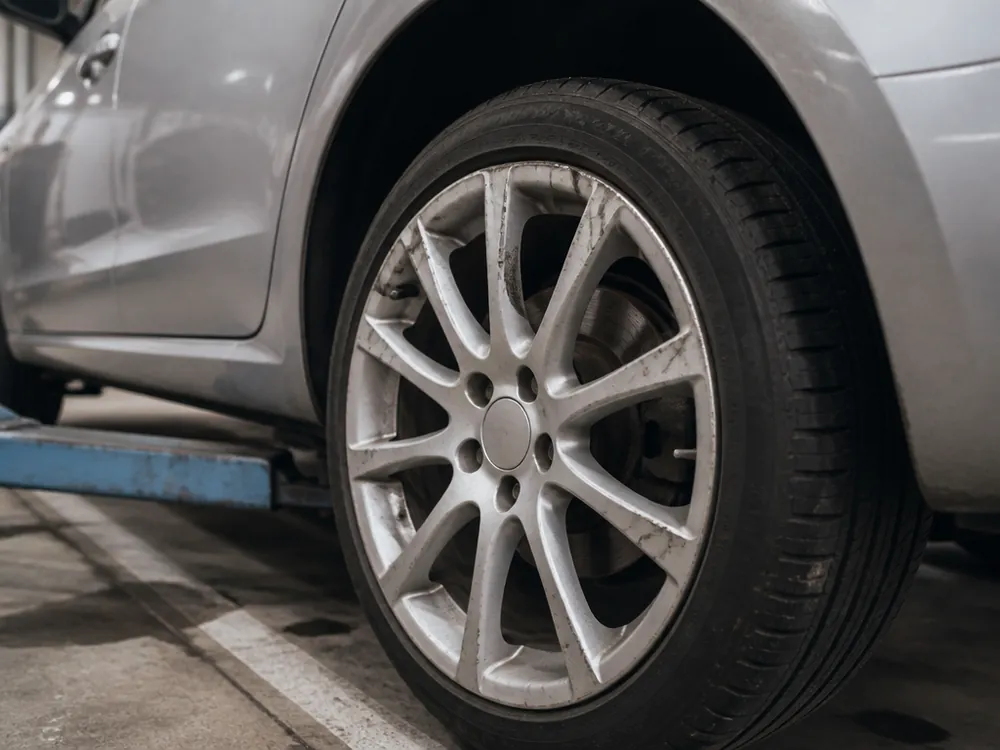
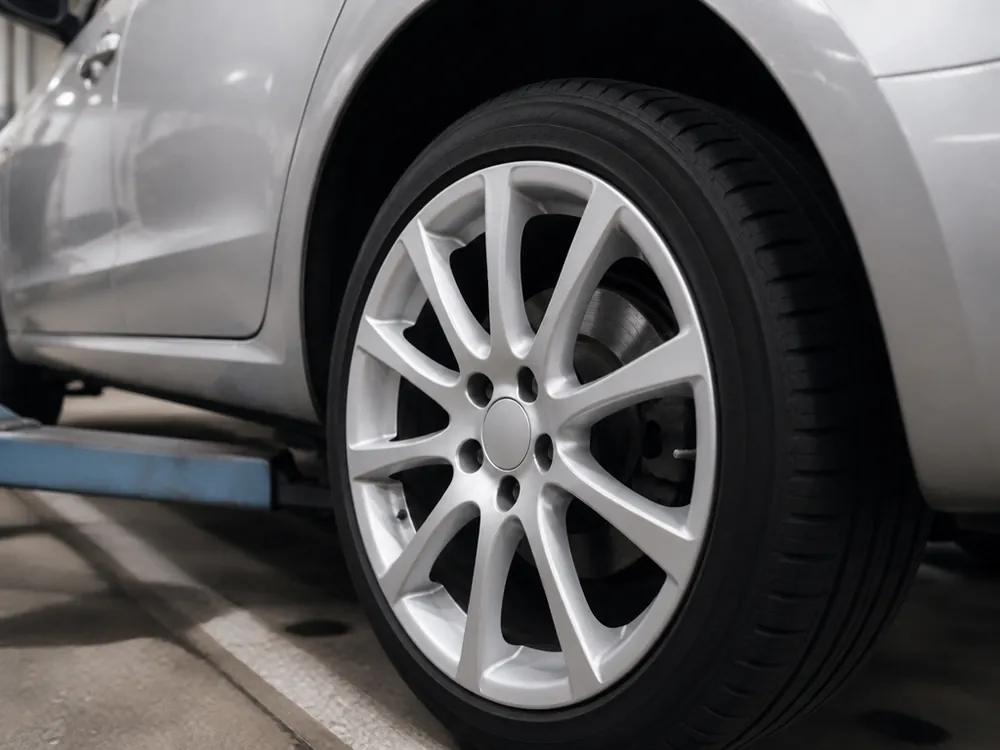
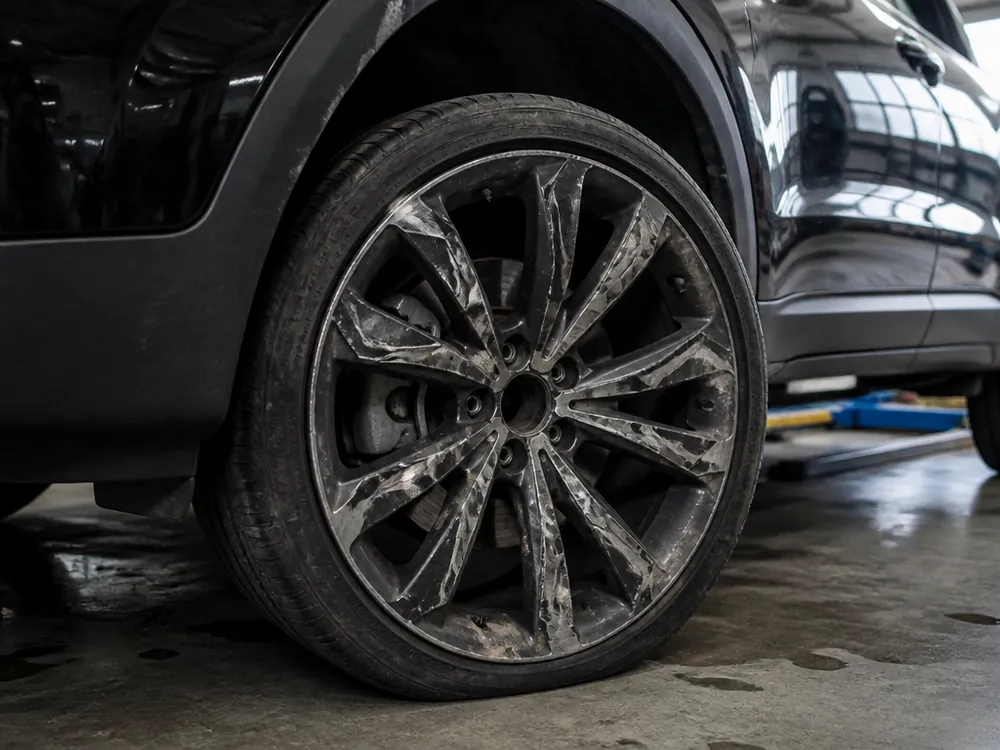
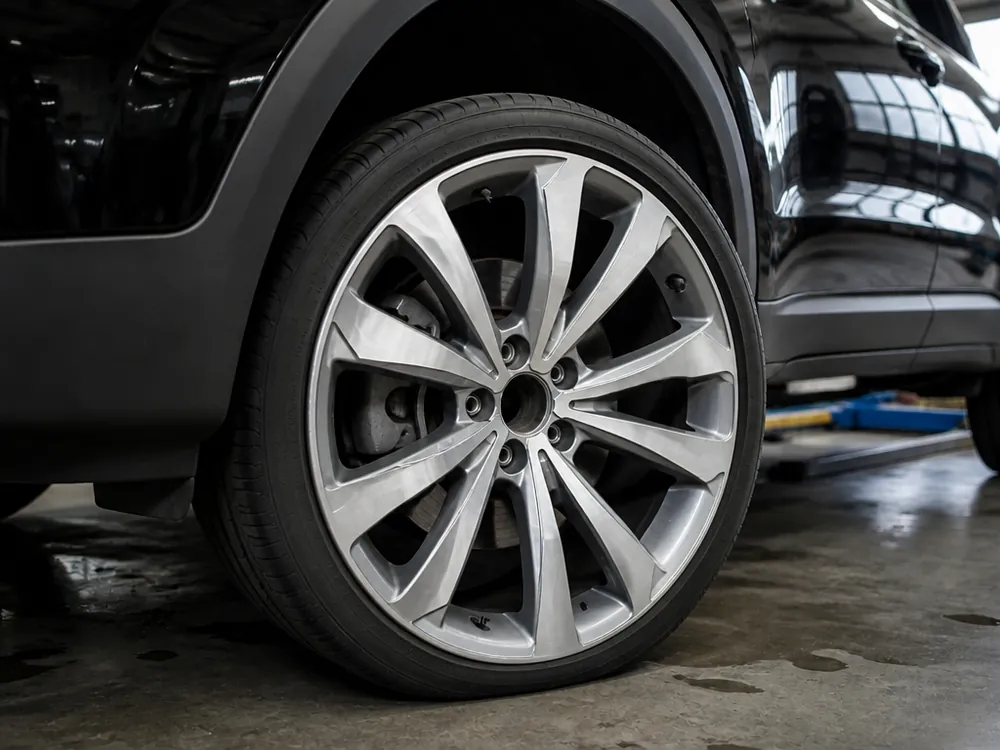
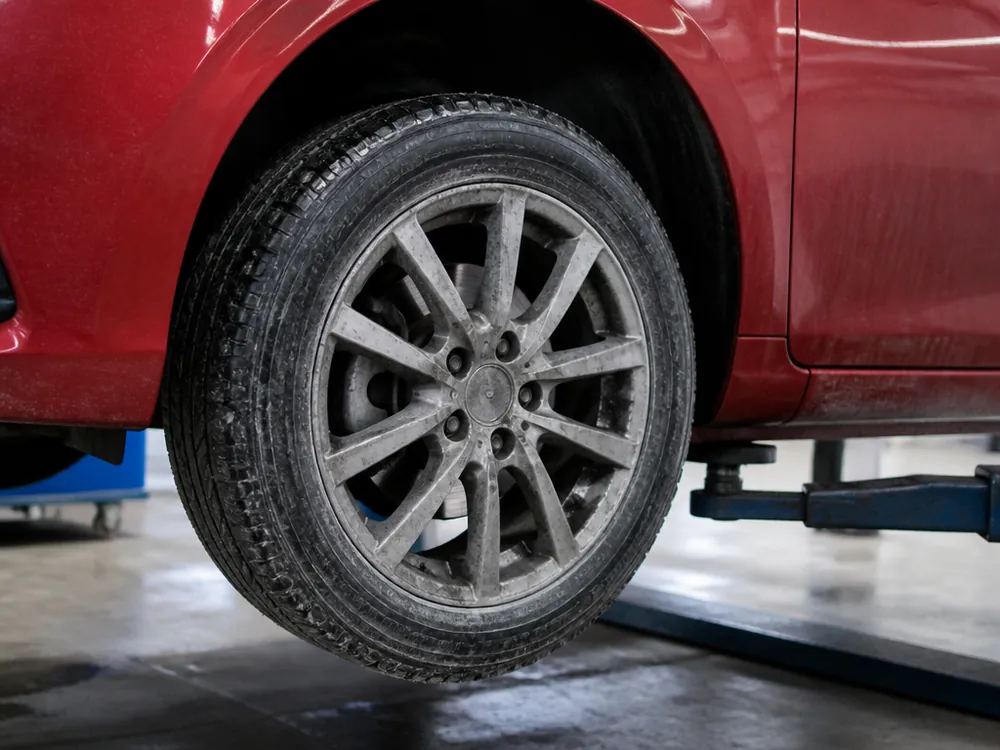
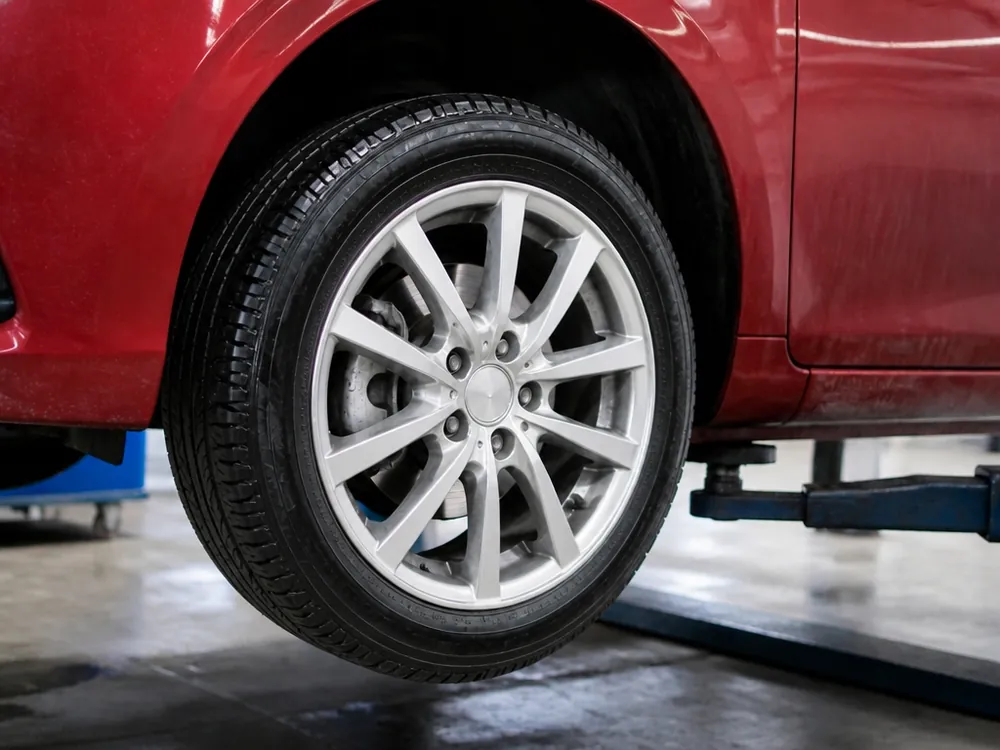
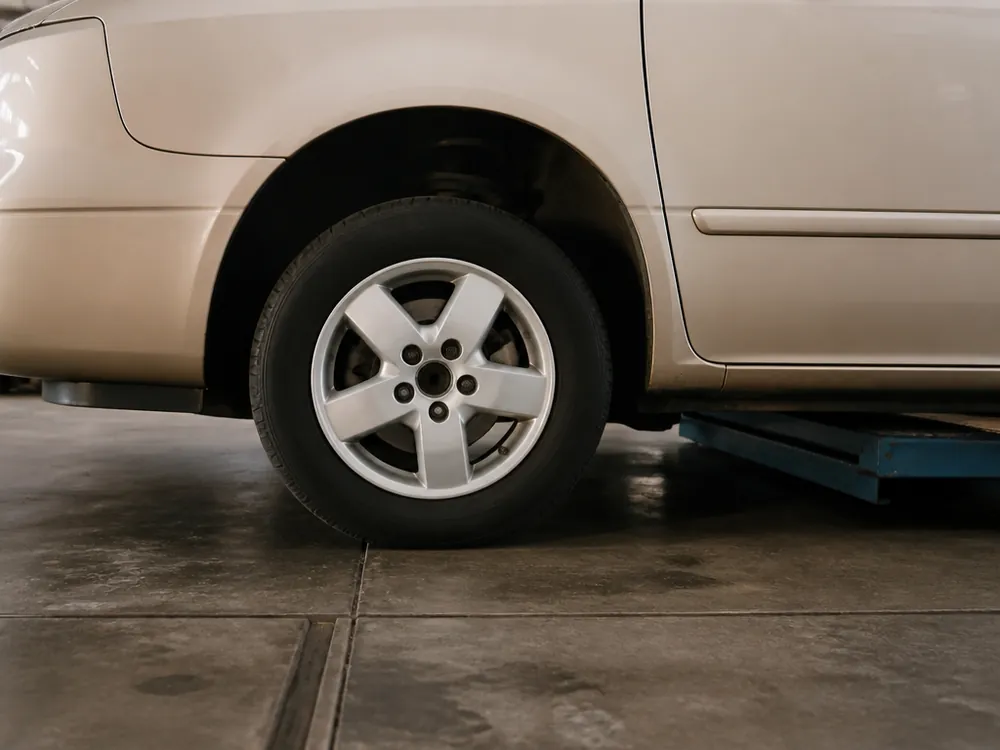
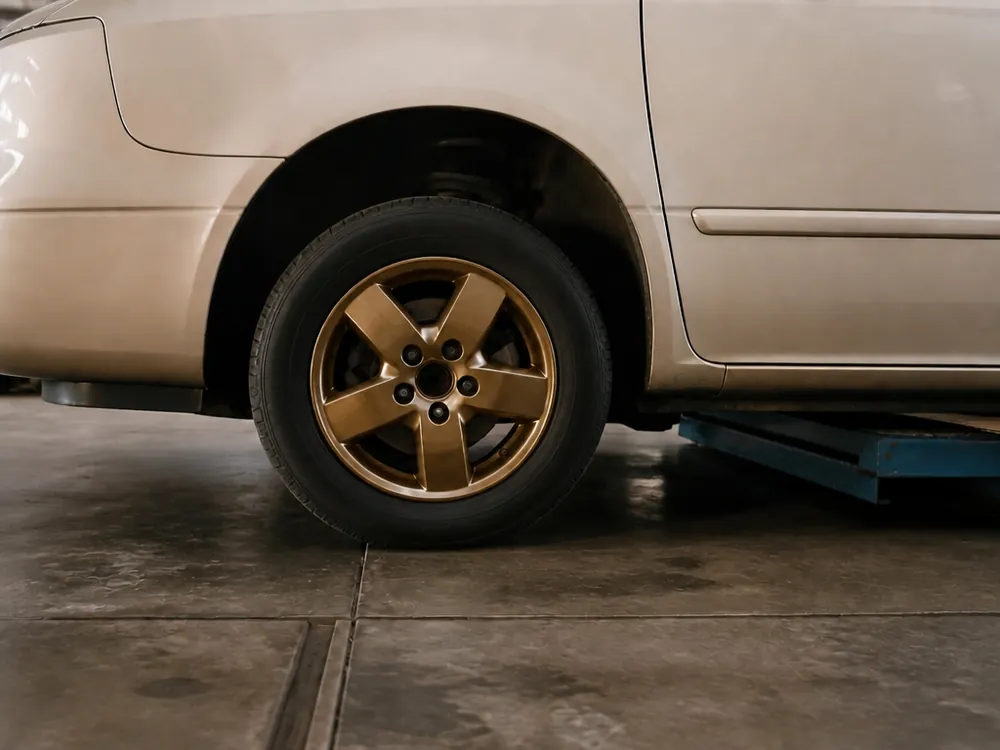
Painting isn't always the first step. First we check the metal: scuffs, corrosion, geometry. That determines whether to paint, straighten, or replace the wheel.
When Straightening Comes First, Then Painting
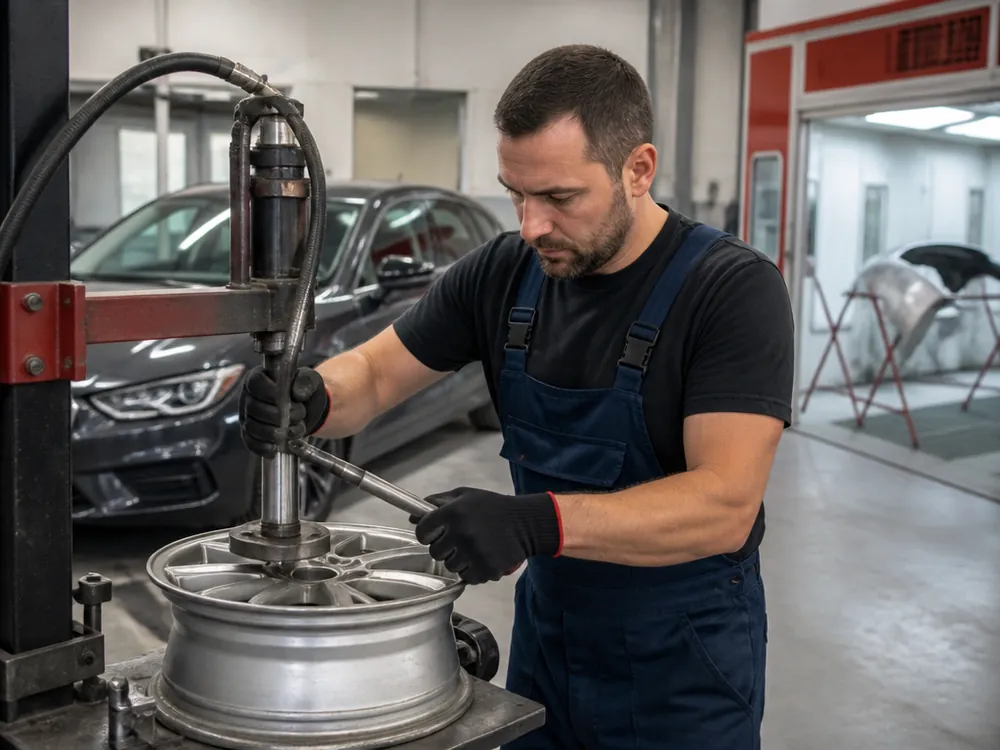
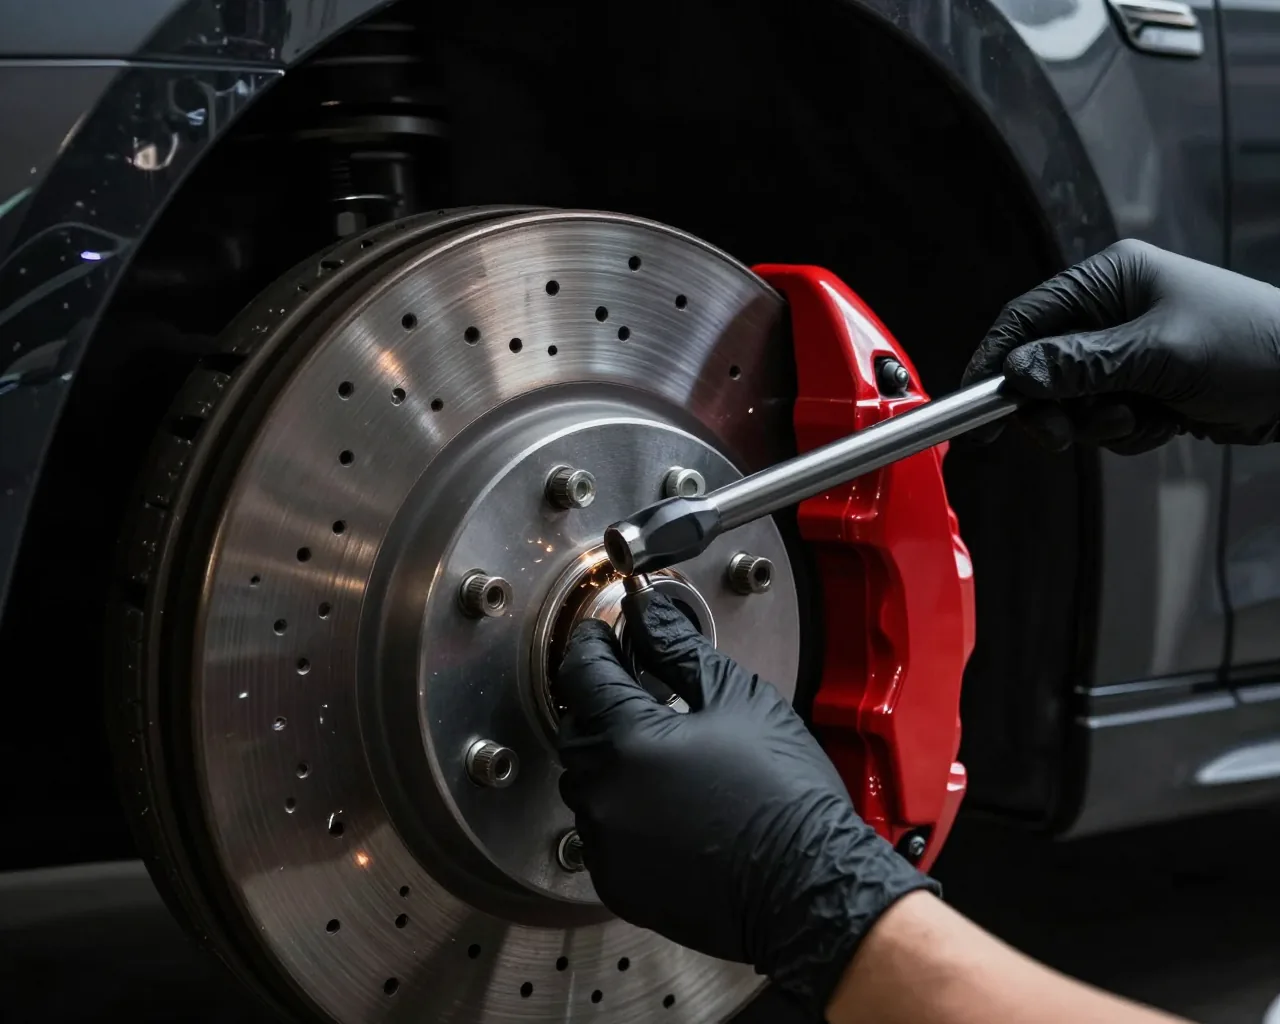
If the wheel has dents, creases along the rim, or the geometry is off, we straighten first and then paint — without that, you won't get an even coating. Painting with straightening at our shop covers both stages in one visit: the technician removes the wheel, levels the edge and lip, checks runout on the stand, and then sends the part to the paint booth. In this case, wheel painting in Almaty is the second stage — only after the metal is brought to even geometry. On uneven metal, filler goes on unevenly and at speed it will be knocked out along with the paint. Straightening before coating is more cost-effective than painting twice: straightening and treatment fit into one go, not two separate visits. A repeat visit would still require removing the wheel and new metal preparation, so we always check geometry before the part goes into the booth.
When Painting Won't Help and Replacement Is Needed
- Crack on a spoke: even a thin line grows under load, the part loses strength and doesn't hold tire pressure.
- Through corrosion: metal has rusted through at the valve hole or along the rim — there's nothing to paint, the base is destroyed.
- Dented bead seat: the rim doesn't hold the tire airtight, the wheel leaks air even after new tires.
- Crack at the hub: the bolt mounting area is deformed, and balancing doesn't eliminate runout at speed.
- Crease across two holes: the metal has folded with a bend that can't be straightened without losing rigidity.
- Repair after welding: a weld on a spoke holds worse than solid metal, and re-deformation is likely on the first pothole.
How the Work Is Done and Why Preparation Matters More Than Paint
The finish coat isn't the main thing. The result depends on preparation: strip the old coating to bare metal, apply two coats of primer, level the lip. Let's go step by step through what happens to the wheel before the first coat goes on.
Sandblasting Instead of Sanding and Two Coats of Primer
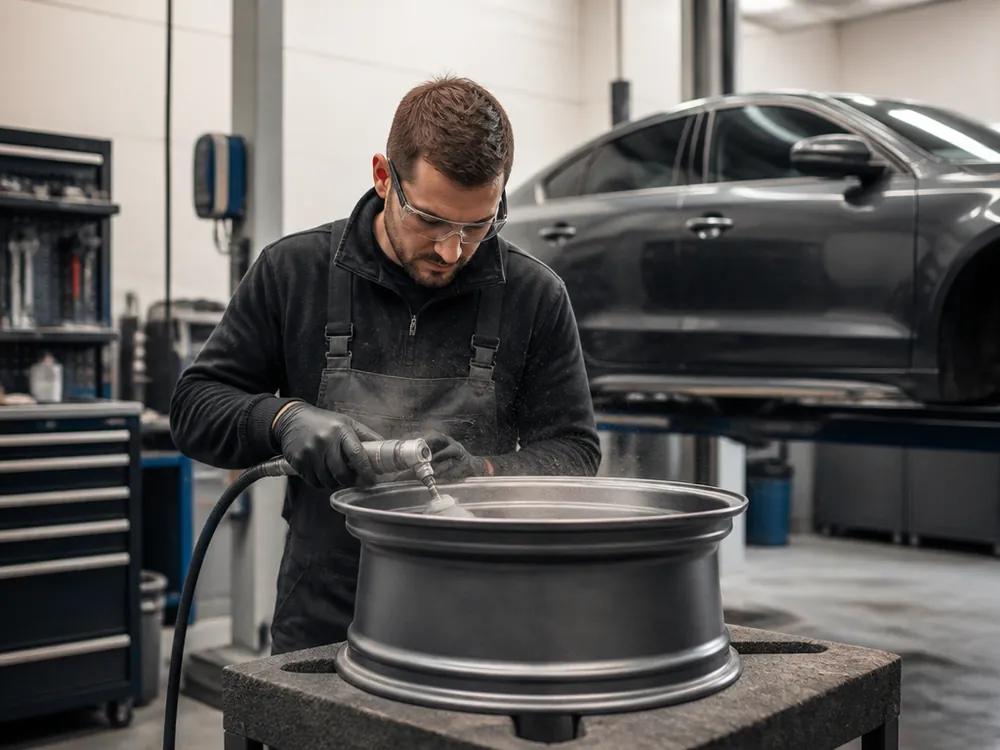
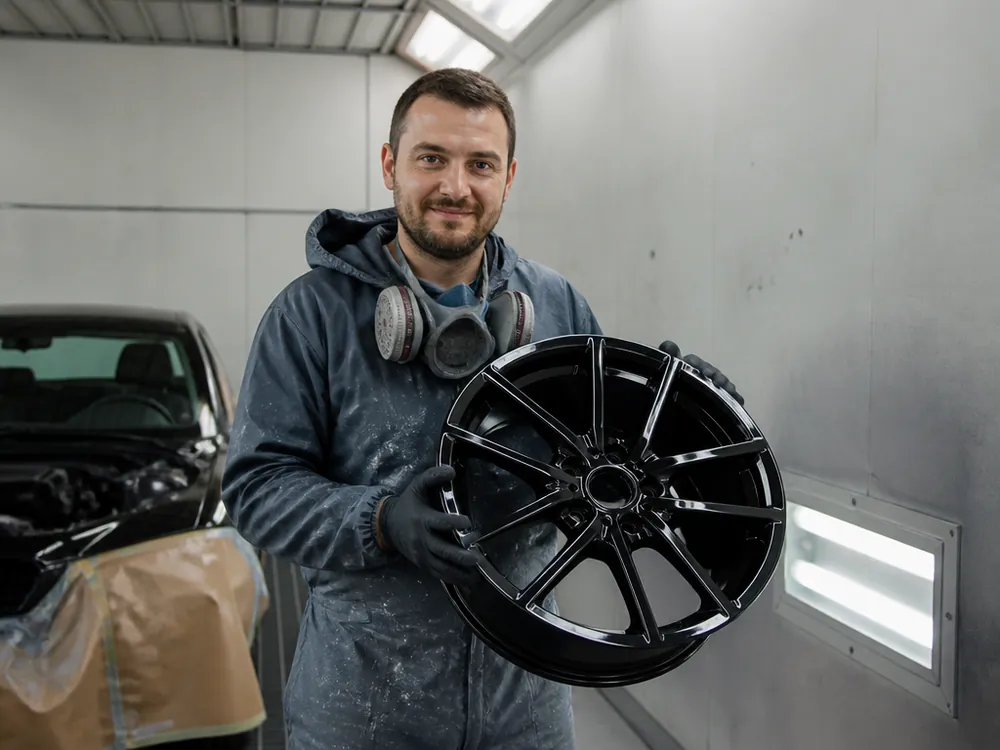
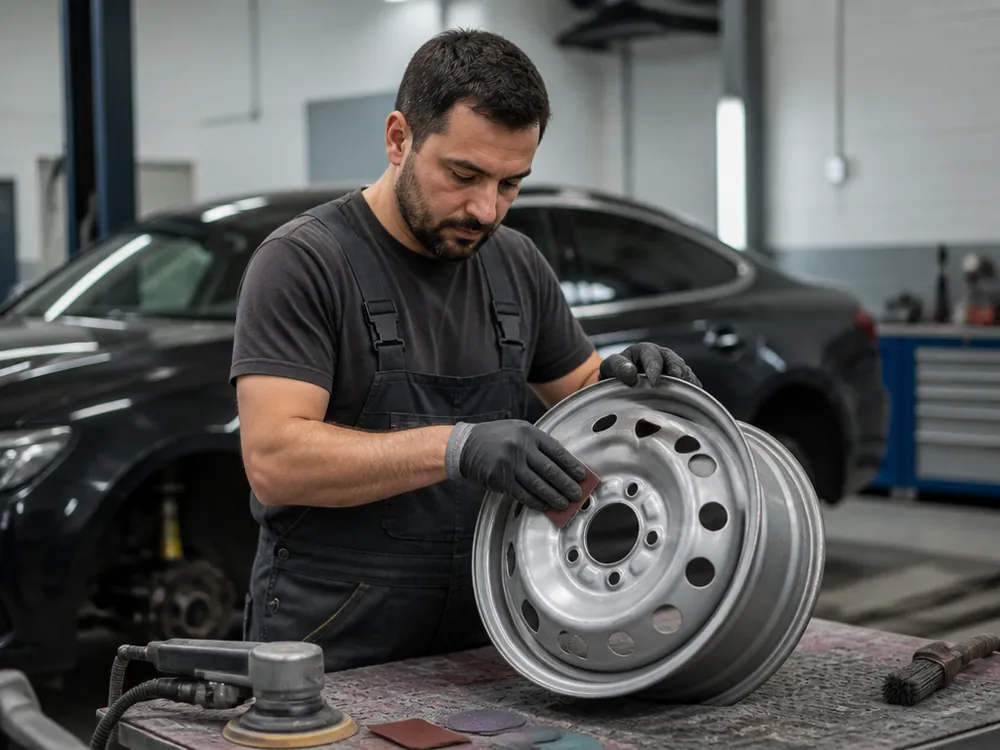
We remove the old coating and corrosion by sandblasting to clean metal, then apply an acid primer and an acrylic primer on top. Sandblasting reaches the roughness that sandpaper can't: into the grooves between spokes, around the valve, under the bead ring. After the abrasive, clean metal remains with an even matte surface, without rust spots underneath. Then two coats of primer: the acid compound etches the metal and bonds to it, the acrylic fills pores and levels the surface for the base coat. The acid primer grips the metal, the acrylic levels the surface — skipping one coat means peeling after the first curb. If you just scuff the old coating with sandpaper, micro-pockets of corrosion remain underneath, and the new paint bubbles in the first season. Wheel painting in black also starts with this preparation: without clean metal and two coats of primer, an even shade won't hold.
Painting in the Booth and Drying
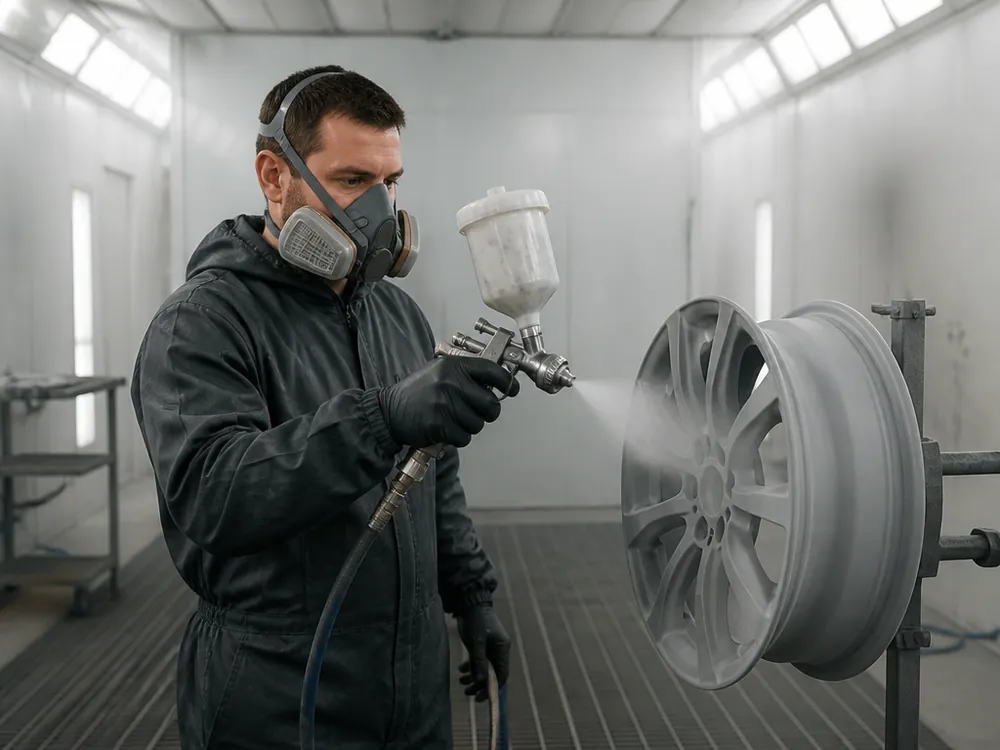
We paint and dry in a paint booth — it's clean and the temperature is stable, so the clear coat goes on evenly and dries predictably. In the booth, airflow goes from top to bottom and carries dust out of the work area, and the temperature stays in a narrow range: base and clear coat cure evenly over the entire wheel. Outside, in dust and temperature swings, the clear coat dries unevenly — that's where orange peel and poor adhesion come from. In an open-air bay, a dust particle landing on wet clear coat stays under the film forever, and evening cool slows polymerization of the top layer. Our wheels dry in the booth under controlled conditions, so the coating gains strength before assembly — after mounting the tire, no marks are left on the bead. We start wheel assembly only after full hardness is reached, otherwise the tire iron will leave a scuff on the fresh clear coat.
Lip to Final Grit and Polishing
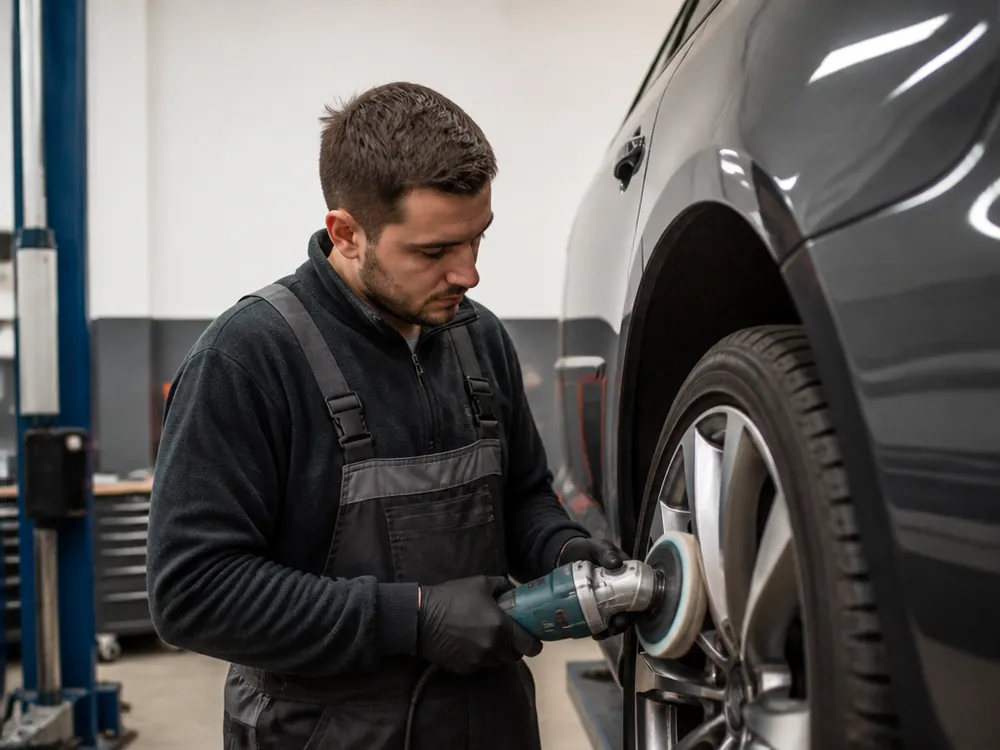
We sand the lip with abrasive to the final grit, then go over it with polish on a wheel — the client sees a mirror, not sandpaper scratches. Lip polishing is done in stages: coarse grit removes curb grooves, medium removes traces of the first pass, final leaves an even matte finish without scratches. Polishing paste on a wheel brings the surface to a shine while removing a micron layer, not the lip geometry. The lip can be polished separately from painting if the wheel itself is intact: it's faster than treating the whole wheel just for a shiny rim. Moreover, on cast wheels, lip polishing doesn't touch the spokes or the inner part, so the design stays factory. Before polishing, the technician checks the lip for runout — a bent rim is straightened first, otherwise the mirror will show a wave.
Powder or Liquid, Black or Chrome
Choosing the coating and color is about how the wheel will live through an Almaty winter with road chemicals and curbs. We compare options by durability, not by taste.
How Powder Coating Wheels Differs from Liquid Painting
Powder coating is polymerization at high temperature. The coating comes out thicker and harder than liquid enamel and holds up better against road chemicals. Liquid enamel dries in air or in a booth with moderate heat, goes on in a thin layer and follows the micro-relief of the metal, so curb rash shows up on it faster. Powder polymerizes in an oven, the particles fuse into a solid film many times thicker than enamel, and it's harder to chip with a curb. Resistance to chemicals also depends on the composition: powder has no volatile solvents, and after polymerization there are no pores left in the layer for salt to get through to the metal. Liquid enamel wins on another front — spot repairs can be done without removing the wheel, and a chip on the lip can be touched up locally. Powder is no substitute for prep: if the metal isn't cleaned, the thick layer will come off in a sheet, not in small chips.
Black, chrome or your own color from the catalog
We match the color using RAL and Pantone catalogs or a customer's sample, so a black finish or any other shade lands on the right tone. Matte, gloss and satin black are three different coatings, and on a cast wheel with a wide lip they read differently: gloss emphasizes the geometry of the spokes, matte hides minor casting imperfections, and satin sits in between and picks up less dust. We apply chrome in several layers with intermediate polishing of the base — it's the most labor-intensive scheme, but it gives a mirror without dull spots on the inner radii of the spokes. You can paint two wheels out of four, but it's better to do the whole set at once: one color batch matches more precisely than two separate matches, and the difference between the axles won't catch your eye in the sun.
Comparing coating options by real-world use
finish options by durability and repair| Option | Resistance to chemicals | Repairability | When it's chosen |
|---|
| Liquid enamel | Medium | High, spot touch-up | Budget-friendly, stock look |
|---|
| Powder coating | High | Medium, full repaint needed | Winter, road chemicals, taxis |
|---|
| 3-layer chrome | Medium | Low | Show look |
|---|
Quick or full job, scenarios and timelines
You don't always need to take the wheels off and start the whole process over. Sometimes the quick option is enough, but it has its limits. Here's what to choose for your task and timeline.
Painting without removal — when it works
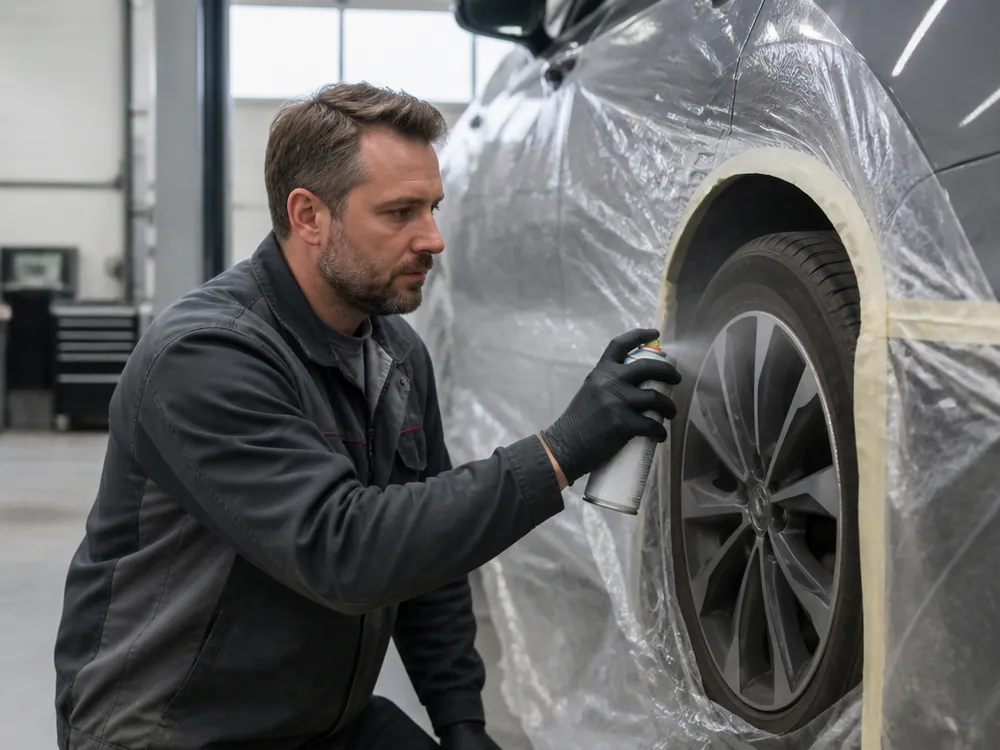
Painting without removal works when the wheel is intact and you just need to refresh the visible part without taking the wheel apart or touching the tire. CARGID takes this route when the rim edge has no bends or corrosion, the tire sits tight, and there's no point pulling it off for cosmetics. The technician masks the tire and caliper, scuffs the visible surface, and applies primer and paint in thin layers so there are no runs on the spokes. You can't refinish the inner side and the lip this way — if you want a result over the whole surface, it's better to remove the wheel: otherwise in a season you'll see the difference between the fresh rim edge and the old inner barrel. In my opinion, this option saves you a day but doesn't replace full metal prep.
How long it takes and what's included in the timeline
The timeline depends on the scenario: the quick option without removal takes from one day, while work with sandblasting, primer and a booth takes longer. After assembly we balance the wheels on a stand, and before handover the technician does a test drive — that's how we check the wheel sits straight and there's no vibration at speed. The service advisor gives the exact timeline after inspection: it depends on the condition of the metal and the amount of straightening, not just the coating itself. An morning appointment is more convenient — then the inspection and estimate approval happen the same day, and the car doesn't sit idle an extra day. In our experience, wheels with corrosion along the rim edge take the longest: they're sandblasted first, then primed in two coats.
What each scenario includes
painting scenarios by prep depth| Scenario | What we do | When it fits |
|---|
| Polishing the lips | We sand the lip down to 2000 grit and polish with compound | The wheel is intact and the rim edge needs shine |
|---|
| Painting without removal | We prep the visible part and paint it on the car | Quick refresh of the look |
|---|
| Painting with straightening | We fix the dents, then paint | Scuffs and creases along the rim edge |
|---|
| Sandblasting and painting | We strip down to bare metal, apply 2 coats of primer, bake in the booth | Corrosion, bubbles, deep prep |
|---|
Warranty, care and what happens after
Painting is not just color but a promise that the layer will last more than one season. Here's exactly what the warranty covers, how we handle disputed cases, and how to care for wheels in winter.
What the 24-month warranty covers
- Term and documents: the painting warranty is 24 months, and we write its terms into the work order and the completion certificate when the car is handed over.
- What's covered: the warranty applies to the work performed and the parts installed — that is, the primer, paint and clear coat applied by our technicians.
- A chip six months later: if the layer blisters or peels without an external impact, it's a warranty case, and we repaint the wheel at our own expense.
- What's not covered: an accident after the repair, third-party interference, normal wear of consumables, and a part the customer brought themselves.
- Why it works this way: a mechanical chip from a curb is not a coating defect but damage to the layer, so it's fixed as a separate job.
Customer-supplied paint and warranty cases
If the customer brings their own paint, the coating warranty doesn't apply — we're responsible for the work, but not for material we didn't choose. A composition from an unknown manufacturer may not bond to our primer, and in a couple of months the clear coat will start peeling off the rim edge — we warn about this before work starts, not after. In a disputed warranty case, diagnostics are free: first we look at the cause, then decide whether a repaint is needed or it's mechanical damage. In our experience, most chip complaints turn out to be curb marks, not an application defect — the nature of the damaged edge speaks for itself. If the cause really is our work, we repaint without argument. Before repainting, the technician inspects the rim edge and lip once more to make sure the cause is the coating and not a fresh hit against a curb.
Wheel care in winter
- Wash off road chemicals: in winter the roads stay covered in salt mix, and washing the wheel once every one to two weeks without stiff brushes is enough to keep the clear coat from going cloudy.
- No abrasives: don't scrub the wheel with sand or metal scrapers — micro-scratches break down the protective layer faster than any road chemical.
- Touch up chips right away: corrosion of the metal starts underneath, and a season later you'll have to repaint the whole wheel instead of a single spot.
- Wash gently: a touchless wash with neutral shampoo is safer — alkaline formulas strip the protective clear coat.
- Inspect in spring: after the cold season it's worth inspecting the wheels and noting chips — on Almaty streets the paint wears faster than it seems.
Wheel painting: metal, coating and warranty
This section boils everything down to practical takeaways: what to look for in the metal, how to choose a coating, and what terms to put in writing so the result holds up season after season.
- Metal first, color second: bubbles and corrosion call for sandblasting, dents for straightening, cracks for wheel replacement.
- Prep matters more than paint: stripping down to bare metal and two coats of primer keep the coating from peeling off the rim edge.
- Coating for the job: powder holds up better against road chemicals, liquid enamel is easier to repair locally, chrome is more demanding to care for.
- Scenario by condition: a quick refresh without removal freshens up the wheel, a full cycle with sandblasting restores geometry and looks.
- Warranty, not verbal promises: the term and conditions go into the work order, and regular wheel care extends the life of the coating.