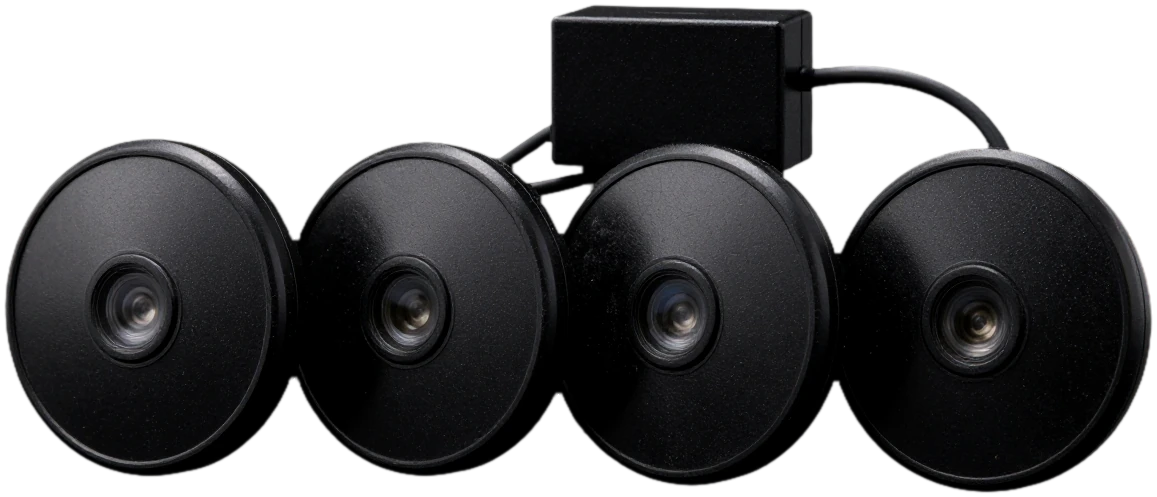
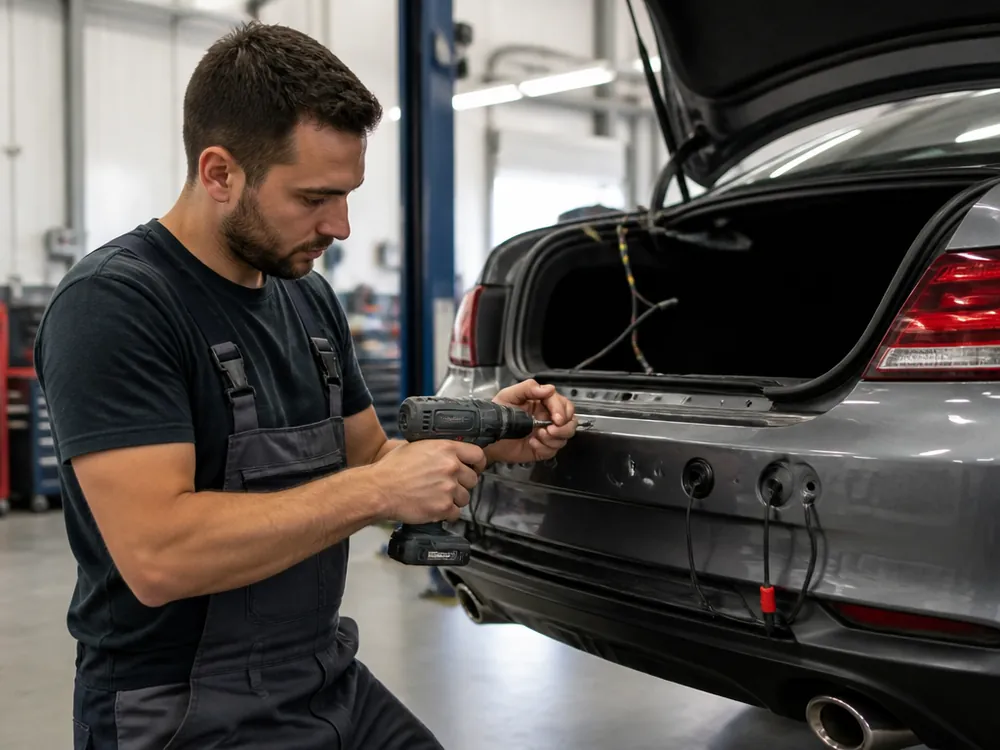
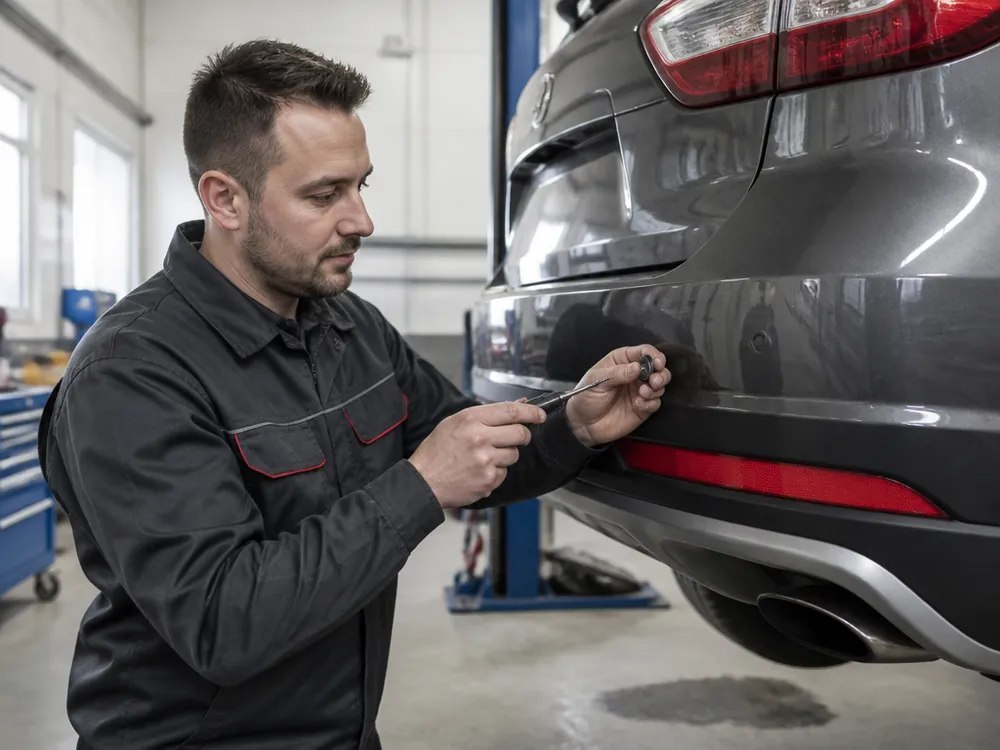
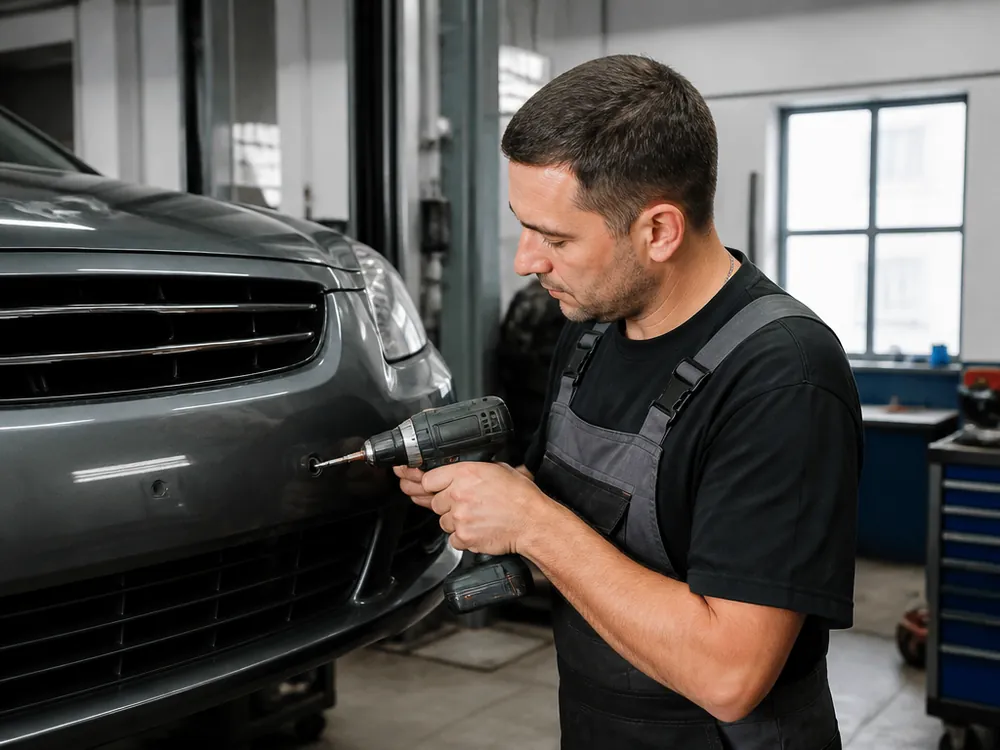
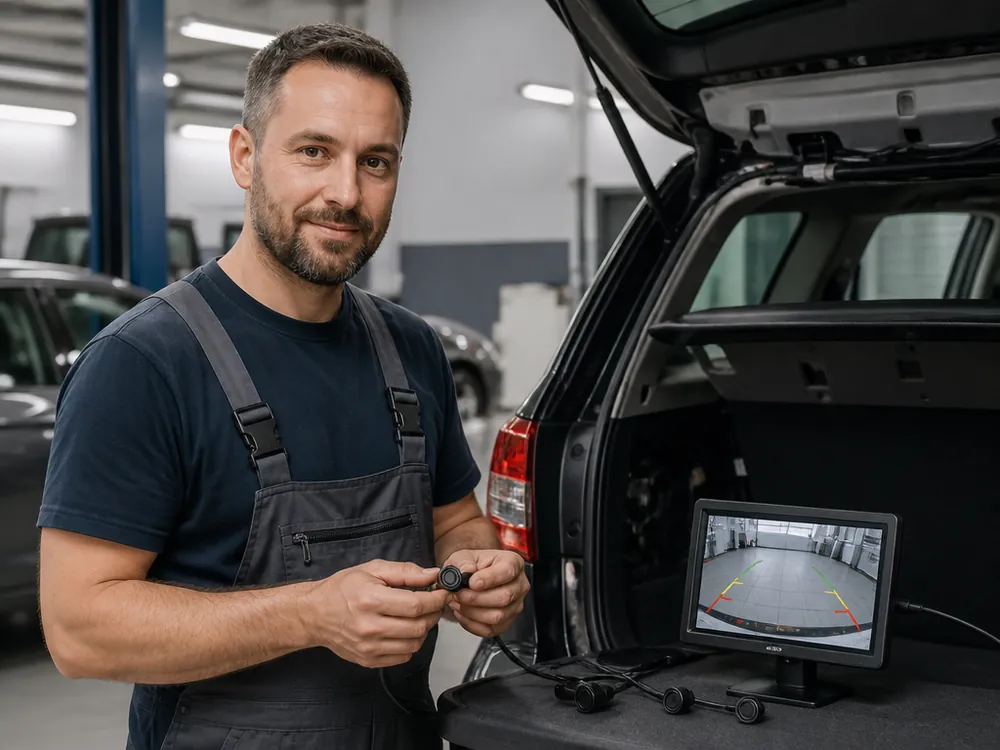
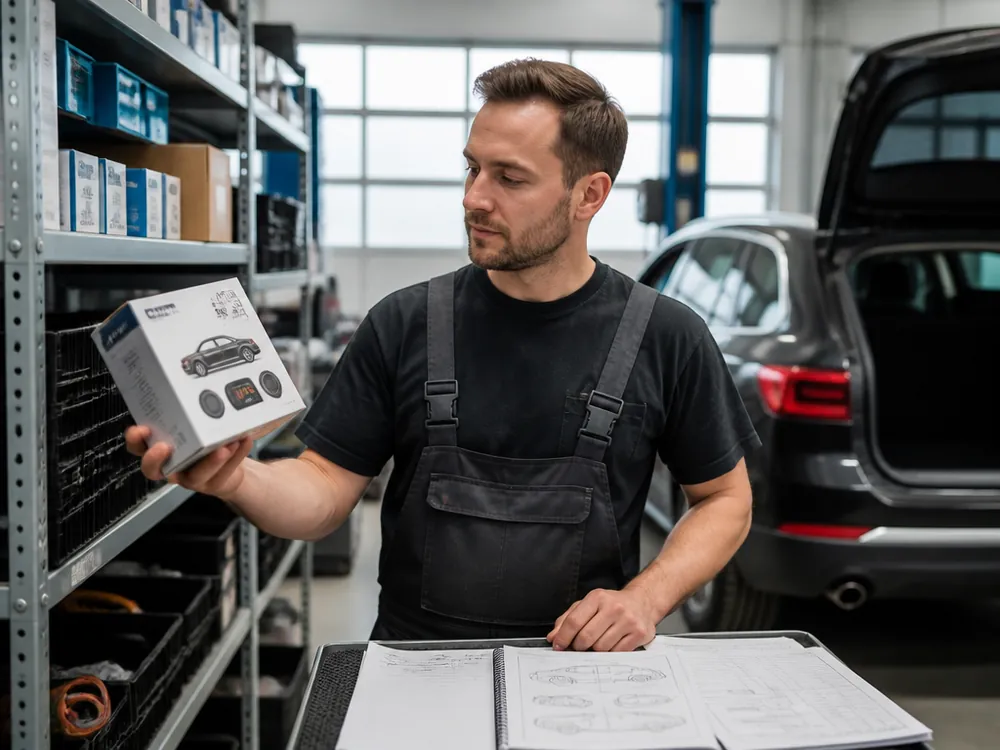
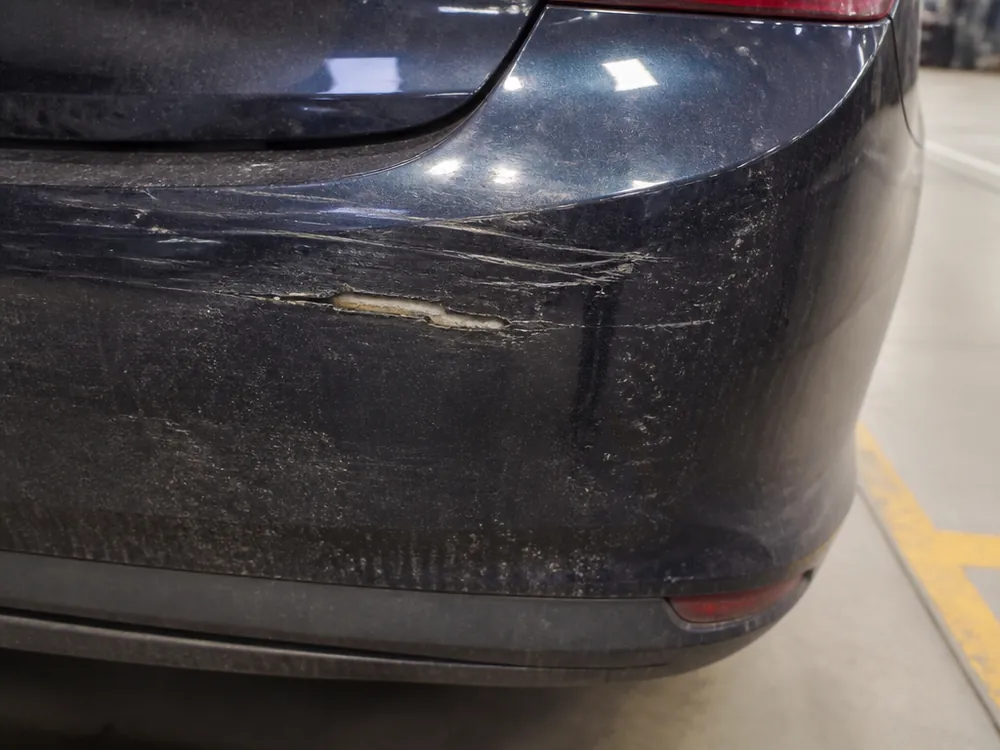
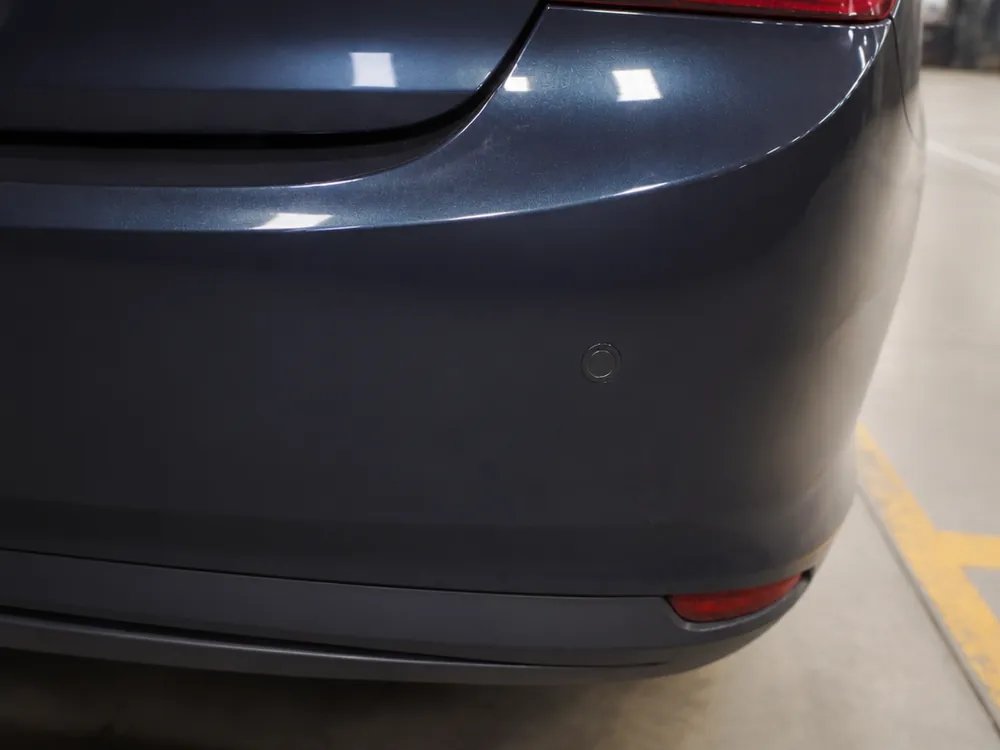
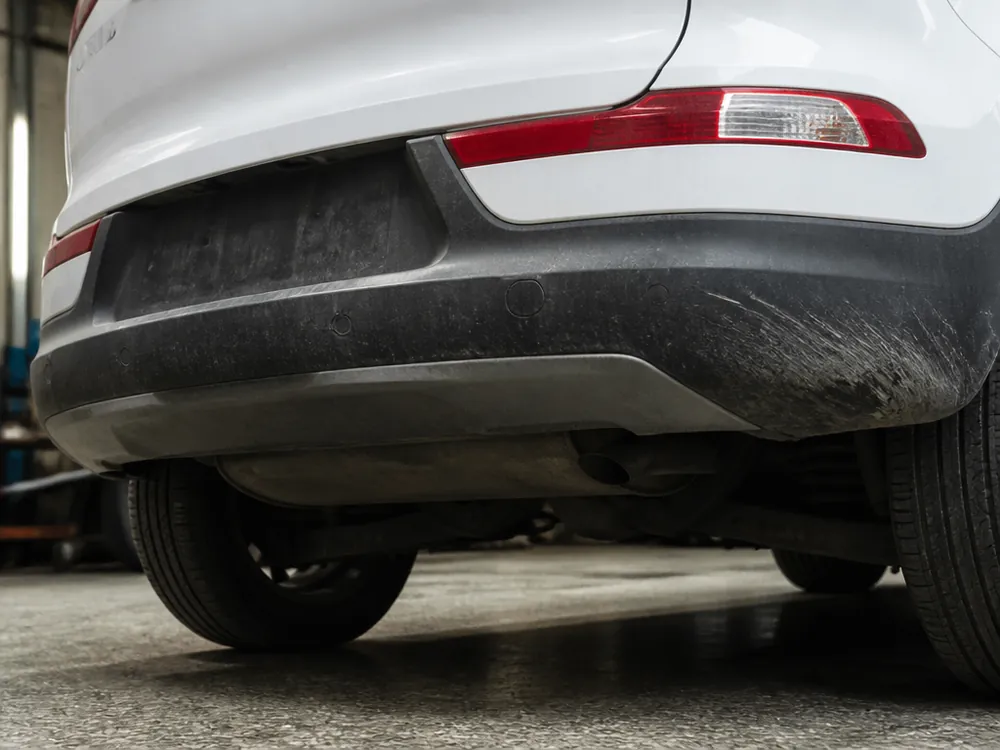
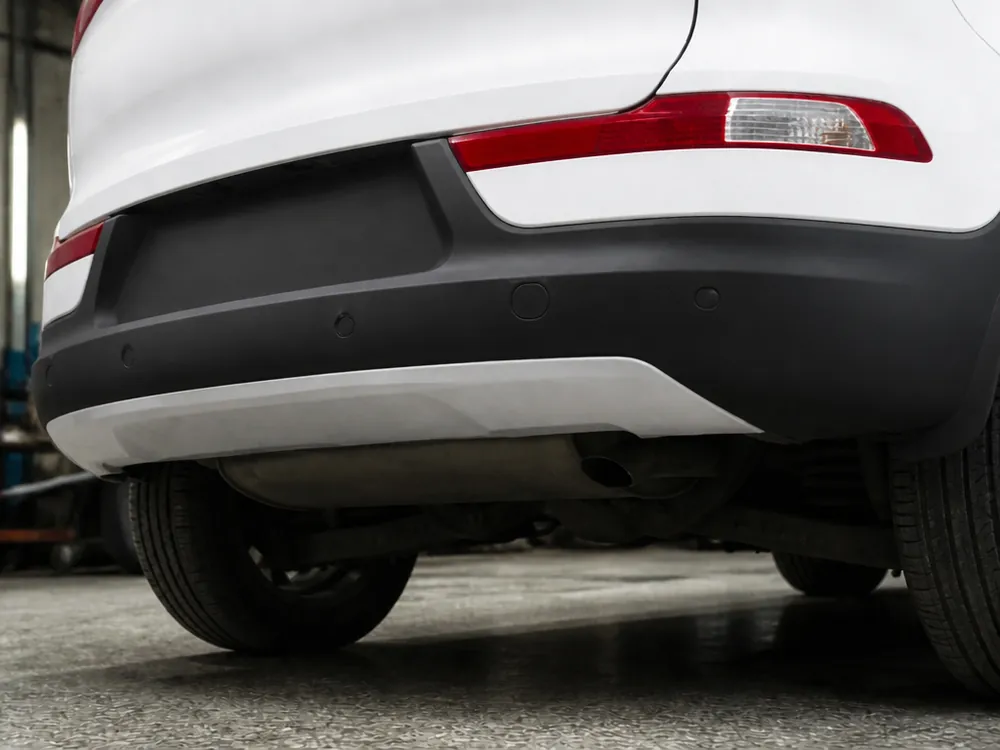
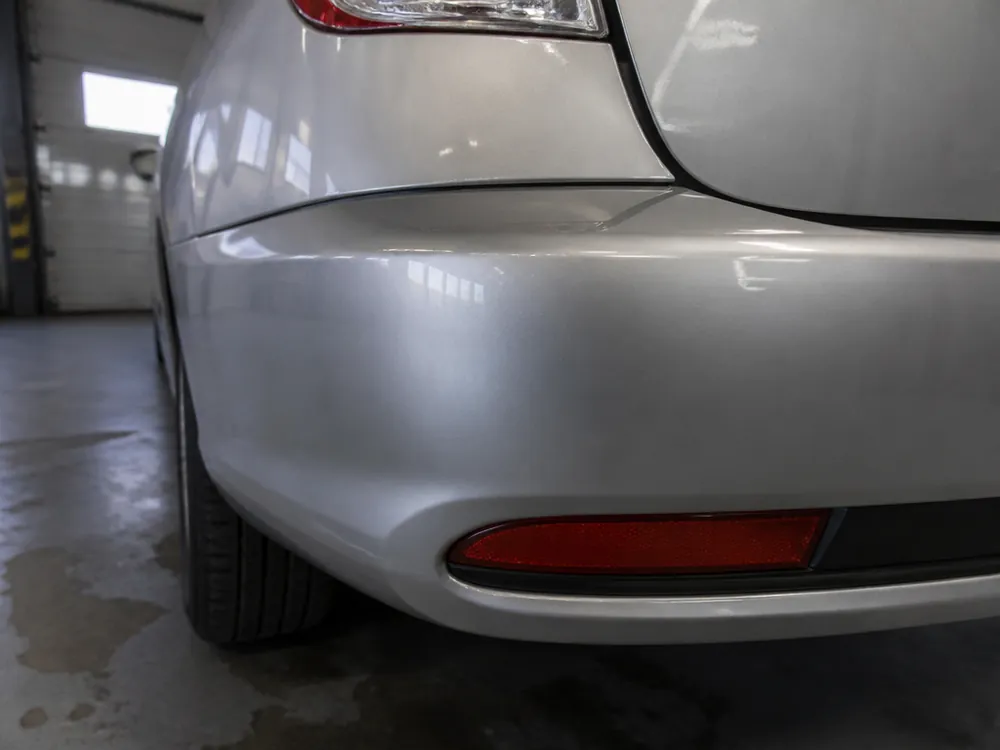
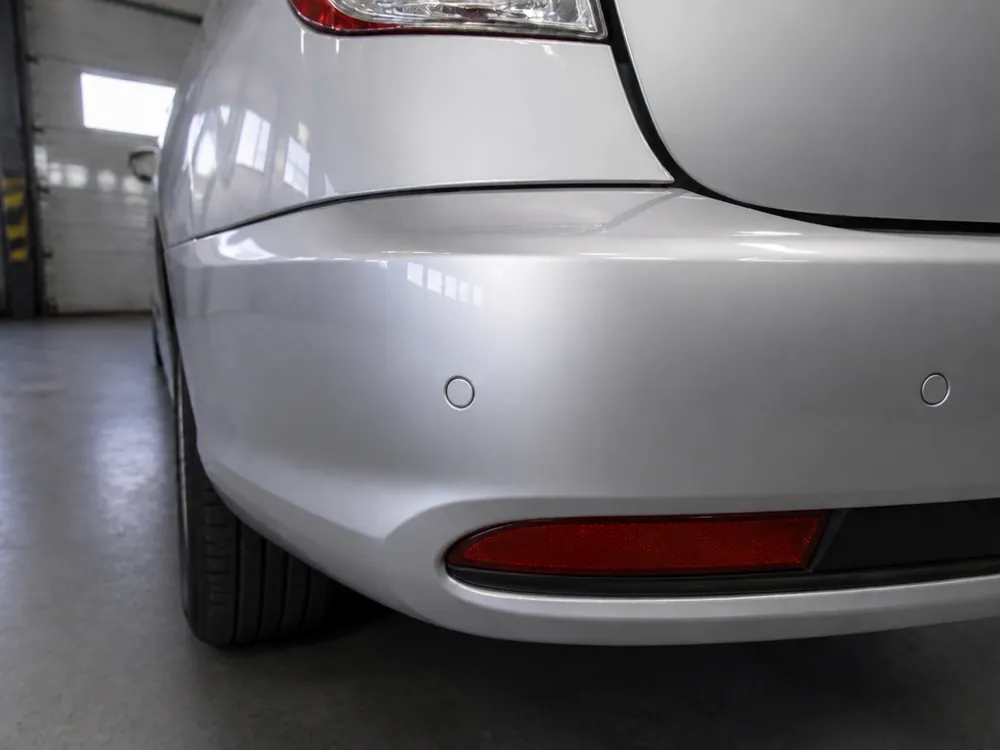
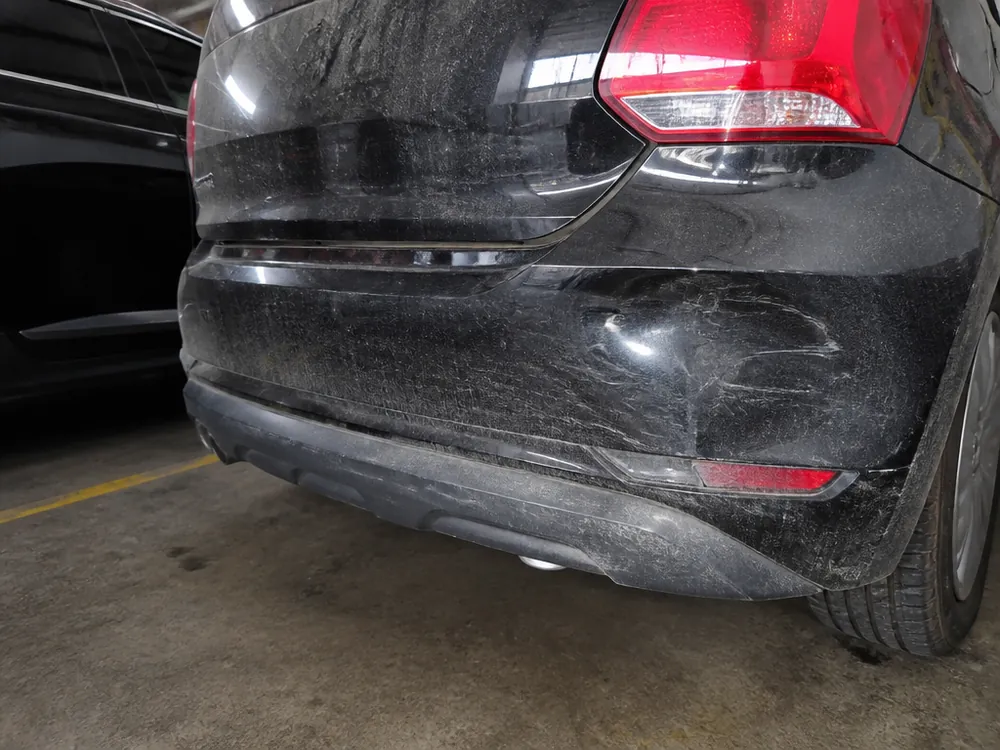
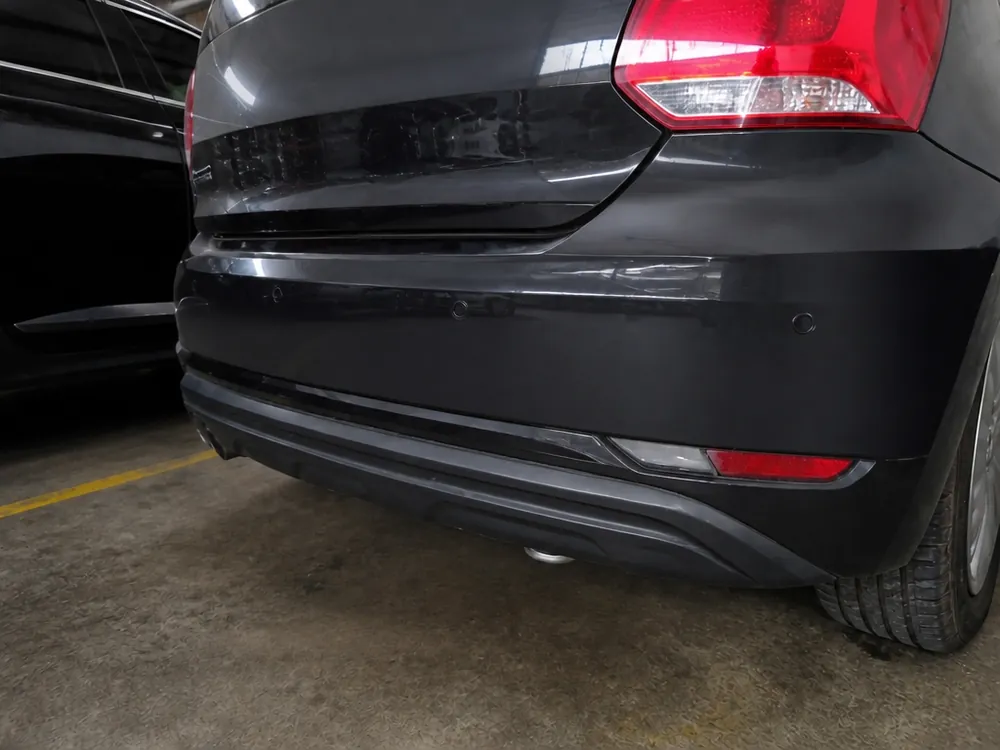
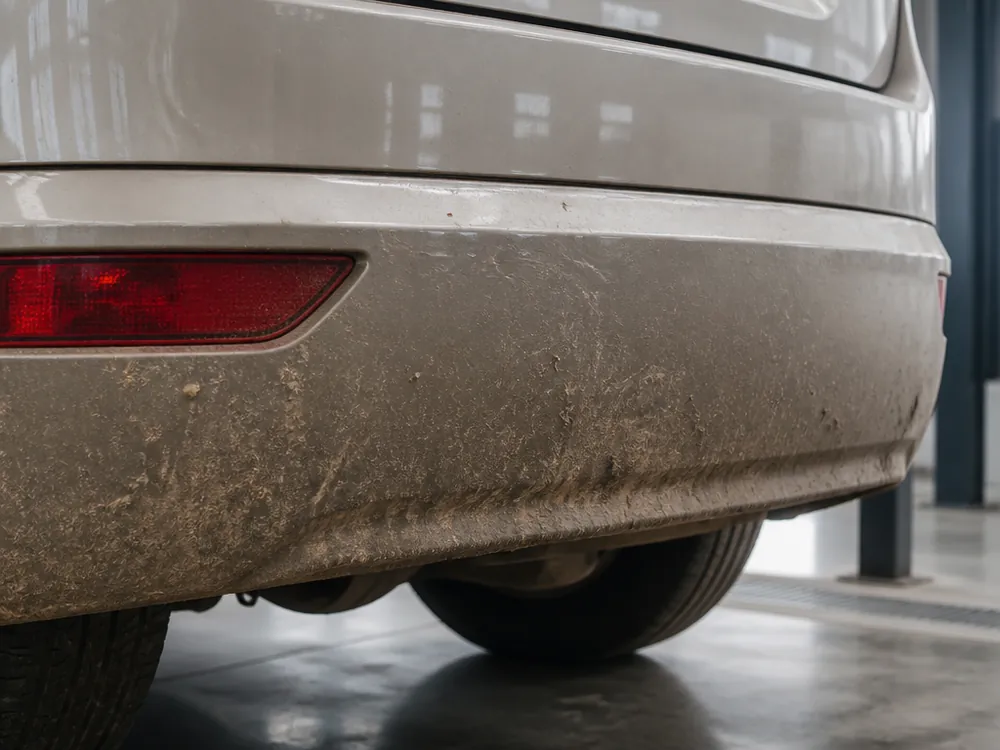
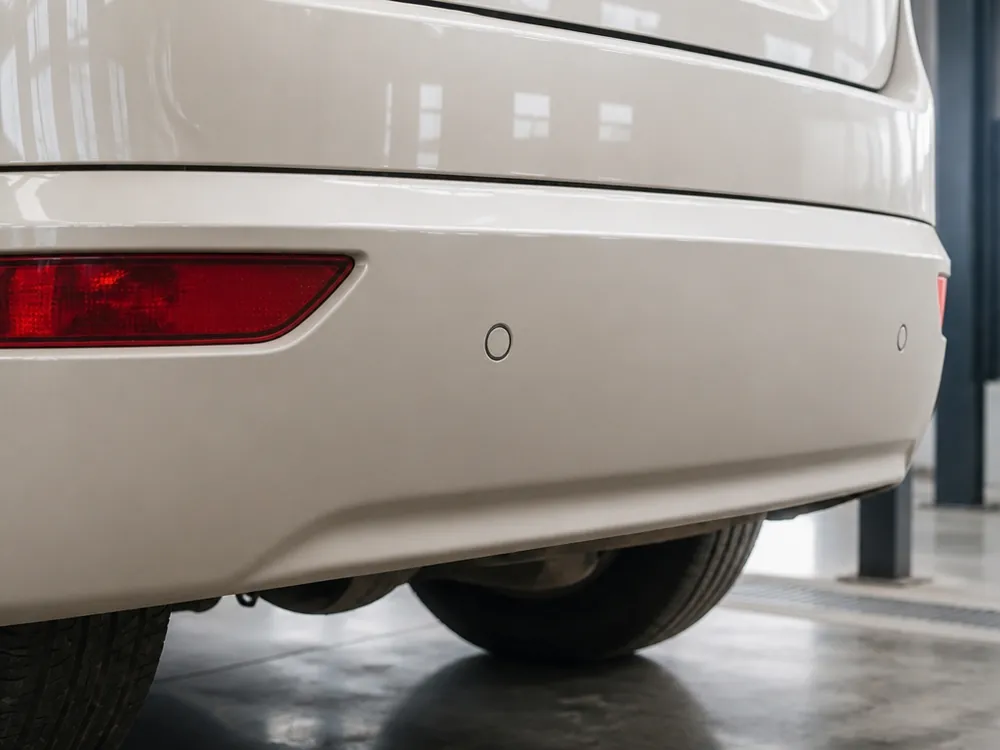
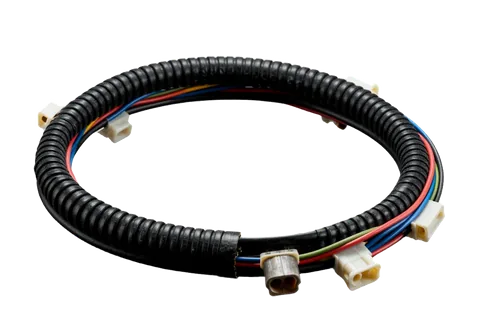
We'll help you park even in the tightest spots. We install front and rear parking sensors with neat wiring and calibration. We work with any cars — from budget to premium.
We will select a kit for your car, install and configure it carefully. Work warranty.
Service
Duration
Warranty
Price
Master's visit for diagnostics and inspection (within the city)
1 hour
12 mo
from 3 000 ₸
Diagnostics of stock or existing parking sensors
30–40 min
12 mo
from 2 000 ₸
Selection of a parking sensor kit (by car make/model)
1 hour
12 mo
from 1 500 ₸
Installation of parking sensors with wiring into the bumper (passenger car, up to 4 sensors)
2–3 hours
12 mo
from 12 000 ₸
Installation of parking sensors on an SUV/crossover (up to 4 sensors)
3–4 hours
12 mo
from 15 000 ₸
Installation of parking sensors with 8 sensors (front+rear)
4–5 hours
12 mo
from 22 000 ₸
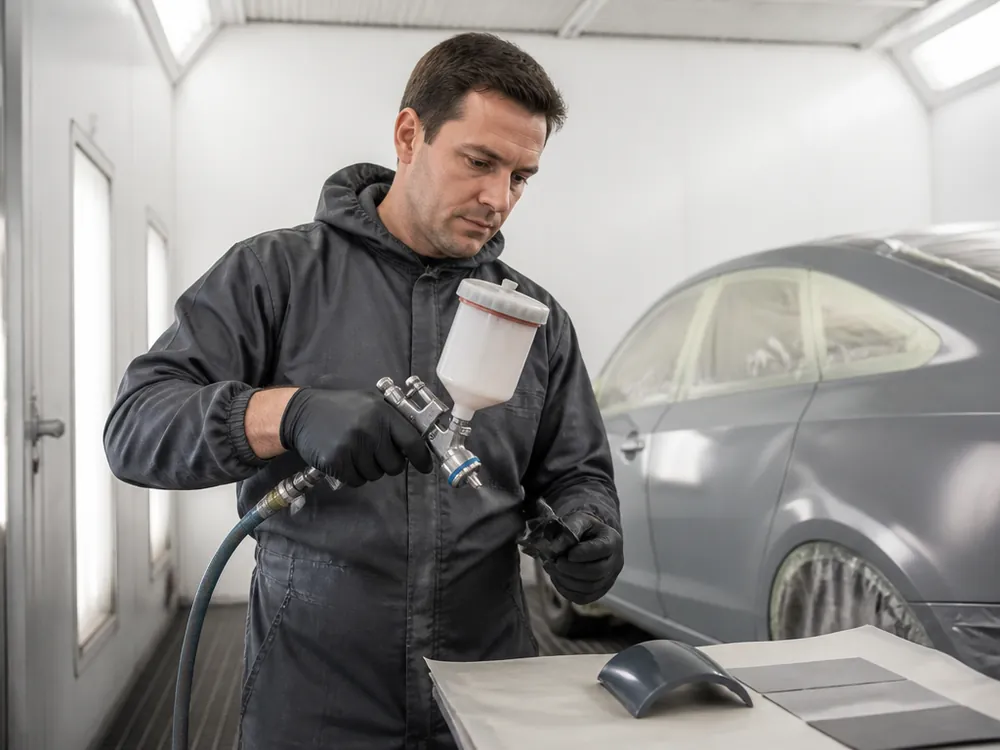
Painting sensors to match the body color (per 1 sensor)
from 1 day
12 mo
from 2 000 ₸
Installation of front parking sensors (additional to rear)
2–3 hours
12 mo
from 10 000 ₸
Drilling the bumper for sensors (without painting)
1–2 hours
12 mo
from 6 000 ₸
Routing wires into the cabin and connecting to power
1–2 hours
12 mo
from 5 000 ₸
Adjusting sensor tilt angle and calibration
30 min
12 mo
from 1 500 ₸
Connecting parking sensors to the stock screen/head unit
1–2 hours
12 mo
from 4 000 ₸
Installation of parking sensors with a rear-view camera (complex)
3–4 hours
12 mo
from 18 000 ₸
Replacement of a damaged parking sensor
30–60 min
12 mo
from 2 500 ₸
Removal of old parking sensors
1 hour
12 mo
from 2 000 ₸
Urgent parking sensor installation (subject to availability)
2–3 hours
12 mo
from 15 000 ₸
Installation of parking sensors with a visit to your home/workplace
3–4 hours
12 mo
from 18 000 ₸
Bumper soundproofing during sensor installation
1 hour
12 mo
from 3 000 ₸
Adaptation of parking sensors for cars with a tow bar
1–2 hours
12 mo
from 4 000 ₸
The cost may differ slightly depending on the complexity of the body and the selected equipment. We'll give you the exact estimate after inspection. Warranty periods — see the page «Warranty»
06
Why parking sensors are installed at CARGID
Warranty.
Every promise — backed by a number or a document: work order, photos, removed parts.
12MO
warranty on labor — the term is stated in the work order.
Marking by template and height
Sensors painted to match the body color
Front sensors with delayed activation
01
4 sensors in 2–3 hours
We mark the spots at a height of 55–65 cm from the ground and route the wiring through the factory openings — on a passenger car usually without removing the bumper. You leave the same day.
02
We paint to match the body color
We select the sensors by paint code and apply 2 coats so they do not stand out from the bumper. We work on each sensor separately.
03
8 sensors — only according to the diagram
We install the front ones with a turn-on delay so they do not trigger at traffic lights. The speakers do not overlap: the front/rear channel is separated.
04
12-month warranty on installation
If a sensor stops detecting or gets flooded after a car wash due to the installation, we'll redo it under warranty. We also cover the wiring and unit if this is our installation.
07
How parking sensor installation goes
Steps.
We will guide you through the entire parking sensor installation process — from request to vehicle pickup.
01
Booking at a convenient time
Submit a request on the website or by phone — we will select the optimal parking sensor kit for your budget and needs. We will agree on the date and time of your visit so that you can see the technician without a queue or waiting.
request and time selection
02
Vehicle inspection
On the lift, we assess the condition of the bumpers, the presence of a tow hitch, and other elements that may affect installation.
bumpers, tow hitch, wiring
03
Kit selection
We choose parking sensors with the required number of sensors, color, and type of indication — to your taste.
sensors, color, display
04
Bumper removal if necessary
If there's a reinforcement behind the sensor location or the wiring can't be routed through the factory openings — this often happens on SUVs and with 8 sensors — we carefully remove the bumper, then mark and drill the holes exactly in place.
marking and drilling
05
Sensor installation
We cut in the sensors, run the wiring through the factory corrugated tubes, and connect the control unit.
sensors, wiring, unit
06
Setup and calibration
We check the system operation and calibrate the sensitivity zones so that the signals are accurate and without false triggers. We perform a final check together with you and provide a warranty on the work and sensors.
Car service in Almaty. We reply on WhatsApp and by phone.
1 500 ₸Selection of a parking sensor kit
10 · Useful
Layout, Marking and Testing for Parking Sensor Installation in Almaty
Author: Мухтар Игенlead auto electrician and diagnostician, 5 years of experience
Published Updated
Parking sensor installation in Almaty starts with choosing a layout: four rear sensors for a passenger car, reinforced marking for a crossover, eight sensors for full front and rear coverage. We mark the sensors by height, paint them to match the body color if you want, calibrate the zones, and test the system together with the owner.
How Parking Sensors Work and What's in the Kit
The system is simple in composition: several sensors, a unit, and an indicator in the cabin. But accuracy depends on every element, so before choosing it helps to understand what each part of the kit is responsible for.
How a Sensor Measures Distance
Each sensor in the bumper works like a small sonar. It sends a short ultrasonic pulse, catches the reflection from an obstacle, and the control unit calculates the distance from the time it takes the sound to return. The closer the wall or the car next to you, the more often the buzzer beeps and the shorter the bar on the display. The zones of neighboring sensors overlap, so the system sees not a point but a solid strip behind the bumper. The method has limits: a thin pipe, a fence mesh, loose snow, and a very low curb are harder for the sensor to detect than a flat wall. That's why parking sensor installation in Almaty, where courtyards are tight and parking garages are packed with columns and posts, doesn't replace mirrors. The signal helps you judge the last centimeters to an obstacle, while the driver still builds the overall picture around the car with their eyes.
What the Kit Consists Of
System components and where each part goes
Element
What it's responsible for
Where it's located
Sensors
Send the pulse and receive the reflection
Rear bumper, front if needed
Control unit
Calculates distance, routes the channels
Trunk, spot under the trim
Indication
Sound, bar, image for the driver
Cabin, mirror, factory screen
Wiring
Power and connection of sensors to the unit
Conduits through factory openings
Fasteners and rings
Snug fit of the sensor in the bumper
Opening in the bumper
Which Indication to Choose
Audible alert: the simplest option — the beep rate increases as you get closer, and your eyes stay on the mirrors.
In-cabin display: shows distance with numbers and a bar, plus which side the obstacle is on — handy when maneuvering in tight passages.
Mirror indicator: the scale is built into the rearview mirror, so you don't have to look down at the dash when reversing.
Factory screen, head unit: the image is displayed on the multimedia screen, keeping the cabin free of extra boxes and visible wires.
Sound plus image: a combination for those who often back into dark courtyards and underground parking lots.
How many sensors your car needs
The number of sensors depends on the bumper width, body height, and where the car is usually parked. Extra sensors aren't needed, but cutting corners on the layout leaves blind spots exactly where the bumper takes the most hits.
Four rear sensors for a passenger car
If you've decided to install parking sensors on a sedan or hatchback, four rear sensors are usually enough. The two outer ones watch the bumper corners, where scratches from posts and neighboring cars most often appear, and the two center ones cover the area right behind the trunk. We mark them symmetrically and connect them to a common unit, then route the indication wherever it's most convenient for the driver: sound, display, mirror. On the narrow bumper of a compact car, four sensors sit closer together, and the zones overlap without gaps. The front setup for such a car is a matter of habits: if you often pull nose-first up to a curb or into a parking garage, it's worth considering, but it usually makes sense to start with the rear sensors. Front sensors can always be added later if the unit supports a second circuit, so this is worth discussing when choosing the kit.
Crossovers, vans, and cars with a tow hitch
A tall body has its own blind spots. Because of the high seating position, a crossover or SUV driver can't see low obstacles — a curb, a kid's bicycle, a fence post. That's why on such cars we install sensors taking the bumper geometry into account, and sometimes shift them so the zone covers the space right at ground level. A long van or commercial vehicle often needs a full set front and rear: when unloading and maneuvering in a courtyard, it's hard to sense the dimensions. A separate story is the tow hitch. The ball and bracket stick out behind the bumper, and the center sensors start seeing them as an obstacle. For such cars we do an adaptation: we pick the sensor positions and adjust the unit so the system doesn't beep constantly and still doesn't miss real obstacles behind. If the hitch is removable, we account for both cases — with and without the ball.
Layout by body type
Typical layouts, final after inspection
Body type
Usual layout
What we look at
Sedan, hatchback
Four rear sensors
Bumper width, corners
Crossover, SUV
Four rear sensors with geometry in mind
Seating height, low obstacles
Car with tow hitch
Rear with adaptation
Position of the ball and bracket
Long van
Eight sensors front and rear
Dimensions, sound and light in the cabin
Car for tight parking lots
Rear plus front
Long hood, low bumper
Front parking sensor installation and activation delay
Not every driver needs front sensors. But in tight courtyards, underground parking lots, and when pulling nose-first up to a wall, they protect the bumper, grille, and license plate.
When front sensors are really needed
Front parking sensors are justified if the hood is long or sloped so that the bumper edge isn't visible from the driver's seat. This applies to many crossovers, business-class sedans, and vans with a short nose but a high cabin. The second sign is your usual route: an underground parking lot with columns, a courtyard where cars park nose-first to the curb, pulling into a narrow garage. The third is marks on the front bumper and a scuffed license plate that appeared without a single accident. If none of this is about you, you can skip the front setup: rear sensors are enough for most maneuvers. If the signs are there, it's better to plan the full layout right away so both circuits work through one unit and sound the same in the cabin. Adding it later usually costs more than a well-thought-out layout from the start.
How we connect the front circuit
The main problem with front sensors is false alerts. If you turn them on together with the rear ones without adjustment, the system will beep in every traffic jam when there's a car ahead and at every traffic light. That's why we connect the front sensors with an activation delay: they trigger at the right moment during a maneuver, not constantly at low speed. The front and rear channels are separated, the signals don't mix, and the driver can tell from the sound or the bar exactly where the obstacle is. We run the wiring to the front bumper as a separate line through the engine bay in a conduit, away from hot and moving parts. After connecting, we check that the front circuit stays quiet in normal traffic and responds confidently when approaching a wall. That way the driver learns to trust the signal instead of turning the system off because of annoying beeping.
Adding to existing rear sensors
Checking the old kit: first we check whether the rear sensors work and whether the unit has free channels for the front circuit.
Common unit: if the unit supports eight sensors, we connect the front ones to it, and the signals go to the same indication.
Separate display: if the old unit only handles the rear, we install a front kit with its own indication without touching the rear.
Unified sound: we adjust volume and tone so the front and rear signals are distinguishable but not annoying to the driver.
Checking both circuits: at handover, together with you, we test the rear and front on real obstacles from different sides.
Marking, wiring, and painting the sensors
Where the hole is drilled determines whether the system sees the curb and whether it reacts to the road. That's why marking and wiring affect the result no less than the choice of the kit itself.
At what height and spacing the sensors are installed
We mark the sensors at a height of fifty-five to sixty-five centimeters from the ground. If you mount them lower, the ultrasound will bounce off the asphalt, bumps, and puddles, and the system will start beeping for no reason. If you mount them higher, a low curb or post will end up below the detection zone. We space the sensors according to the bumper width so the zones overlap, and the outer sensors angle slightly to the sides to cover the corners. The plane matters too: a sensor on a curved bumper must point backward, not up at the sky or down at the ground, otherwise even the right height won't help. Before drilling, we check that there's no reinforcement, bracket, or wiring harness behind the spot, and only then do we work with a hole saw of the right diameter so the sensor sits tight, straight, and with no gap.
How we hide the wiring and the control unit
We route the wiring from the sensors into the cabin through factory openings and grommets, without new holes in the body where the factory passages will do. We run the wires along the original harnesses, secure them with zip ties, and protect them from rubbing against metal and from moisture flying up from under the wheels. We hide the control unit in the trunk or under the trim, where it won't get wet or end up underfoot or under cargo. We connect it to the vehicle's electrical system so the rear circuit turns on with reverse gear instead of sitting on constant power and draining the battery. If the display goes to the factory screen or head unit, we check that the image appears on time and doesn't conflict with the rest of the car's electronics. We insulate all connections so corrosion doesn't set in after a couple of winters.
Painting the sensors to match the body color
Black sensors stand out on a light-colored bumper, so many owners ask to have them painted to match the body. We match the color by the car's paint code and apply the coating in two layers, working on each sensor separately. That way the shade matches the bumper and the sensor doesn't break up the overall line. We paint the sensors before installation, not together with the bumper: a thick layer of paint on the membrane, applied over an already mounted sensor, can weaken the signal and throw off sensitivity. For the same reason, after future body repair the bumper should be repainted with the sensors removed. Painting adds drying time to the job, so it's easier to agree on it in advance when booking, so the car doesn't sit at the shop an extra day.
Post-installation check, false alerts, and warranty
Mounting the sensors is only half the job. The other half is testing the system in real conditions and knowing in advance what the warranty covers and what falls outside it.
How we test the system before handover
Each sensor individually: we check that every sensor detects an obstacle and the unit doesn't show a missing line or lose the signal.
Zone calibration: we set sensitivity so the system doesn't react to the road but reliably catches a curb and a post.
Real obstacle: together with the owner we pull up to a wall and a post, listen to the signal, and watch how the scale changes.
In-cabin display: we check the sound, the display, the image on the factory screen, and show how to read the signals from different zones.
Before handover: we do a test drive and record the warranty period and the work performed in the work order and acceptance form.
Why parking sensors beep with no obstacle
Typical false alerts and first steps
Symptom
Common cause
What to do
Beeping after a car wash
Water on the sensor membrane
Wipe the sensor with a soft cloth
Alert in winter with no obstacles
Snow or ice on the sensor
Clean the sensor before driving
Constant beeping at the rear
Tow hitch or bike rack in the zone
Adapt the sensors and the unit
Reacts to the road
Low markings, sensor misalignment
Check the markings at the shop
One sensor is silent
Broken wire, water in the connector
Diagnose the line and the sensor
What the installation warranty covers
We give a 12-month warranty on parking sensor installation, just like on our other electrical work. It covers the wiring, the connection, the sensor mounting, and the unit if we installed the system. If within that period a sensor stops detecting or gets flooded after a car wash because of the installation, we redo the work, and diagnostics for a warranty case are free. The sensors themselves are covered by the kit manufacturer's warranty. If you brought your own kit, the technician will first check its compatibility and that it works, and the warranty on the part itself stays with the seller. The warranty doesn't cover the consequences of an accident, third-party tampering, or repainting the bumper with the sensors left in place. We record the term and conditions in the work order, so keep it until the warranty ends and bring it with you if a check is needed.
Key steps for parking sensor setup
Parking sensors only help when the layout, marking, and settings are matched to the specific car. Here's a quick rundown of what to decide before booking.
Layout for the body: a passenger car usually needs just rear sensors, a crossover needs marking that accounts for height, and a van needs a full kit.
Front circuit if needed: it makes sense with a long hood, tight parking lots, and nose-in parking, but it requires an activation delay.
Height and angle: sensors at the right height and without misalignment catch the curb and don't react to asphalt and puddles.
Painting before installation: sensors are painted to match the body color separately, and a thick layer of paint on the membrane weakens the signal.
Testing and paperwork: the system is tested on a real obstacle, and the warranty period is recorded in the work order.
11
Questions about parking sensor installation
Questions.
Price, timeframes, warranty, payment — 10 questions asked most often.
10
Didn't find an answer?
Message us on WhatsApp — a service advisor will reply within 5 minutes.
The price depends on the number of sensors, the body type, and any extra work — painting the sensors, routing the wiring, connecting to the factory screen. Installing 4 sensors in the bumper of a passenger car costs from 12,000 ₸ for labor, on an SUV or crossover — from 15,000 ₸, a kit of 8 sensors front and rear — from 22,000 ₸; the kit and sensor painting are paid separately. Inspection at the service before installation is free; a technician visit and diagnostics of existing parking sensors are per the price list. We lock in the exact estimate in the work order before work begins.
Installing 4 sensors on a passenger car takes 2–3 hours, on an SUV — 3–4 hours, and an 8-sensor kit — 4–5 hours. If your car is prepared, there are no complex design features, and the kit is standard, we finish in 2–2.5 hours. If additional fitting, painting the sensors to match the body color, or routing wires through hard-to-reach places is required, the time increases, and painting the sensors to match the body color takes from one day. We always try to complete the work on the day of request, but preliminary booking guarantees the start of work immediately upon arrival.
We provide a 12-month warranty on parking sensor installation work. If during this period problems arise with the wiring, connection, or mounting of the sensors, we will fix them free of charge. The parking sensors themselves are covered by the manufacturer's warranty — usually from 1 to 2 years, but exact terms depend on the kit. If the parking sensors were purchased from us, we will help with warranty service. If you brought your own, the warranty on them remains with the seller, but we will check their functionality before installation.
The installation itself takes from 2 to 5 hours depending on the number of sensors and the car model. Booking is recommended 1–2 days in advance so the specialist can prepare the kit for your bumper and coordinate the time. On free days, same-day installation is possible.
Yes, you can install parking sensors purchased on your own. But there are nuances: first, the specialist will inspect the kit for compatibility with your car and the quality of the wiring. If the kit is low-quality or unsuitable, we will warn you and offer an alternative. Installation work for your own parking sensors is paid the same as when purchased from us. However, if during the process it turns out that the kit is defective, the responsibility for it lies with the seller — we do not provide a warranty on the part itself. But we will check functionality before installation and give recommendations.
If you notice incorrect operation of the parking sensors after installation — false triggers, beeping for no reason, or signal loss — do not try to figure it out yourself. Come to us, we will perform diagnostics. Under warranty, we will free of charge check the sensor mounting, wiring integrity, and unit settings. If the problem is with the installation, we will fix it. If it's with the device itself, we will help with replacement under the manufacturer's warranty.
The main options are drill-in and surface-mount. Drill-in require holes in the bumper; the sensors are almost invisible and look factory. Surface-mount are glued to the bumper without drilling — suitable if you don't want to damage the bumper or have a non-standard shape. The kits also differ: 4 sensors cover only the rear zone, 8 — rear and front. Additionally, a display can be installed instead of an audible buzzer, outputting information to the mirror or factory head unit. You can choose any option with us — we will advise the optimal one for your model.
After installing parking sensors, no special care is required, but there are recommendations. In the first 24 hours after painting the sensors (if painted), avoid high-pressure washing so the paint fully polymerizes. Afterwards, when washing, try not to direct the water jet directly at the sensors to avoid moisture getting inside. Once a month, check the cleanliness of the sensors — dirt and snow can hinder their operation. If you notice that the sensors have started to see worse, wipe them with a soft cloth.
You can pay for the installation in cash, by Kaspi, Visa, or Mastercard card, by Kaspi QR code, and legal entities — by bank transfer. Installments through Kaspi Red are available; they're arranged right at the service in a few minutes. Payment is after the work is accepted; we issue the receipt and the work order with the warranty right away.
Yes, there's currently a 10% discount on installation labor if you buy the parking sensor kit from us. It can't be combined with other discounts. The service advisor will confirm the promotion terms when you book and note them in the work order.
12
Reviews of parking sensor installation
Reviews.
We collect ratings on the website and on maps — we hide nothing.
4.8
872 reviews on the website 1 900+ ratings in total
Aigul
Toyota Camry
I installed parking sensors on my Toyota Camry. The specialists at CARGID did everything quickly and neatly; the sensors are completely unnoticeable. The price was 45,000 tenge, which is quite reasonable. Now I park even in the narrowest yards without fear. I recommend!
Sergey P.
Sportage
Ordered installation of parking sensors on Kia Sportage. Everything was done in a day, price 48,500. I'm satisfied with the work, but the sensors are a bit slow in the rain — there are false triggers. But I think that's normal for budget models. Overall, a normal service.
Dmitry
I contacted CARGID on a friend's advice. They installed parking sensors on a Lexus RX, used wireless ones to avoid the hassle with wiring. The result is excellent: everything is neat, the display on the mirror is very convenient. I paid 52,000, but it's worth it. Thanks to the specialists!
Aidana
I installed parking sensors on my Toyota Corolla. The work was fast and high-quality. Everything cost 42,000 tenge. Now I drive in parking lots without fear. Thanks to CARGID!
Vladimir
I ordered installation on a GAZelle Next for work. They did both front and rear, 8 sensors. They finished in two days, price 68,000. For a commercial vehicle, it's just what's needed. Before, I was afraid of hitting people during unloading, now I'm calm.
Olga
Tucson
I spent a long time choosing where to install parking sensors on my Hyundai Tucson. At CARGID everything went perfectly: I booked in advance, arrived, and picked up the car the next day. The sensors were matched to the body color, completely unnoticeable. 44,000 tenge — an excellent price. Thank you!
Artem K.
Installation of parking sensors on Volkswagen Polo. Done in one day, everything went without problems. They cost 39,900, cheap and effective. The sound signal is loud, works accurately. The only downside is a small display, but that's not critical. Overall, I recommend.
Yerlan
Land Cruiser
I installed parking sensors on a Toyota Land Cruiser Prado. They did it quickly; I picked it up the next day. True, the sensors had to be cut into the bumper, which already had a crack, but the specialists handled it carefully. The cost was 55,000 tenge, I think it's normal for such a car.
Natalya
CX-5
Last year I had parking sensors installed on a Mazda CX-5 at another service, but there I had to redo them due to poor wiring. Here everything was done with high quality the first time. It cost 47,000, done in one day. Now parking is a pleasure. Thanks to the team!