A GPS device for protecting a personal car and a device for fleet control solve different tasks. So the choice starts not with the model, but with what the owner wants to see in the app and what to protect against.
How We Choose a Tracker
Our GPS tracker installation starts with a conversation about the task: whether you need anti-theft protection, driver route monitoring, fuel accounting, or just the ability to see the car on a map from your smartphone. Then the technician inspects the car and determines where the device can be placed covertly and where to get power. For protecting a personal car, we usually recommend a wired device with hidden installation and backup power; for a fleet, a model with CAN bus connection and a fuel sensor. If you bought the device yourself, we check its kit and compatibility with the car before starting work so we don't disassemble the interior for nothing. We select a model for your tasks and budget and agree on the cost and timeline in advance. Tip: decide who will use the app — you or a dispatcher — this affects the choice of monitoring service.
What to Check Before Buying
- Satellite systems: a receiver supporting GPS and GLONASS determines location more accurately and faster in dense urban areas.
- Connection and SIM card: check which SIM card to install and how much the connection costs with your chosen operator.
- Monitoring service: the app can be free or paid; the subscription fee is sometimes separate from the SIM card.
- Backup power: for anti-theft protection, it's important that the module keeps working even after the car battery is disconnected.
- Sensors and inputs: for a fleet, check whether you can connect a fuel sensor, CAN bus, and panic button.
- Practical takeaway: a cheap model without backup power and with an inconvenient app saves money only at purchase.
Where to Place the Tracker and Antenna
A hidden device must stay invisible to a thief but still see satellites and the mobile network. Finding the balance between stealth and signal quality is the main challenge of installation.
Signal and Placement
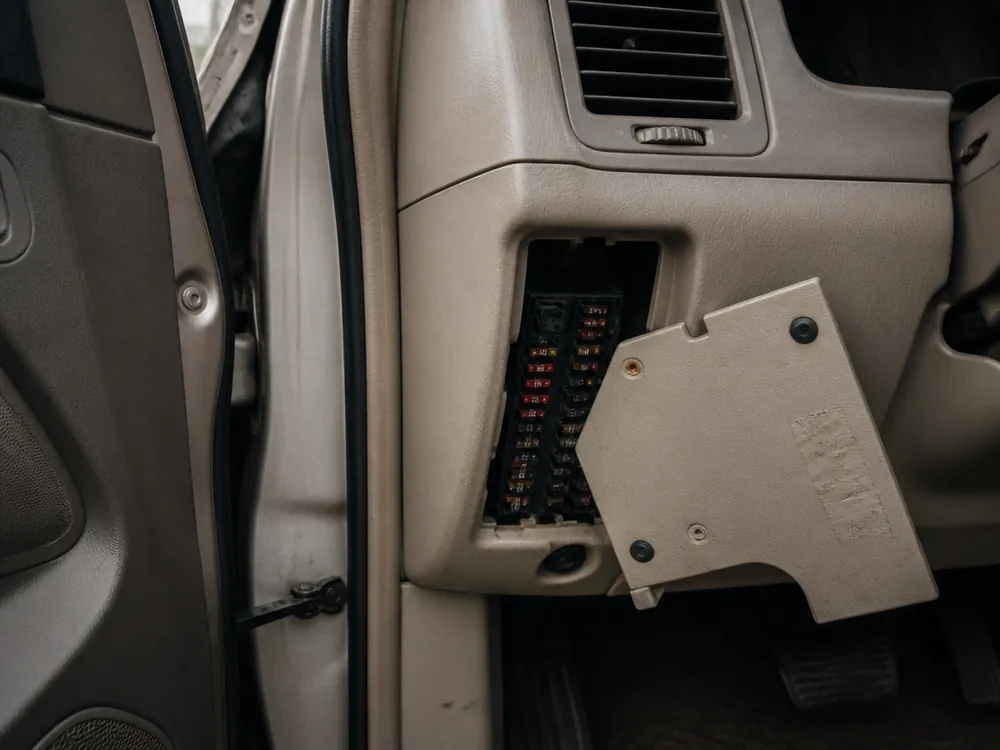
The module is not placed under solid metal: body panels, reinforcements, and metal brackets shield satellite signals, and coordinates start to jump or disappear entirely. The receiver works best under the dashboard plastic, near the windshield or rear window, in plastic interior niches. Athermal film with a metallic layer on the glass noticeably worsens reception, so consider this when choosing a location. Mobile connection also depends on placement: a device hidden deep near the floor transmits data worse in an underground parking garage. At the same time, locations good for signal must remain non-obvious — thieves know typical spots and check them first. Practical takeaway: a good spot for the device isn't found in a minute but after inspecting the specific car and test-powering the device in several locations.
Hidden Installation at Our Shop
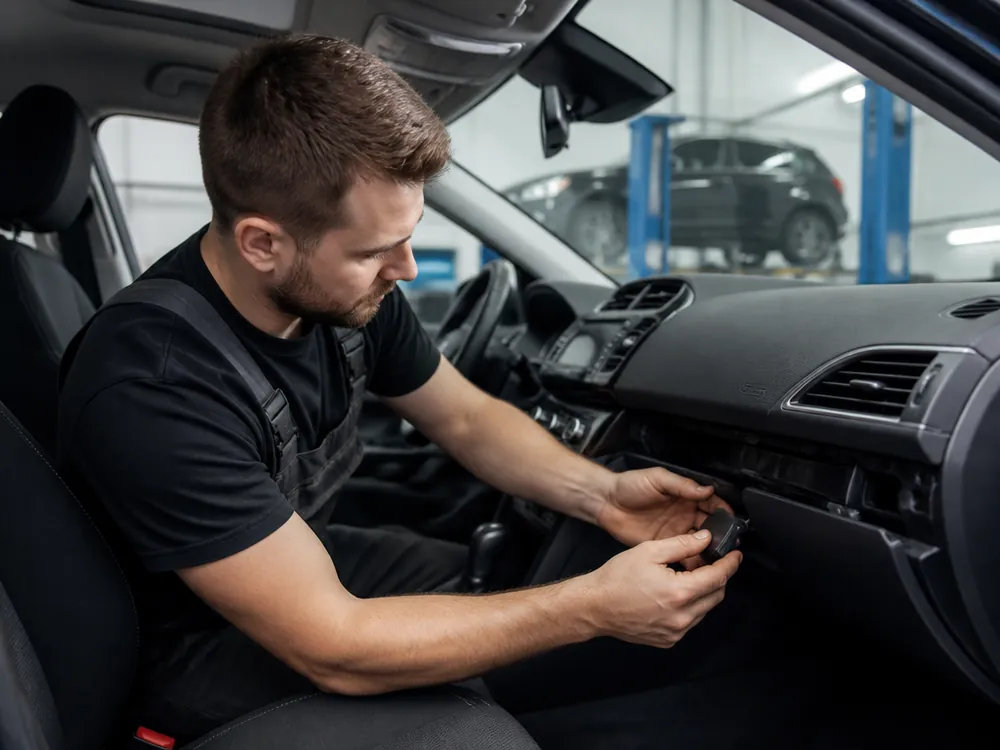
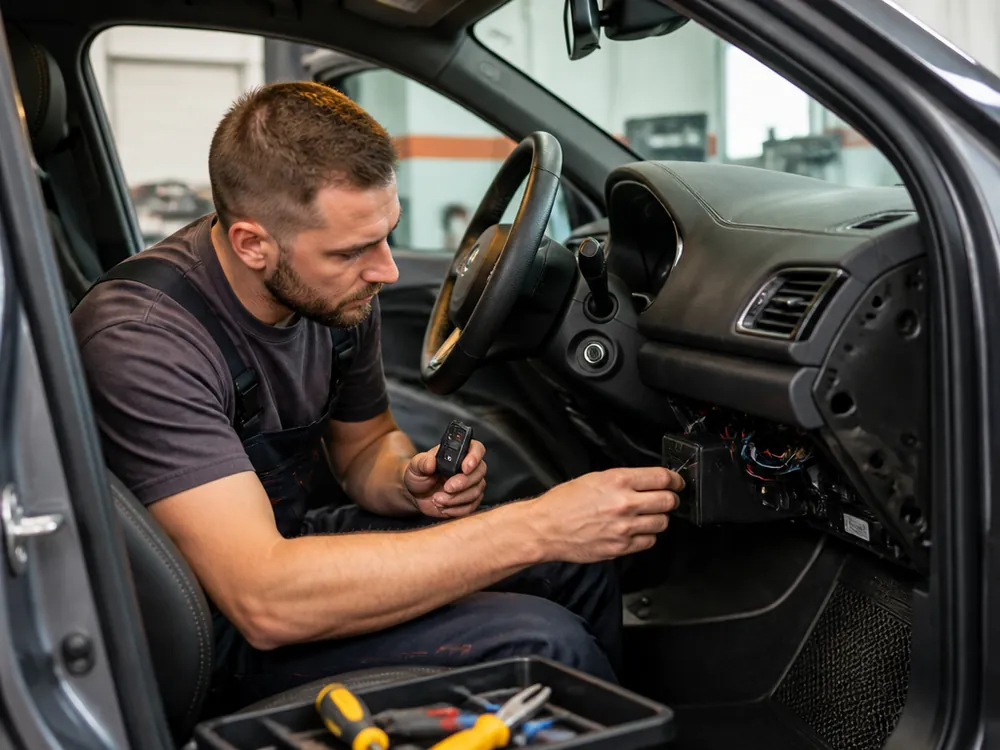
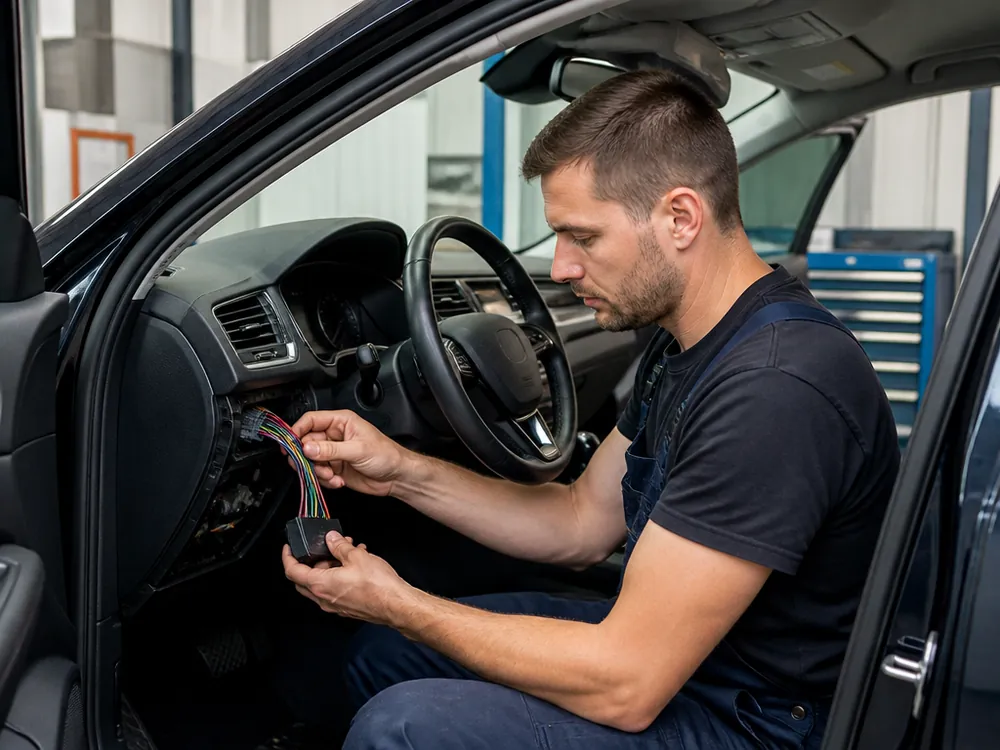
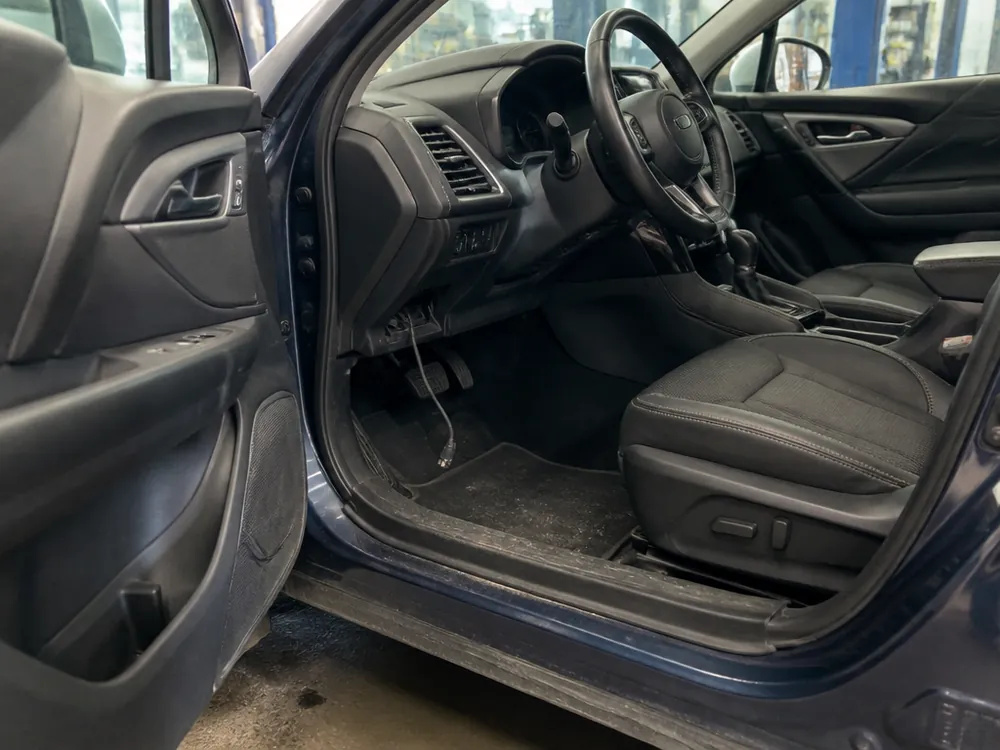
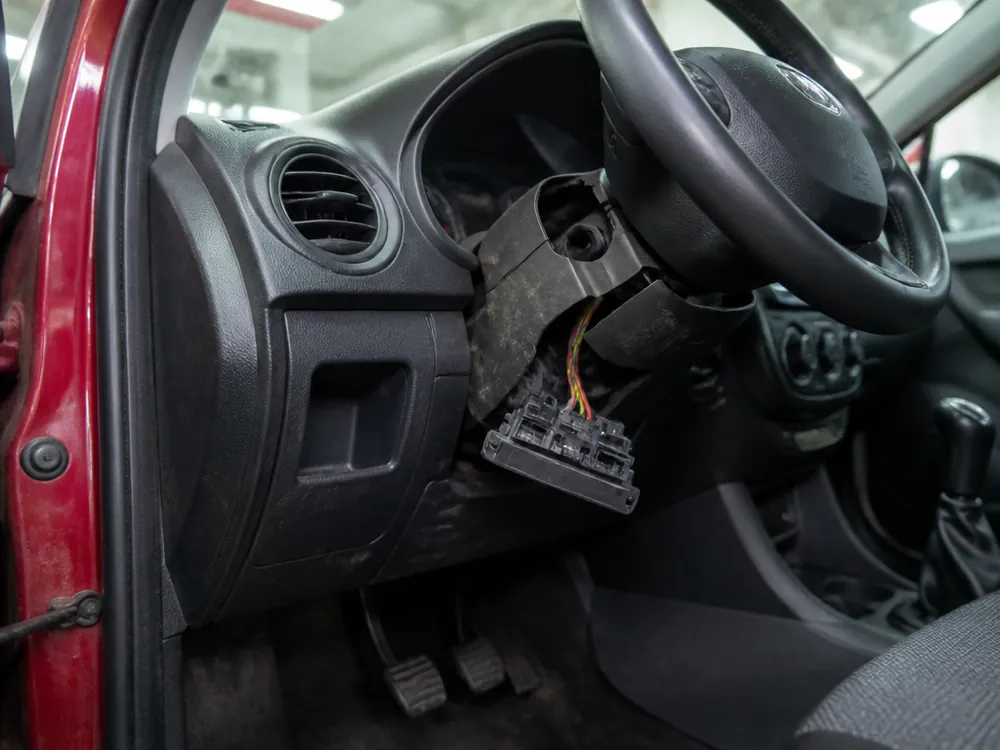
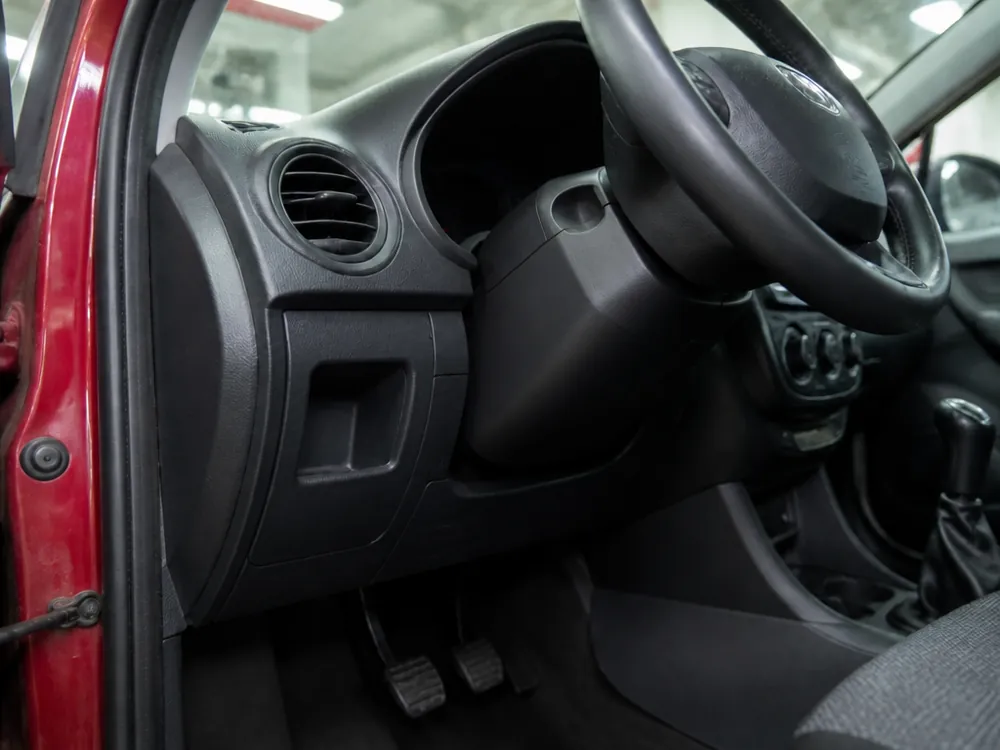
GPS installation in Almaty with hidden mounting at our shop involves disassembling trim and panels: we hide the device in factory niches and route the wiring along factory harnesses. After reassembly, there are no signs of interference, nothing squeaks or rattles. Before final fixation, we power on the module in place and check how it receives satellites and network — if the signal is weak, we choose another spot. We secure the device so it doesn't rattle on bumps and insulate the connectors from moisture. We put the trim and clips back carefully, without broken fasteners or scratches. Only the owner knows the installation location: the technician doesn't record it in open documents and shows it only to you. Tip: don't tell outsiders about the installation location — its effectiveness relies on no one knowing about it.
Placement Mistakes
- In plain sight under the steering wheel: a device in the factory wiring area under the dashboard is found and disconnected by a thief in minutes.
- Under metal: a device in a body niche or under a floor mat loses satellite signal and connection.
- Without mounting: an unsecured module rattles on bumps, gives itself away by sound, and damages connectors.
- Near heat sources: the heater and exhaust system overheat electronics and shorten their service life.
- In a moisture zone: near sills and drains, contacts oxidize and the device starts losing connection.
- Practical takeaway: the installation location is chosen after test-powering, not out of the installer's habit.
Power Without Draining the Battery
The device works around the clock, and proper connection determines whether the car starts after a week of parking and whether the device keeps working if a thief cuts the power.
How We Connect Power
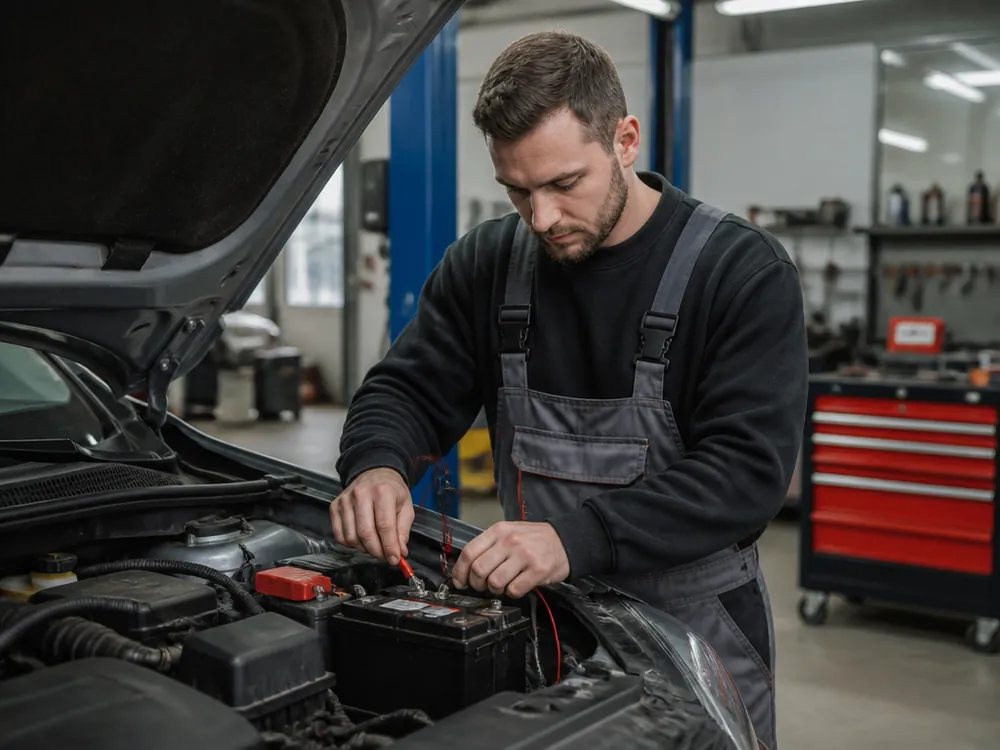
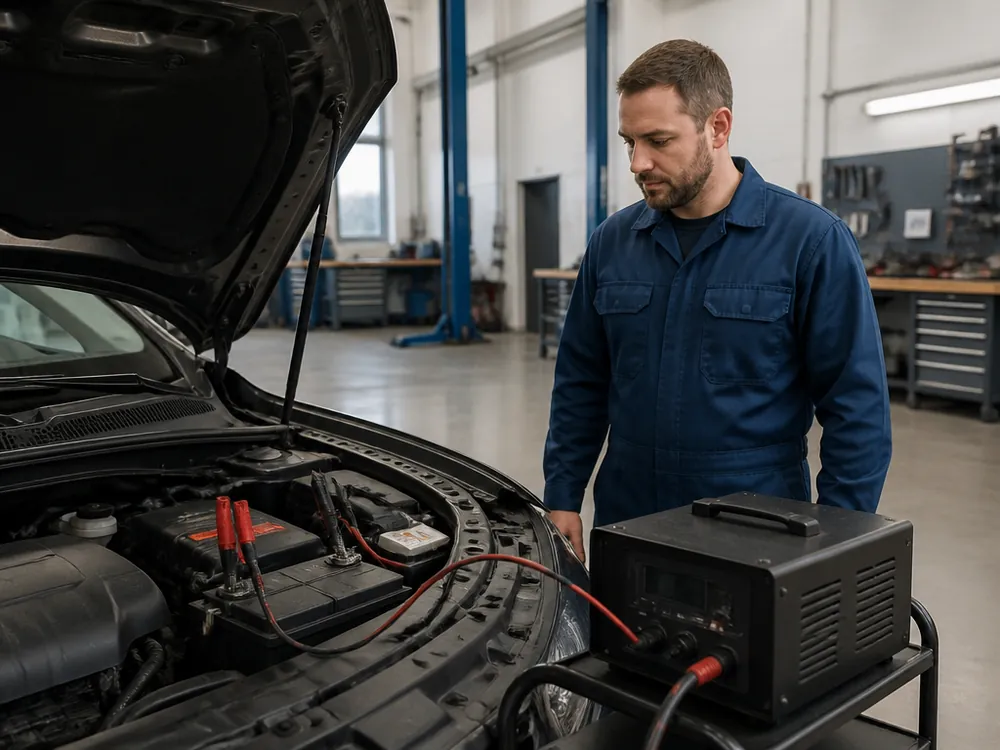
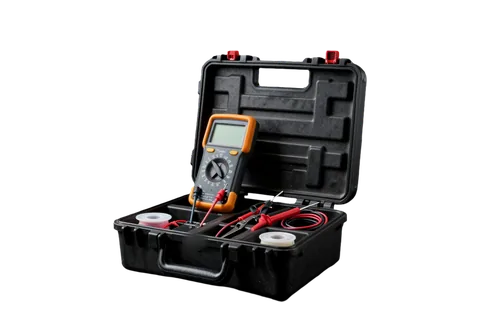
We connect power so the module doesn't drain the battery when parked: through a separate fuse, with the correct ground point and ignition monitoring so the device knows whether the car is moving or parked. When parked, the device enters power-saving mode and communicates less often; when moving, more often. After connection, we measure the quiescent current with a multimeter and make sure it's within normal limits. We solder and insulate connections, no twisted wires that oxidize and cause power loss. Connecting through the cigarette lighter socket is not suitable for a security device: it's easy to pull out, and on many cars the socket is de-energized when the ignition is off. Tip: if the car often sits for weeks, tell the technician — the communication interval when parked can be increased to further reduce consumption.
Backup Battery and Standalone Beacon
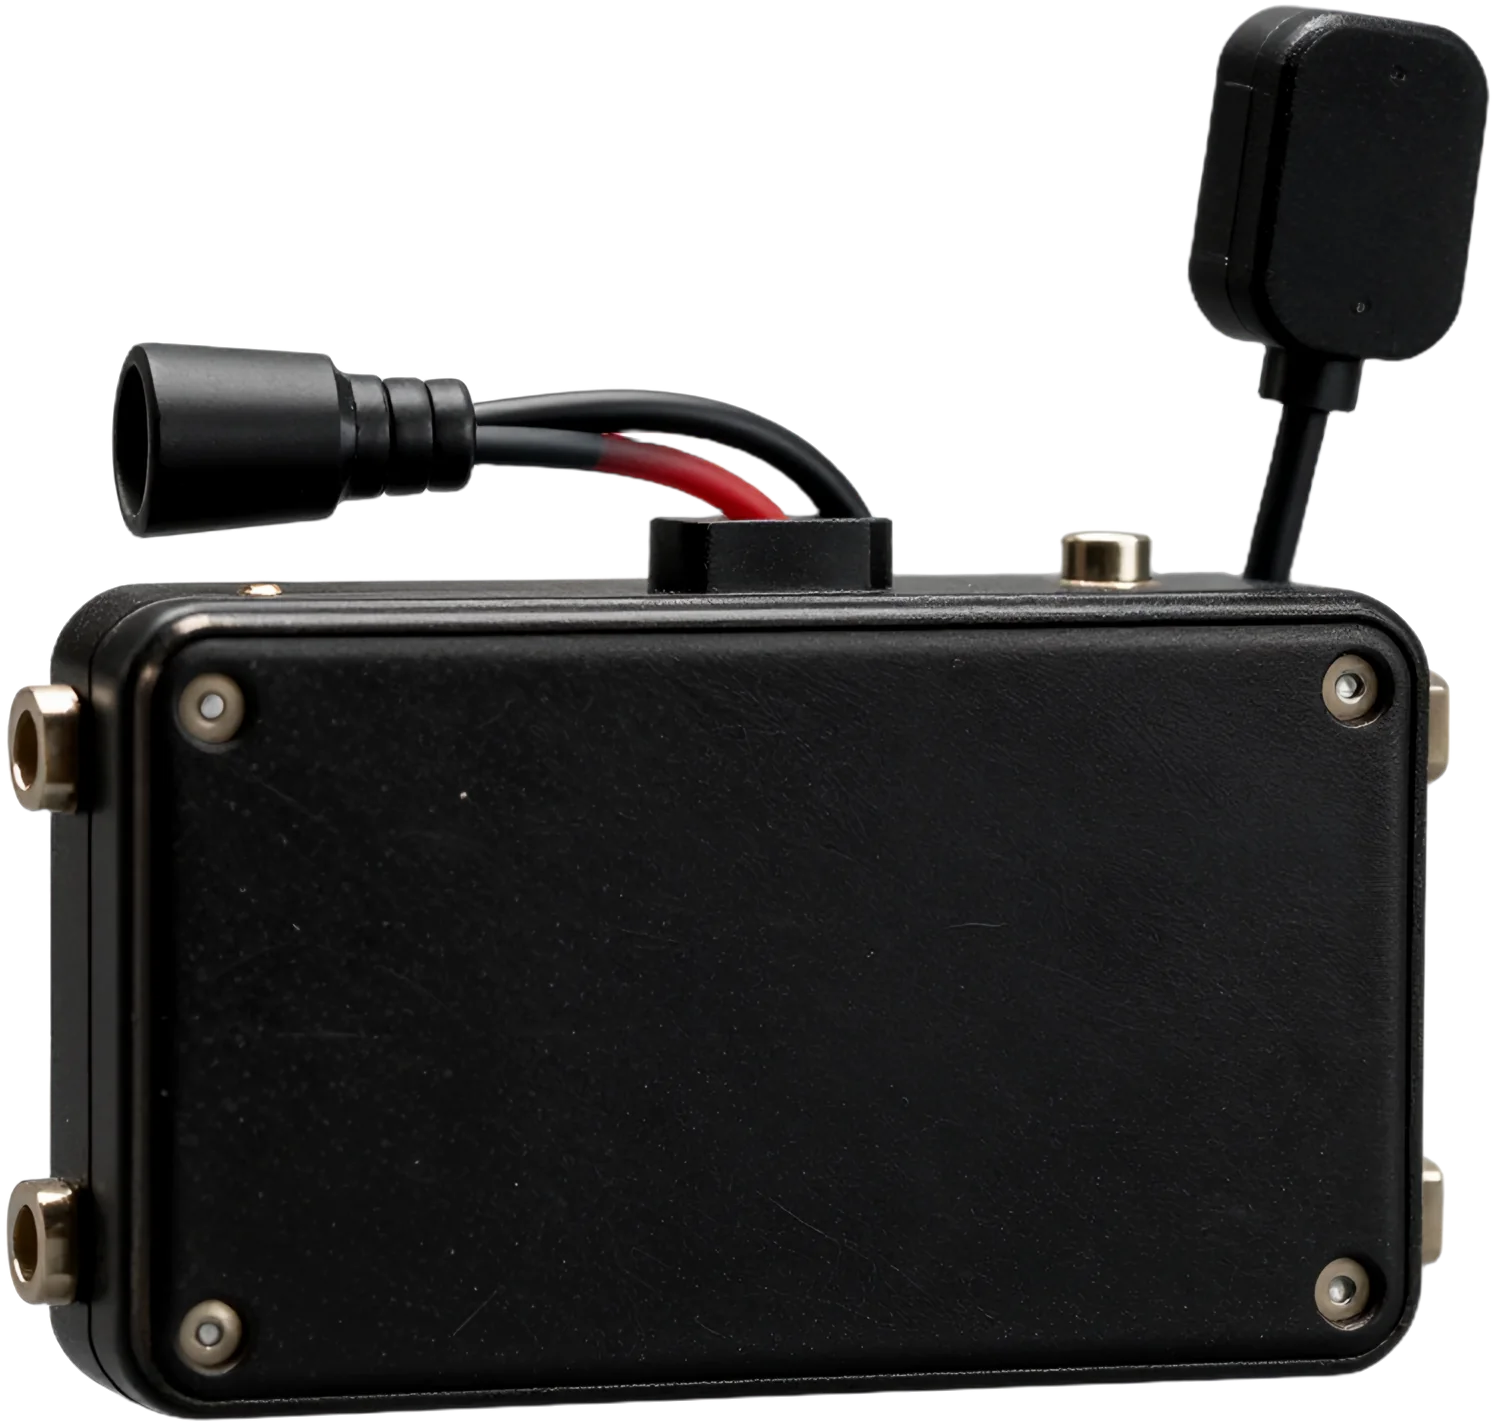
A GPS beacon with its own battery keeps working even when the car's power is cut: a thief disconnects the battery terminal or finds the main module, but the beacon keeps sending coordinates. A standalone beacon isn't wired into the electrical system, checks in on a schedule — say, once a day — and can run on its battery for a long time, so you can hide it almost anywhere. A wired tracker with a backup battery works differently: it usually runs off the vehicle's electrical system, and when that's cut it switches to its own battery and sends an alert right away. We install both options and often recommend pairing them: a main wired device for daily monitoring and a separate beacon as a backup way to find the car. Tip: keep the beacon and the main module in different parts of the car — finding both quickly is much harder.
Integration with the alarm system
We connect the GPS device to the alarm system so security and monitoring work together. When the alarm goes off, the owner gets a notification in the app along with the car's coordinates, not just a siren that no one in a high-rise courtyard often notices. Through the integration you can set up a scenario where movement without disarming sends an alert to your phone right away. If the car already has an alarm with a GSM module, some of the functions are already there, and a separate device adds precise location and trip history. We make the connection with soldering and insulation, no twist connectors in the factory wiring. After installation we check that the alarm signal actually reaches the app. Tip: set up notifications on two phones — yours and a family member's — so an alert isn't missed at night.
Trackers for fleets and taxis
For a company, this device isn't just theft protection — it's also data on how the cars and drivers are working. A properly connected device replaces paper logbooks and manual fuel tracking.
Routes, geofences and speed
The module shows routes, working hours and speed for each car on a map in the app or in the dispatcher's monitoring system. Trip history shows where the car was parked, how long it was on the road and whether it was driven outside working hours. Geofences send alerts when a car leaves an allowed area — for example, outside the city or off its delivery route. Speeding and harsh maneuvers are recorded in reports, which helps you talk to drivers in terms of facts. For taxis and courier services, tracking idle time and shift start and end times is useful. A panic button in the cabin lets the driver signal the dispatcher. Practical takeaway: before outfitting the whole fleet, decide which reports you need — that determines which sensors get connected.
Data from the car
where each reading comes from and why it matters| Data | Source | Why you need it |
|---|
| Coordinates and route | GPS receiver | Trip tracking |
|---|
| Ignition on | Ignition wire or CAN | Tracking working hours |
|---|
| Mileage and RPM | CAN bus | Scheduled maintenance |
|---|
| Fuel level | Fuel level sensor | Tracking refueling and fuel drains |
|---|
| Speed | Receiver or CAN | Tracking driving habits |
|---|
Fuel sensor and CAN bus
We connect the device to the fuel level sensor and the car's CAN bus so the data is accurate rather than calculated. The fuel sensor is installed in the tank and shows the actual level, so reports show refueling, consumption and suspicious fuel drains. The CAN bus feeds the module factory parameters — mileage, RPM, ignition status, sometimes the fuel level from the dashboard — without tapping into each circuit separately. The CAN connection is made through a dedicated reader that doesn't interfere with the factory electronics. After installation we check that the data reaches the monitoring system correctly and matches the gauge readings. Tip: if your fleet has different car models, check in advance which parameters are available over CAN on each one — the data set can vary.
Testing and warranty for GPS installation
The device has to work at the right moment, so testing at handover matters more than how fast the install goes. What happens to the device when you change cars or if it fails matters too.
Three levels of testing
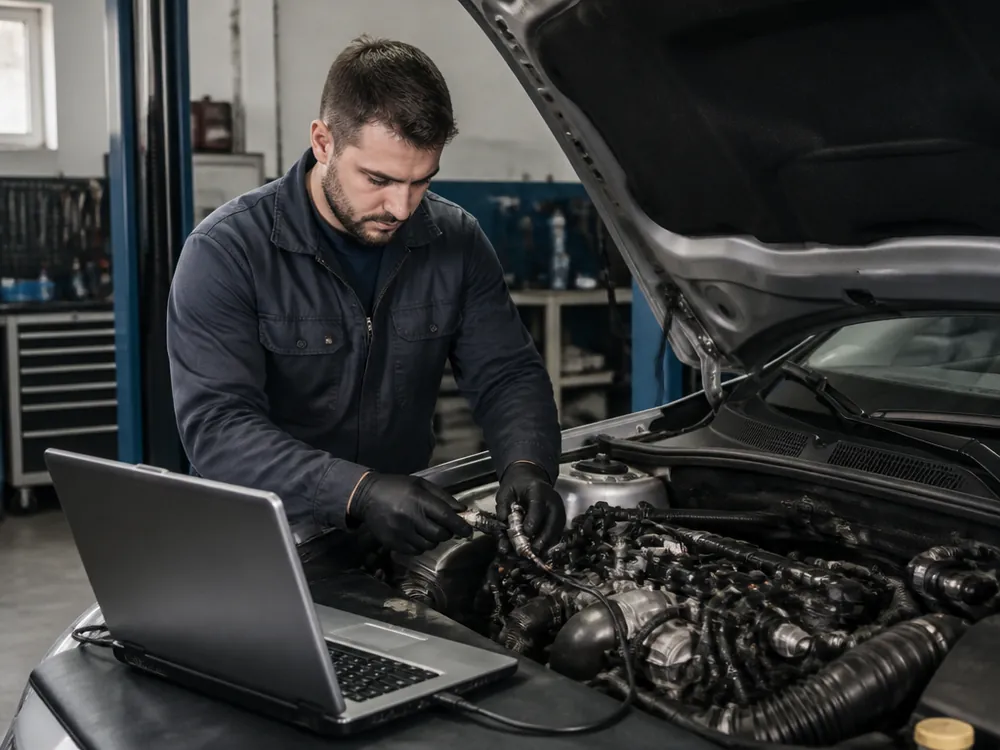
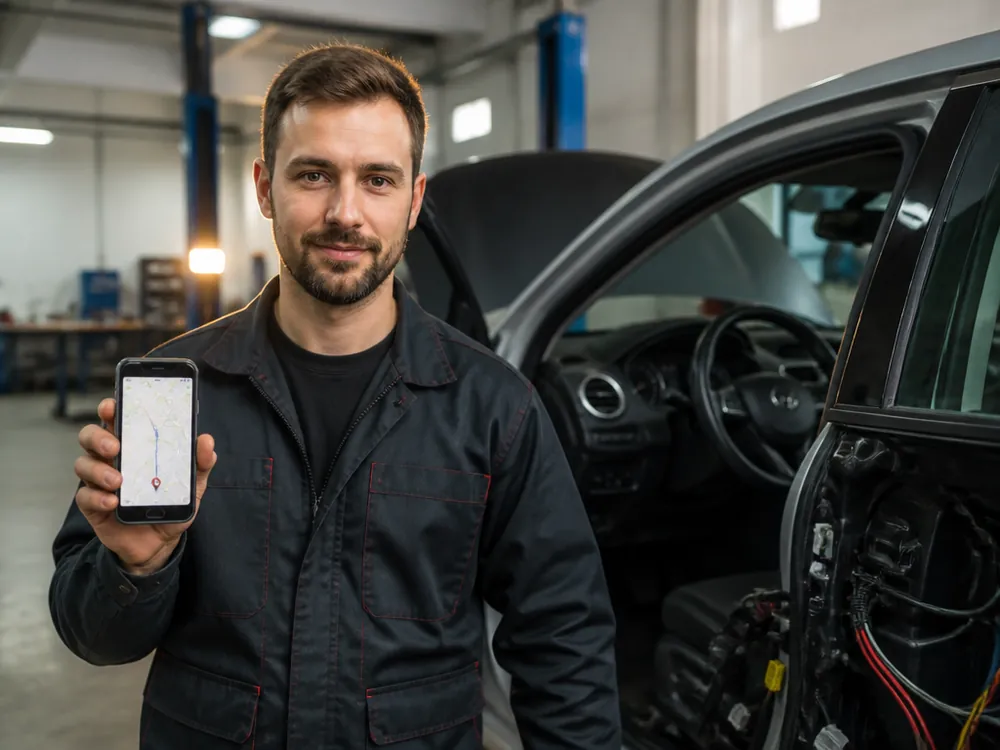
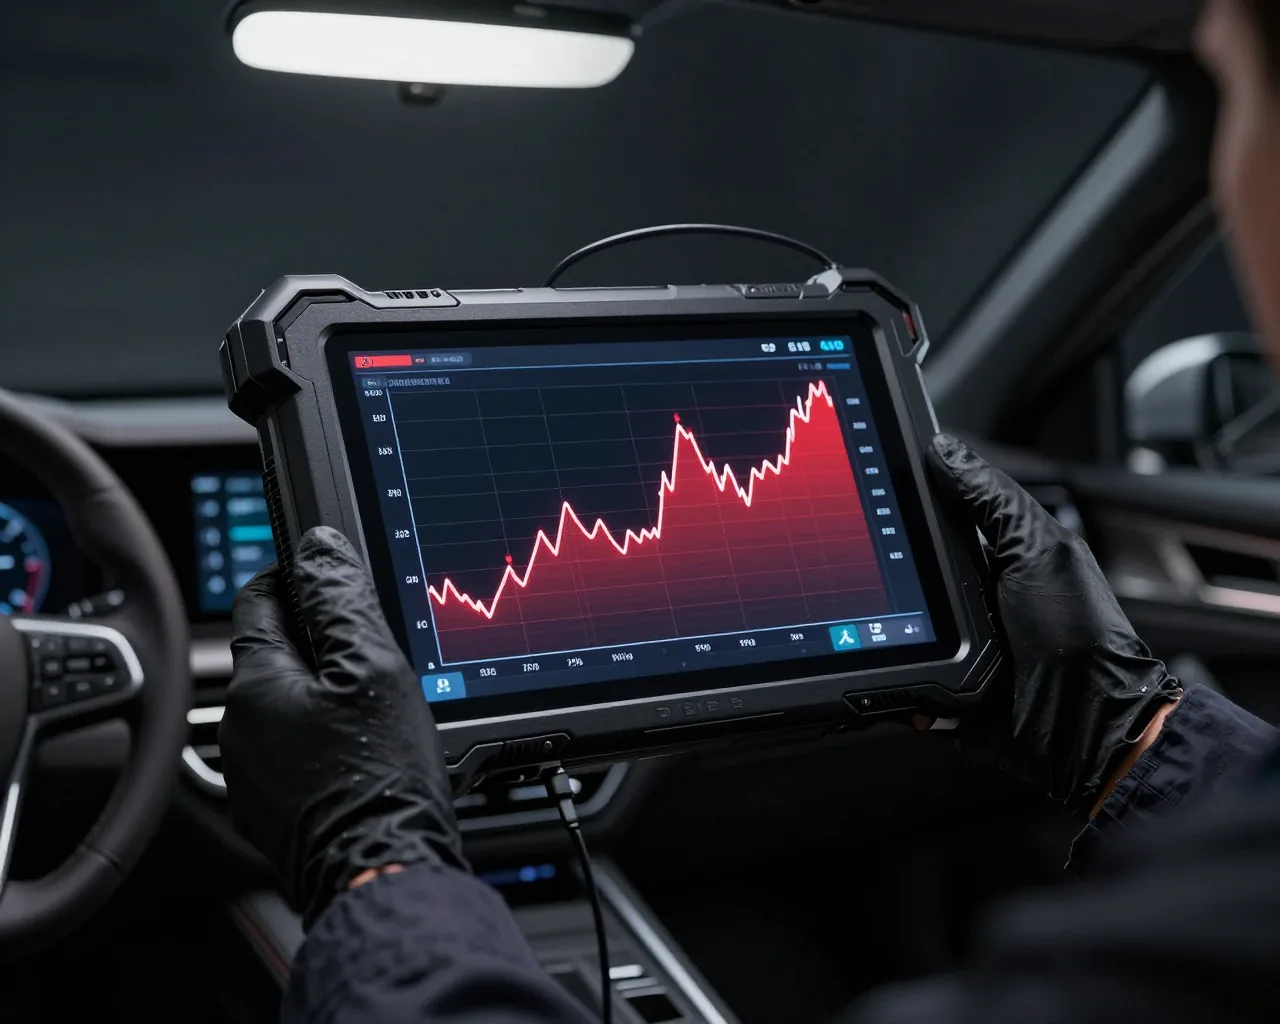
After installation we test the device at three levels: with a multimeter — power, ground and standby current; with a test drive — coordinate lock and data transmission while moving; and with a call to a smartphone — that the app shows the marker and alerts reach the owner. We set up data transmission, link the module to your account and SIM card, and turn on the alerts you need: movement without ignition, leaving a geofence, power cut. Then we show you how to use the app, view trip history and change settings. Even a hidden install with connection to the alarm system and fuel sensor fits in one day, and the car is ready by evening. Tip: while the technician is still there, ask them to trigger a test alert — that way you'll see what a notification looks like and won't mistake it for an ad later.
Moving a tracker and finding someone else's
A tracker can be moved to a new car: we remove it from the old vehicle, restore the factory wiring and install it in the new one with power and connection checks. That's handy when selling a car or upgrading a fleet — the device and account stay the same. Another common job is checking a used car you've bought: the previous owner or company may have left a device in it, sometimes unpowered, sometimes still running. We inspect the cabin, wiring connection points and typical hiding spots and remove any devices we find. After that you can install your own module with a current plan and SIM card. We can also come to you anywhere in the city for an on-site install. Tip: if the battery starts draining for no apparent reason after you buy a car, check whether there's a forgotten device or another aftermarket power draw in it.
What the warranty covers
- Term: our GPS tracker installation comes with a 12-month warranty, stated in the warranty card.
- Installation: we're responsible for soldering, insulation and mounting, and we fix any loss of connection caused by the install free of charge.
- The device itself: the unit is covered by the manufacturer's warranty, and we replace factory defects under it.
- Diagnostics: inspection for a warranty case is free — bring your warranty card.
- Not covered: tampering by third parties, accident damage and carrier network issues.
Key steps for GPS tracker setup
Tracking only helps if the device matches the job, is hidden properly, and is wired in correctly. This short checklist will help you get every step right.
- The job decides the tracker: for security you need a wired unit with a backup battery; for a fleet, you need a connection to CAN and a fuel sensor.
- Stealth and signal: hide the device under plastic, not metal, and check reception before you fasten it down for good.
- Power without draining the battery: a separate fuse and a check of the quiescent current protect the battery during long parking.
- A backup channel: a standalone beacon keeps working even if the main device is found and disconnected.
- Check at handover: a test drive and a trial alarm show that everything works before you drive away from the shop.