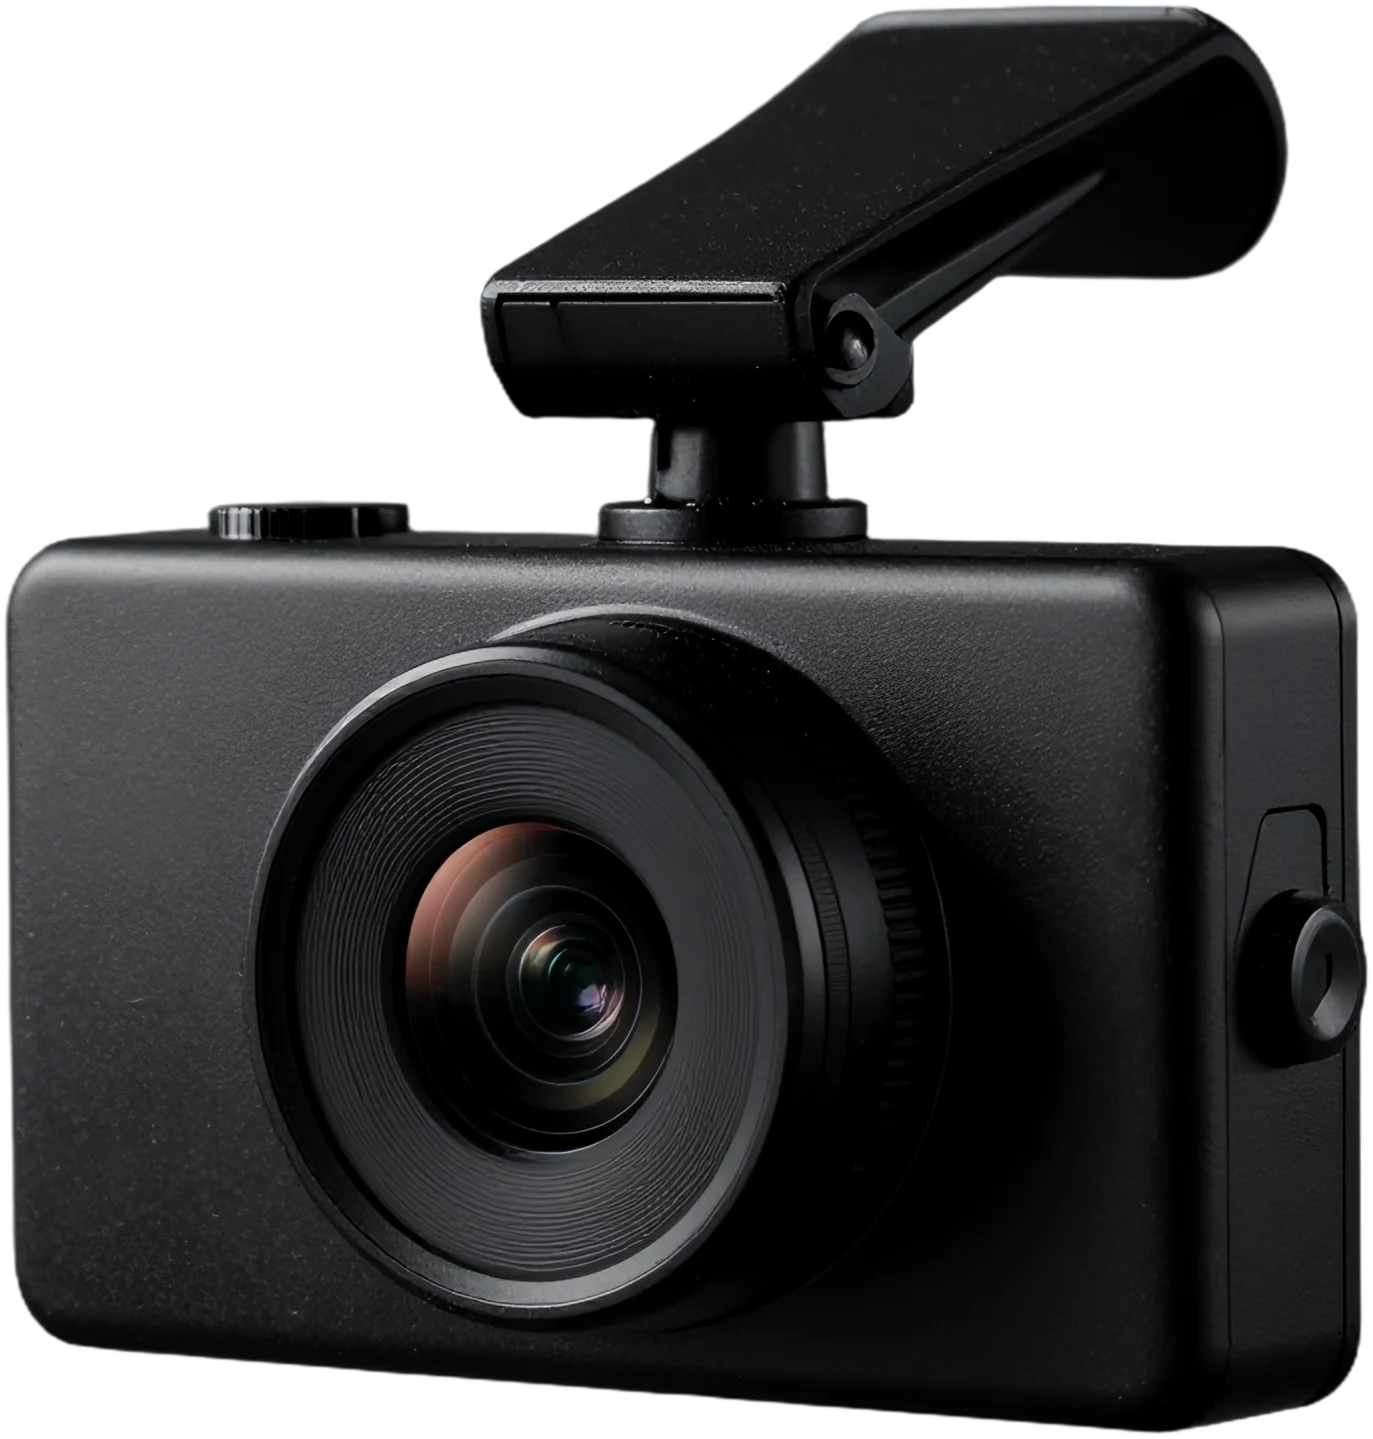
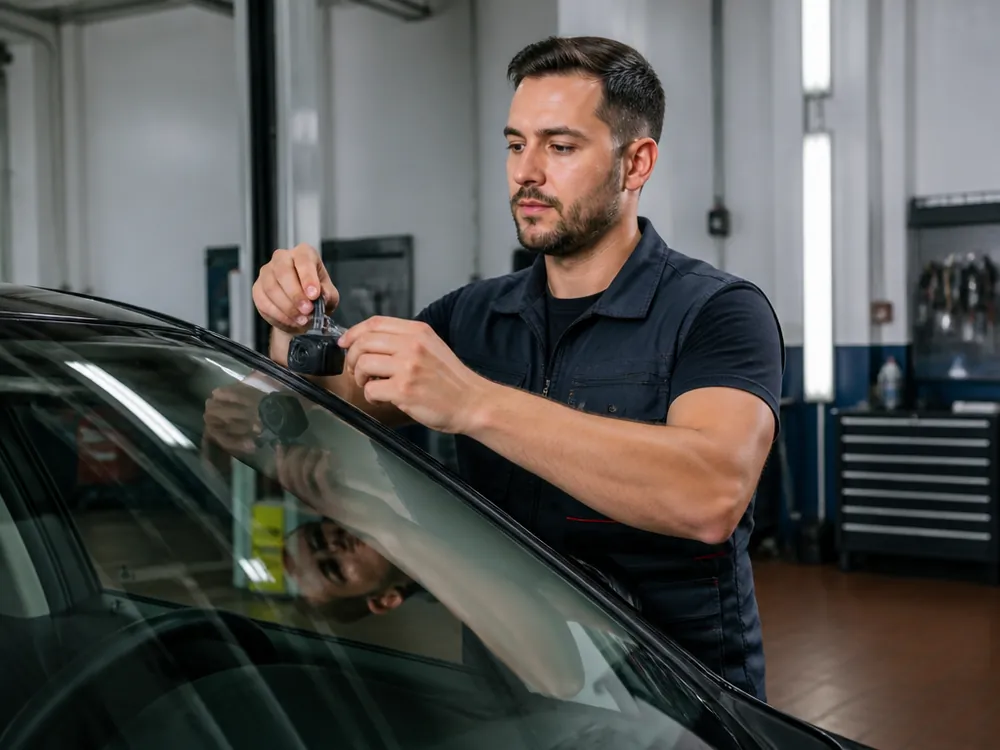
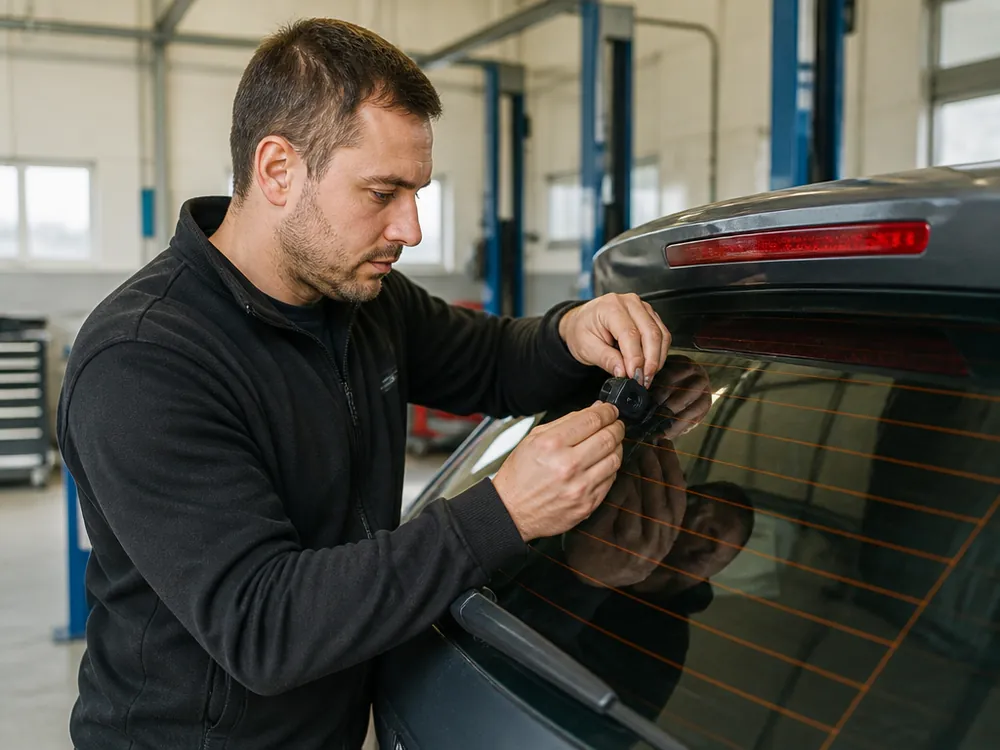
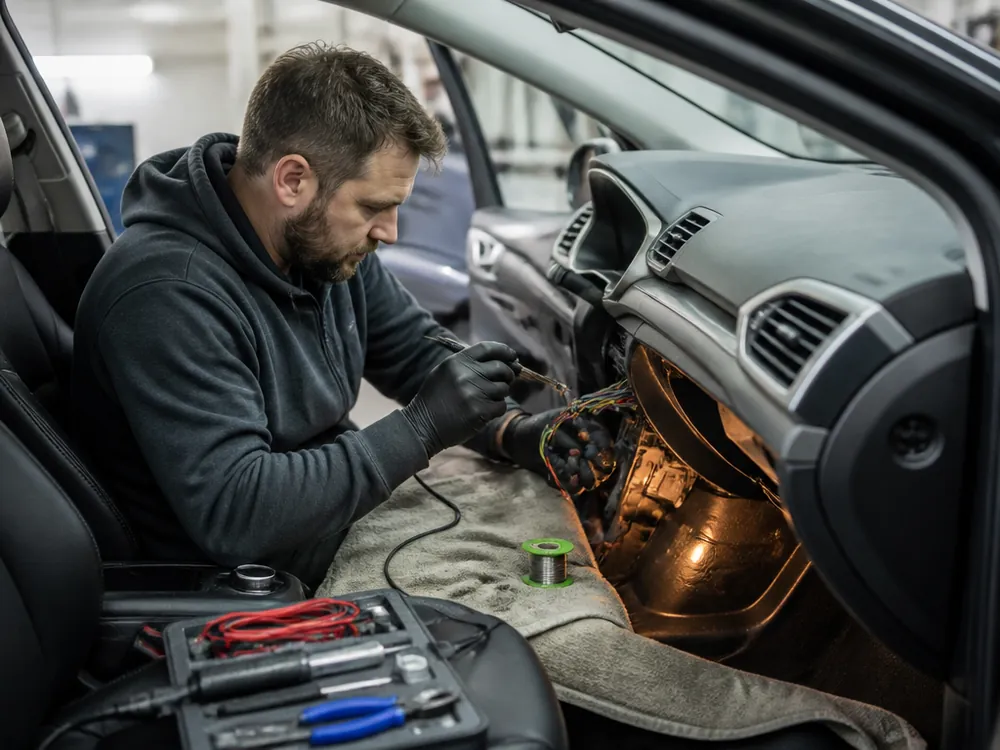
A properly installed dash cam is not only a record of the road situation but also protection against disputed situations. We will neatly hide the wires, connect the power so that the battery does not discharge, and configure the device. We work with any models and provide a warranty on the installation.
Express installation (within 1-2 hours after request)
1–2 hours
12 mo
+2 000 ₸ to the cost of works
Specialist visit to your address (within Almaty)
by appointment
12 mo
5 000 ₸
Prices include labor, excluding the cost of the dash cam and components. Warranty on all works — 12 months. Warranty periods — see the page «Warranty»
06
Why Dash Cams Are Installed at CARGID
Warranty.
Every promise — backed by a number or a document: work order, photos, removed parts.
12MO
warranty on labor — the term is stated in the work order.
Power from two circuits
Cable under the headliner
12-month warranty
01
Power from 2 lines
We route the power cable to both ACC and constant positive via separate fuses. The dash cam records in parking mode and shuts down during Start-Stop voltage drops.
02
Harness under the headliner
The cable runs behind the headliner and along the pillars, without sagging underfoot. We don't break the factory clips — we remove the trim with trim tools.
03
Setup in 20 minutes
We set the date, resolution, loop recording, and impact sensor for your driving style. We show you how to remove the memory card without errors.
04
12-month warranty on installation
We are responsible for wiring, connections, and power: if the dash cam stops turning on, we'll redo it for free. The warranty on the device itself is not ours.
07
How We Install a Dash Cam
Steps.
We explain how dash cam installation works at our car service CARGID from request to vehicle handover.
01
Vehicle acceptance
You submit a request on the website or by phone, choose a convenient time, and we reserve a spot on the lift. We accept the car, record its condition, and agree on the installation plan and cable routing points.
check-in and wiring plan
02
Selection and check
We confirm your dash cam model, check the package contents and compatibility with the car.
checking the kit
03
Trim removal
We carefully remove interior elements for hidden cable routing without damage.
trim removal without damage
04
Wire routing
We route the cable hidden under the trim, securing it with ties to prevent sagging and tension.
hidden cable routing
05
Power connection
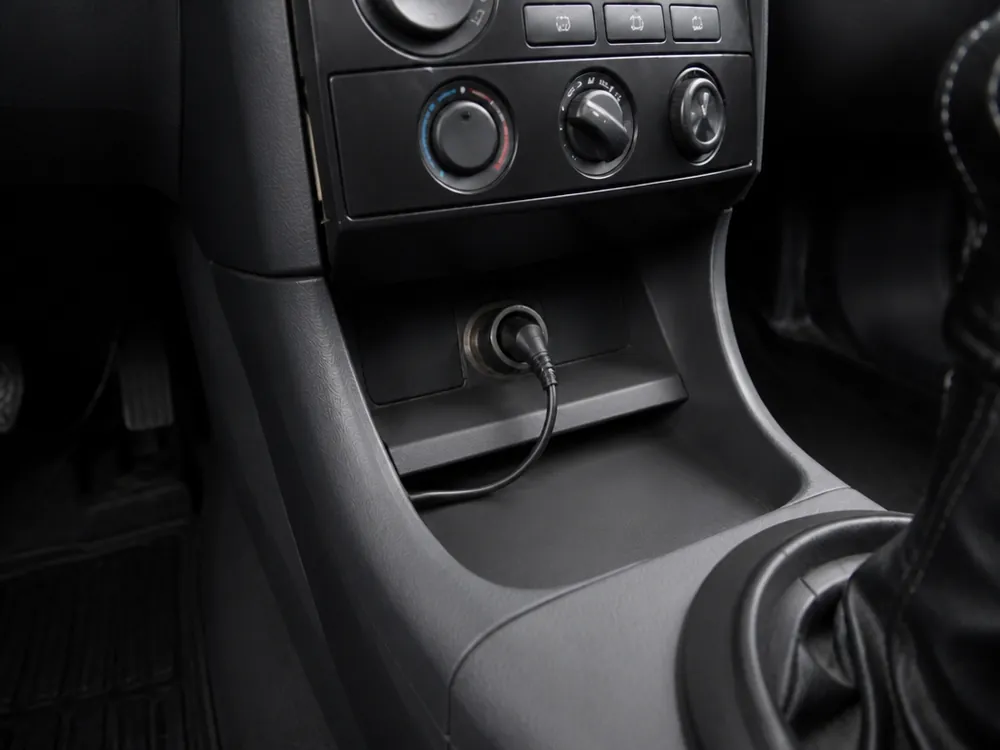
We connect power to the cigarette lighter, fuse, or block, ensuring correct voltage.
power through a fuse
06
Installation and setup
We mount the dash cam in the optimal place, adjust the viewing angle, date, and recording activation. We test operation in different modes, reassemble the interior, and return the car with a warranty on installation.
Car service in Almaty. We reply on WhatsApp and by phone.
3 000 ₸Dash cam installation on the windshield
10 · Useful
Dash Cam Installation in Almaty Without Hanging Wires or Glitches
Author: Мухтар Игенlead auto electrician and diagnostician, 5 years of experience
Published Updated
Dash cam installation in Almaty takes us from half an hour to a few hours depending on the setup. We mount the dash cam behind the mirror, hide the cable behind the headliner and pillar trim, connect power through the fuses, and if needed run two circuits for parking mode with protection against Start-Stop voltage drops. We give a 12-month warranty on the installation.
Where to Mount a Dash Cam in the Cabin
The mounting location determines what ends up in the frame, whether the device blocks the driver's view, and whether it covers the rain and light sensors on the windshield.
Spot Behind the Mirror and Camera View
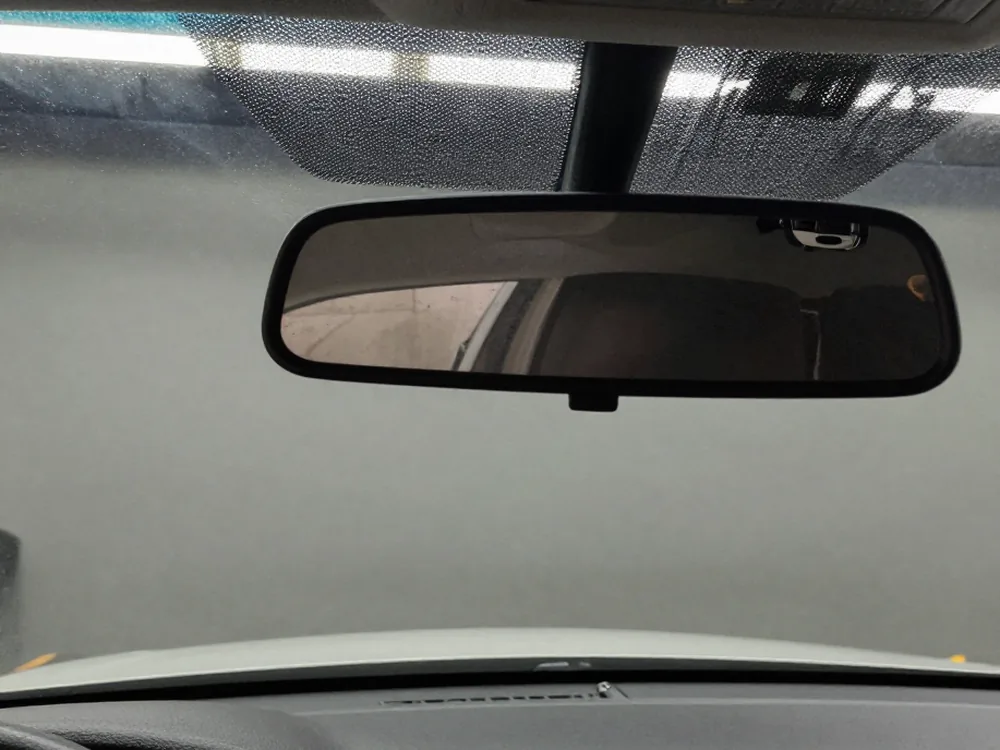
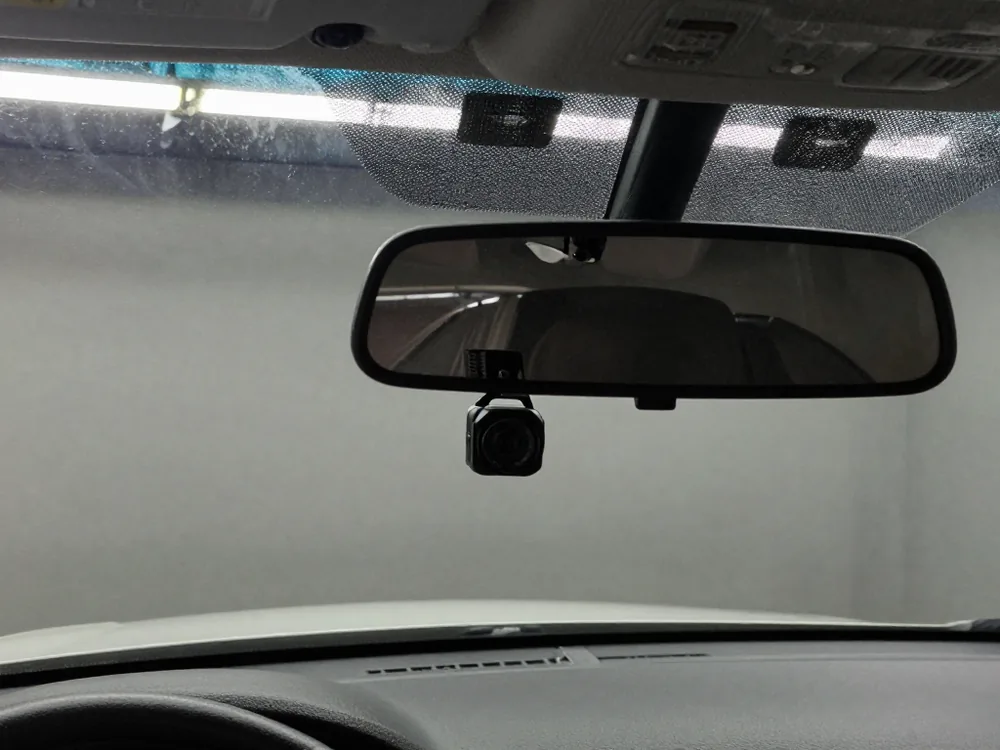
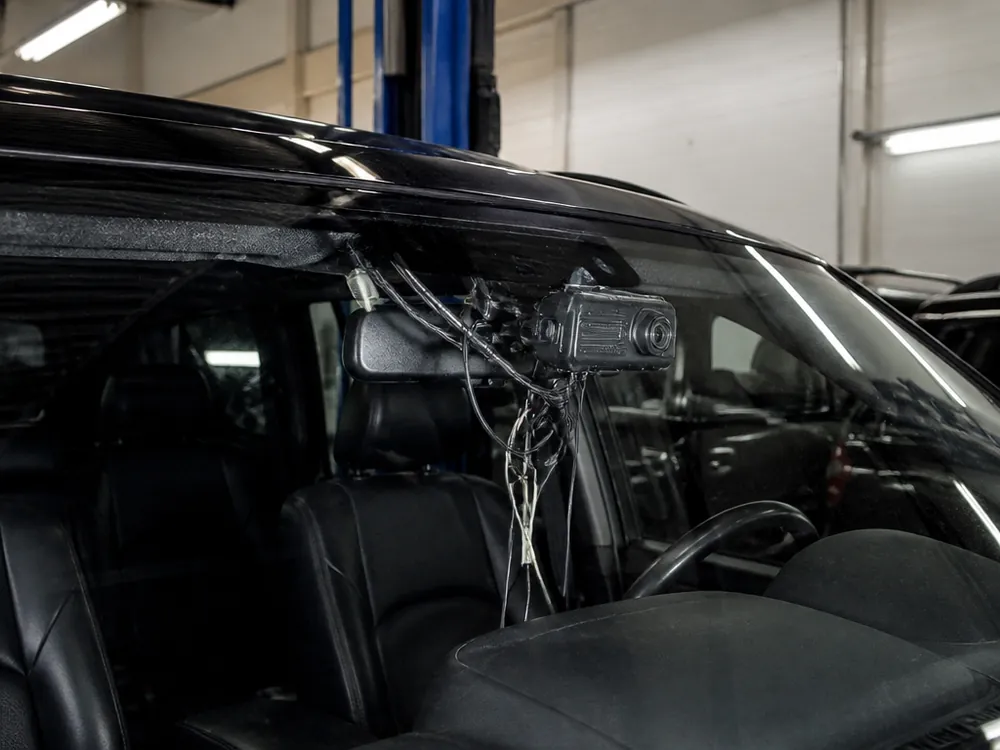
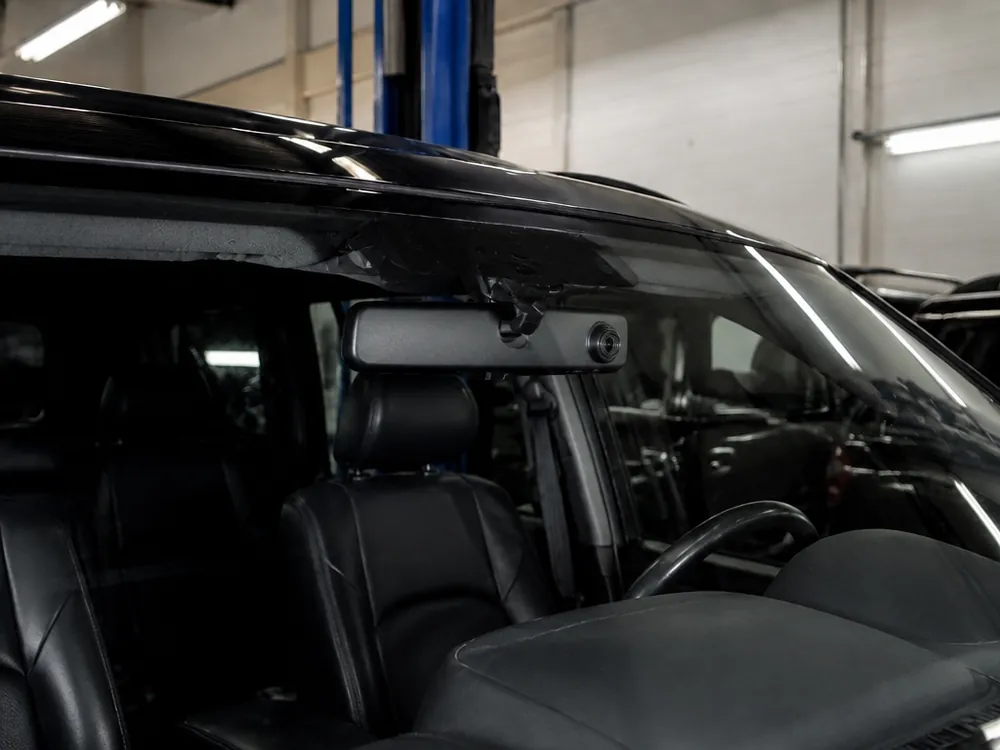
For most cars the best spot is behind the rearview mirror, in the area the wipers clean. From here the camera sees the full width of the road, the plates of nearby cars, and traffic lights, while the housing barely bothers the driver: the mirror itself hides it. It's important that the lens looks through clean glass, not through the tinted strip at the top or the dot matrix along the edge: they blur the image at night and cause glare during the day. The mount is positioned so that a small piece of the hood is in the frame, which helps later to judge distance and the car's position in the lane. On cars with rain and light sensors and driver-assist cameras, the spot is chosen so the housing and cable don't block their field of view, otherwise the headlights and wipers will start to malfunction.
Mounting Mistakes
Too low: a dash cam at the bottom of the windshield mostly sees the hood, and in the rain it works through a dirty, unwiped area.
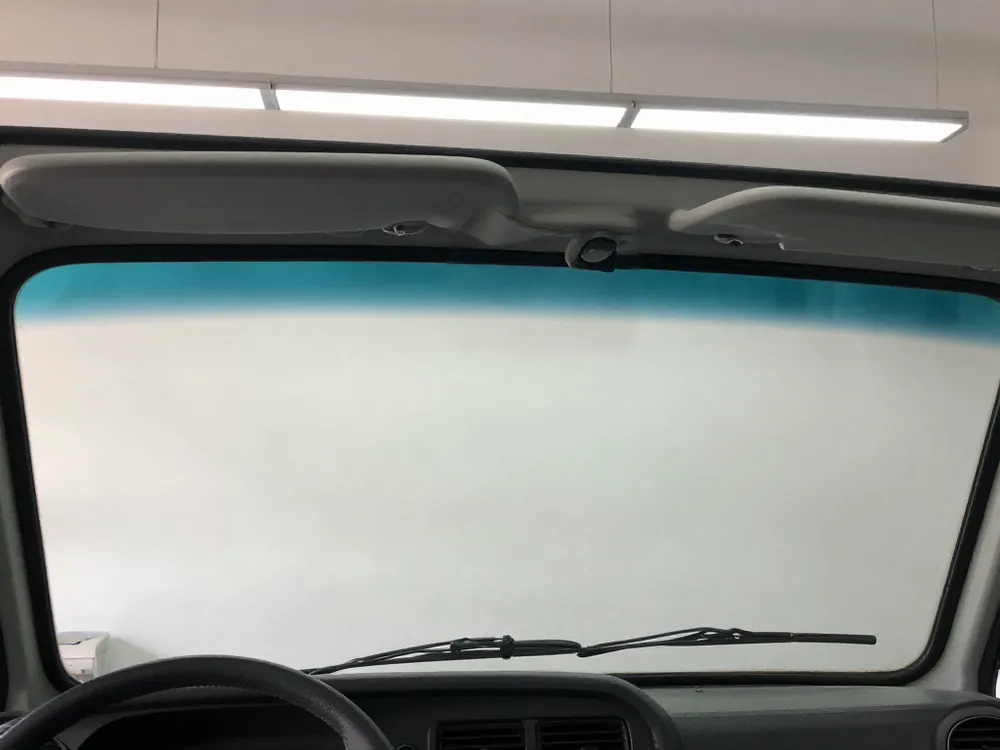
Above the tint: the tinted strip at the top of the glass darkens the frame and makes plates unreadable at dusk and at night.
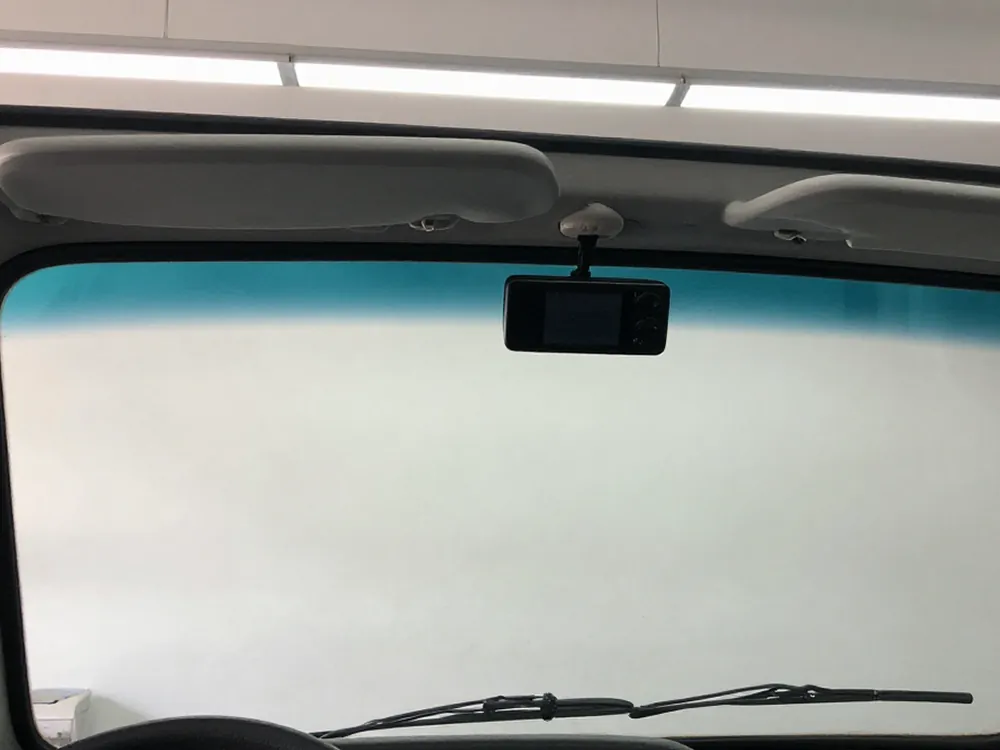
On a suction cup: a suction cup eventually comes off the glass in heat and frost, the camera falls and loses its settings.
In front of the sensors: a housing that covers the rain sensor or the assist cameras causes false triggers in the car's systems.
Crooked angle: a camera tilted sideways or upward records the sky and the shoulder instead of the lanes and the cars ahead.
How We Choose the Mounting Spot
At CARGID, dash cam installation in Almaty starts with picking the spot together with the owner. The technician sits in the driver's seat, checks whether the housing blocks the view at different seating positions, and looks at where the sensors and cameras for driver-assist systems sit on the glass. Then he temporarily holds the camera in place, turns it on, and checks the screen or the app to see what ends up in frame. If the standard spot is taken, as happens on cars with a large sensor block behind the mirror, we suggest a compact mount or installation in the mirror housing. We stick the pad onto degreased glass so it holds for years and doesn't come loose in the heat. Before work starts, the service advisor agrees on the plan: where the cable will run, what we'll connect the power to, and how long the job will take. The owner knows the result and the time upfront.
Power supply for dash cam installation
Power is exactly what determines whether the dash cam records while parked, whether it drains the battery, and whether it reboots at the moment you need the footage most.
Two power lines and parking mode
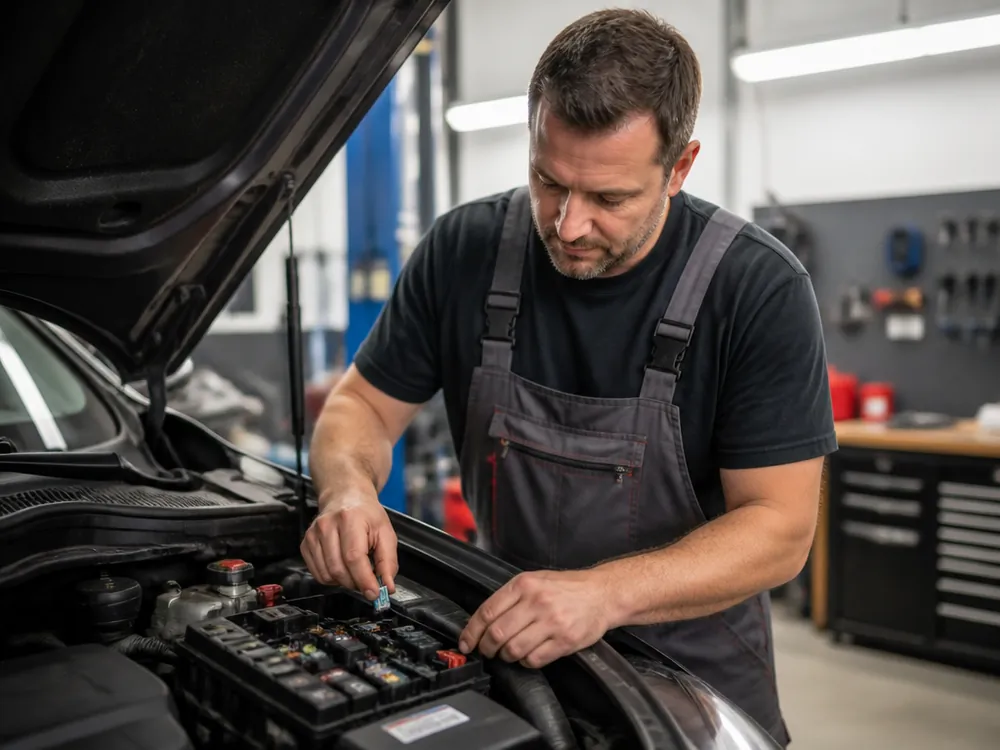
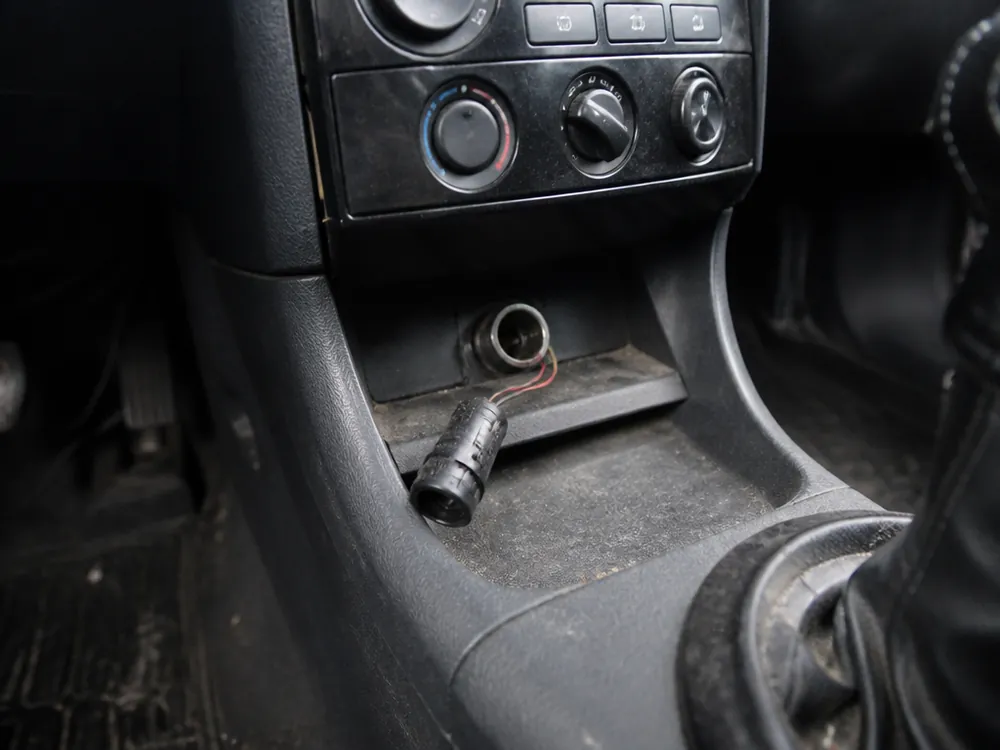
We wire the dash cam with two lines — one to ACC and one to constant power, each through its own fuse. The ACC line turns the device on with the ignition, and constant power lets it record while parked with the engine off. That's how parking mode works: the camera wakes up on an impact or movement in front of the car and saves the footage. To keep the battery from dying overnight, people use dash cams and modules with low-voltage cutoff: when the charge drops to the threshold, recording stops and the car starts fine in the morning. We connect to the fuse box with standard adapters, no twisted splices or piercing the wires, so the factory wiring stays untouched. If you don't need parking mode, one line from the cigarette lighter is enough — simpler and faster.
Protection for cars with Start-Stop
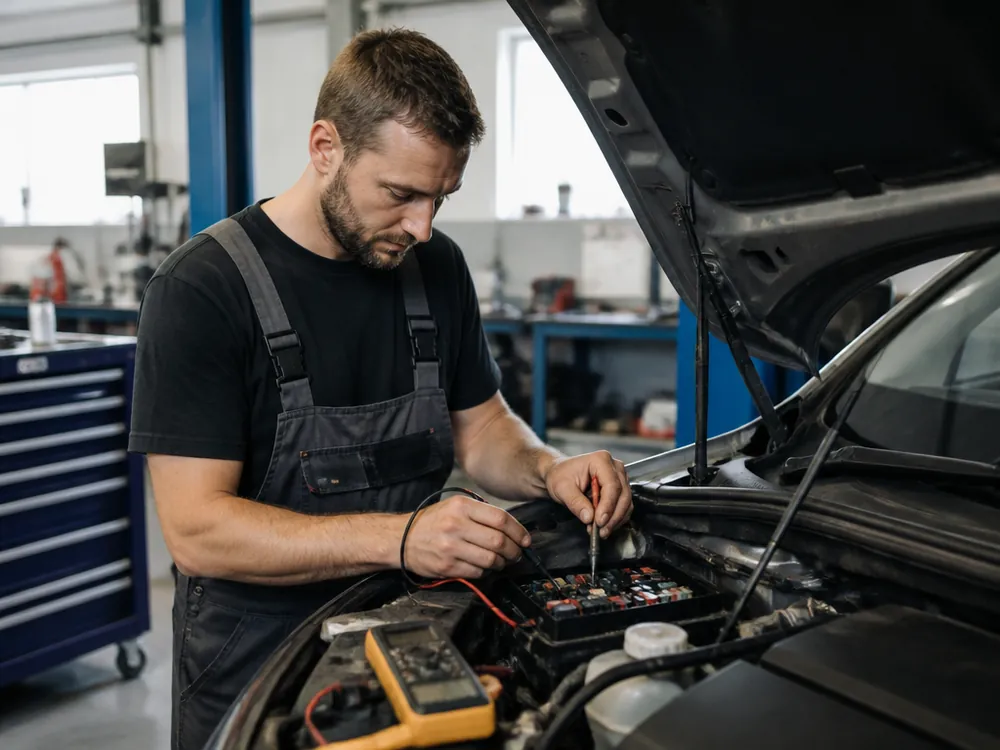
On cars with Start-Stop, a dash cam without protection shuts off on every automatic engine start: the voltage dips for a split second and the device reboots. In traffic that happens dozens of times, and right when you pull away — when minor collisions most often happen — the camera isn't recording. We install voltage dip protection: it smooths out the drop and the camera keeps recording without interruptions. The power still runs on the same circuit, through fuses, and we hide the protection behind the trim next to the fuse box. After installation, the technician shuts off and starts the engine several times to make sure recording is continuous and the files on the card aren't cut off. The same protection is needed on older cars with a tired battery, where voltage drops a lot on startup.
Connection options
Power setup for the job
Method
When it fits
What the owner gets
Cigarette lighter through a fuse
Only recording while driving is needed
Simple setup, can be unplugged
Fuse box, one line
Cigarette lighter is taken or inconvenient
Free socket, hidden wire
Two lines, ACC and constant power
Recording while parked is needed
Parking mode
Two lines and voltage dip protection
Car with Start-Stop
Recording without reboots
Hidden wiring without broken clips
A wire hanging from the glass to the cigarette lighter gets in the driver's way and gives the device away, and trim removed carelessly then rattles and squeaks for years.
Cable behind the headliner and along the pillars
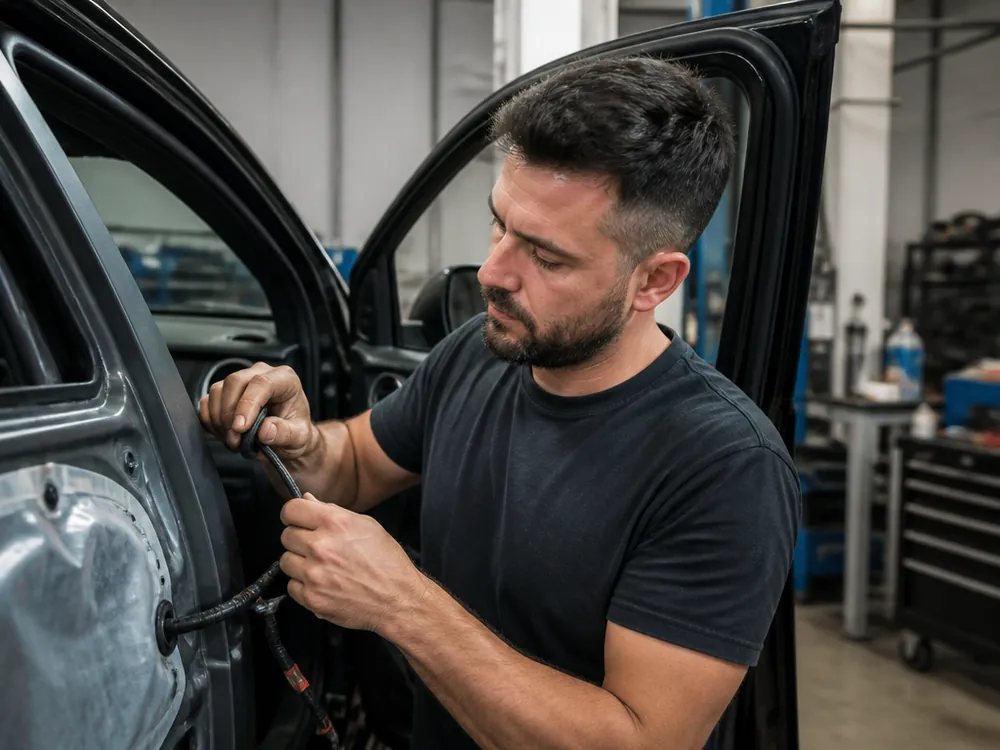
We run the cable behind the headliner and along the pillars, with no slack under your feet or on the dash. From the dash cam the wire goes under the edge of the headliner, runs down along the A-pillar, and comes out at the fuse box or the cigarette lighter. We remove the trim with special trim tools, not a screwdriver: that way the factory clips stay intact, and after reassembly the panels sit back in place with no gaps or squeaks. We secure the cable with zip ties to the factory harnesses so it doesn't dangle or knock on rough roads. We neatly coil the extra length and tuck it where it won't bother anyone. In the end, the only visible part is a short stretch of wire between the dash cam and the edge of the headliner. This takes longer than a wire tossed across the dash, but the interior looks like the dash cam came from the factory.
Why the wire shouldn't be hidden just anywhere
The most common DIY way to hide a wire is to stuff it under the weatherstrip and run it along the floor under the mat. Don't do that. Many cars have side curtain airbags in the A-pillars, and a cable laid over them can interfere with deployment and fly into the cabin. A wire under the driver's mat gradually wears through, gets under the pedals, and can short out. Twisted splices on wiring without insulation corrode, heat up, and over time cause power loss and sometimes errors in the car's modules. Connecting to a random wire instead of the correct fuse is also risky: the camera can drain the battery and shut off along with another consumer. That's why the cable route is chosen with airbags, harnesses, and moving parts in mind.
What to check after installation
Wires: there should be no hanging cable in the cabin, except a short stretch from the dash cam to the headliner.
Trim: the pillar and headliner panels sit flush, with no gaps, and don't squeak when the doors close.
Recording: the dash cam turns on with the ignition, records without gaps, and shows the correct date and time.
Parking: if parking mode is connected, check that the camera responds to impact and movement with the engine off.
Frame: the whole road is visible in the footage, the plates of the cars ahead are readable, and the hood takes up only a small part of the frame.
Rear camera and tricky cars in dash cam installation
A two-channel dash cam, a panoramic roof, a long truck cab — all of these make installation noticeably harder, and it's better to know that upfront rather than halfway through the job.
Camera on the glass or on the license plate frame
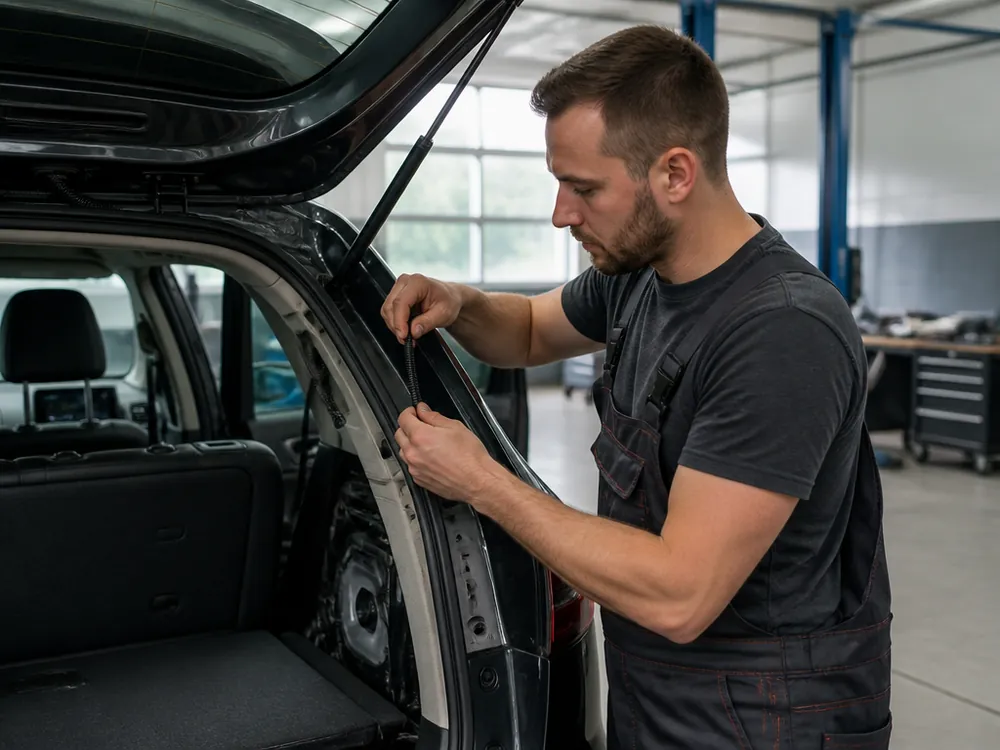
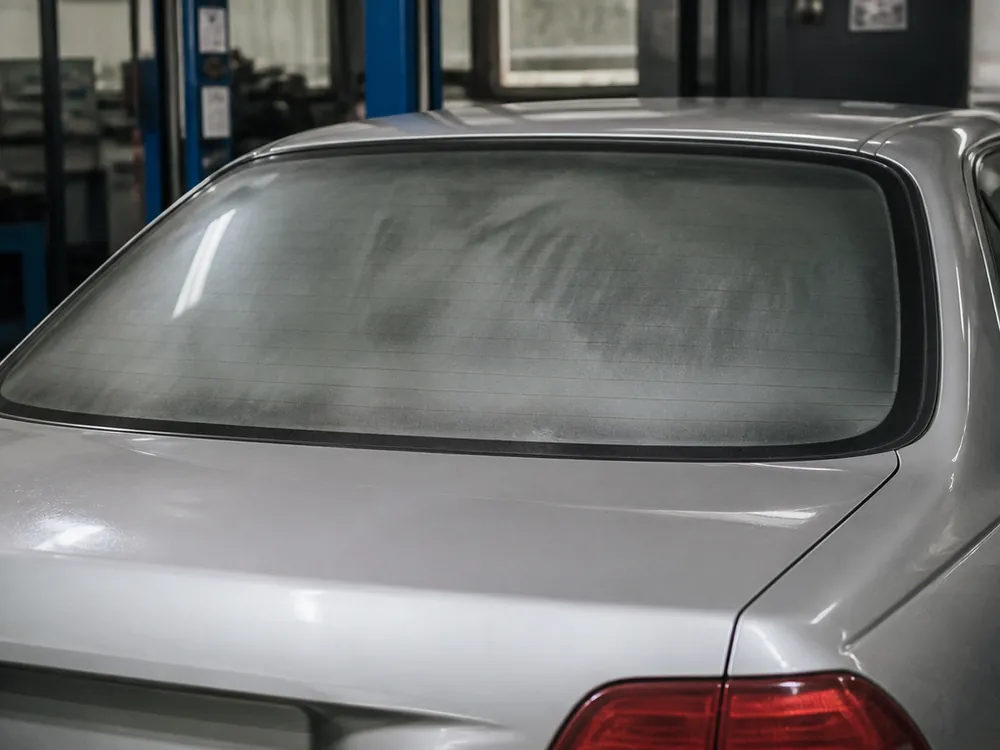
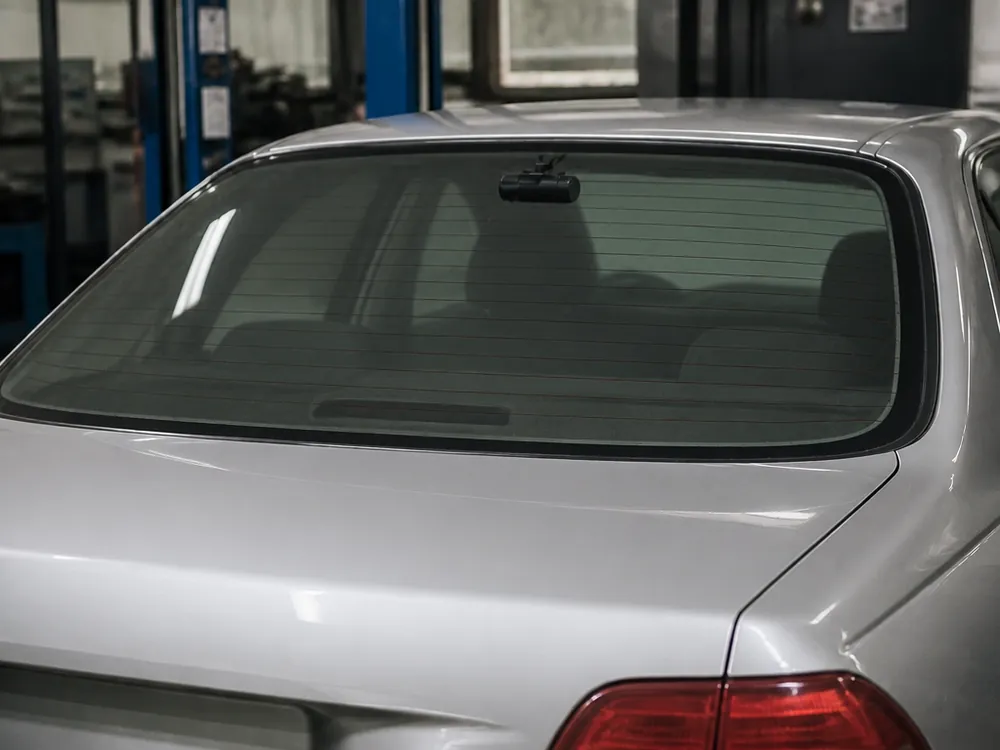
We mount the rear camera inside on the rear glass or outside on the license plate frame. A camera on the glass is simpler: it's protected from dirt and water, and the cable to it runs along the headliner. But on hatchbacks and wagons with a moving tailgate, the cable has to go from the body into the door, and here we route it through the rubber boot so it doesn't wear through every time the door opens. An outside camera on the license plate frame gives a clear view without tint or rear-glass glare, but it needs a sealed cable entry into the cabin and takes more time to install. In both cases we hide the cable under the trim and set the camera angle based on the footage, so the road behind is in frame, not the bumper. If the camera also works as a backup camera, we connect it to the reverse light.
Panoramic roof, truck, and a dash cam in the mirror
Cars with a panoramic roof have almost no room under the headliner, and you can't run a cable across the glass part. So the wire goes along the edge of the roof and down the pillars by a different route, which means more panels removed and more time. Trucks have a long cab and unstable power: the cable runs farther, and the device is connected through a fuse with surge protection so it doesn't fail. A separate case is a camera built into the rearview mirror housing or a compact model behind it, when the owner doesn't want the device to stand out. Here it's important not to interfere with mirror adjustment or block the sensors on the glass. We call out all these specifics when we agree on the plan, so the job time doesn't come as a surprise.
Your own dash cam or help choosing one
Dash cam installation is also possible with your own device: the owner can bring a device bought in advance. Before installation, the technician checks that it works and that the kit is complete: whether there's a mount, a suitable power cable, an adapter for the fuse box, and a rear camera if one is included. Sometimes a model has a non-standard connector or no cable for connecting to the fuse box, so an adapter is needed, and we discuss this before starting work. If the device hasn't been bought yet, we'll tell you what to look for: parking mode support, low-voltage cutoff, a reliable mount, and operation in heat and frost. The choice of model is up to the owner. The installation warranty applies the same whether it's your own camera or one chosen together with us.
Setup and installation warranty
A dash cam that records in the wrong mode or hasn't had its memory card cleared in ages is useless at the moment of an accident, so setup is as much a part of installation as the wiring.
What we set up before handover
Date and time: without an accurate date and time, the recording loses weight as evidence, so we set them right away.
Resolution: we choose the recording quality so that license plates are readable but the memory card doesn't fill up within a few hours.
Loop recording: we turn on overwriting of old files so the dash cam doesn't stop when the card is full.
G-sensor: we set the impact sensor sensitivity so important files are saved but potholes don't clog the card.
Memory card: we show you how to remove the card correctly and download the recording without damaging the files or the mount.
What the 12-month warranty covers
CARGID installation warranty 12 months
Situation
How we handle it
Dash cam stopped turning on because of the wiring
We redo it free of charge
Connection contact corroded or came loose
We fix it free of charge
Mounting pad came off
We reattach it free of charge
The dash cam itself is faulty
Manufacturer's warranty
Cable was redone by third parties
Warranty does not apply
When to come back after installation
If after installation the camera stopped turning on, reboots while driving, the parking mode is gone, or the recording has no sound, it's better to come in right away rather than take the trim apart yourself. The technician will check the power at the fuses, the adapter contacts, and the cable along the whole route. If the cause is the installation, we fix it free of charge under the CARGID warranty. If the device itself is faulty, we'll tell you how to file a manufacturer's warranty claim and help remove it without damage. Reworking the wiring yourself or by third parties voids the installation warranty, so any changes to the setup are best done at our shop. The memory card should be replaced every few years: it wears out from constant overwriting, and an old card starts losing files right when you need them.
Getting dash cam installation right
A well-installed dash cam is invisible in the cabin, records whenever you need it to, and doesn't cause problems with the car's electrics. Here's what to keep in mind before installation.
Location: the camera goes behind the mirror in the wiper sweep area, without blocking the rain and light sensors or the cameras of driver-assist systems.
Power: recording while parked needs two lines through fuses, and on cars with Start-Stop, protection against voltage drops.
Wiring: the cable is tucked behind the headliner and pillar trim, removed with trim tools, with no twisted splices and no wires under the floor mats.
Rear camera: it's mounted on the glass or on the license plate frame, and the cable's passage into the trunk lid is protected with a grommet.
Setup: date, resolution, loop recording, and the impact sensor are set before the car is handed over.
11
Frequently asked questions about dash cam installation in Almaty
Questions.
Price, timeframes, warranty, payment — 10 questions asked most often.
10
Didn't find an answer?
Message us on WhatsApp — a service advisor will reply within 5 minutes.
The price depends on the complexity of the work and the type of dash cam. Basic installation of a front dash cam with cable routing under the trim starts at 8,000 tenge. We quote the exact price after inspecting the car, since access to the wires and the installation location differ on different models. A technician visiting you within the city is 5,000 tenge, free on orders from 20,000 tenge. All work includes a warranty. Exact prices are in the price list on this page.
On average, installation takes 1–2 hours. If you need to connect a rear camera, hide the wiring under the trim, or install the dash cam in the rearview mirror, the time increases to 2–3 hours. On some cars (with dense trim or difficult access to the fuse box), the work may take up to 3.5 hours. We always inform you about the timeframe after diagnosing the car. Booking a specific time allows us to complete the work on the day you contact us, if there is no queue.
Yes, we provide a 12-month warranty on all dash cam installation work. The warranty covers the quality of the connection, the absence of short circuits, and the integrity of the wiring. If problems with the connection arise during the warranty period (loss of power, oxidation of contacts, malfunction due to improper installation), we will fix them free of charge. We also provide a warranty on the materials we use (fasteners, connectors), but not on the dash cam itself — it is covered by the manufacturer's warranty.
We recommend booking in advance, especially on weekends and in the evening — we have many orders. Booking by phone or through the form on the website allows you to choose a convenient time and avoid waiting. If you come without an appointment, we will try to find a slot, but during peak hours you may have to wait 1–2 hours. During working hours (from 9:00 to 20:00) there are usually free slots. For urgent installation (for example, before a trip), call us — we can often take you within an hour.
Yes, you can install your own dash cam. We don't impose our equipment. But when installing a third-party device, we will check its functionality and completeness. Please note: if your dash cam has no mount or a non-standard power connector, you may need an additional adapter (usually costs from 1,500 tenge) or an adapter for hidden wiring. We can also recommend reliable models that we install often, but the choice is always yours. The warranty on the installation work is preserved when installing your device.
If you notice problems after installation (it doesn't turn on, blinks, loses power, doesn't record to the card), call us immediately. Under the warranty, we will perform diagnostics free of charge and fix the fault if it is related to our work. If the problem is with the dash cam itself, we will help you sort out the warranty case with the manufacturer or offer a repair. Do not try to disassemble the device or reconnect the wires yourself — this may void your warranty. Contact us during the warranty period, and we will resolve the issue, usually on the day you come in (complex repairs take up to 3 working days).
They differ in complexity and the set of work. Basic installation is a front dash cam only, the wiring is routed along the ceiling and pillar, and connected to the cigarette lighter or directly to the fuse box. Installation with a rear camera involves routing the cable through the cabin to the rear window and connecting to the reverse light, which takes longer. Hidden installation means the dash cam is hidden behind the mirror or in the trim, the cable runs inside the panel and connects to the fuses, with no visible wires from the outside. We recommend hidden for aesthetics and theft protection. Exact prices are in the price list on this page.
No special care is required, just a couple of rules. Wipe the lens with a soft cloth without alcohol — about once a month. Do not leave the dash cam in direct sunlight in hot weather, as this overheats the device. Every 2–3 weeks, check whether it is recording to the memory card, and format the card once a month (this prevents errors). If the dash cam is connected to the cigarette lighter, make sure the connector doesn't come loose. In winter, after a car wash, check that moisture doesn't get into the connectors. And most importantly — do not disconnect it from power if it is set to run off the battery.
Payment is accepted in cash, by bank card (Visa, Mastercard, Kaspi) or Kaspi QR. Cashless payment is available for legal entities — an invoice must be issued. Payment is made after the work is completed and the dash cam's functionality is checked. No prepayment is required if you booked in advance — we reserve the time and wait for you. If a technician visits you, payment is also after installation. Bank details for cashless payment can be obtained from the administrator. We issue the warranty card after payment.
The price includes: car inspection, consultation, cable routing (hidden or under the trim — your choice), connection to power (via the cigarette lighter or fuses — depending on the rate), adjusting the viewing angle, setting up the dash cam (date, time, recording quality), checking operation together with you, and a warranty on the work. A technician visiting outside the city is an additional fee, by agreement. Everything is discussed before the work begins. Exact prices are in the price list on this page.
12
Reviews of our dash cam installation
Reviews.
We collect ratings on the website and on maps — we hide nothing.
4.8
872 reviews on the website 1 900+ ratings in total
Sergey
Kia Rio
I had a dash cam installed on my Kia Rio. I asked them to hide the wires so it wouldn't be noticeable. The guys did it quickly, in just 2 hours, for 15,000 tenge, which is even cheaper than I thought. Everything works great, the recording is clear even at night. Thanks!
Aigerim
Toyota Camry
I'm very happy with the dash cam installation on my Toyota Camry. The technicians did everything neatly, the cable is under the panel, no dangling wires. The installation took 2 hours and cost 20,000 tenge. I feel safer behind the wheel, especially in Almaty traffic jams.
Dmitry
Tucson
I needed to install a dash cam with a rear camera on my Hyundai Tucson. I went to CARGID and didn't regret it. They did it in one day, ran the cable under the trim, everything looks factory-installed. The price is 40,000 tenge, but it's worth it. The camera sees perfectly at night.
Zarina
They installed a dash cam on my Lexus RX 350. I was very worried that the wires would be visible or that they would damage the trim. But the technicians did everything perfectly, you wouldn't even notice anything was installed. I paid 25,000 tenge, and it's the best protection against disputed situations.
Alexander
I had a dash cam installed on my Mitsubishi Lancer, I wanted a hidden installation. The guys suggested mounting it behind the mirror, and it turned out very compact. They connected the power to the cigarette lighter and hid the wire. Only 17,000 tenge and 2 hours of time. I recommend!
Nurlan
I went to CARGID to install a dash cam and a navigation system in my car. But I forgot that they only do dash cams. However, they did everything quickly and with high quality. The price was 19,000 tenge, the work took 3 hours. Everything is solid, the wires don't dangle.
Ekaterina
I spent a long time choosing where to install a dash cam on my new Volkswagen Tiguan. I settled on CARGID on my friend's advice. I didn't regret it! The technician explained everything and installed it in 2 hours, the price was 22,000 tenge. The camera is excellent, the recording has sound, everything is visible.
Ruslan
I had a dash cam installed on my Nissan Qashqai, powered from the cigarette lighter. The wire was run under the panel, nothing dangles. The work took 1.5 hours, the cost was 14,000 tenge. The technician even showed me how to properly format the memory card. Thanks!
Timur
CX-5
I had a dash cam with front and rear cameras installed on my Mazda CX-5. The technicians finished in a day, ran the wires under the trim, everything is very neat. The price is 38,000 tenge, but now I have full parking and protection against staged accidents. I recommend.