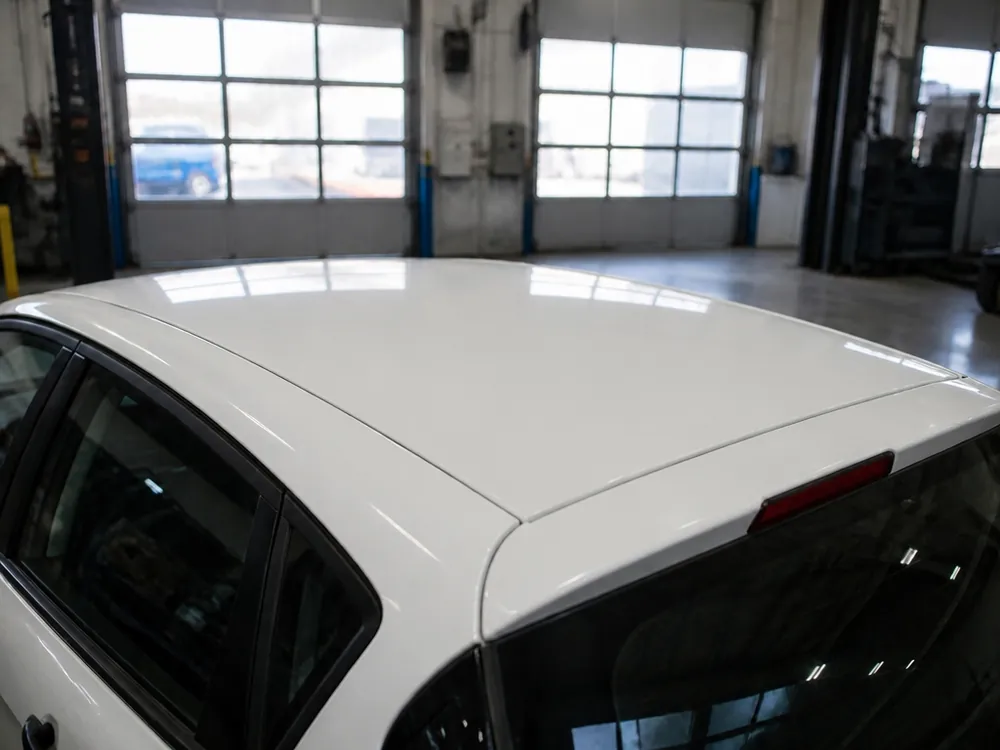
There are several ways to paint a roof, and the choice depends on the size and depth of the defect, not on saving money. Here's what fits which case and how we pick the method.
Repair of chips and old coating
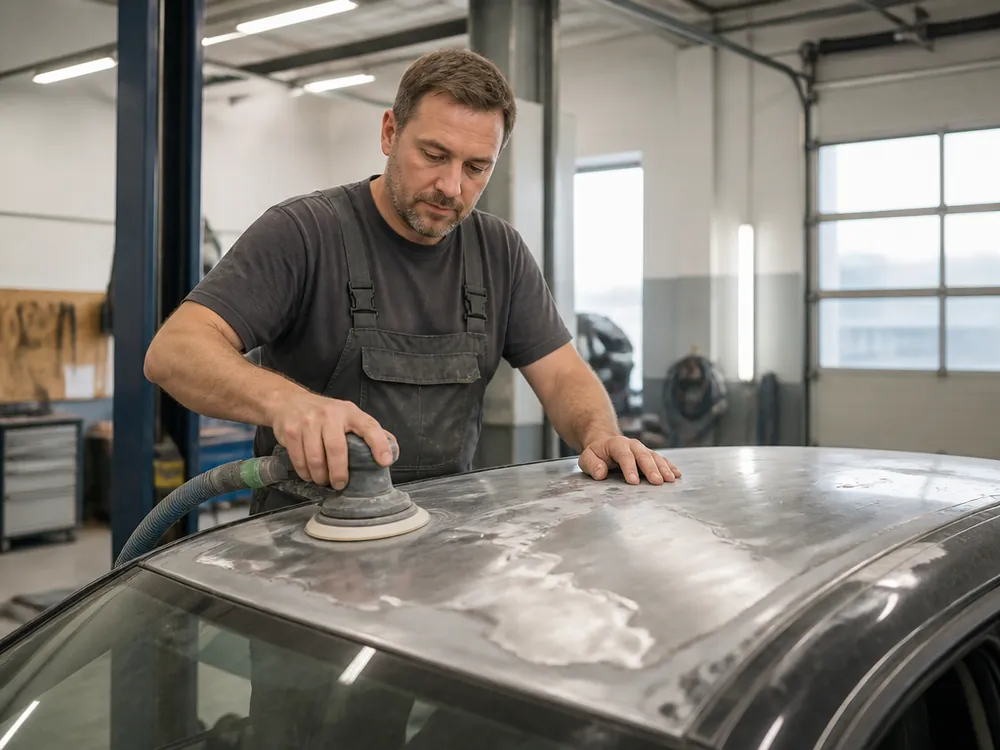
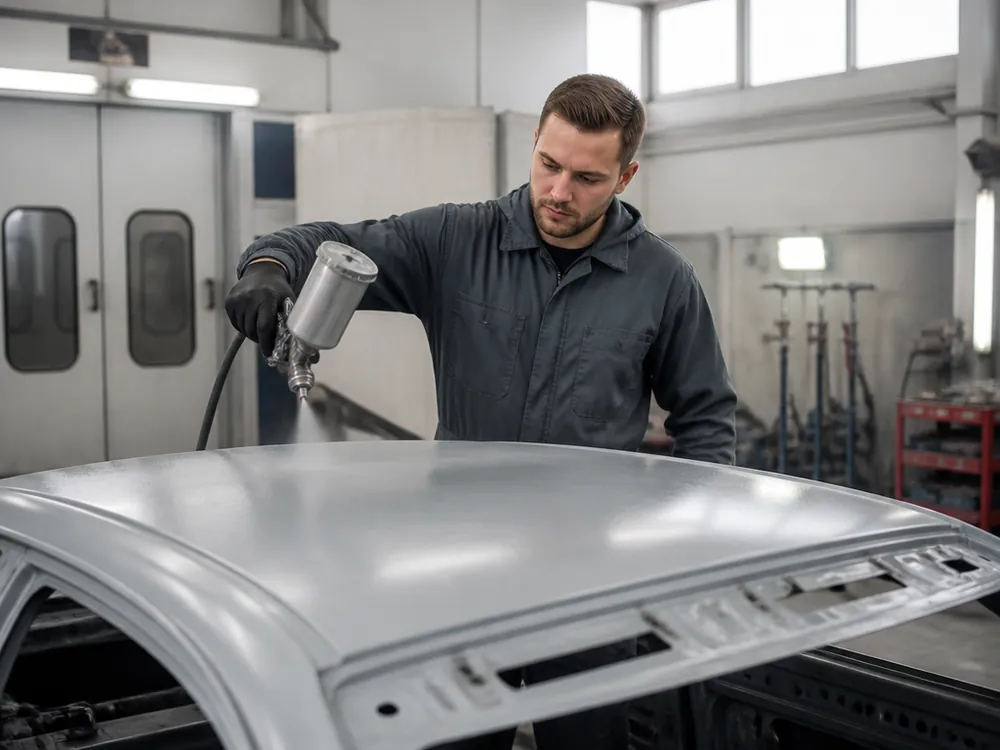
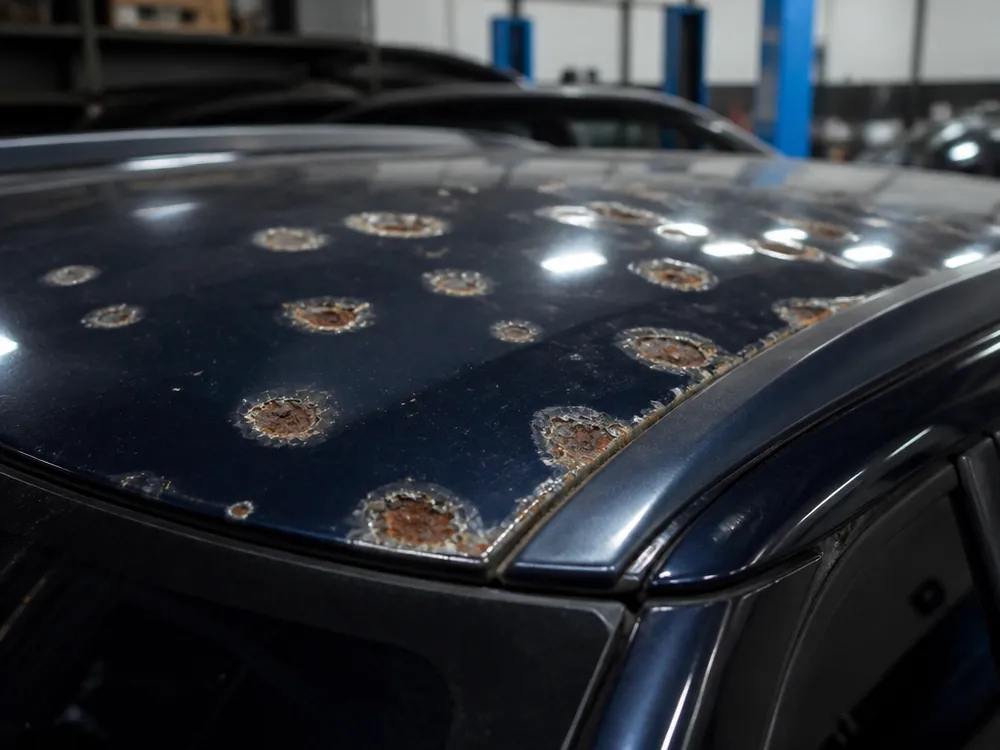
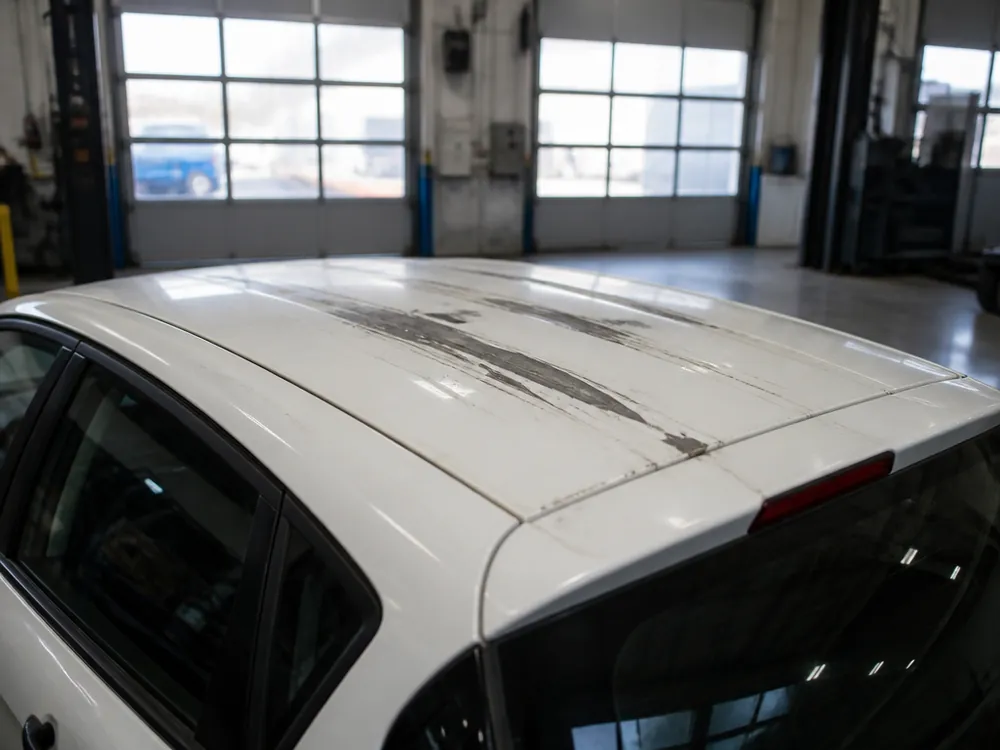
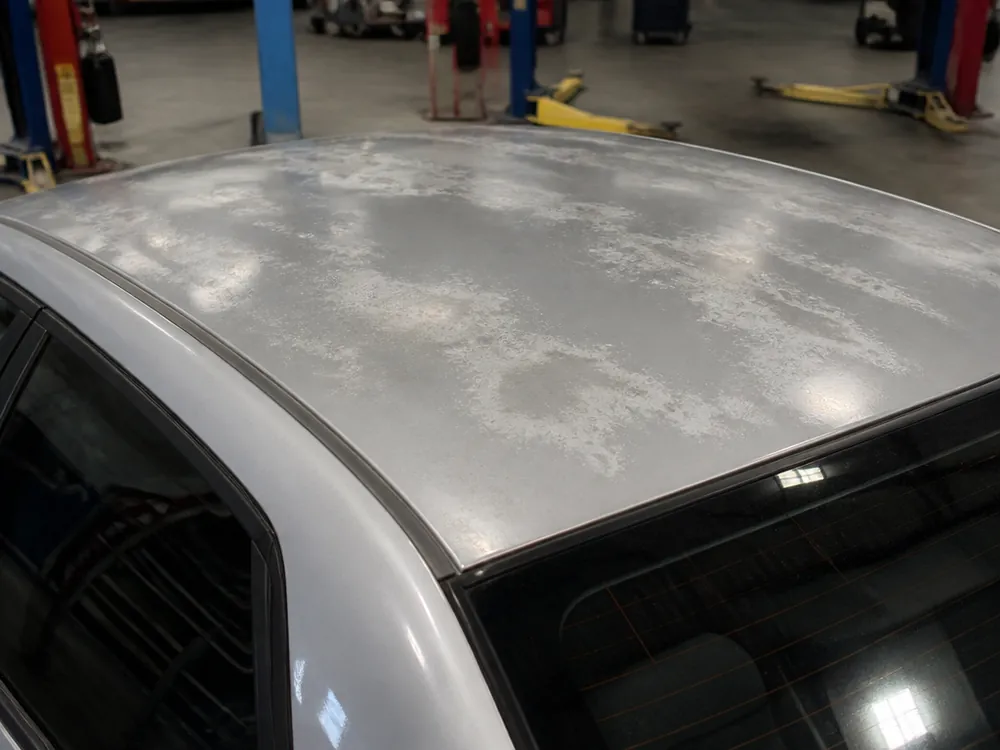
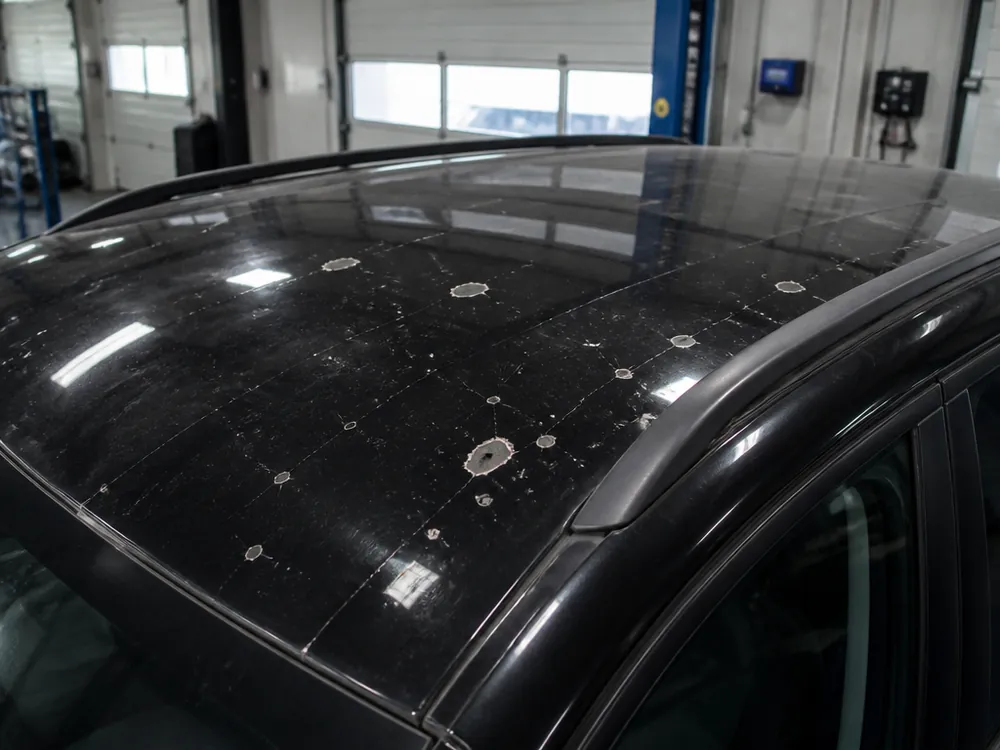
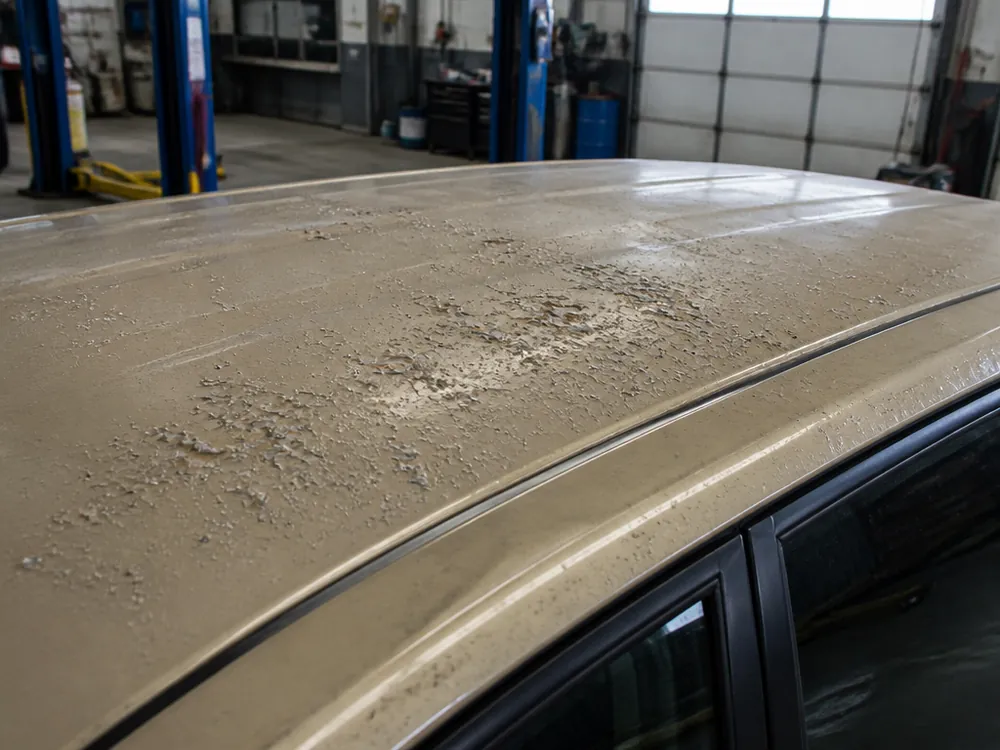
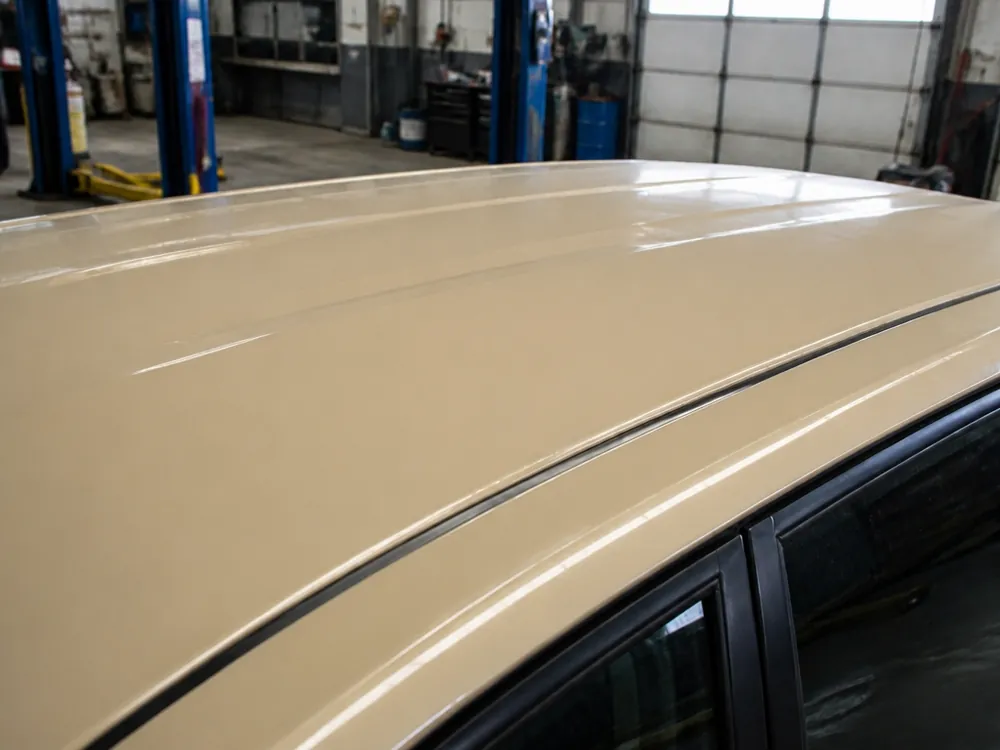
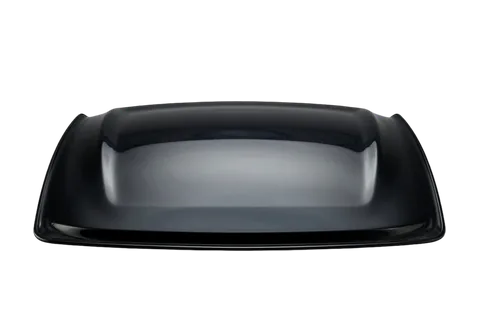
If the roof already has chips and peeling, we first strip the old paint down to bare metal, level the surface, and only then apply material. Painting a car roof in Almaty over existing defects leaves corrosion pockets and unevenness underneath that show up after drying. We sand the paint off with a grinder down to clean metal, fill the low spots, level the surface and prime. Sanding goes in several stages with progressively finer grit so the base lays down flat without orange peel. A chip filled over the old coating will swell into a bump within a season, so stripping the old paint isn't overkill — it's a mandatory step that determines how long the whole panel lasts. In my experience, skipped prep causes repeat visits more than anything else: the service advisor notes such cases in the work order at inspection, and the client sees the difference between a cosmetic touch-up and a proper substrate repair.
Why a painted car roof doesn't mismatch the adjacent panels
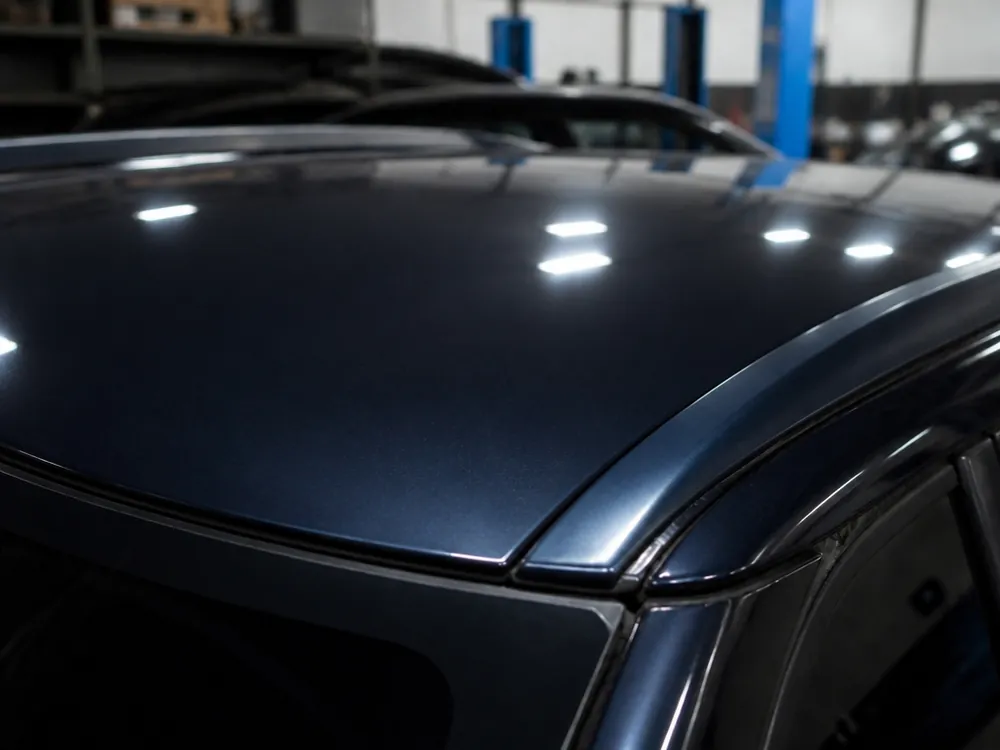
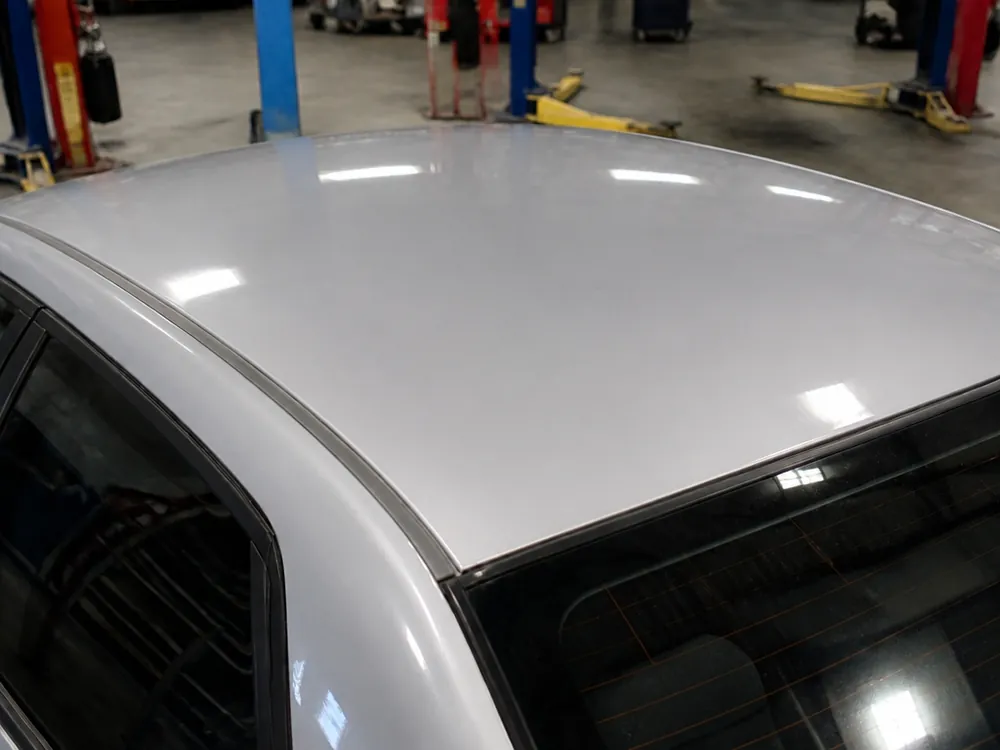
The biggest fear with roof painting is seeing a different shade in the sun. An even color comes from coat thickness, a proper blend and precise paint matching.
Three coats with intercoat drying
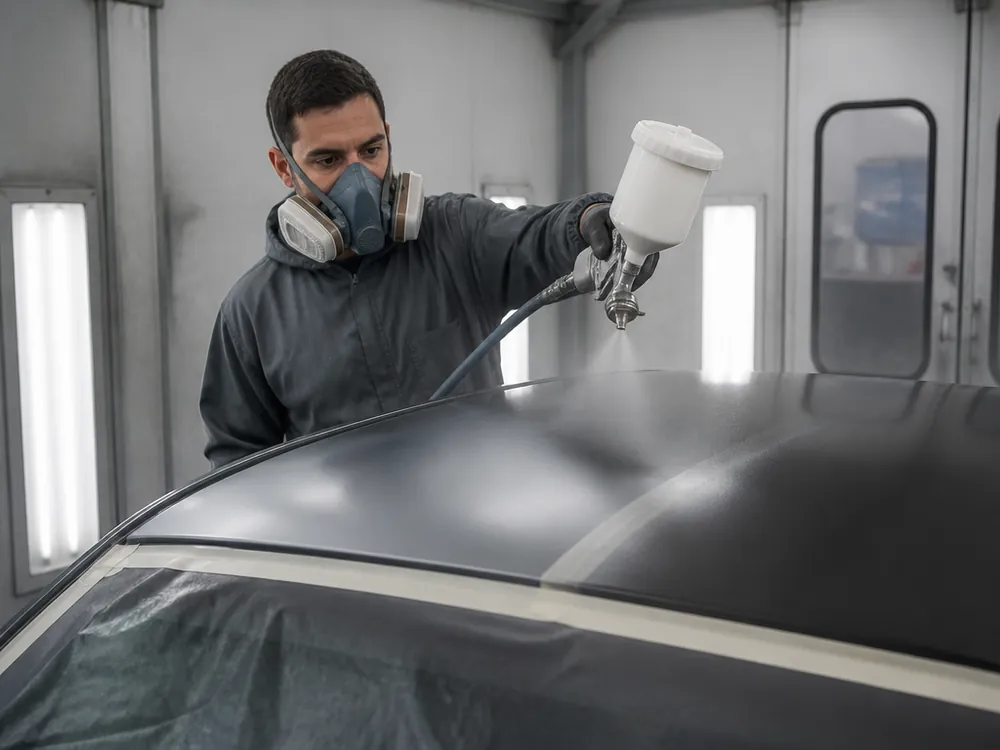
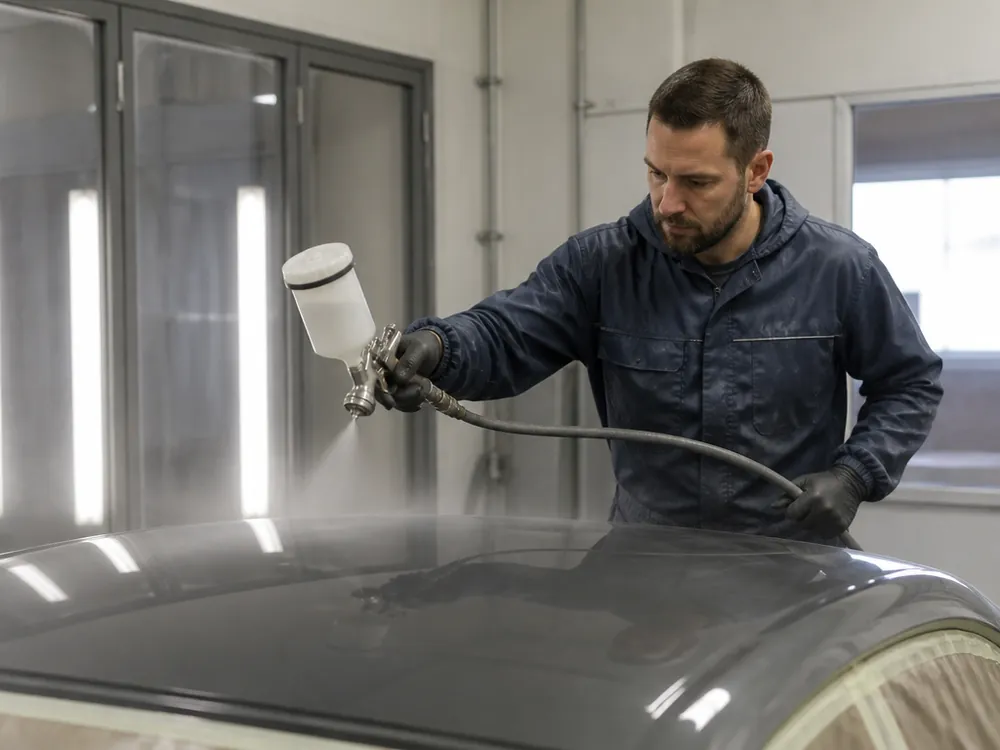
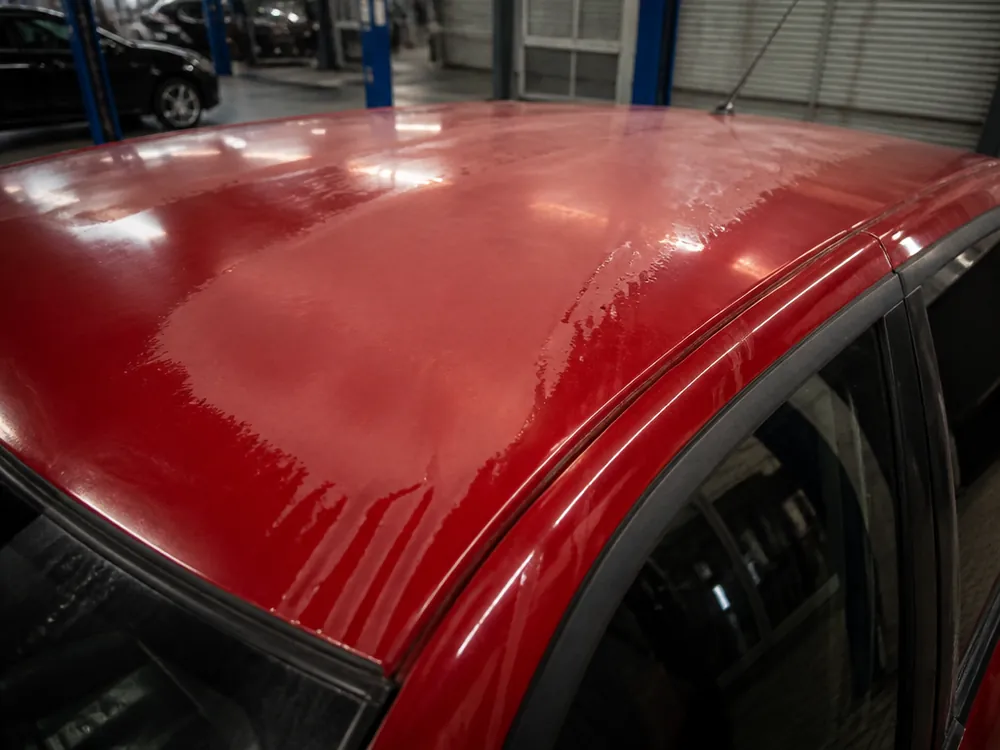
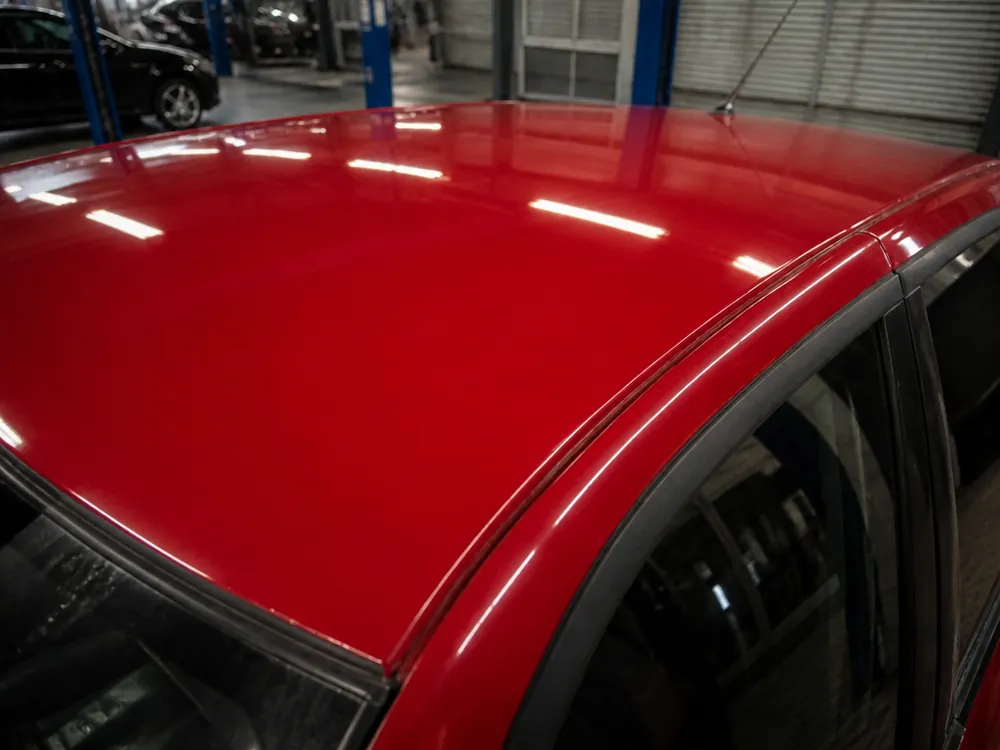
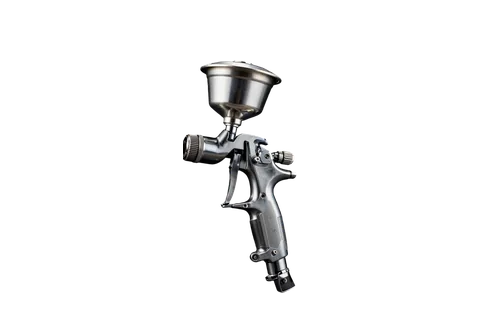
We apply primer, base and clear coat as separate layers with intercoat drying — that way the roof doesn't go cloudy and holds its color evenly. In the paint booth we cure each coat to the required degree instead of eyeballing it: primer levels the panel's micro-relief, base gives the shade depth, and the finish protects the pigment from UV and chemicals. On metallic and pearl, even base coverage matters most — it determines how the panel plays in the light. If you lay everything down in one pass, the solvent can't escape, and months later the finish goes cloudy from the inside — that's the classic "faded" roof. Intercoat drying makes the job take longer, but the shade stays stable for the life of the coating.
Edge-to-edge blending and paint matching by code
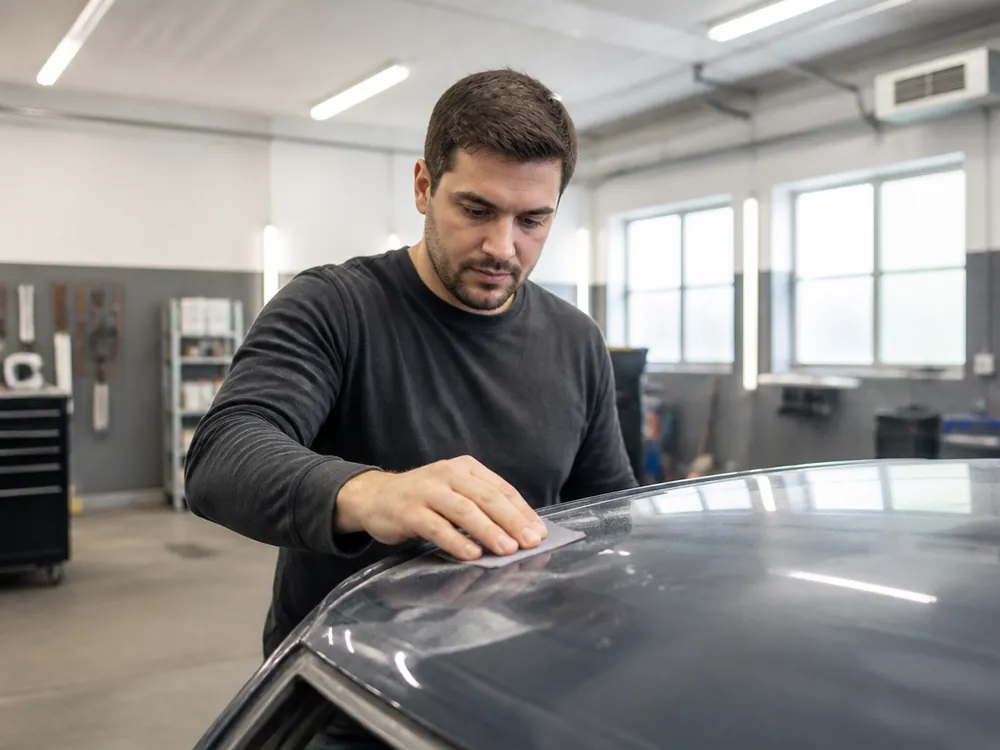
We sand the blend into adjacent panels with P1500 and bring it edge-to-edge, and we match the paint by the body code — the border is invisible in the sun at an angle. We read the code from the factory plate, then refine the shade with a spectrophotometer and test sprays on a test panel. Even the same code across different batches gives a slight shift, so eyeballing against a fan deck doesn't work. We don't polish the blend edge dead flat: light sanding preserves the texture of the finish, so under angled light the seam doesn't catch a reflection differently from the rest of the panel. If the border still reads in the sun, it means the base went on too heavy or the clear coat is thicker than spec. Our service advisor shows a photo report from angled views so you can confirm there's no mismatch before you pick up the car.
Surface prep and materials for car roof painting
Most reworks start with prep, not paint. Here's exactly what we do before the first coat and why it matters more than the material itself.
We remove moldings and roof rails before masking
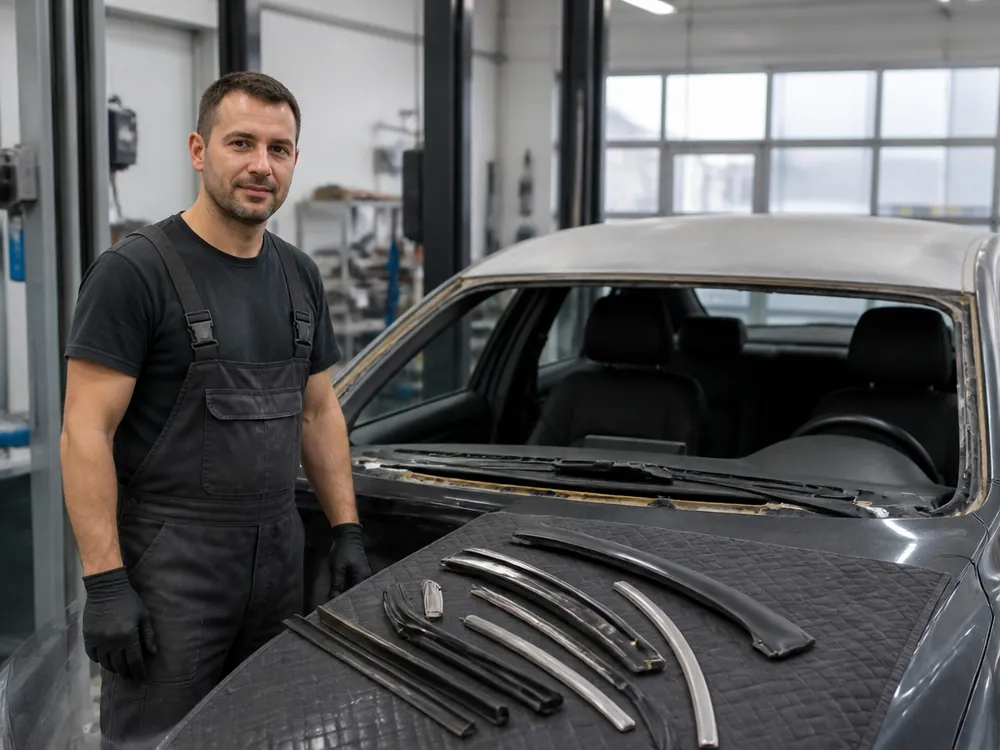
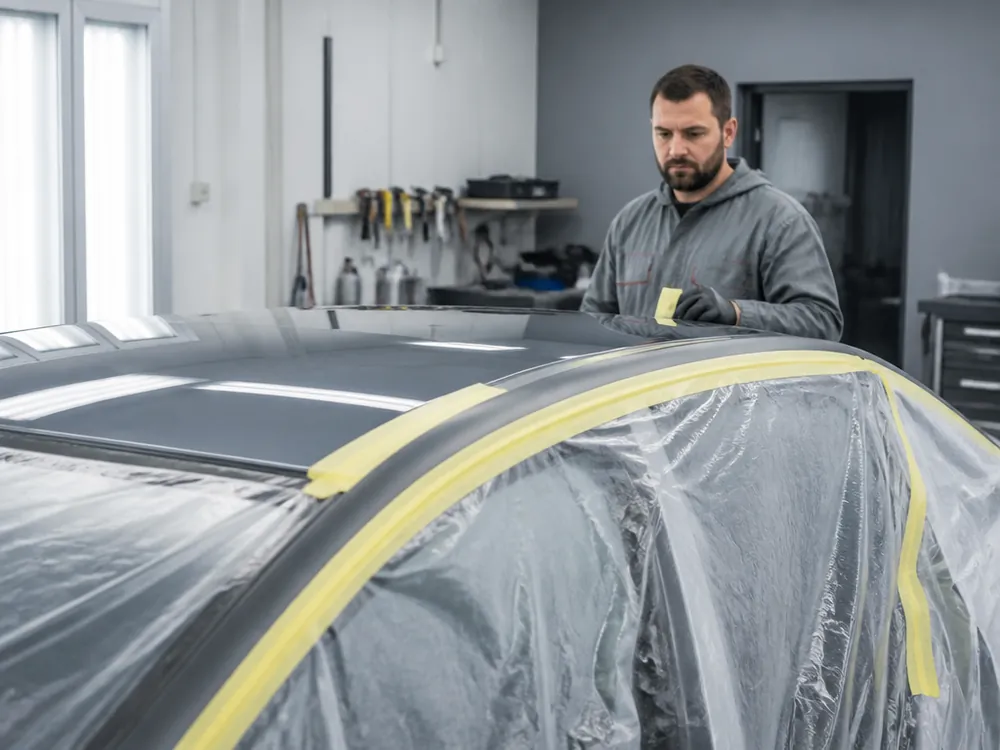
Before masking, we remove trim and fasteners — that way there are no unpainted strips or runs. Roof rails are held by four bolts, plastic trim by clips, and once removed they expose an edge you can't reach with a roller or spray gun. We lay masking film on clean metal, not over plastic: the paint border follows the factory seam, not the edge of the tape. The film holds up to the booth's air pressure but doesn't stop paint from creeping under the edge by capillary action — and that's exactly where rust shows up later. A masked-over molding leaves a visible paint line along its contour that appears after the first wash — removing the trim is cheaper than repainting the edge later. In my experience, masked roof rails cause the most noticeable runs at the joint with the roof.
Anti-corrosion treatment and booth painting
We treat the metal with anti-corrosion primer and paint in a booth at controlled temperature — that's how you avoid orange peel and cloudy clear coat. The roof is the most horizontal surface on the body, so dust settles on it fastest, which makes air filtration in the booth more critical here than on doors or fenders. When sanding, the technician goes over the surface dry and watches for emerging spots: dark spots are already corrosion, not leftover old clear coat. We treat such an area separately with a converter and primer, and only then apply base. Corrosion isn't always visible: if dark spots appear during sanding, that's already metal, not dirt — we treat that area separately, otherwise it will blister under the new coat.
Warranty and rework for car roof painting
A warranty only works when its boundaries are clear. Here's exactly what the 24 months on roof painting covers and how responsibility is handled if the owner supplied the material.
What the 24-month warranty covers
We give a 24-month warranty on roof painting and record the term and conditions in the work order and the acceptance certificate when the car is handed over. Blistering, peeling clear coat and orange peel on the fresh layer are warranty cases: we diagnose them free of charge and repaint the area at no extra cost. Accidents after the repair, third-party interference, natural wear of consumables and parts brought in by the client are not covered by the warranty. The boundaries are written into the documents in advance rather than announced after a disputed case — that way both sides know the rules before work starts. Before handover, the technician takes the car on a test drive and inspects the roof in daylight: minor flaws get caught at this stage, not six months later.
Client-supplied paint and the warranty
The client can choose OEM, aftermarket or bring their own materials, but the warranty on work done with outside materials is limited. If the paint doesn't match by batch or has gone off in the can, the defect will only show up after application — so the material itself isn't covered, while our work on prep and masking still is. In our practice this does happen: a can brought in sometimes differs from the body code by half a shade, and you can only see it on a dried layer. The service advisor accepts the car, checks the code and warns about the risks before masking. We don't refuse to work with the owner's materials — we just record in the work order that the color and durability of outside paint remain the client's responsibility.
Booking times and color changes for car roof painting
Booking times, appointments and color changes are what clients ask about before visiting the shop. We answer in order, honestly, and without promising "in one day."
Timing, booking and on-site visits
We take cars in daily from 09:00 to 20:00 by appointment, the queue doesn't pile up, and the timing depends on the type of work and clear coat drying — picking the car up the same day isn't always possible. The car is met by the service advisor, who also manages the work order through to handover and agrees a written estimate with you after diagnostics: we don't start work until we have your approval. An on-site visit by the technician within the city is possible for inspection and minor work, but full roof treatment is done in the booth — the right temperature and air cleanliness can't be achieved outdoors. The clear coat doesn't reach working hardness right away, so rushing handover on the day of work risks fingerprints and micro-scratches on the fresh coating; it's better to plan the visit with some margin.
Painting a roof black and care afterward
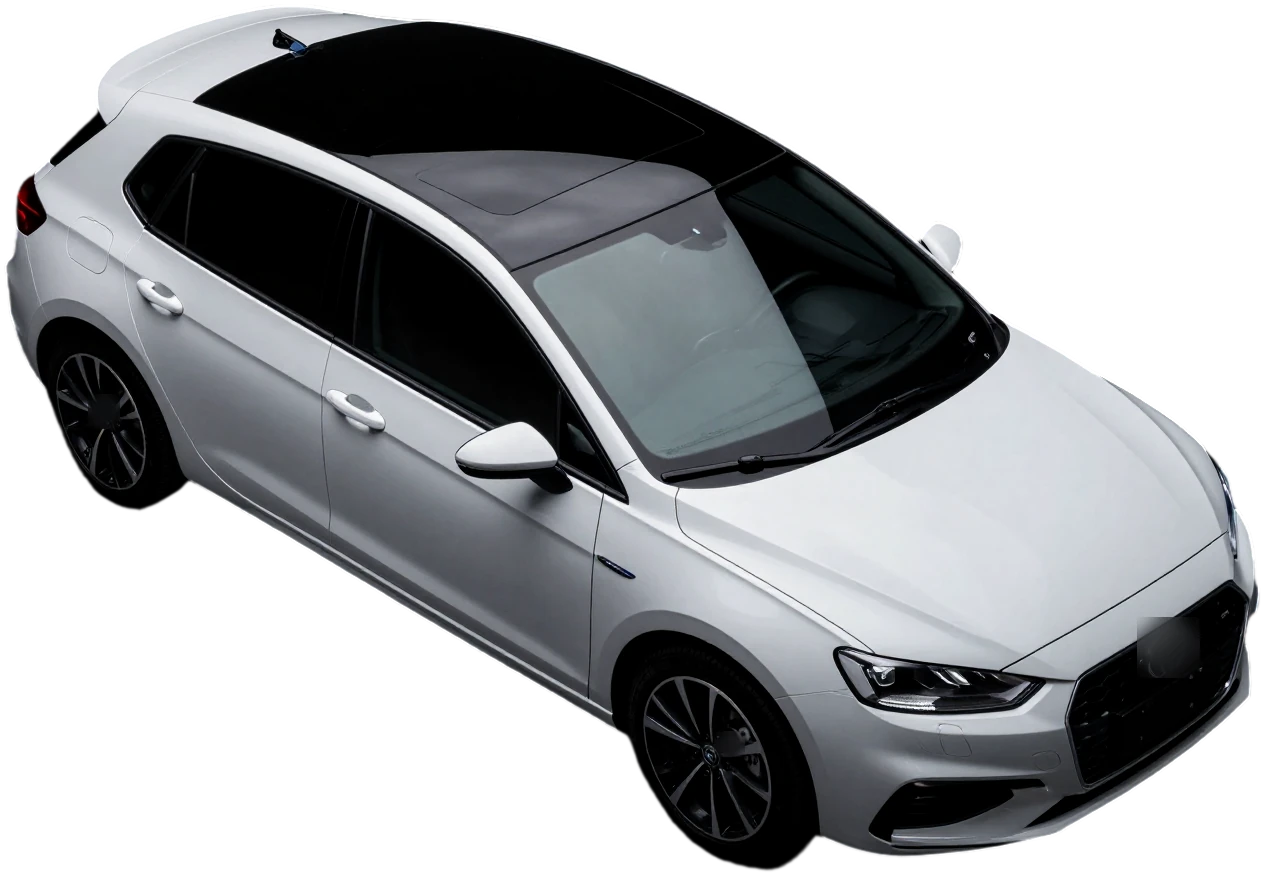
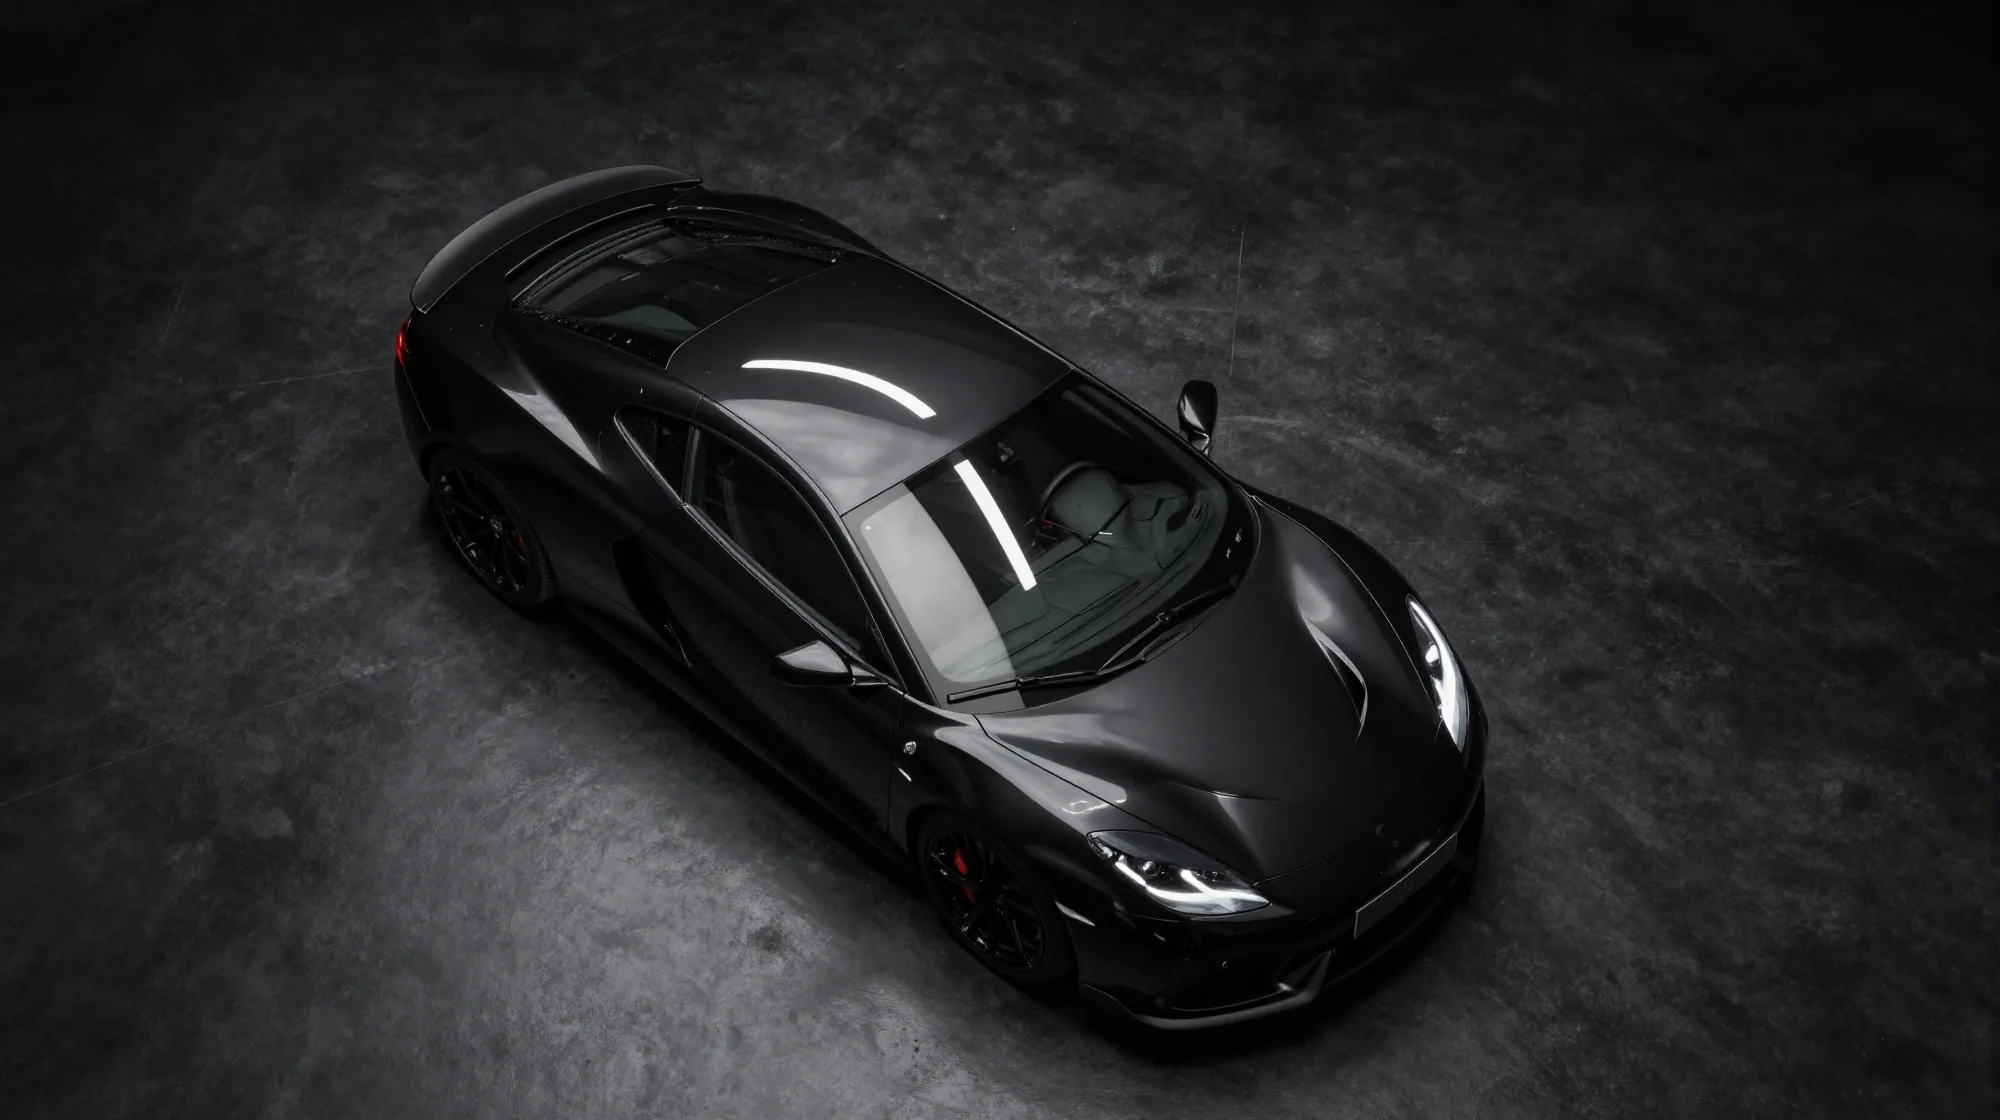
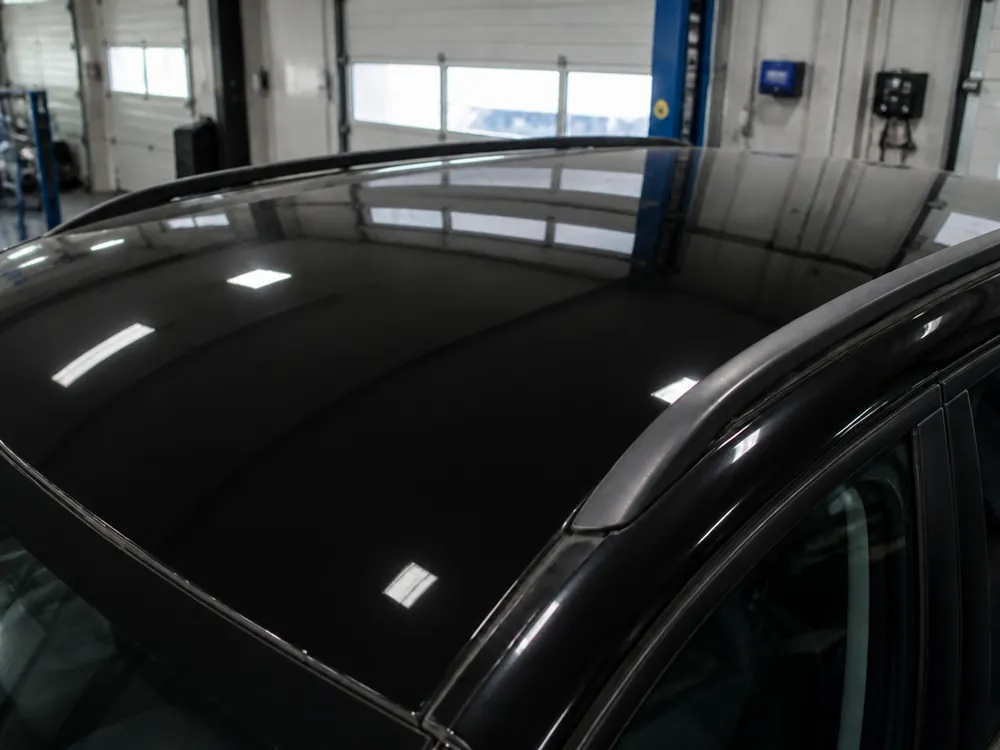
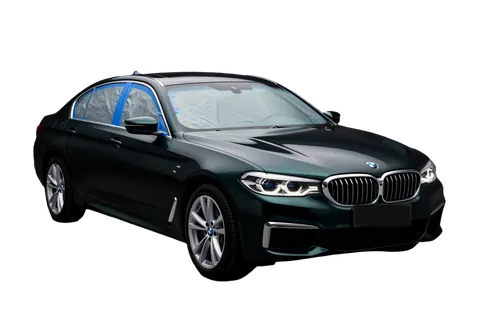
You can repaint a car roof black with the shade matched to the manufacturer's code, but in the first weeks after the work it's best not to scrub the panel with aggressive chemicals or run it through stiff brushes at the car wash. Changing the color from factory to black is a popular choice: a dark roof visually lowers the body and looks good on light-colored cars. Applying black requires full coverage of the base, otherwise the old shade will show through in the sun, so we mask the body with film and remove the moldings before applying the layers. In hot weather the fresh clear coat takes longer to harden, so the first washes should be touchless only, without wax, otherwise streaks remain on the panel that later have to be polished out — and I also advise parking the car in the shade rather than under open sun for the first two weeks.
What Determines Roof Painting Results
We've gathered in one place what determines the result of roof painting: choosing the option to match the defect, layer-by-layer technique, preparation and the boundaries of the warranty.
- Option to match the defect: the method is chosen by the area and depth of damage — a chip, a spot near the edge and a faded panel each require a different approach, and cutting corners here means a redo.
- Three layers with drying: an even color comes from primer, base and clear coat applied separately with interlayer drying, plus a butt blend with P1500 sanding and paint matched to the body code.
- Preparation decides: redos more often start not with the material but with the base — removed moldings and roof rails, stripped old paint and anti-corrosion treatment matter more than the choice of top coat.
- Clear warranty boundaries: 24 months cover the work performed and materials, but not accidents after the repair, third-party interference or natural wear.
- Timing and care: time depends on clear coat drying, and a fresh roof should be washed carefully in the first weeks, without abrasives or stiff brushes.