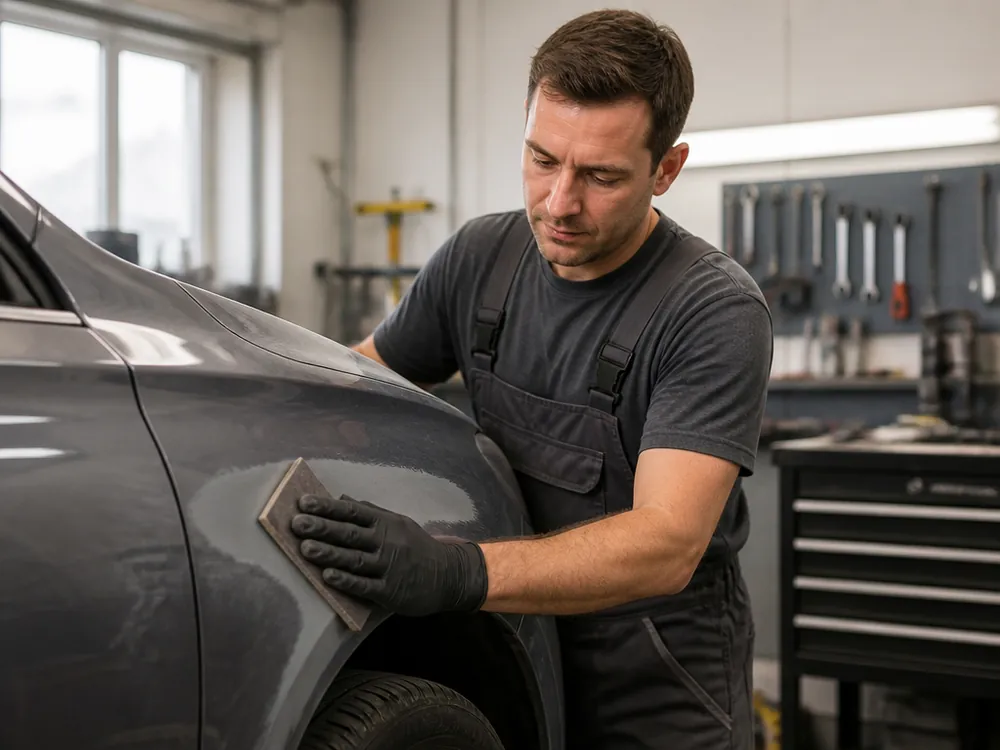
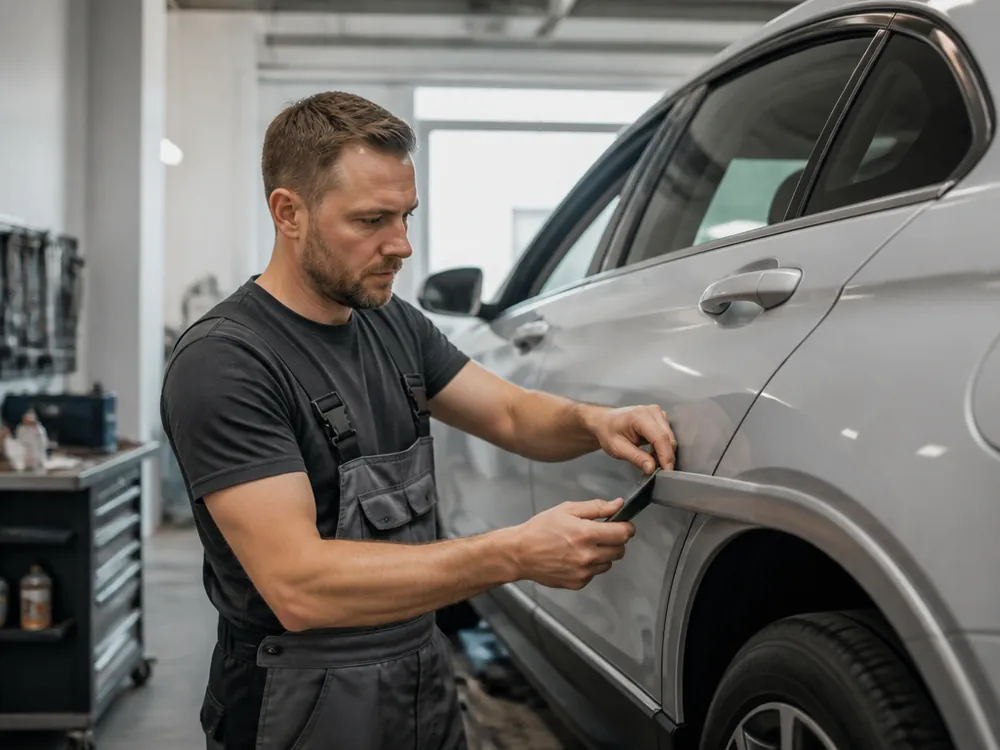
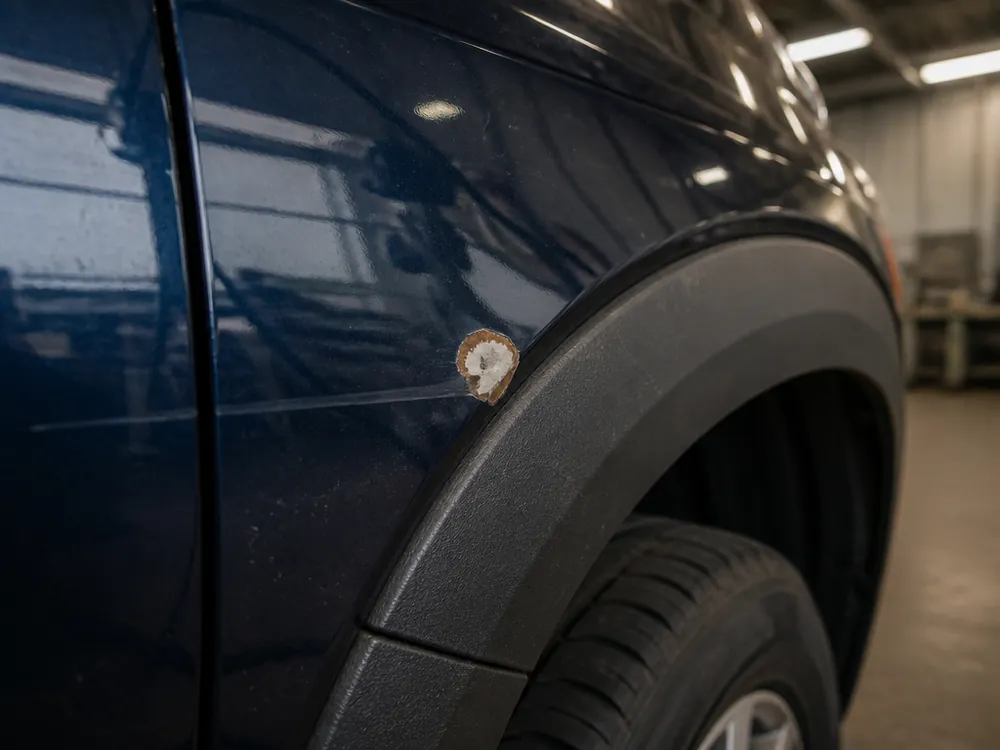
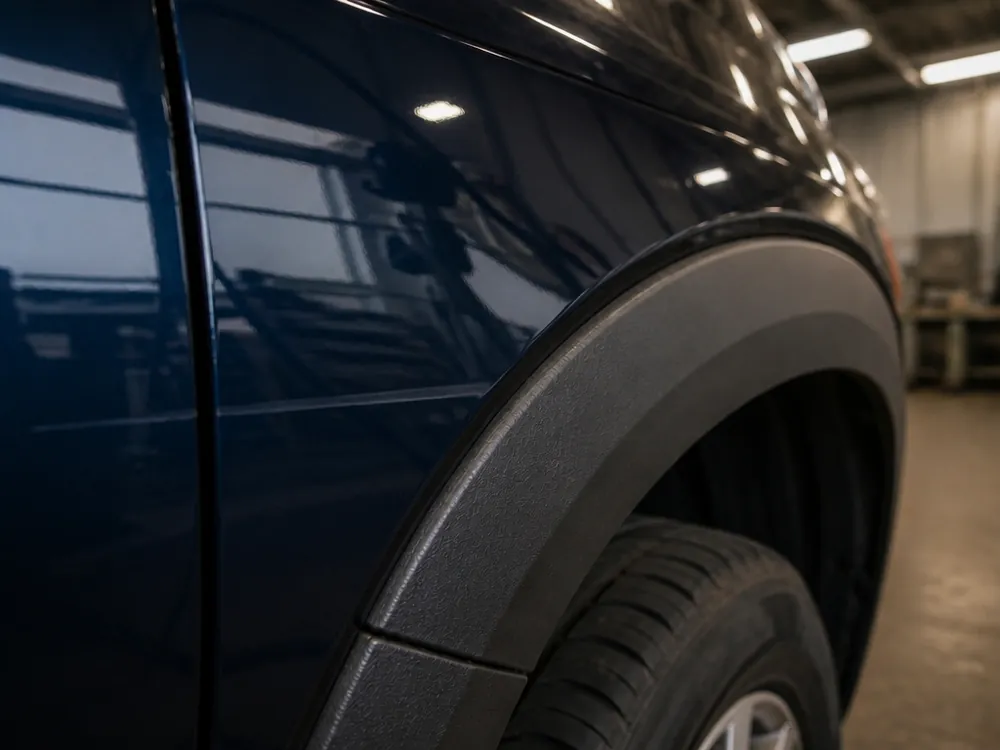
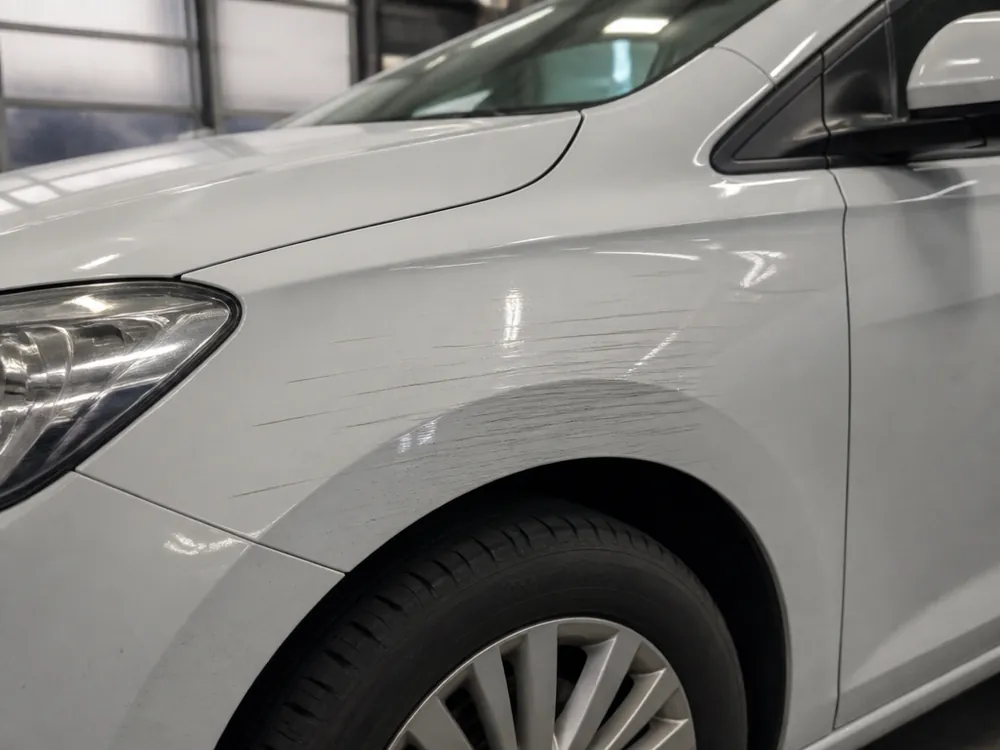
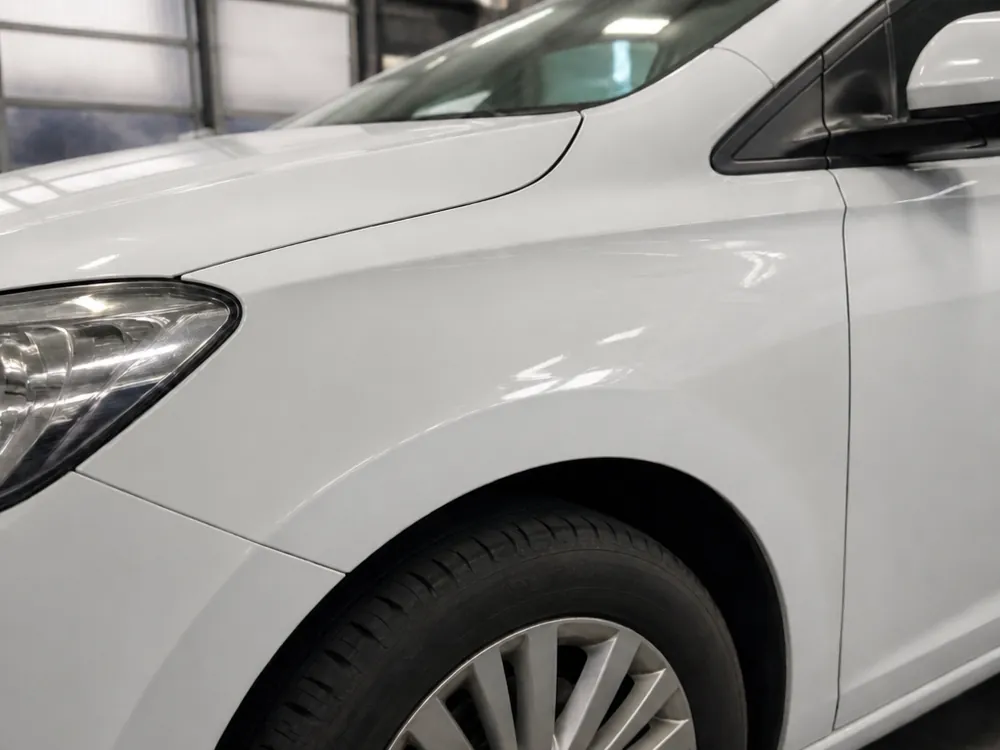
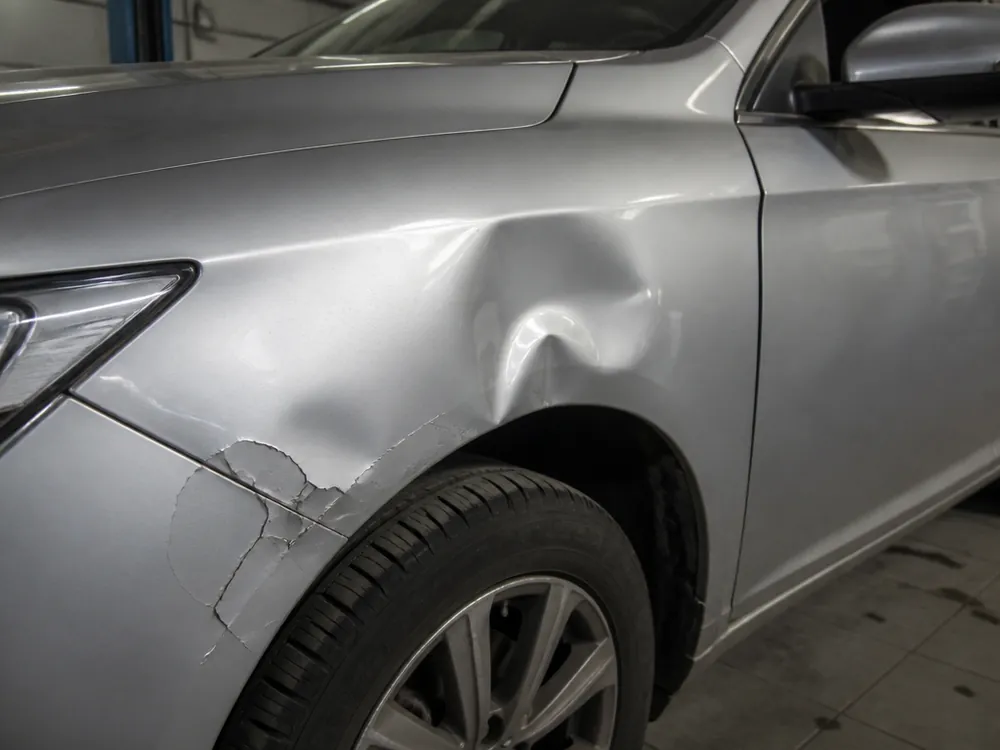
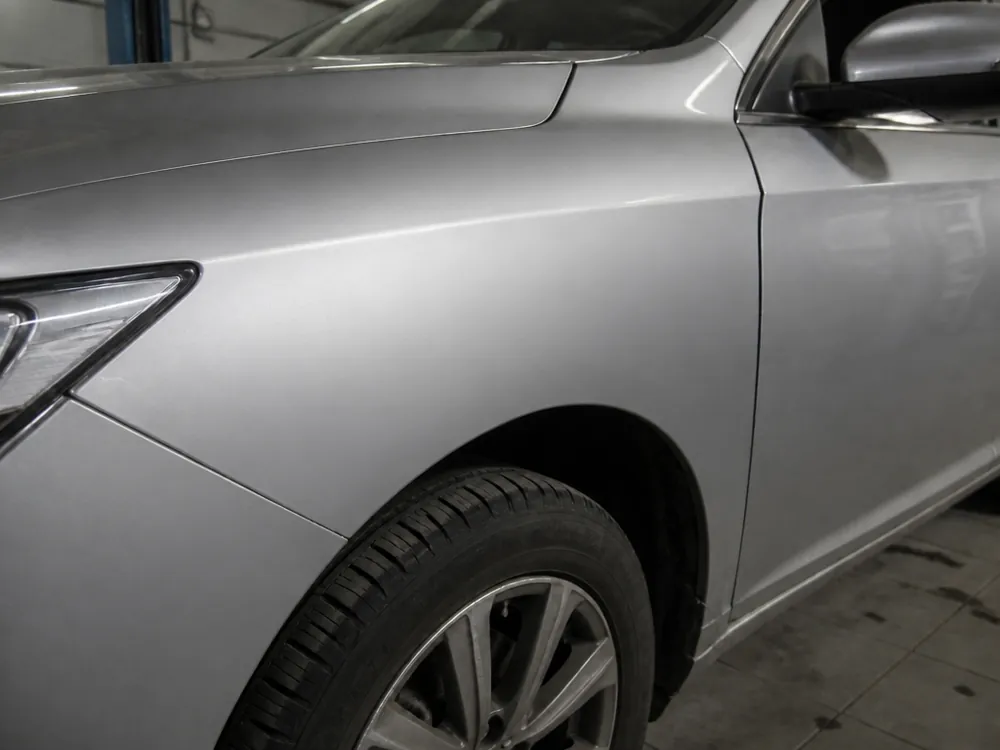
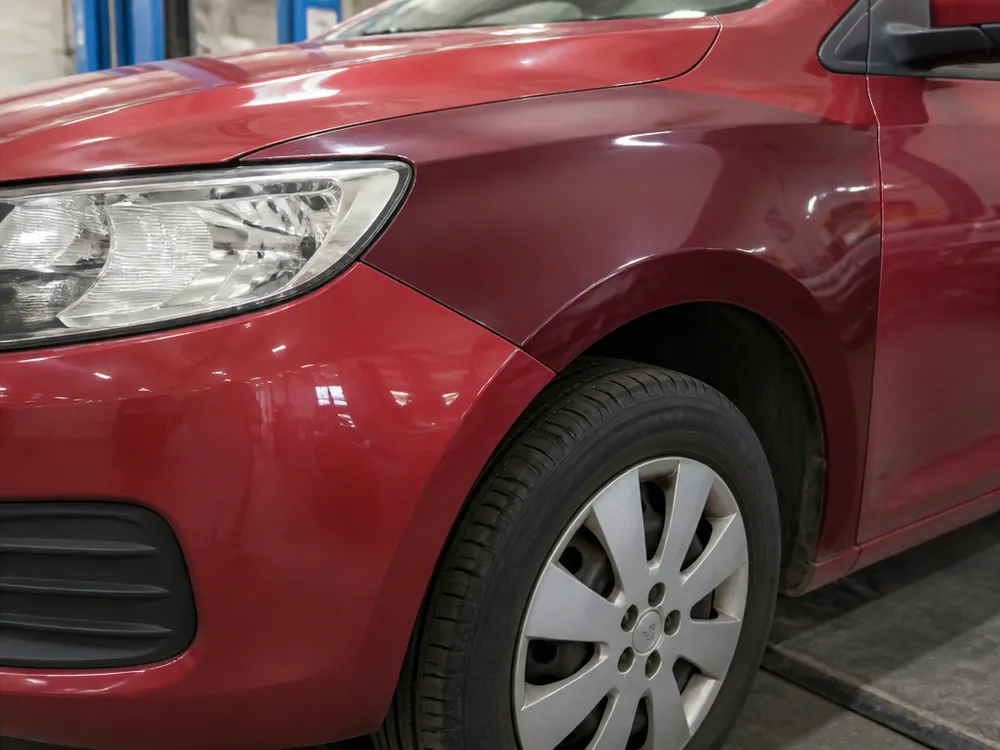
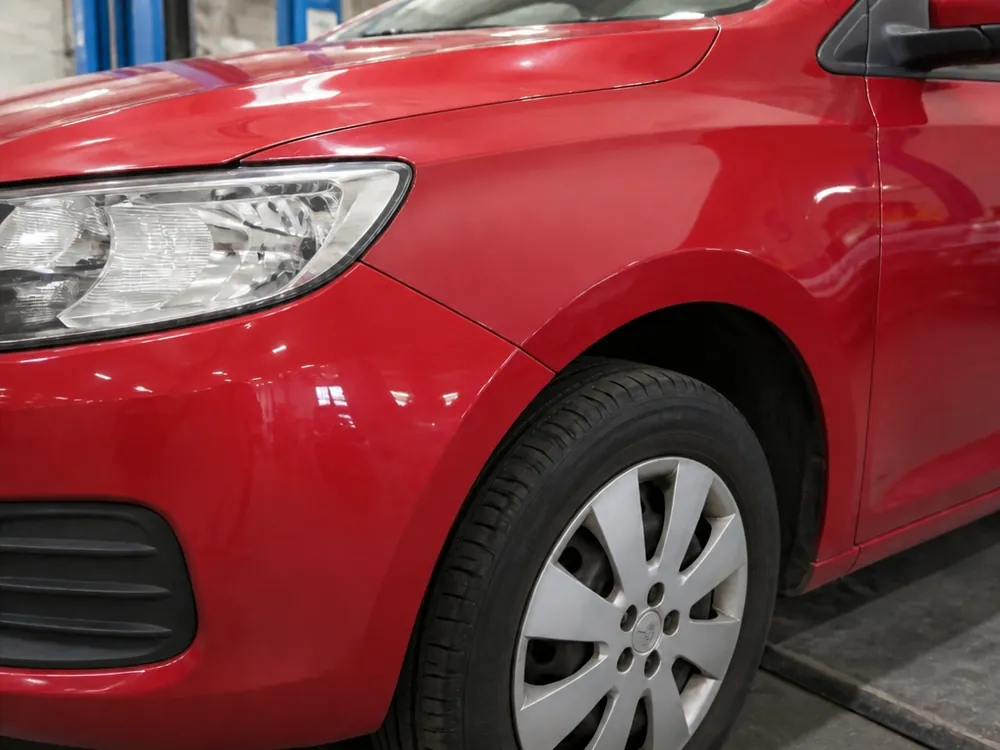
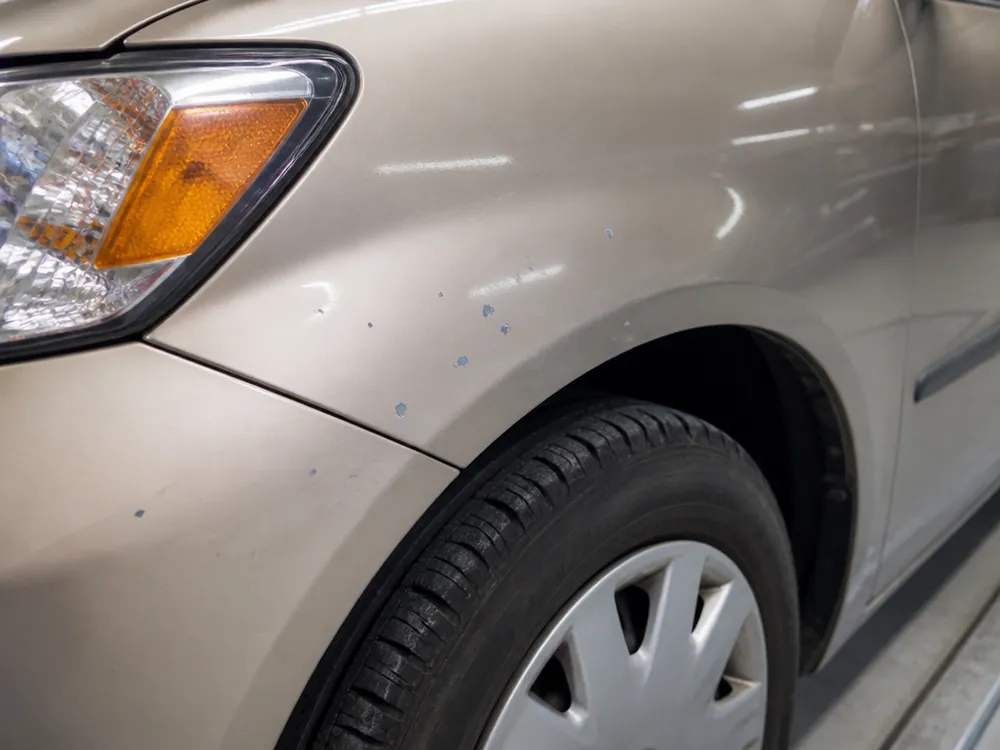
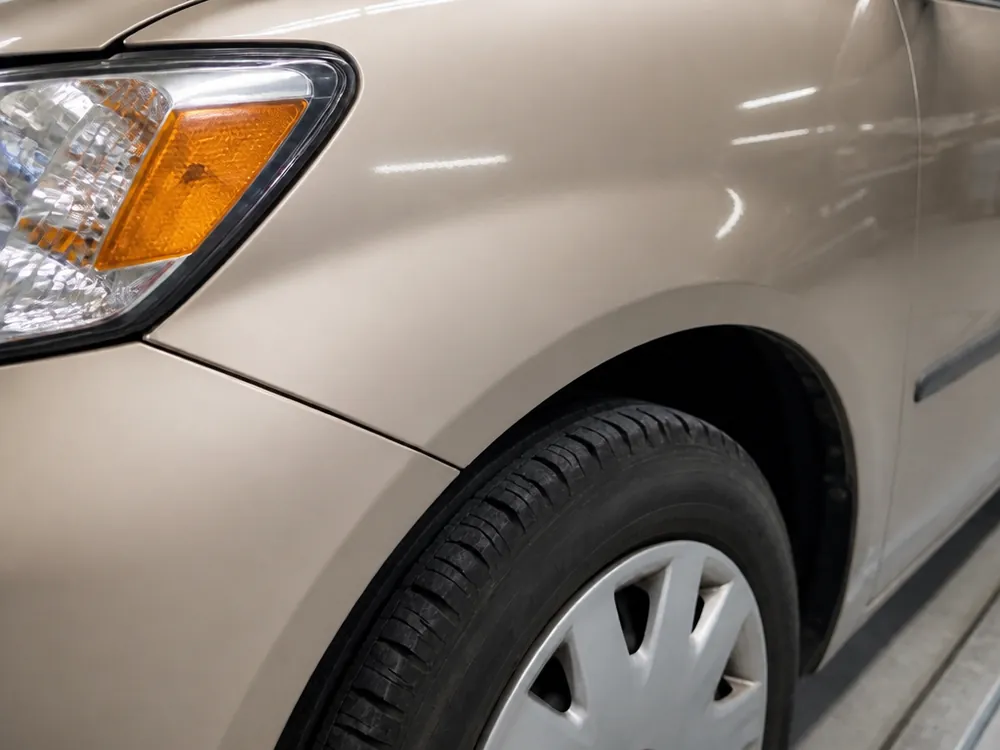
A customer comes in with a scratch on the fender and doesn't know whether to polish it or paint it. We show the logic for choosing based on the depth of the damage, not the price list: first an inspection, then the type of work. You can only paint a car fender after the technician has seen how deep the scratch is.
Do You Need to Remove the Fender and Can You Paint Part of It
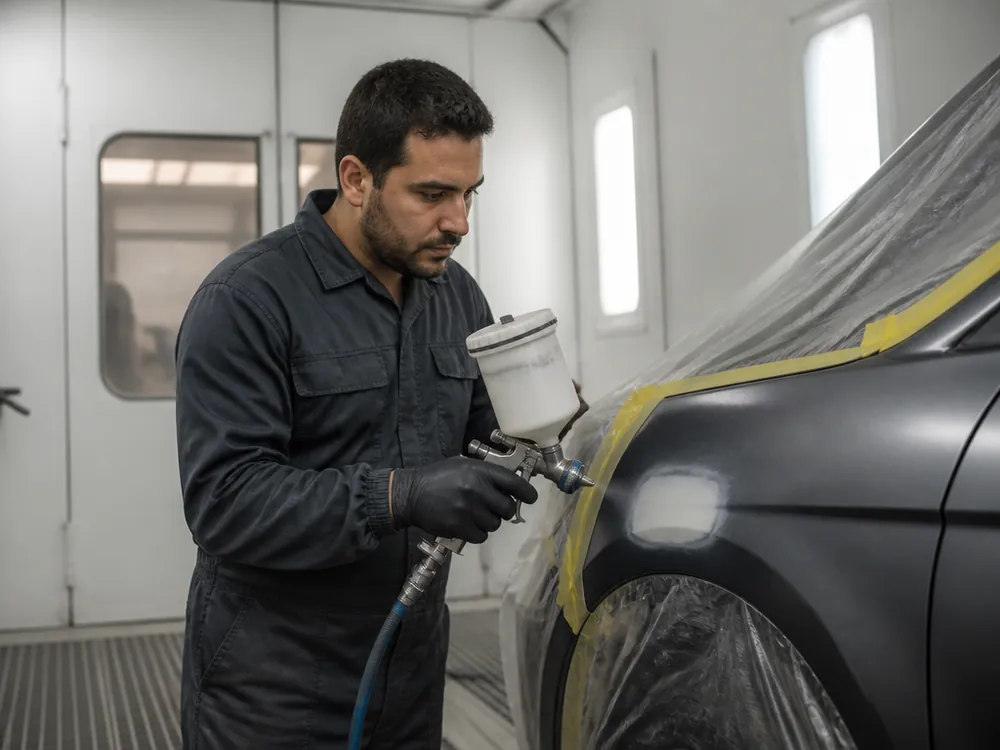
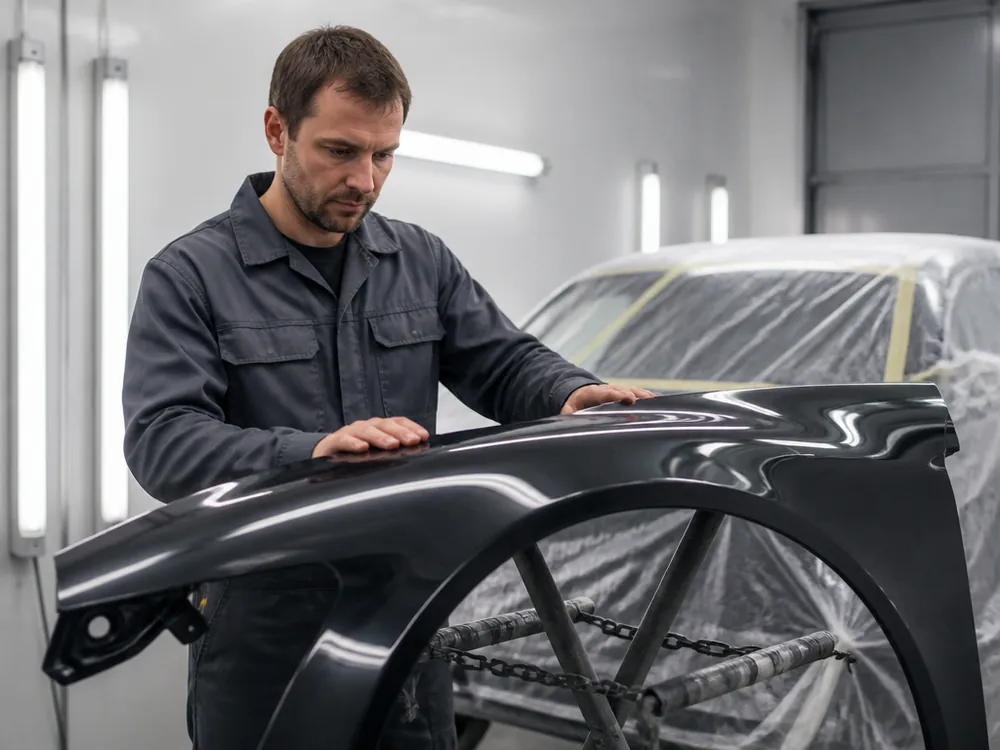
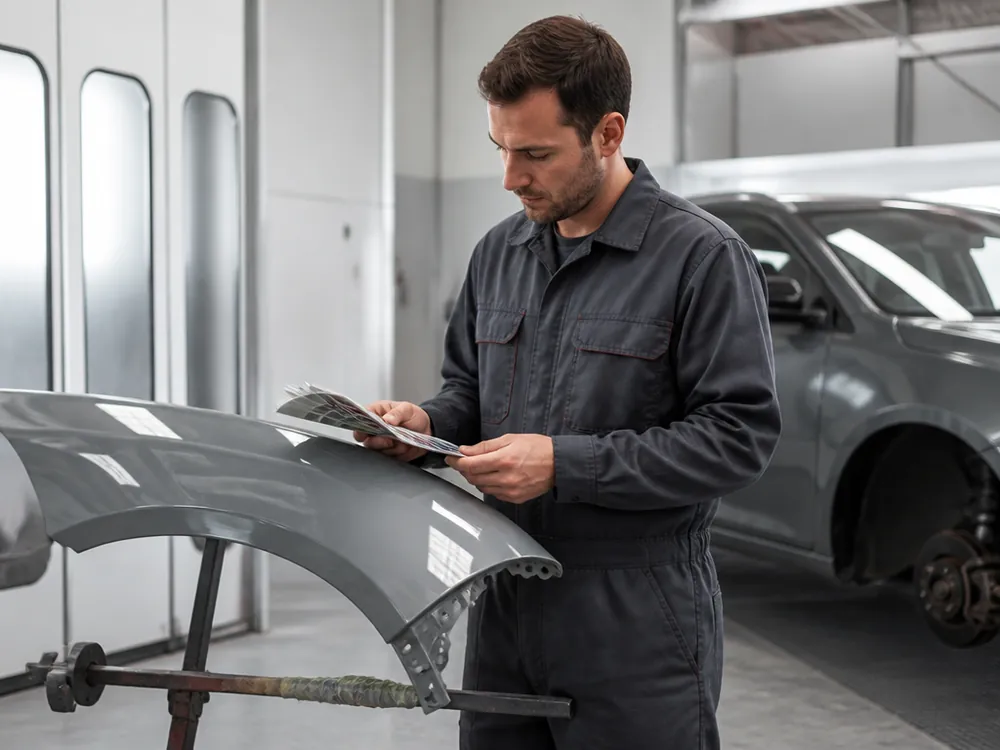
We remove the fender when we need an exact color match or access to a hidden edge; otherwise we mask along the boundary. Working with the part removed gives the technician a full view of the inside of the part — that makes it easier to match the shade on metallic and pearl, where the angle of light changes how the color looks. When masking, we run the boundary along a natural crease or molding line so the seam doesn't show in the sun. Partial repair without blending into the adjacent panel almost always leaves a visible edge on metallic — it's cheaper to blend right away. Blending into the door or pillar spreads the new shade over the area and hides the seam from the eye. If you need blending into adjacent panels, the technician will calculate the area in advance and match the shade to your body. If you decide to paint the part, show the car to the service advisor first: they'll assess whether the metal pulls, how deep the scratches are, and whether the part needs to be opened up at all.
How the Front Fender Differs from the Rear and How Different Types of Fenders Are Painted
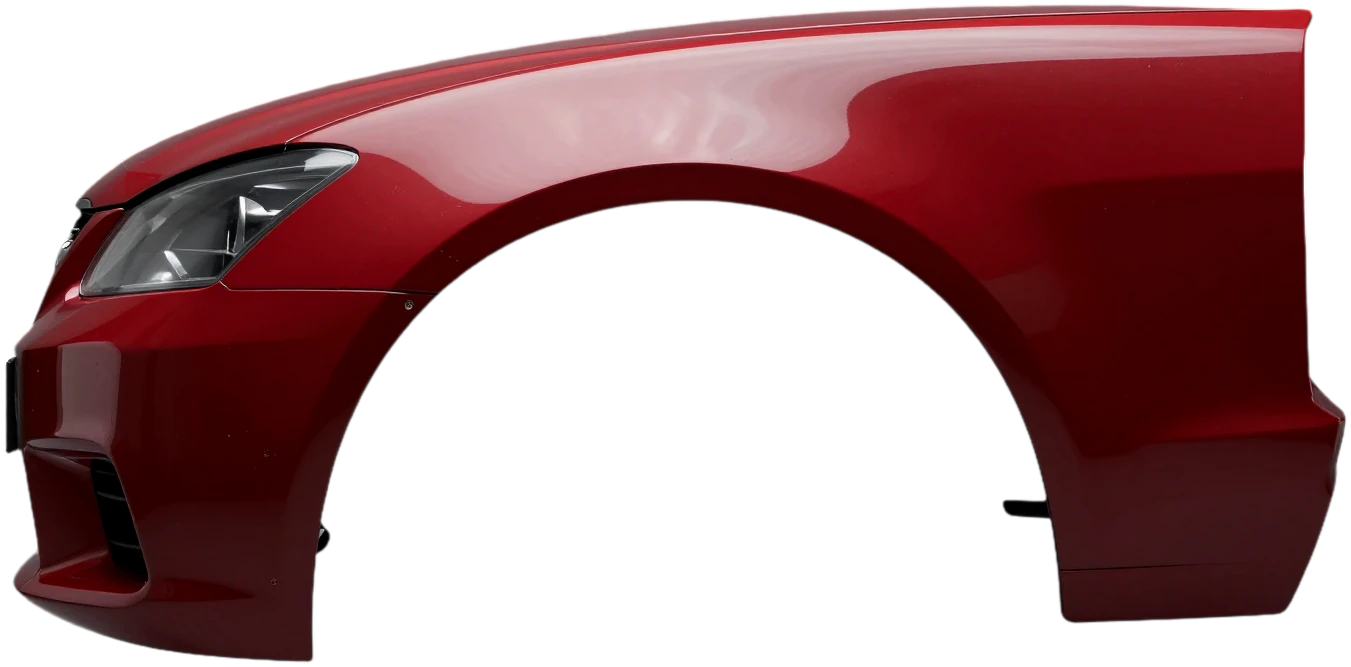
The front and rear fenders are different cases in terms of access, molding and arch. We break down how the work changes, why the edge needs special attention, and when mobile painting is possible.
How the Front Part Differs from the Rear
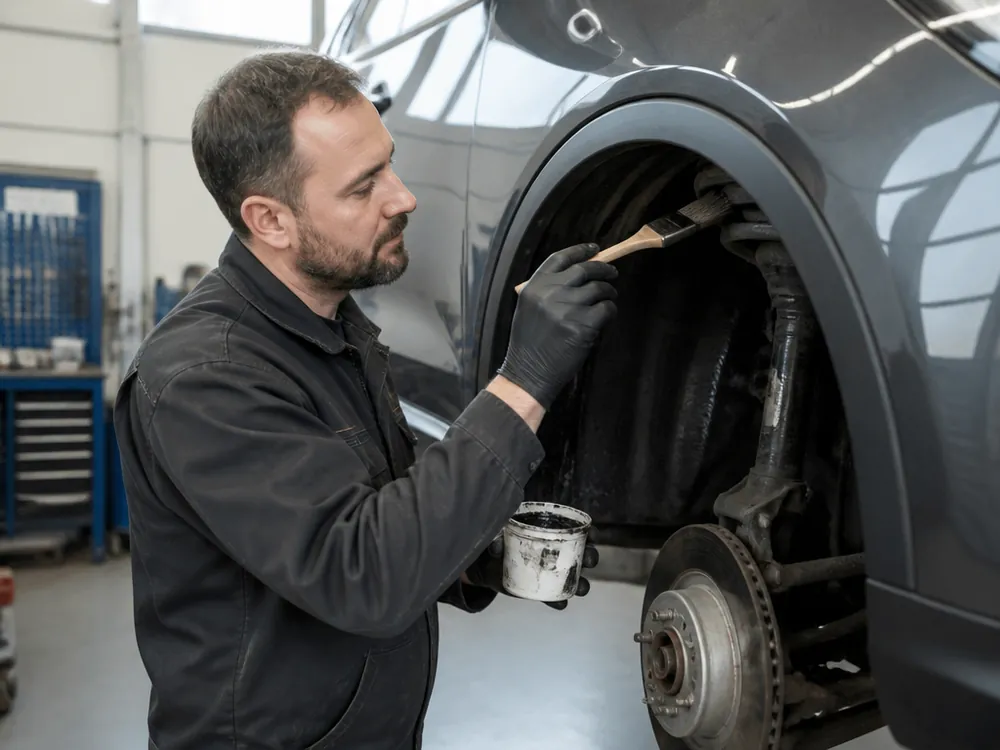
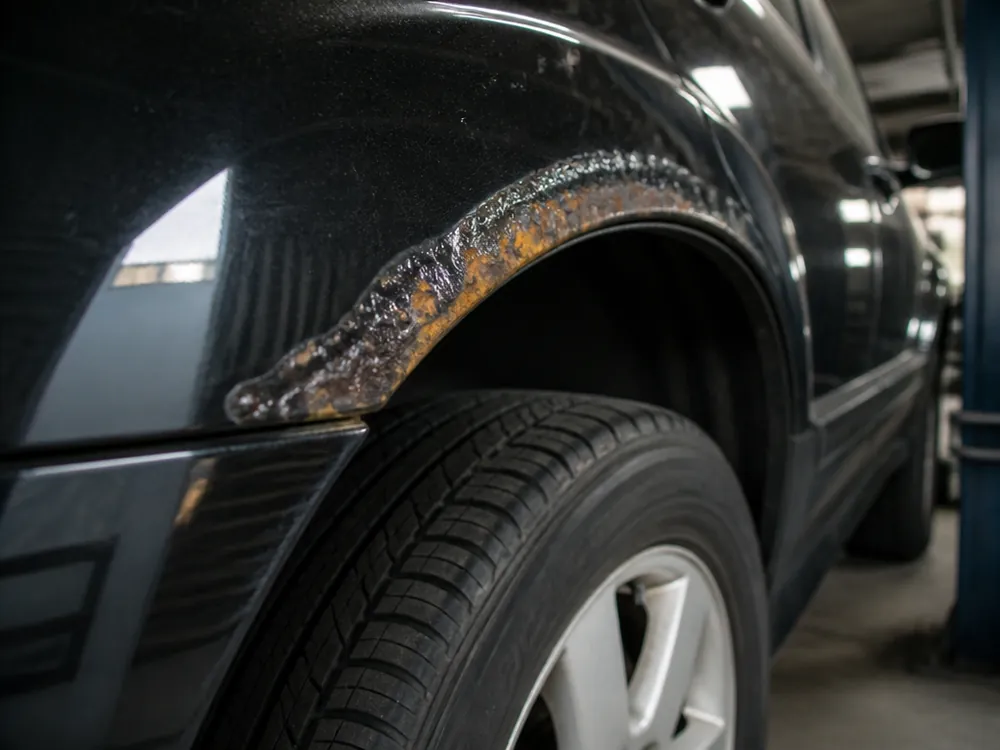
We remove the front fender more often because of the molding and inner liner; the rear one gives access to the arch and anti-corrosion treatment of the edge. On the front part, the molding and plastic inner liner are held by clips that often break during removal, so we match the fasteners to the specific make. The rear fender goes deeper into the arch: to reach the edge and the wrap, the technician removes the inner liner and treats the cavity with anti-corrosion before applying color, not after. Working on the rear part takes more time for prep than for the color itself: sanding, primer and drying the edge take up almost the whole first day. On the rear fender, the arch and inner liner hold dirt and moisture longer — if you don't treat the edge, rust will start from the inside while the fender still looks fine on the outside.
SUVs, Crossovers and Mobile Painting
An SUV or crossover fender is larger and often has trims, so prep takes longer, and we only do mobile painting for minor damage. Trims and arch extensions are removed separately, sand accumulates under them, and the sanding area grows compared to a sedan — cleaning and degreasing under the trims should be included in the work in advance. Mobile fender painting is possible when the defect is local — a scratch or scuff without dents — but this format doesn't suit every part. A large part can't be heated evenly outdoors, so we do full painting in the booth, where temperature and airflow are stable. It's harder to keep the coat even on large parts without a booth — we take mobile painting case by case, not as a standard.
Color Mismatch and Color Matching for Metallic and Pearl
Color mismatch is the main fear of a car owner with metallic or pearl: the new part can come out lighter or darker than the body. We break down how we match the shade and when you can't avoid blending into the adjacent panel.
How We Match the Shade and Why Color Mismatch Happens
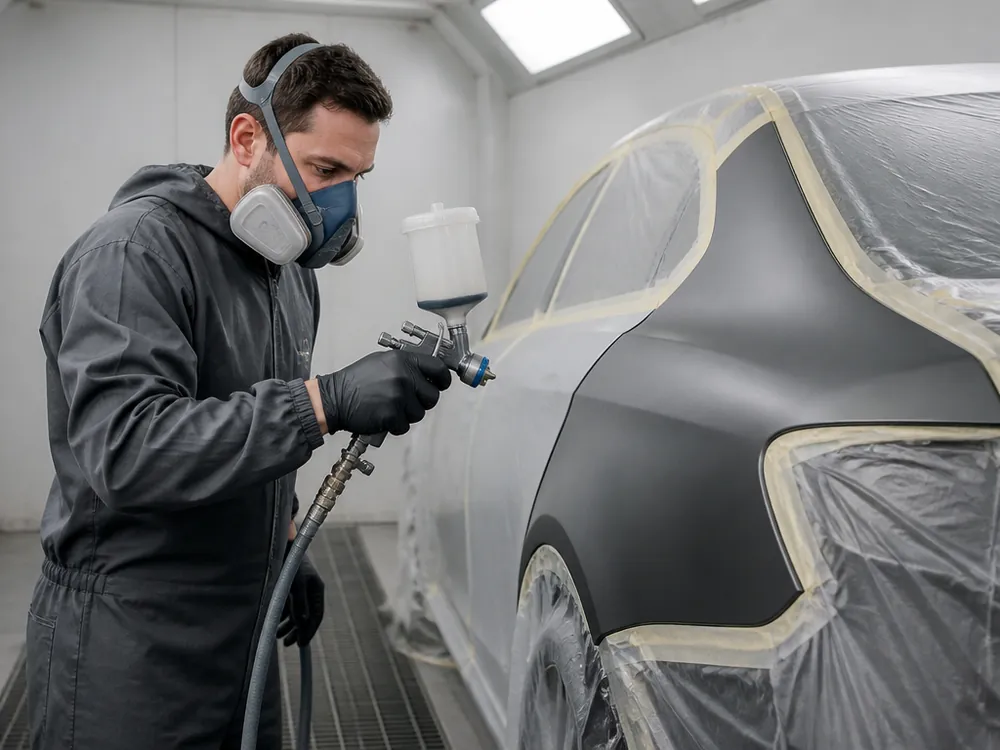
We match the shade by the paint code and make spray-out cards on a test panel to verify the color before working on the fender. Computer color matching gives a starting formula, but metallic and pearl change tone with the angle of light: aluminum and mica particles reflect rays differently, and the same code doesn't lay down identically on two cars. So we apply the spray-out on a panel and on the part itself, dry it and compare with the door and pillar in daylight, not under shop lamps. Base and clear go on in separate passes — that way the depth of color matches the factory. A spray-out matters more than any catalog: even an exact code doesn't guarantee a match, because factory paint fades in the sun, and you have to match the current body tone, not the formula from the assembly line.
When You Need to Blend into the Door or Pillar
Painting the front fender with blending is needed on metallic, pearl and three-layer finishes, when the shade of the part may not match the adjacent one. In such cases we treat the fender edge, then stretch the base onto the door or pillar and polish the boundary so the eye doesn't find the seam under any lighting. A three-layer finish — for example, white pearl — requires a separate intermediate layer, and without blending the difference is most noticeable on it. But blending doesn't mask a matching error, it smooths the shade boundary — if the base is matched incorrectly, blending only spreads the difference across the body. We include blending in advance, at the estimate stage: adding an adjacent panel after the work is more expensive and takes longer than agreeing to it upfront.
Why Painting Takes 2 Days and How the Edge Is Protected
Time and coating durability are directly linked: saving an hour on drying means handing back a car with soft clear coat. Here's why a fender can't be painted in a day and why we wrap the edge with a folded lip.
Why the job takes 2 days
We do a fender in 2 days: the first is prep, drying and application, the second is drying and assembly. Base and clear go on in separate passes in the paint booth, where the temperature is stable and there's no dust — otherwise specks stay in the fresh layer and show up at an angle. After application the part has to sit: polymerization follows the chemistry of the material, not the painter's clock. The clear won't reach full hardness ahead of time, and if the car goes out early, the coating scratches easily at the first wash. That's why fender painting in Almaty is scheduled with time to spare — you can't speed up the chemistry of the material. So the second day in the shop isn't idle time, it's a required stage. Plan your trips with a buffer: it's best to pick up the car in the evening of the second day, once assembly is done.
Why we prime and paint the edge with a folded lip
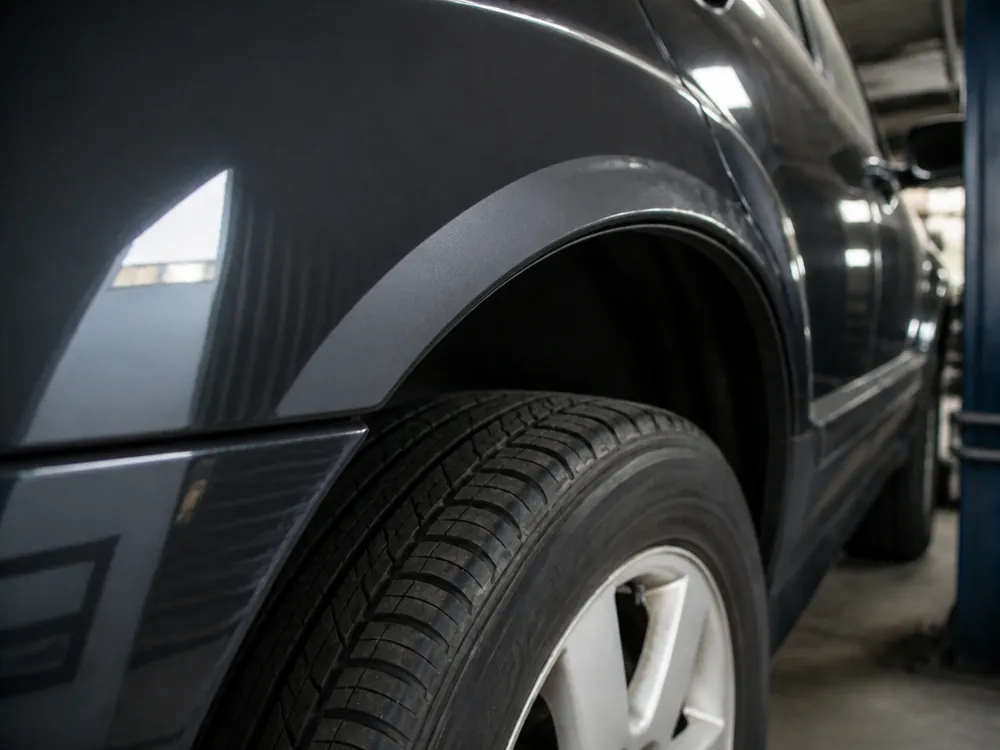
Before applying the coating we go over the fender edge with primer and paint with a fold so the metal is sealed from the inside. The edge is the most vulnerable spot on the part: moisture and road chemicals get in there, and the paint layer on the bend is the thinnest. The fold covers the end of the metal, the primer gives adhesion, and the anti-corrosion treatment protects the inner side. Without the folded edge, rust starts from the inside — the fender looks fine outside while corrosion is already underway under the lip. This is the stage that separates a job that lasts from a cosmetic one. Checking the result is easy: after pickup, run your finger along the inner edge of the arch — it should be painted, not left as bare metal, and take a look at the end against the light. If the edge is done with a fold, primer and anti-corrosion cover the metal along the whole bend, and moisture and chemicals can't reach the end.
Warranty, defects and vehicle handover
A warranty only works when the terms are on paper and there's a clear process for fixing a defect. Here's what the 24 months on fender painting covers and how vehicle handover works.
What the 24-month warranty covers and what it doesn't
The warranty on fender painting is 24 months; the term and conditions are written into the work order and the completion certificate when the car is handed over. Coverage applies to the work performed and the parts installed: if the clear starts to bubble through our fault, we'll repaint it under warranty. We accept customer-supplied parts, but the warranty doesn't cover a part the customer brought in — we're responsible for the quality of application, not for how someone else's material behaves. The warranty doesn't cover accidents after the repair, third-party interference or normal wear of consumables. That's worth keeping in mind for those who bring their own paint or part: before starting, the technician will explain which risks the customer takes on and record them in the work order.
How handover works and what to do about a defect
Before handover we do a test drive and show a photo report by stage, and if a defect is found, diagnosis for a warranty case is free. Handover is handled by the service advisor: he opens the work order, sees the job through to handover and inspects the fender with the customer under different lighting — orange peel and runs look different in the sun and under a lamp. If you notice uneven coating or a color mismatch, we record it in the certificate and fix it at our expense under warranty. Don't wash the fender with a high-pressure jet until the clear has reached full hardness, otherwise the fresh coating picks up wash marks. Until the clear hardens, it's best not to wash the fender with a high-pressure jet.
What Determines Fender Painting Results
We've covered what determines the result of fender painting: choosing the job by depth of damage, the specifics of the front and rear part, color matching, drying times and warranty terms.
- Type of job: chosen by depth of damage — polishing, painting without filler, with prep, with filler, or PDR.
- Front and rear fender: differ in access, molding and arch, so the work is structured differently too.
- Color mismatch: on metallic and pearl it's resolved by color matching with spray-out cards and a blend into the adjacent panel.
- 2-day timeline: tied to the clear reaching full hardness, and the folded edge with anti-corrosion protects against rust from the inside.
- Warranty: works when the terms are written into the work order and a defect is handled as a warranty case.