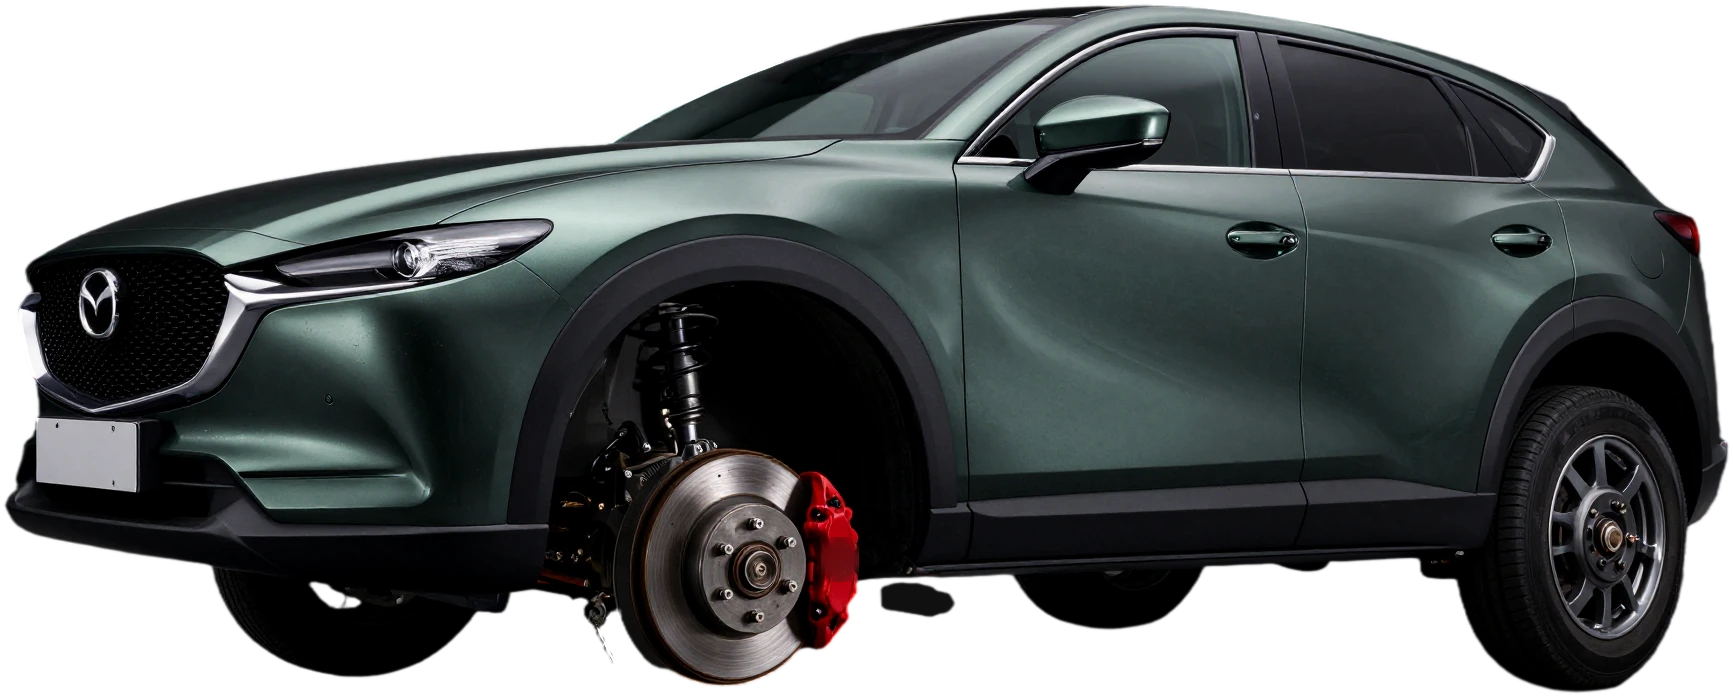
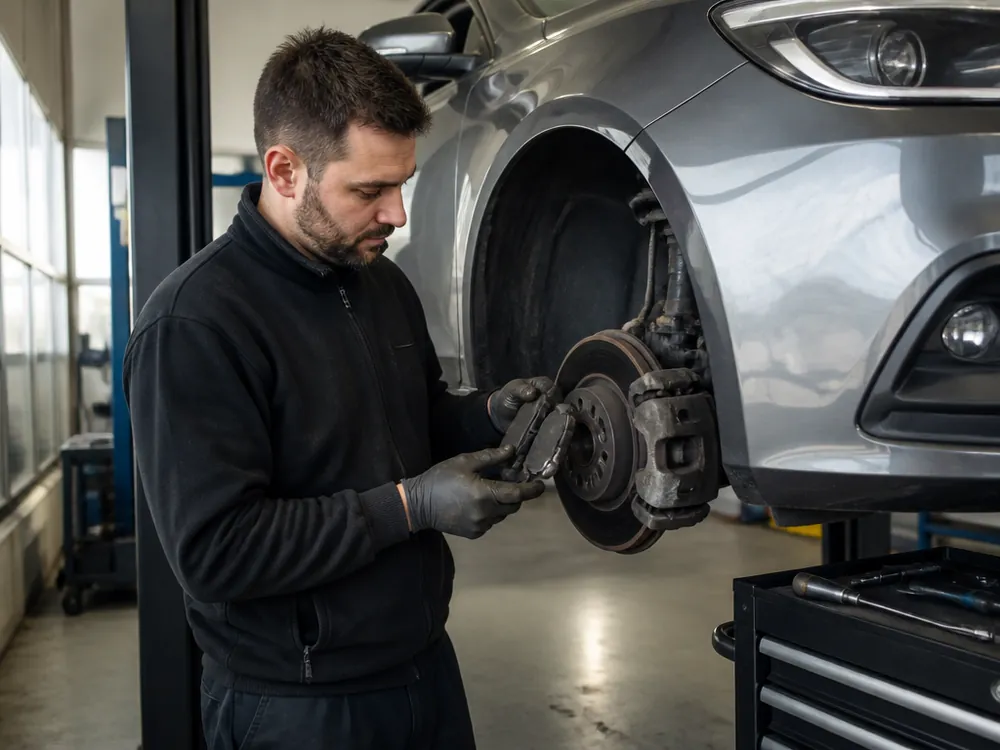
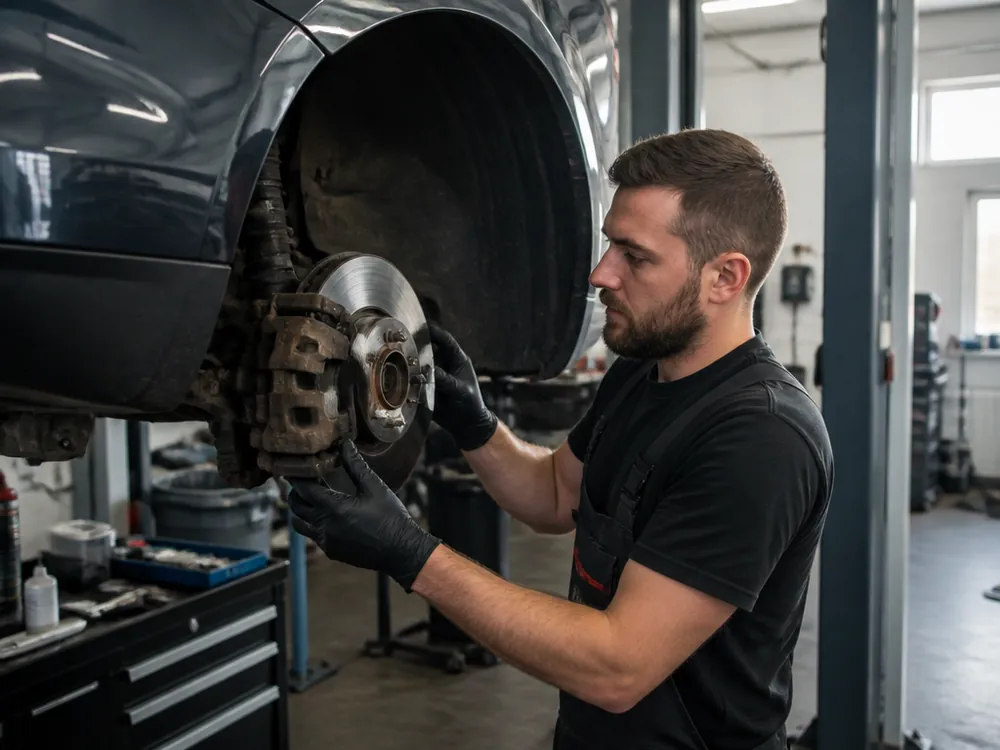
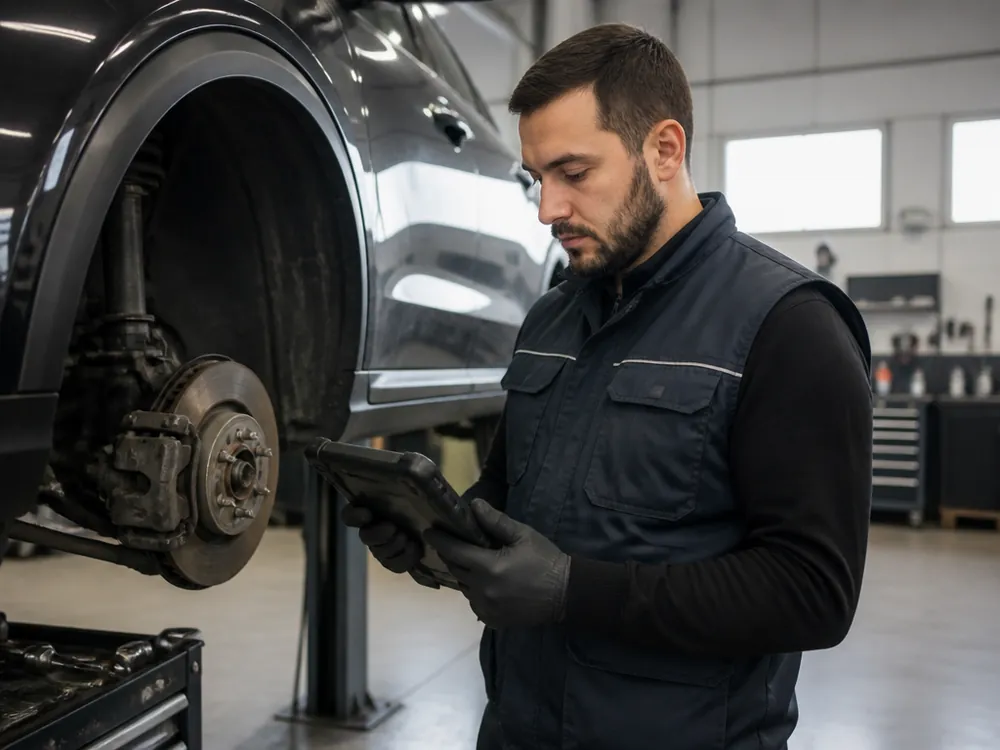
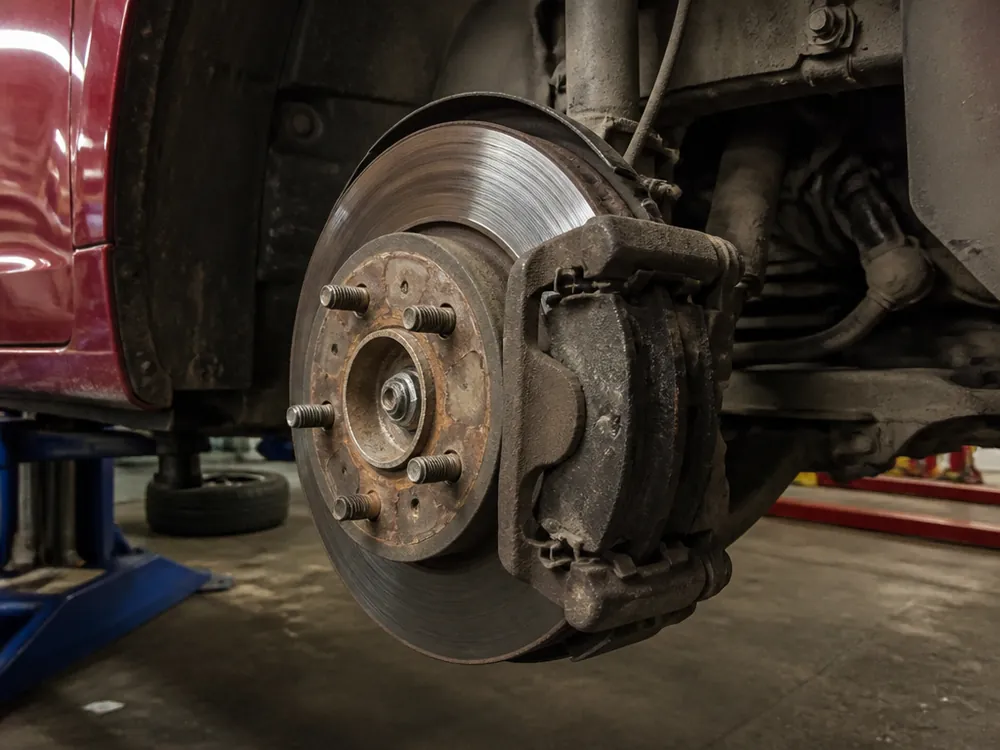
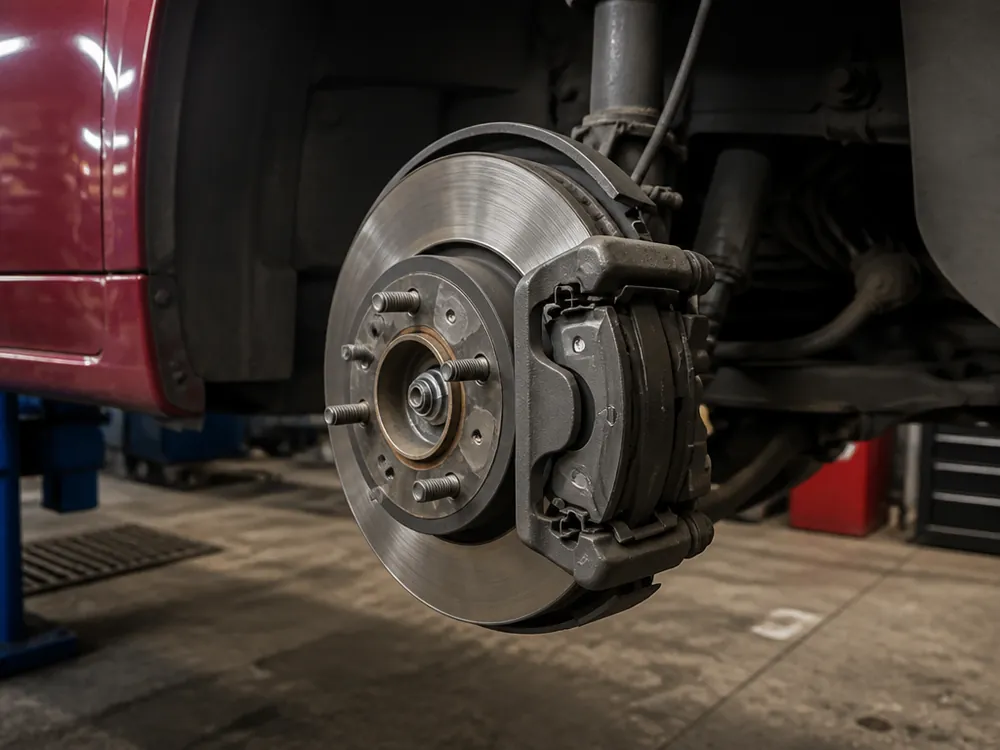
Friction linings wear gradually, and the owner notices it by the pedal feel and braking noise. Service life depends on driving style and part quality. We explain which signals actually indicate friction layer wear and which point to the discs.
Pads or discs — how to tell what to replace
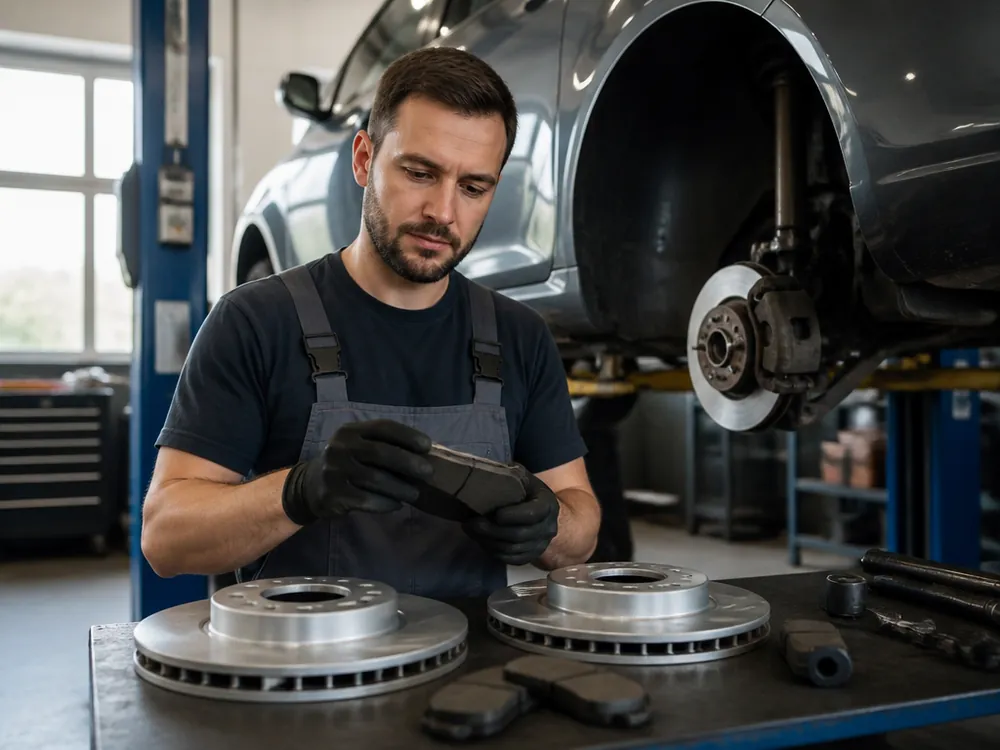
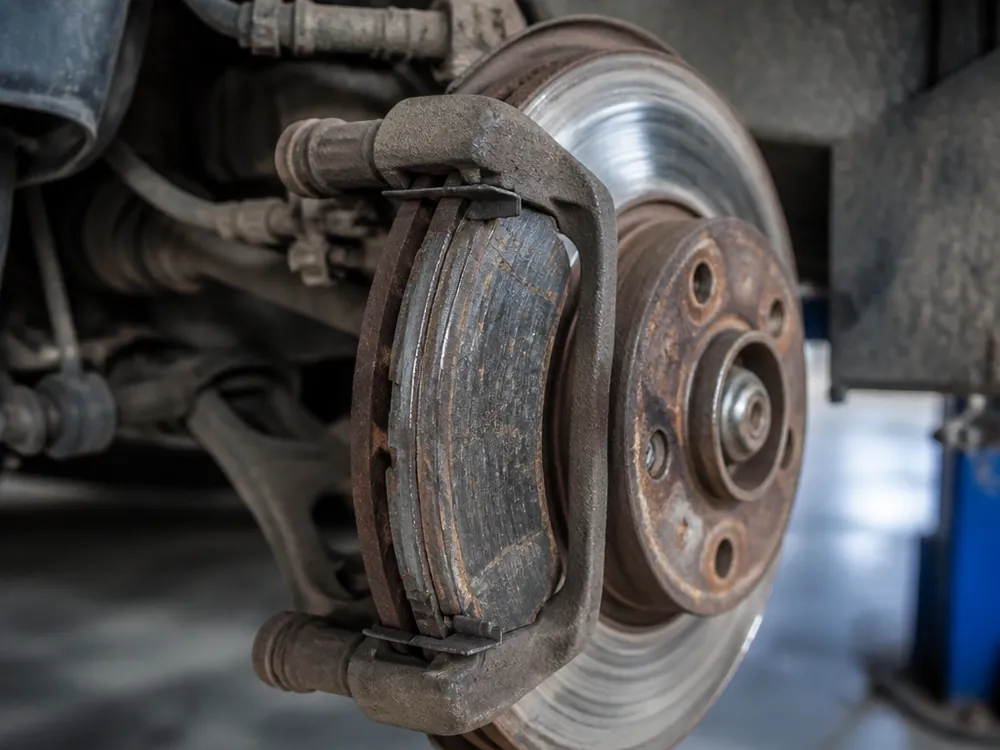
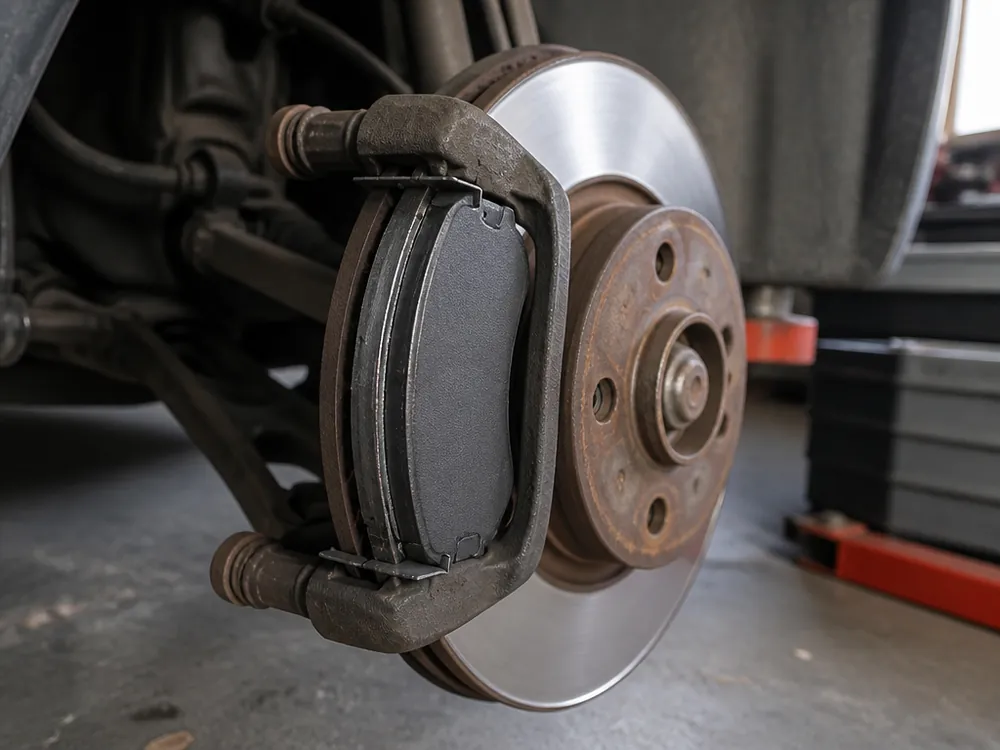
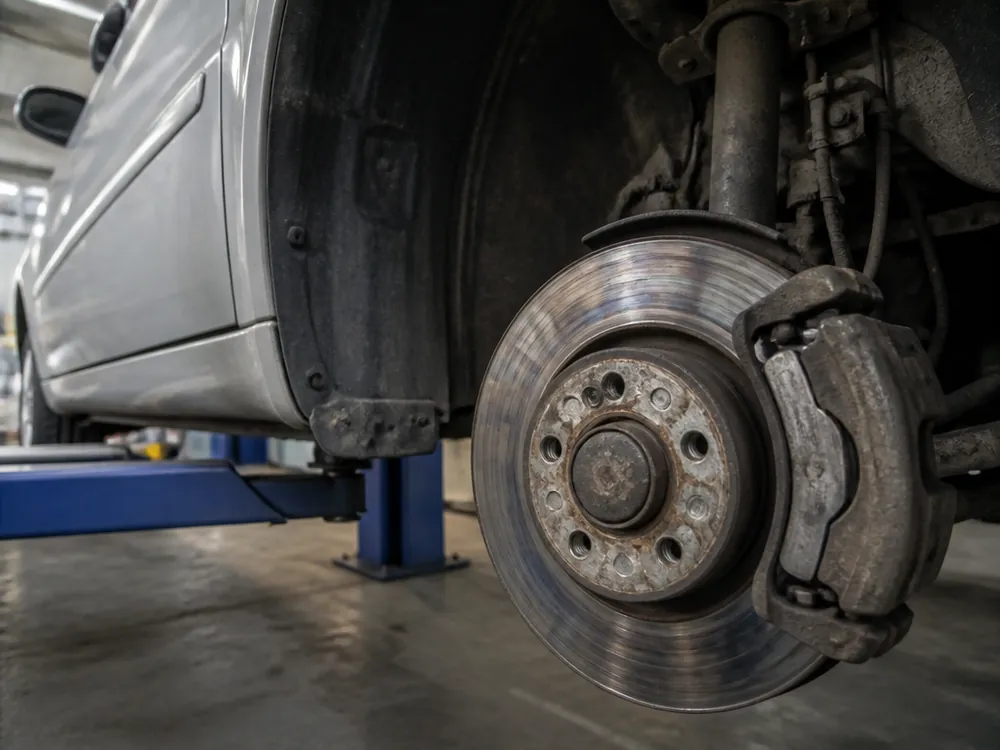
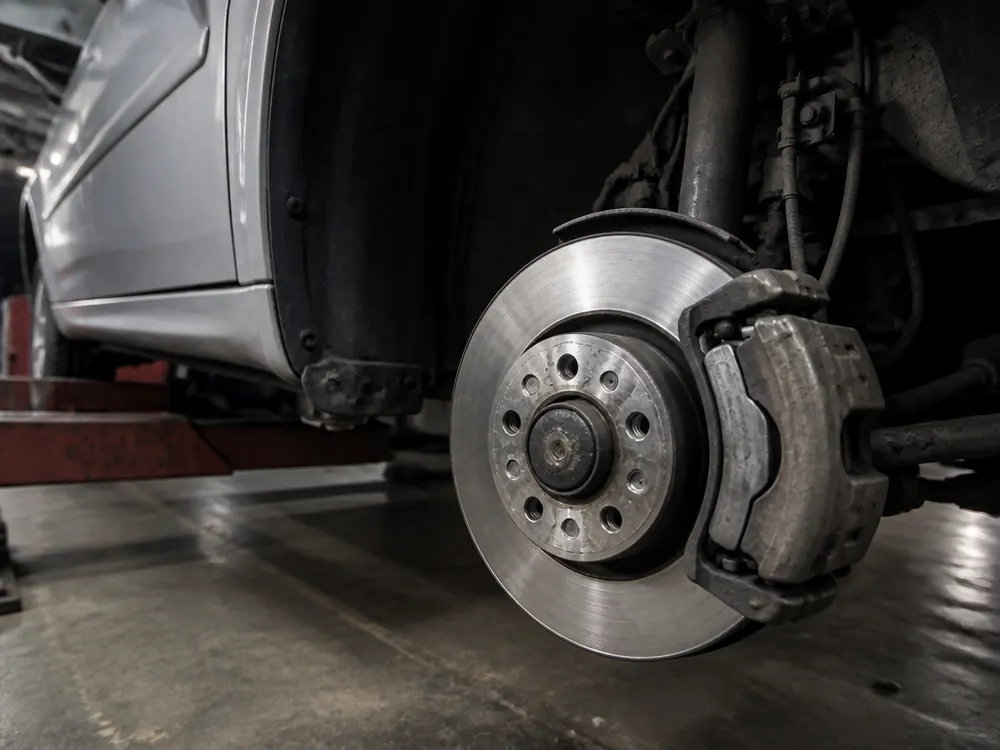
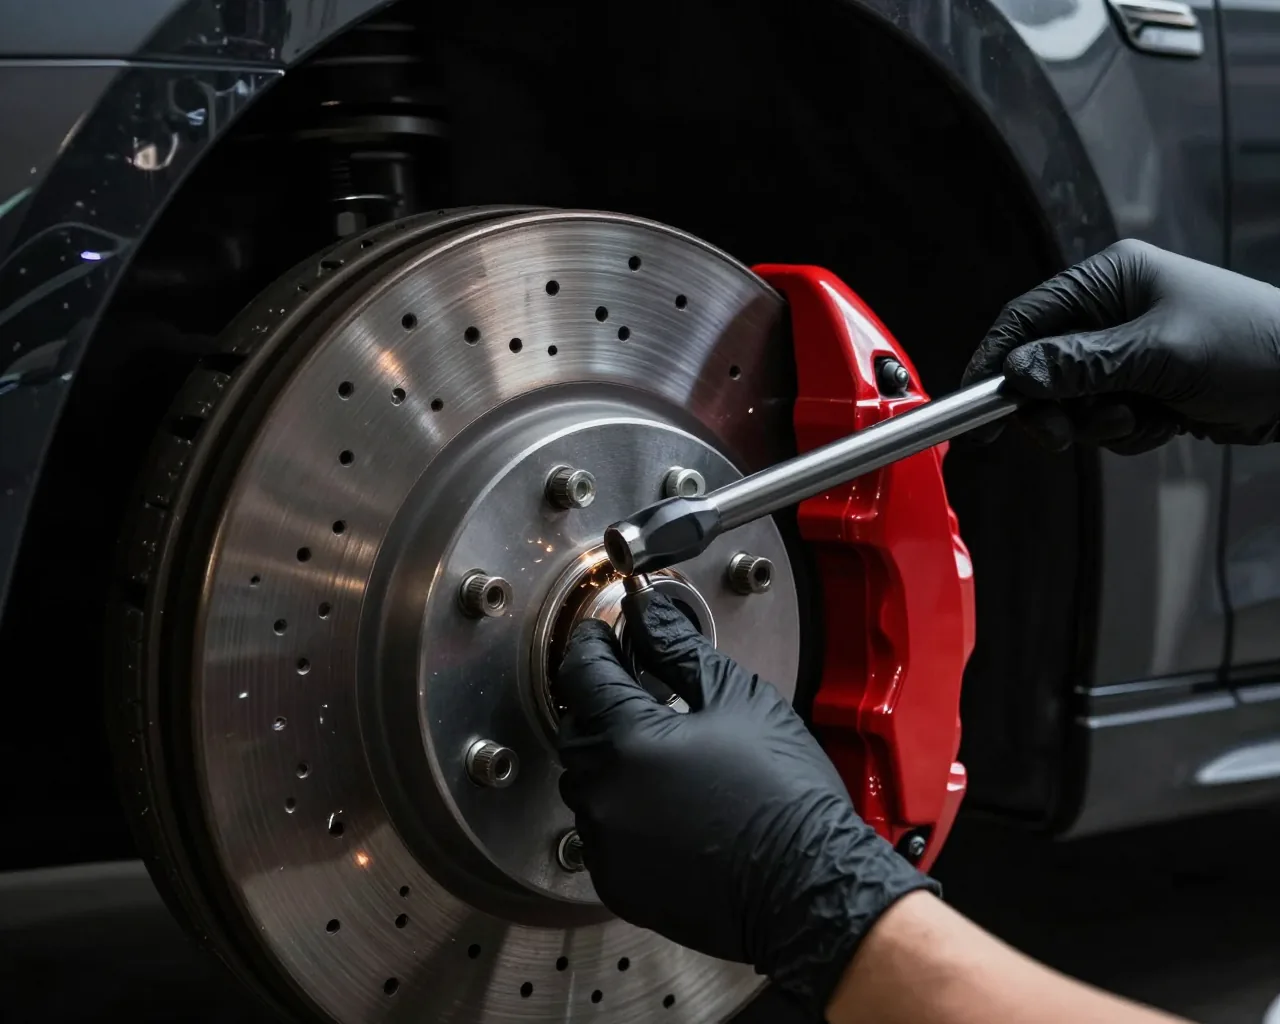
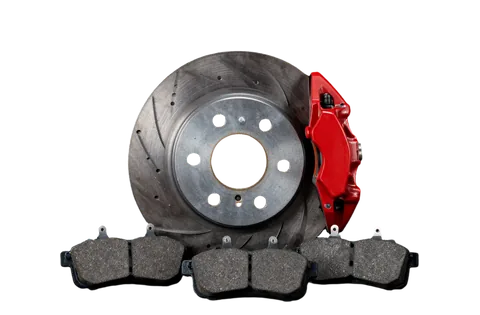
During diagnostics, our technician measures the lining and disc thickness separately — these two numbers show what to replace: only the friction elements, a kit with discs, or nothing yet. We measure with a bore gauge at several points on the disc: if runout or wear exceeds the tolerance, installing just one new part is pointless. On the front axle of Mazda 3 and Mazda 6, the friction layer wears faster than the rear, while on the CX-5 the load is distributed differently due to body weight. After replacement, the components need a 200–300 km break-in period without hard braking — otherwise local overheating spots form on the fresh layer and it starts squealing prematurely. In our experience, a repeat visit with a noise complaint is most often linked to a skipped break-in.
What Mazda brake pad replacement includes and why it matters more than the replacement itself
Any shop can replace friction elements, but squeals and caliper sticking appear where lubrication and torque were skipped. We show what our work includes beyond the parts themselves.
Why pads are replaced in pairs per axle and torqued with a torque wrench
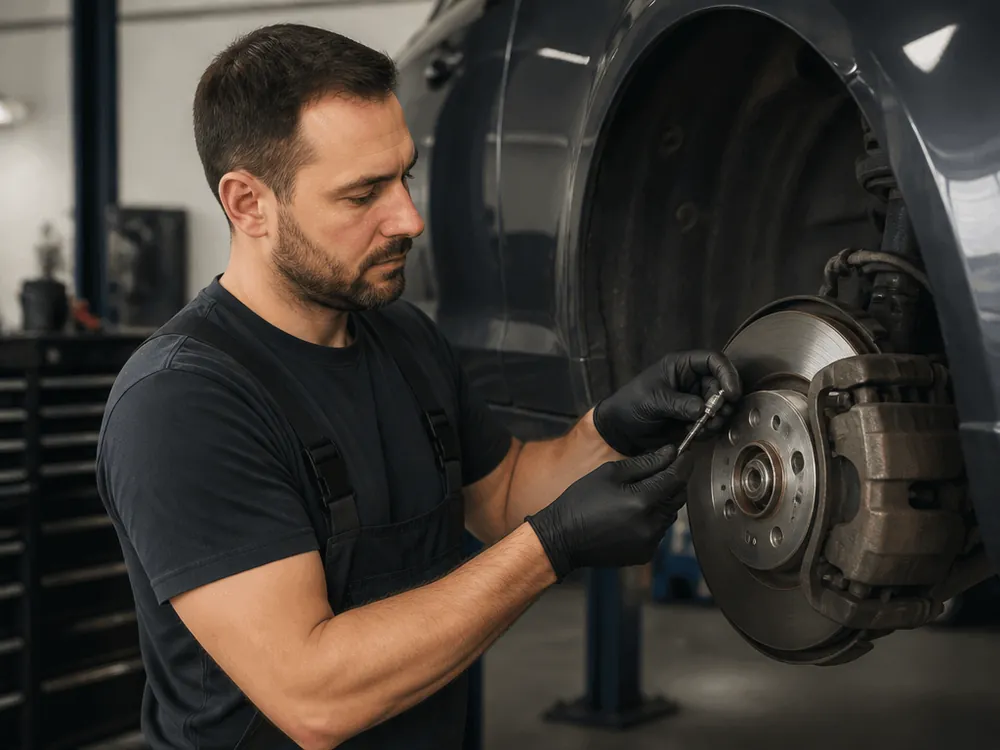
We install friction linings in pairs per axle in 40 minutes — this way they wear evenly and the car doesn't pull to one side when braking. If you install a new part on only one side, the worn one takes more load and the axle starts to stick during braking. Then we torque the caliper bolts to 25 N·m with a torque wrench: an under-tightened bracket starts rattling on bumps, while an over-tightened one strips the threads, and then the repair goes beyond a routine replacement. We have a torque wrench at every bay, and we record the torque in the work order. Before disassembly, the technician checks the caliper piston condition — if it's seized, the new pair will wear unevenly within a couple thousand kilometers. Our Mazda brake pad replacement in Almaty always starts with such a check of the assembly, not just with installing new linings.
Lubricating guide pins and anti-squeal shims
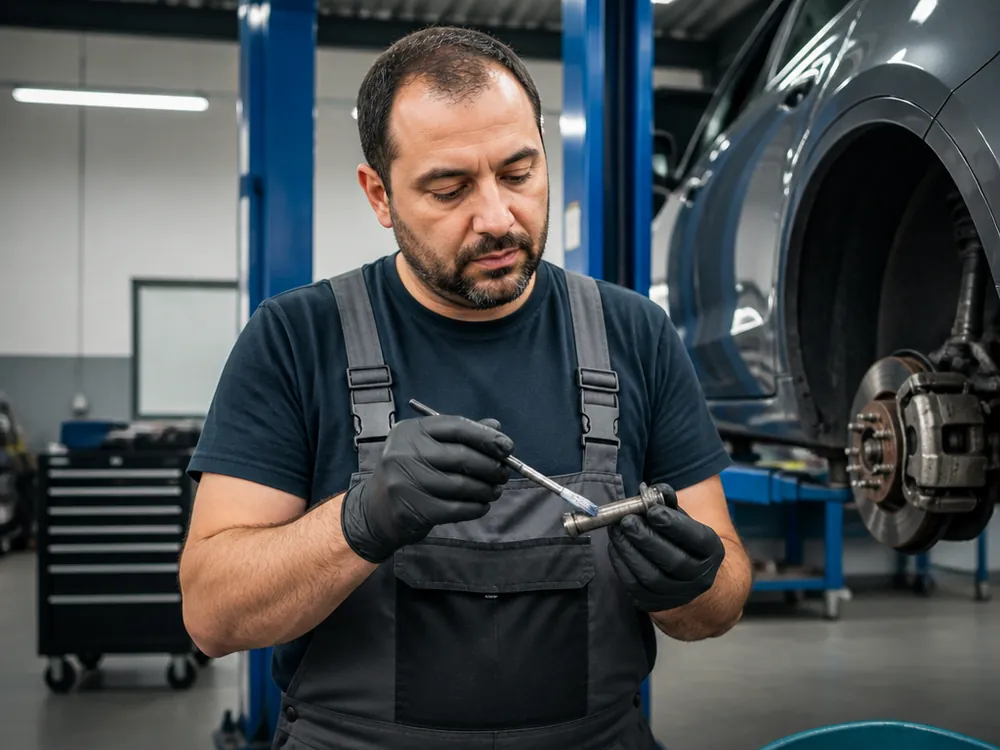
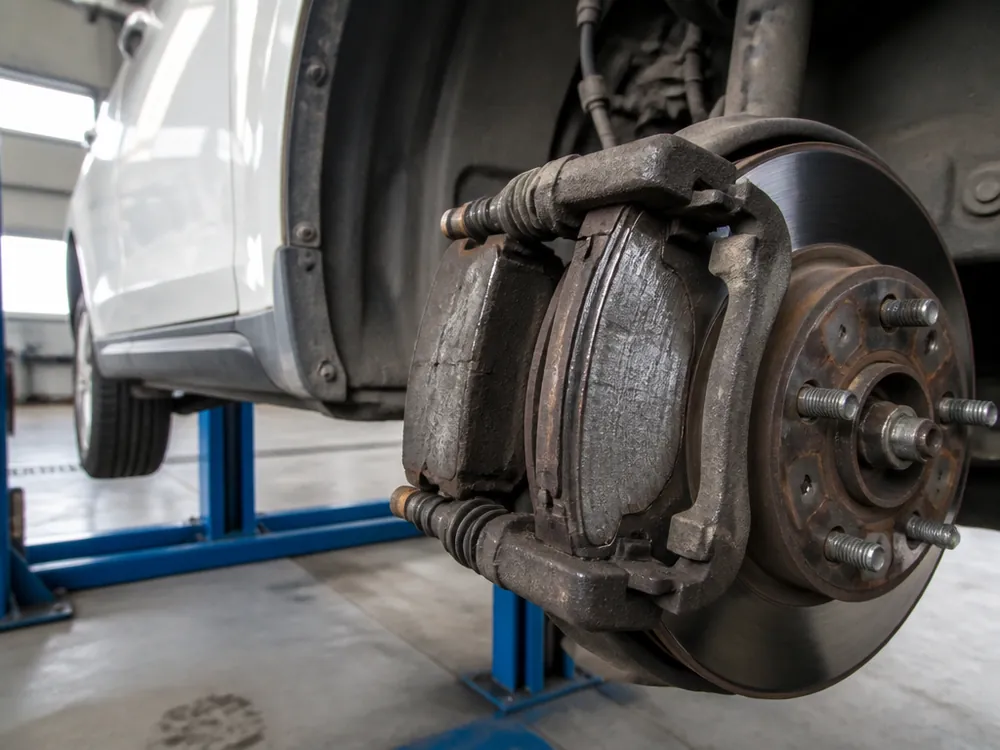
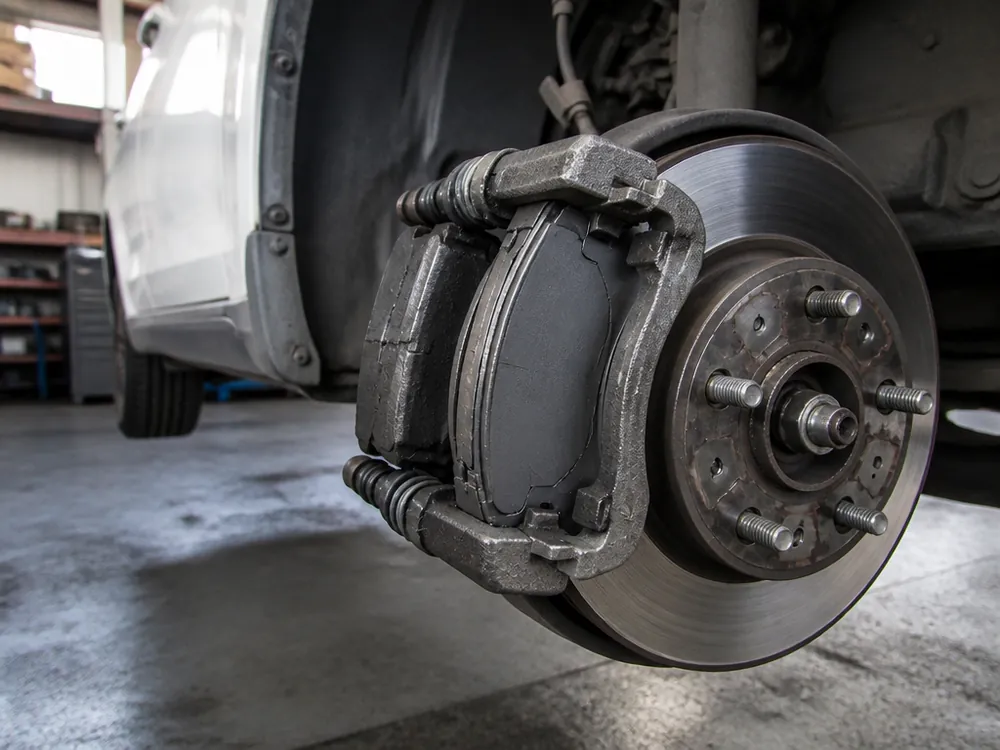
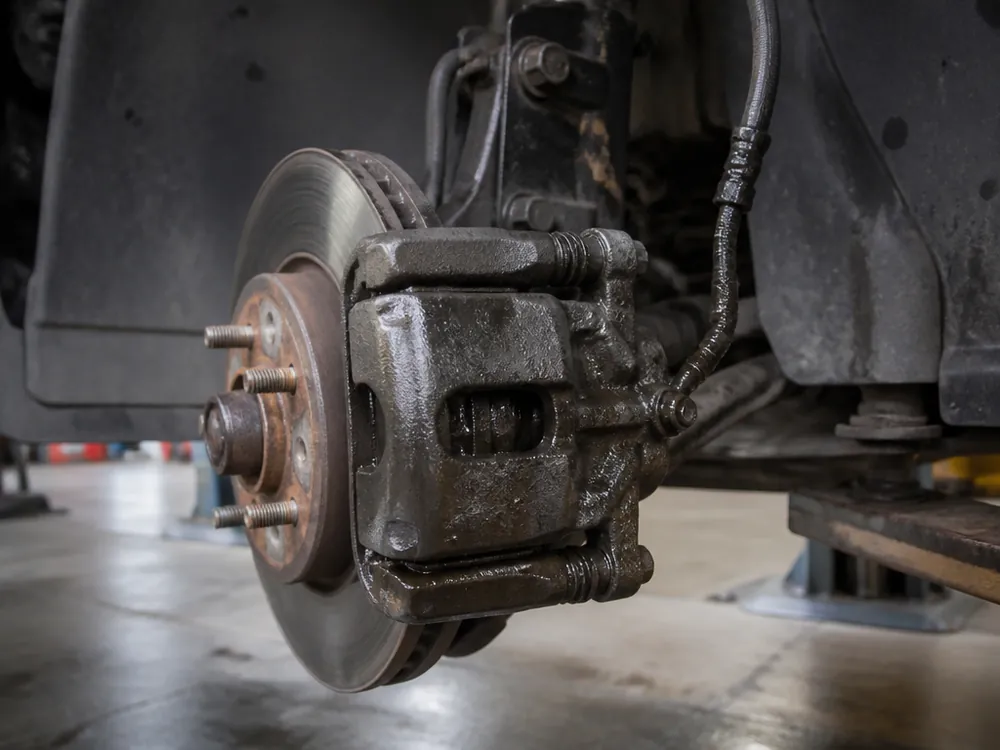
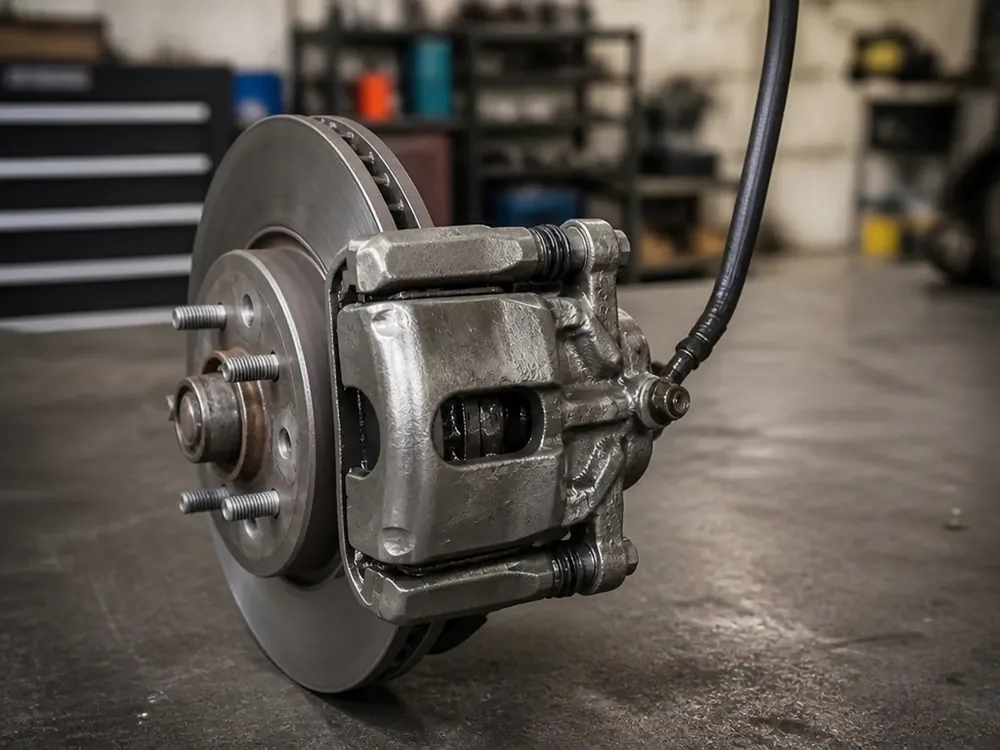
We apply high-temperature grease to the pins and anti-squeal shims — the caliper doesn't stick, parts retract evenly and don't squeal. The guide pins on Mazda 3 and CX-5 are exposed to dust boots, and over winter dirt and road chemicals settle on them: without lubrication, the caliper sticks and the pad presses against the disc at an angle. If the guide pins are seized, the fresh friction layer wears out in a couple thousand kilometers instead of tens of thousands — that's why lubrication is part of the job, not a separate option. We install anti-squeal shims with metal-based paste: it withstands temperatures up to 1000 degrees and doesn't wash out when driving through puddles. In our experience, squealing after someone else's replacement is most often due to dry guide pins, not the quality of the parts themselves.
Options for friction element replacement work
brake pad replacement options by scope of work and component condition| Work option | What we do | When it's needed |
|---|
| Front pad replacement | Replace the pair on the front axle, lubricate guide pins | Squeal, vibration, front axle wear |
|---|
| Rear pad replacement | Replace the pair on the rear axle, check the caliper | Rear axle wear, squeal from the rear |
|---|
| Pads with parking brake (EPB) | Put the electronic parking brake into service mode with a scanner, replace the pair | Mazda CX-5, 6 with electronic parking brake |
|---|
| Pads with discs | Replace linings and discs on one axle | Disc worn below tolerance, has grooves |
|---|
| Pads and wear sensor | Replace the pair and the sensor | Wear indicator triggered |
|---|
| Pads and diagnostics | Replace the pair, check the entire brake system | First visit, unclear source of noise |
|---|
| Emergency replacement with mobile service | We come to the client and replace the pair on site | Car is not drivable or no time for a visit |
|---|
Mazda model specifics and Mazda 6 brake pad replacement
Mazda 3, 6, CX-5 and CX-9 have different rear caliper designs and different sensor sets. We explain what changes in the work from model to model.
Why rear pads on the CX-5 take longer to replace than front pads
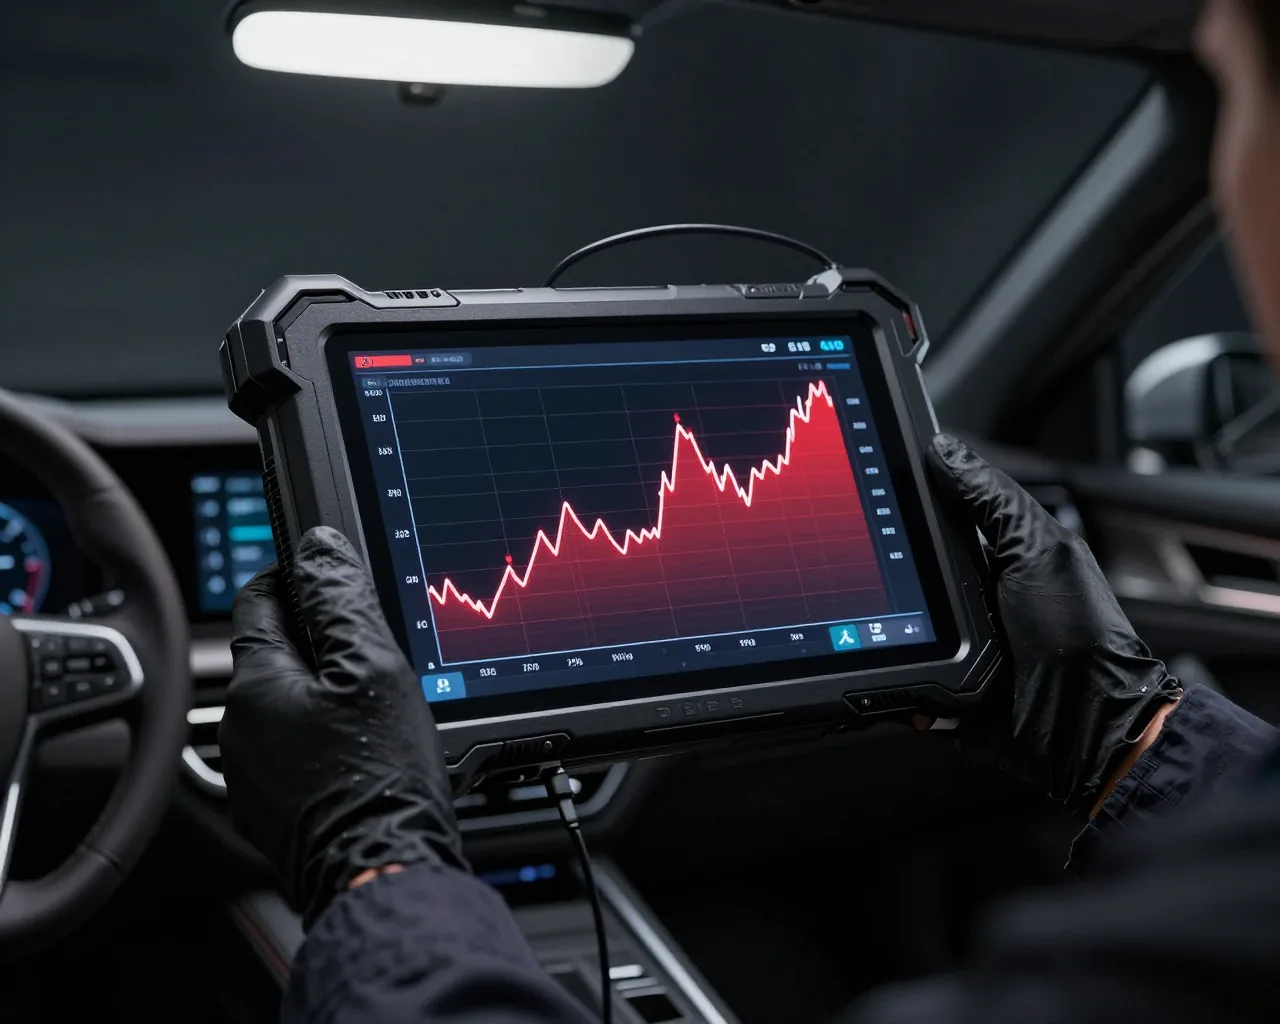
On the CX-5 and Mazda 6 with an electronic parking brake, the rear set takes longer to replace because we first switch the parking brake into service mode with a dealer scanner, and only then take the caliper apart. We have scanners for 40+ makes, so the procedure goes by the book, including removing the trim and the motor. On these models the rear axle takes about 15–20 minutes longer than the front — the work itself takes the same minutes, but the electronics add time. If service mode isn't activated, the EPB piston rests against the pad and won't retract into the caliper — trying to force it mechanically ends with a parking brake motor replacement. When a technician takes on the rear axle of a CX-5 without a scanner, ask how he plans to retract the electronic parking brake piston.
Mazda 6 and other models with a wear sensor
On models with a wear sensor, we replace it together with the pads — once the indicator has triggered, the old one no longer shows the remaining life correctly. Not every trim level has the indicator: on the Mazda 6 and Mazda 3 it's more often on the front axle, on the CX-5 and CX-9 it also appears at the rear — we check by VIN and during inspection. The indicator wears out before the pad itself, so if only the friction material is replaced, it will keep lighting up and the driver loses the reference point for real wear. We list this work as a separate option — the estimate shows what you're paying for. During the inspection, ask to see the part before replacement: its condition shows whether it triggered once or has already acted up before.
OEM, aftermarket or your own pads and what the warranty covers in each case
Friction parts are a wear item, and the choice between OEM, aftermarket and your own parts affects not only pedal feel but also the warranty terms. Here's how these three options differ in practice.
How OEM, aftermarket and customer-supplied parts differ
We give you a choice — OEM, aftermarket or customer-supplied parts — and don't push the most expensive option: we match parts to your driving style and budget. OEM holds a stable friction coefficient and is predictable when cold, aftermarket from proven manufacturers is close in compound but cheaper, and we install customer parts if the owner has already bought a set and is confident in it. Before installation, the technician checks the part number against the model and inspects the friction layer — a size mismatch or cracks are visible right away. A cheap aftermarket set on a Mazda 3 often squeals when cold and overheats faster in traffic — such a part has a shorter service life — if saving money matters more than quiet, it's worth knowing that in advance, not after installation. Before buying, check the compound and the manufacturer's specifications.
What the warranty covers and what stays with the customer
The warranty on the replacement is 6 months; we record the term and conditions in the work order and the completion certificate when the car is handed over. It covers the work performed and the parts we installed, but not a part brought in by the customer, normal wear of consumables, or third-party interference. This is written in the document, not just "word of mouth": at handover the owner gets paperwork with a specific term and a list of conditions, and any disputes are handled by the same service advisor who managed the order. For a warranty case, diagnostics are free — if a squeal or vibration appears after the repair, the car is inspected at no charge and the cause is identified before any work. In our experience, a common reason for a comeback is not the part itself but a sticking caliper; it's checked on the lift together with the pads so a second visit isn't needed.
Timing, how the visit works and the warranty on Mazda brake pad replacement
A visit to the shop takes less time than it seems if you know the order of steps in advance. Here's how the day goes from check-in to handover and exactly what gets recorded in the paperwork.
How the visit goes from check-in to test drive
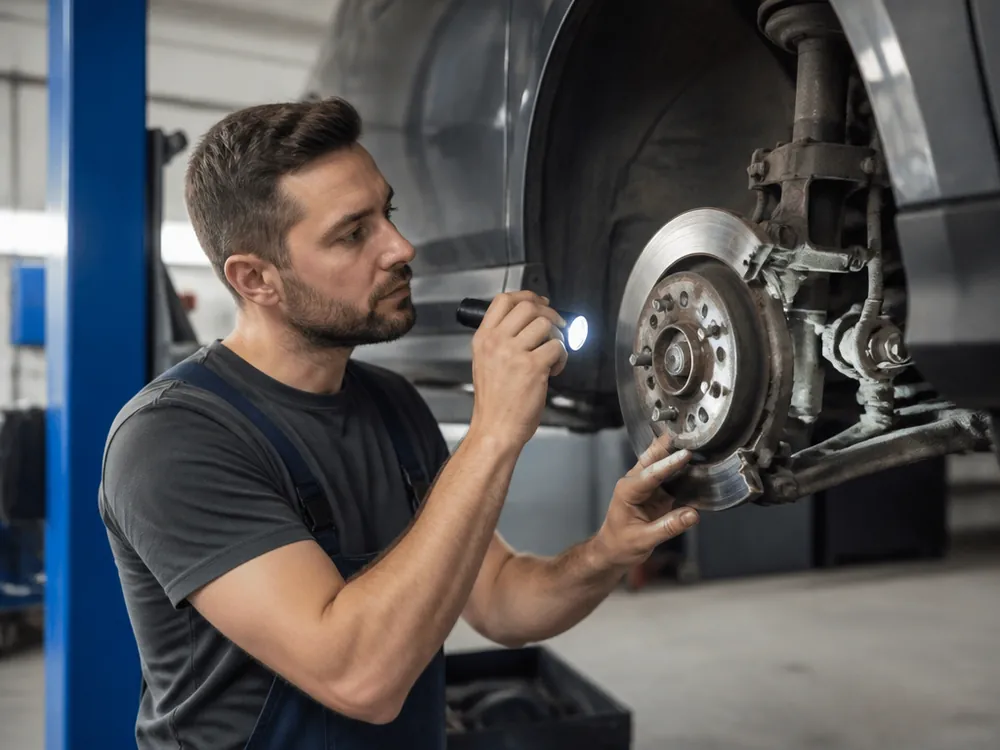
The car is received by the service advisor, who manages the work order through to handover, and we replace one axle in 40 minutes — we work by appointment, no queue, daily from 09:00 to 20:00. The advisor records the complaints and mileage, the technician on the lift checks pad thickness and disc condition, and then the list of operations is agreed. We replace pads on an axle in pairs, torque the caliper bolts with a torque wrench to 25 N·m, and lubricate the guide pins and anti-squeal shims — the caliper won't stick and the car won't pull to one side when braking. Around the city we keep appointments with a buffer: if only the front pads are being replaced, the driver usually leaves the same day. Before handover we do a test drive and a photo report of the key stages — so the driver sees which parts were replaced before even getting behind the wheel.
Written estimate and urgent on-site replacement
We start with diagnostics and a written estimate, and begin the repair only after the customer agrees; if the car isn't drivable, an urgent on-site visit by a technician is possible. The estimate includes price-list items: front or rear axle, both axles at once, the parking brake option, a set with discs or with a wear sensor, guide pin lubrication, brake system check. Each line is itemized separately, with no hidden charges. The final amount depends on the model, the axle and the chosen option — a set with discs or with a wear sensor — so the estimate is fixed before the work starts, not "after teardown". An on-site visit helps when the pads are worn down to metal and driving the car is risky: the technician arrives with his own tools and does the work on the spot. The term and conditions of the warranty on Mazda brake pad replacement — 6 months — are recorded in the work order and the certificate at handover.
Mazda brake pad replacement key points
Replacing friction parts takes minutes, but the driver feels the consequences of mistakes in the details for months. Here's the main thing to keep in mind before a visit to the shop.
- Pads are replaced in pairs on an axle: different thickness left and right pulls the car to one side when braking and speeds up disc wear.
- Guide pin lubrication and caliper torqueing with a torque wrench are part of the job: without them the bracket sticks, the pad doesn't release and starts squealing.
- Models with an electronic parking brake need EPB service mode via a scanner: without it the piston won't retract and the new pads won't seat.
- The choice of friction parts affects pedal feel and warranty terms: OEM, aftermarket and customer parts give different service life and different coverage.
- The warranty is recorded in the work order: the term and conditions in the completion certificate carry more weight than a verbal promise.
- Ask about lubrication and torqueing in advance: if the shop skips these steps, a fresh part will start squealing within a couple thousand kilometers.