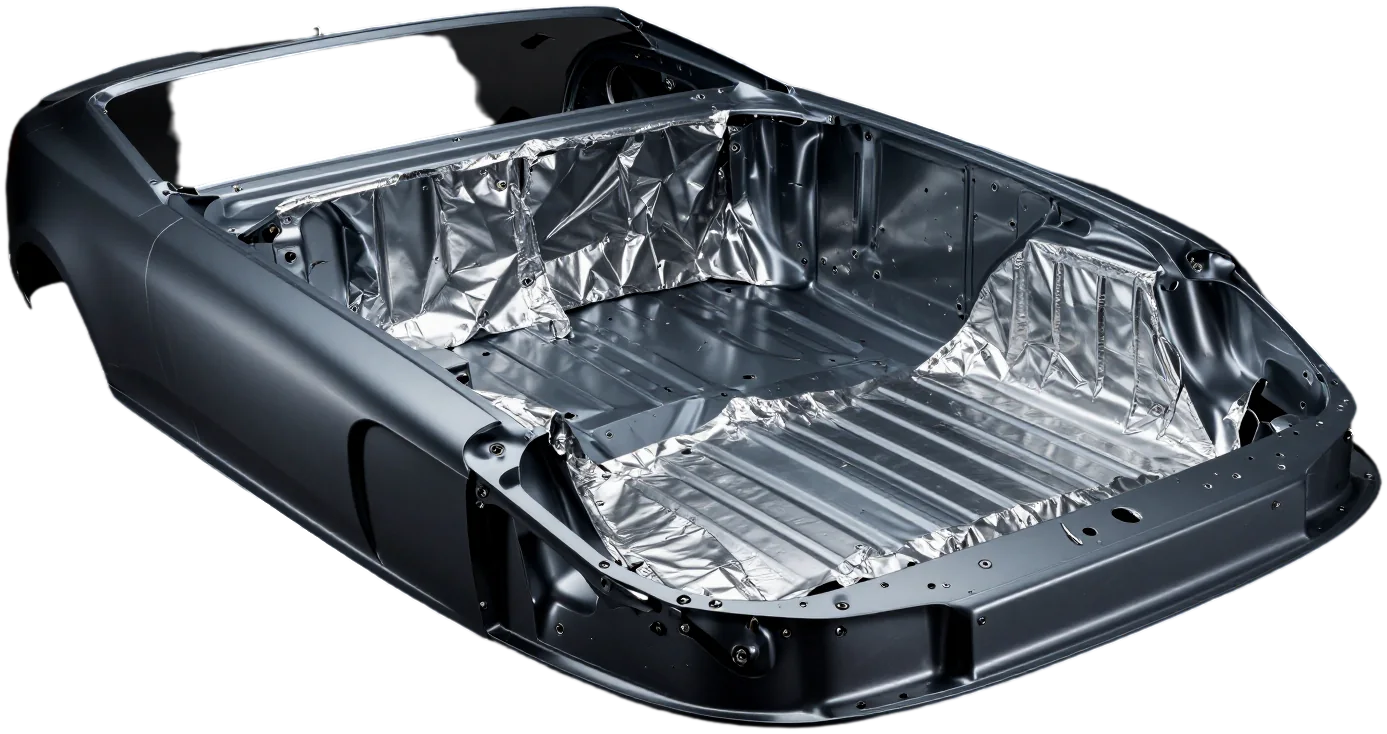
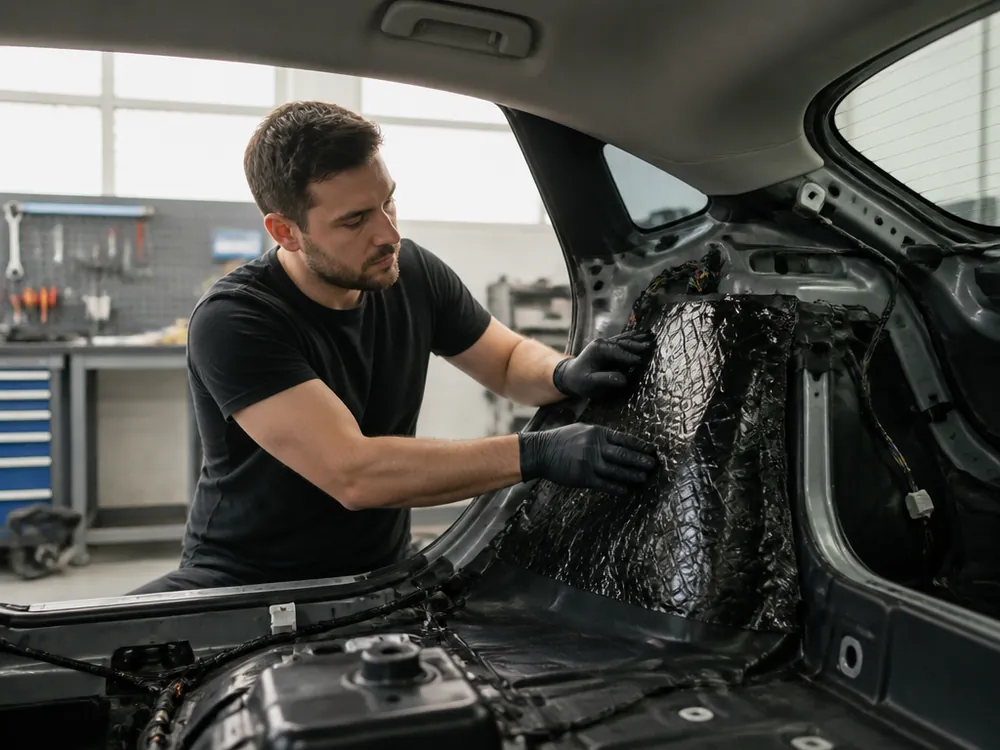
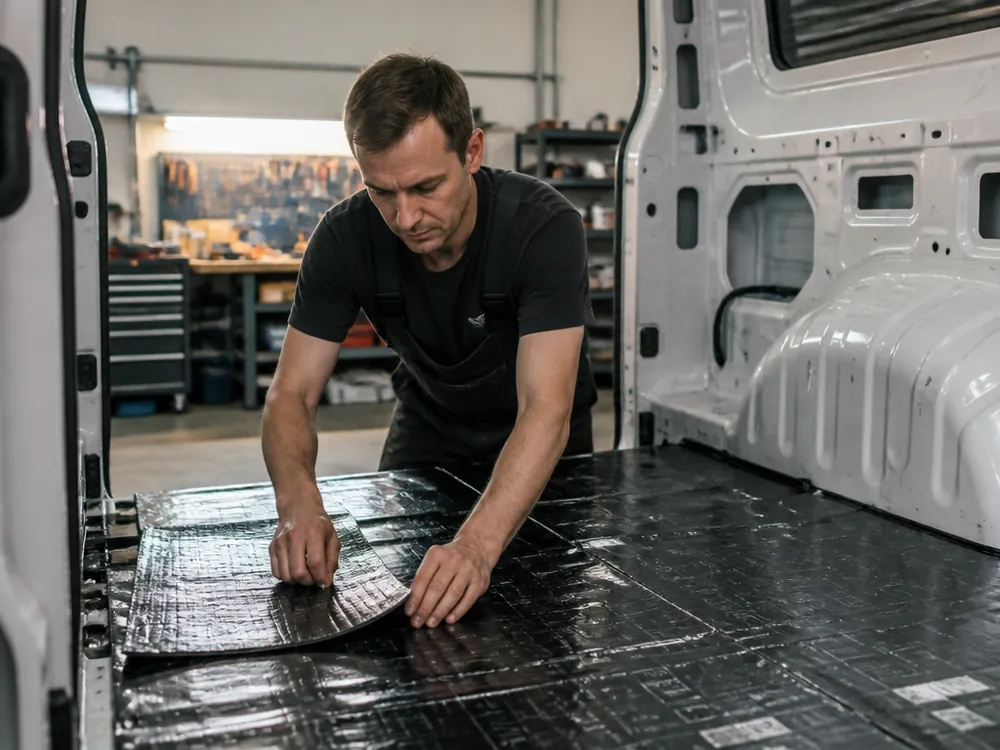
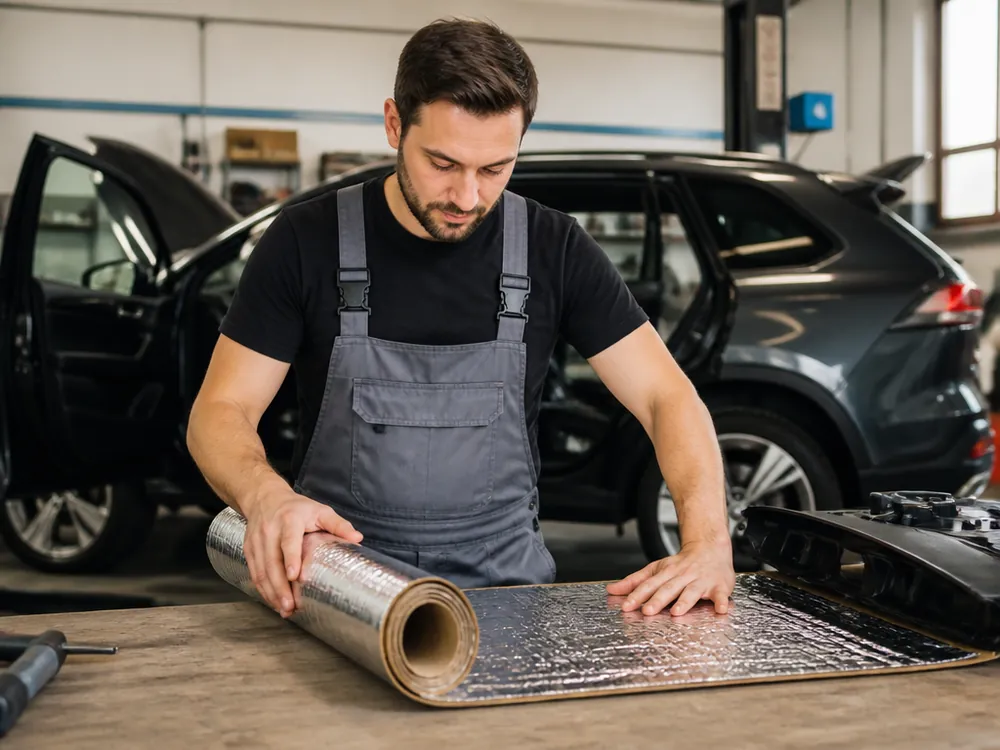
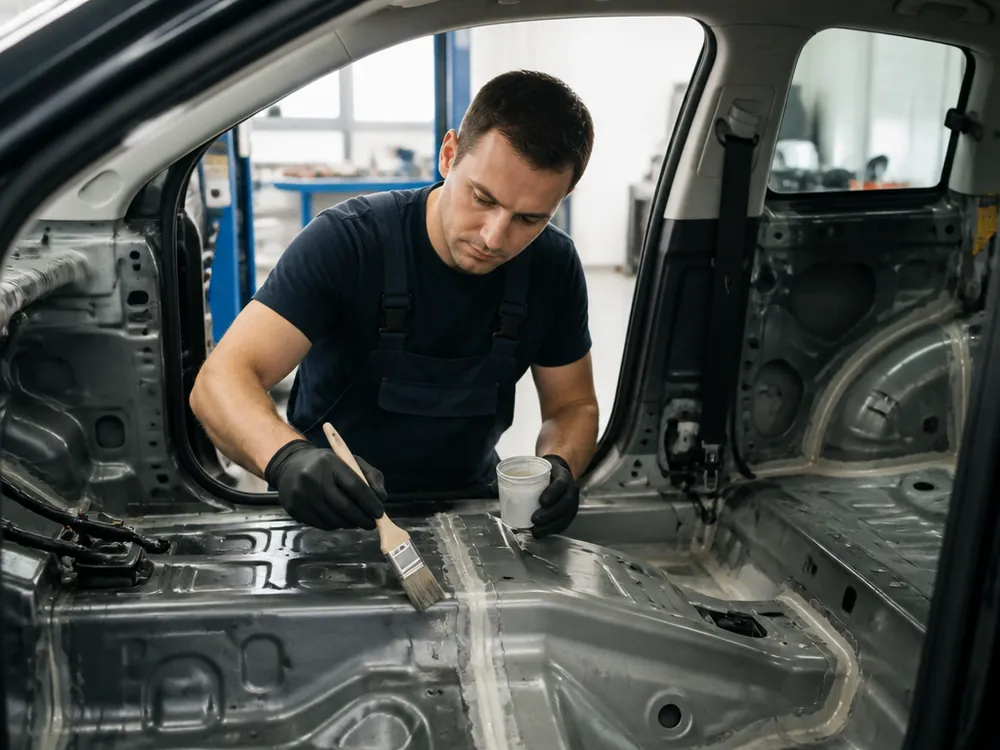
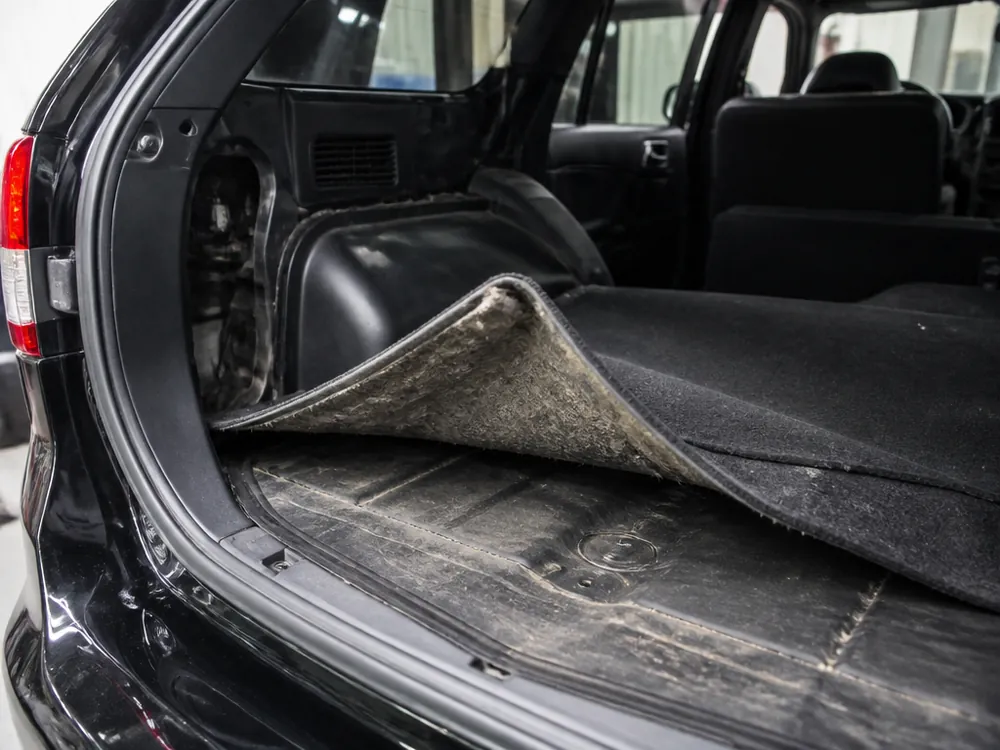
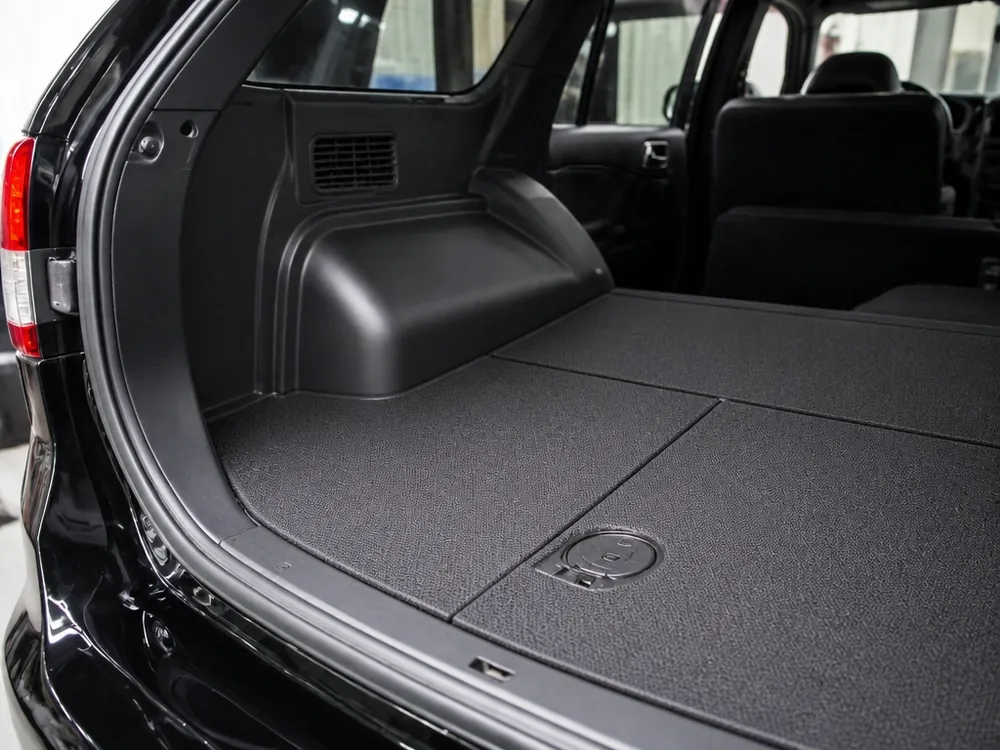
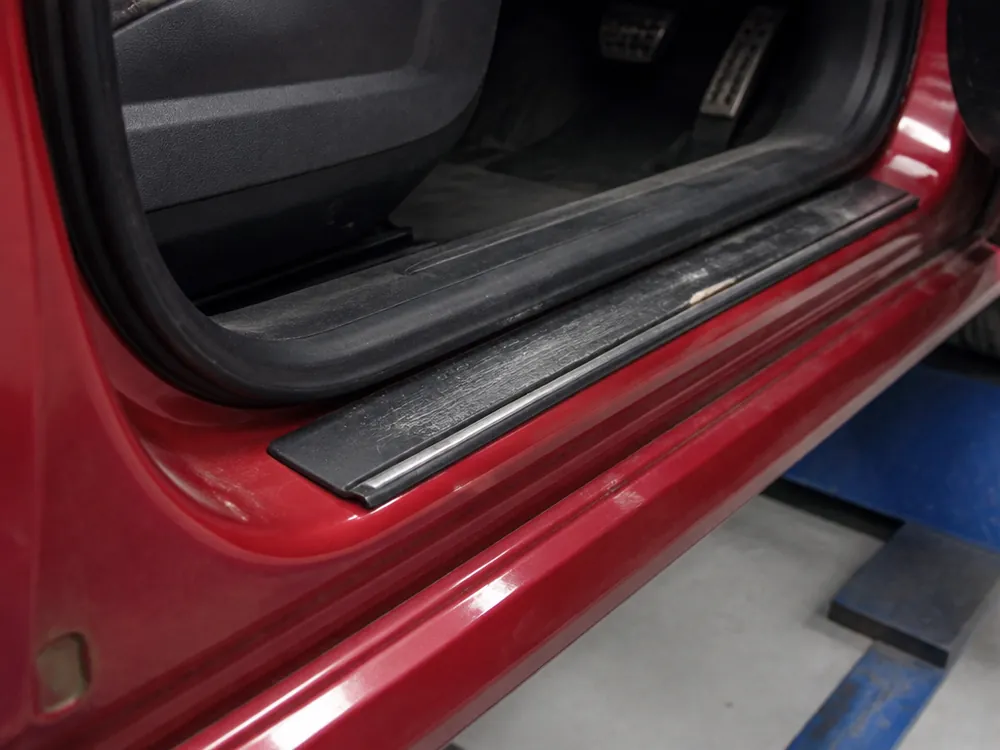
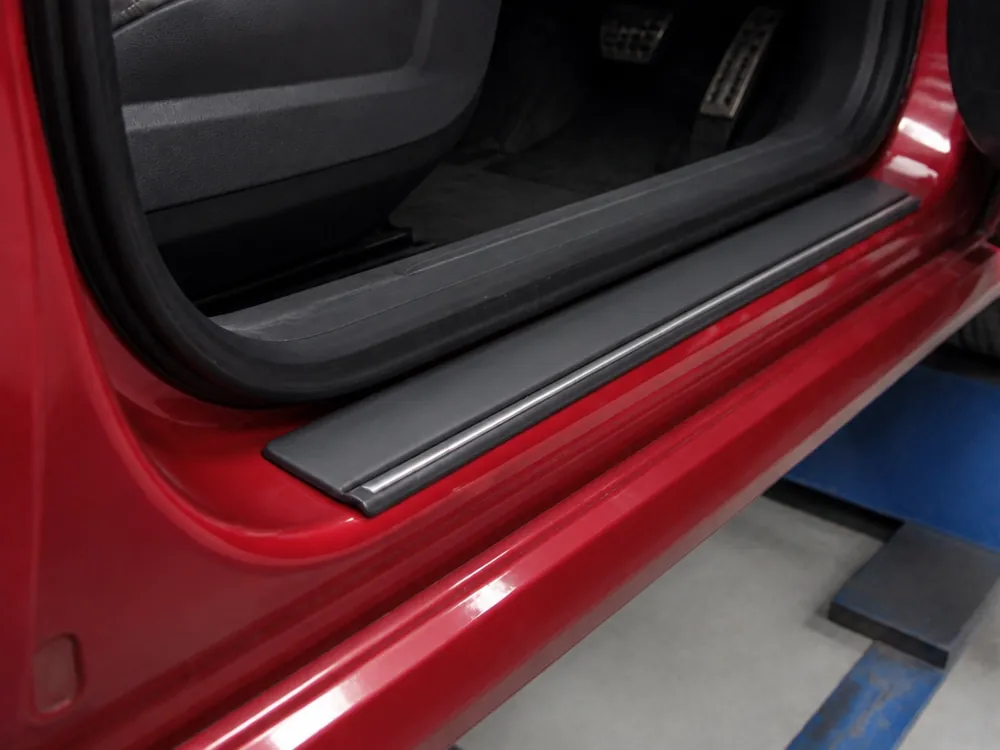
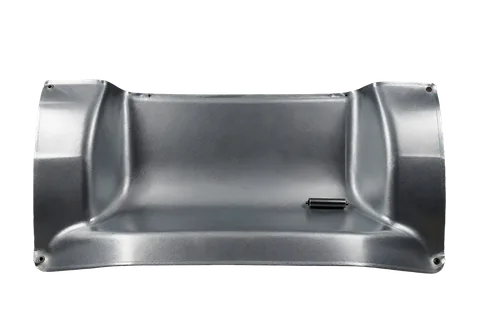
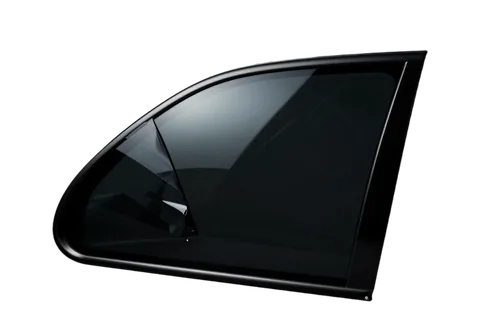
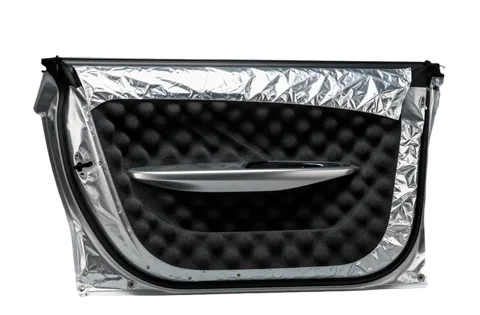
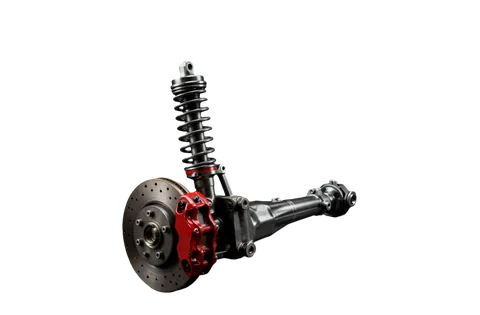
The scope of work depends on the body style and your goal: a sedan, wagon, SUV, and van each require a different treatment area. Below we break down the options and what each includes.
Do Seats and Carpet Need to Be Removed
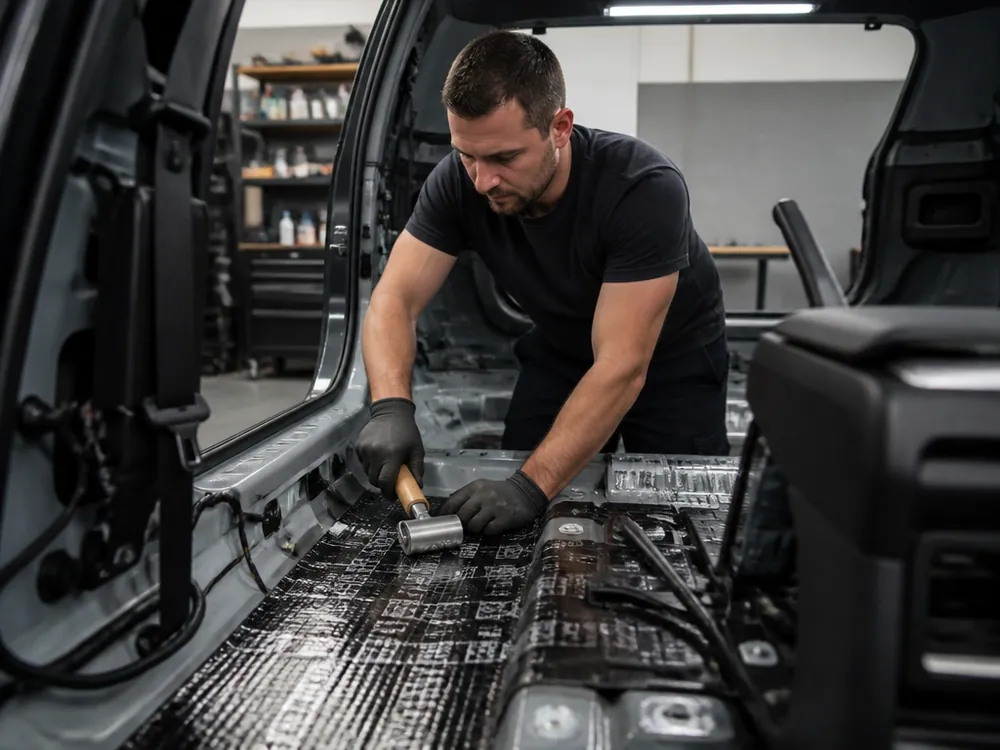
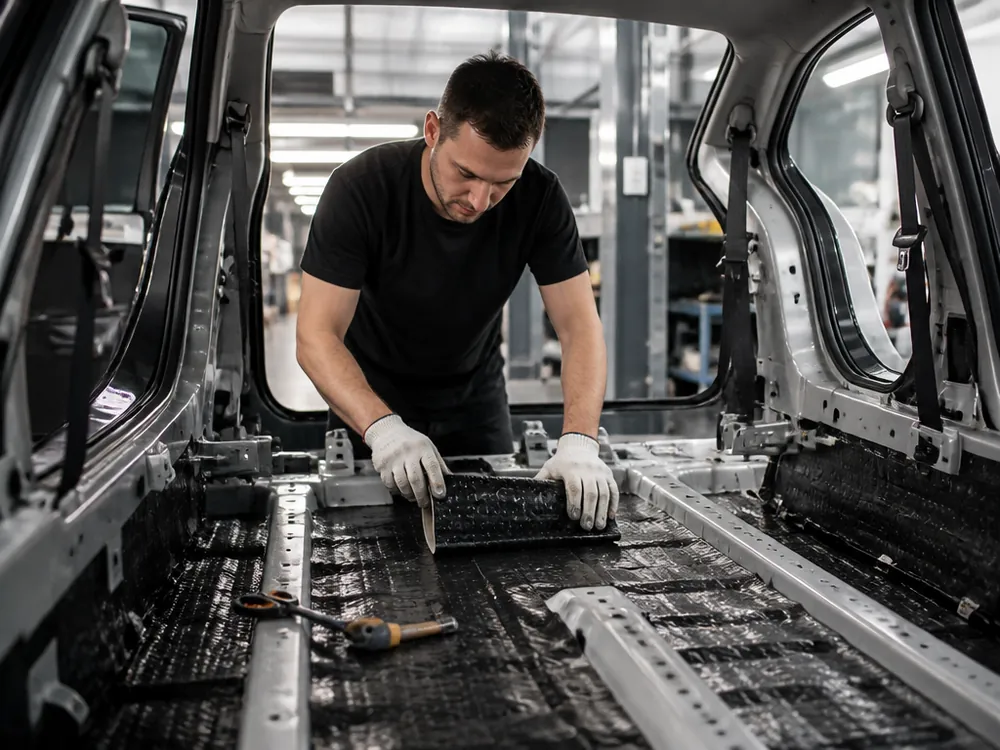
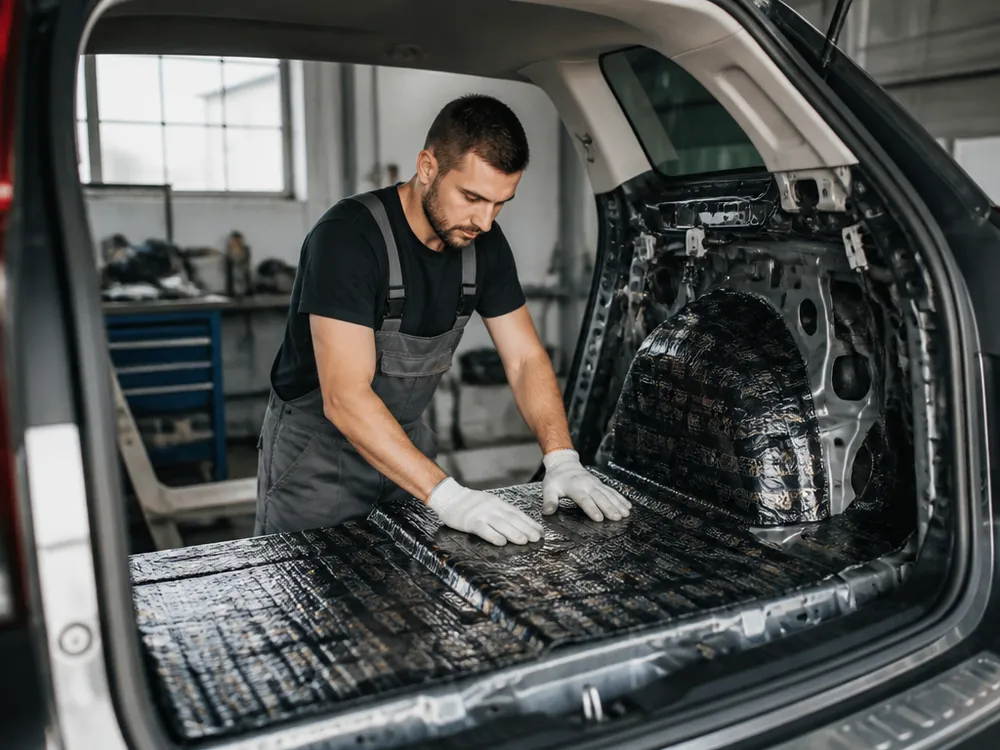
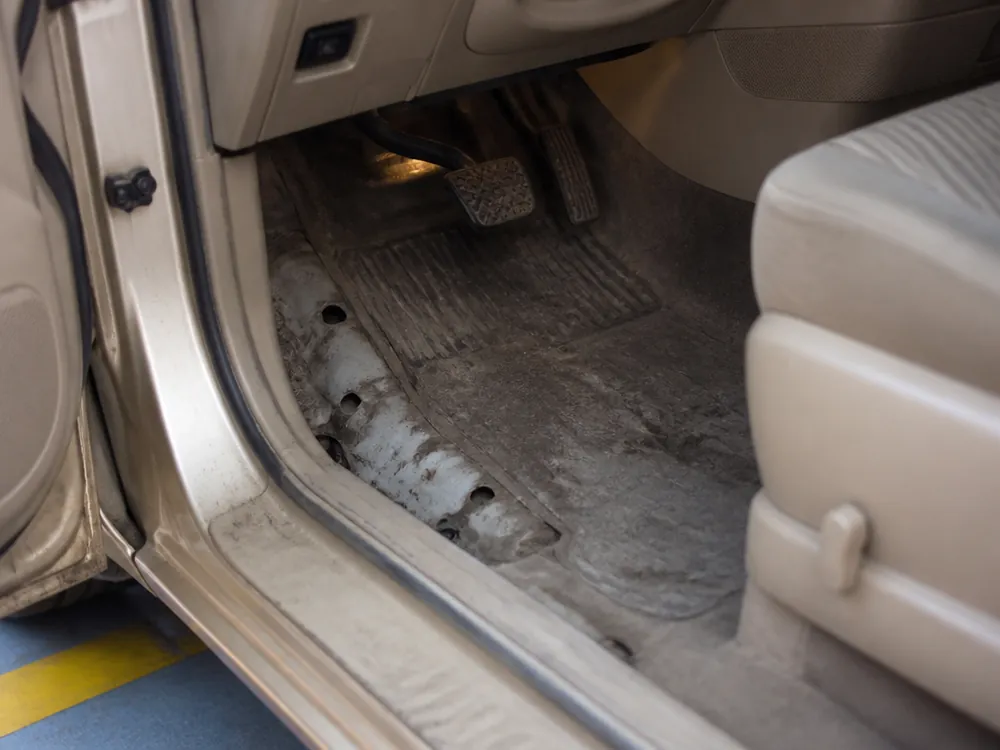
Yes, we completely remove the interior — seats, carpet, plastic trim — otherwise the vibration damper won't bond to the metal without bubbles and peeling. After removal, we wash and degrease the floor, cut blanks to a template, and roll the material from the center to the edges to push out air from under the sheet. Floor soundproofing relies on tight contact with the metal, not on glue: if you leave a bubble, at speed it starts flapping in rhythm with the road irregularities. Partial laying over the carpet gives a short-lived effect, then the material slides and starts rustling underfoot more than before the work. In my opinion, skimping on removal is the most expensive: redoing it requires taking everything apart again and cleaning the metal of old glue.
Three Layers and Seam Sealant in Car Floor Vibration Insulation
One layer muffles stone impact noise but doesn't eliminate the hum at speed. We explain why three layers, why the sealant goes on before laying, and what changes on an electric vehicle.
Why Three Layers Instead of One
The first layer is a vibration damper, the second is a sound absorber, the third is seam sealant; one layer muffles stone impact noise, the others dampen the hum at speed. We glue the vibration damper to the metal, and it removes high-frequency vibrations from the sheet; the sound absorber goes on top — it handles airborne noise, and the sealant closes the seams through which vibration bypasses the damper. Car floor vibration insulation in Almaty follows the same scheme: first we prepare the metal, then lay the layers. On a sedan for highway use, we usually do two layers; we add the third if the owner complains about hum from 80 km/h or regularly drives on gravel. We use Splen as the top layer under the carpet — it's softer and prevents the material from caking in heat. In my opinion, skimping on the second layer costs more: redoing it requires completely removing the interior again, and the old material comes off with glue residue. If there's no hum and your routes are city-only, two layers are enough — don't take the third "just in case."
Why Seam Sealant Goes On Before Laying the Layers
We apply sealant to factory seams and panel joints before laying the layers so that vibration doesn't travel through the metal under the vibration damper. We carefully work around technical holes and wiring areas: we apply the sealant in a thin layer along the contour without flooding fasteners and clips, otherwise you won't be able to remove the panel later without damage. If you apply the compound over the sheets, it won't reach the seam, and in six months that's exactly where the first source of squeaking will appear. The order is: wash, degrease, sealant on joints, dry, then vibration damper, sound absorber, and reassembly. We apply the sealant before the layers, not after — this is fundamental; on top of the damper it's useless and only holds on the adhesive layer. On the tunnel and in the driver's footwell, we apply the seam compound with extra width: that's where the metal flexes the most, and a missed joint will later be heard as a click over bumps.
Specifics for Electric Vehicles and Wiring Areas
On an electric vehicle, we avoid the battery area under the floor and don't attach the vibration damper to its cover, and we label wiring and connectors before removal. We don't touch the battery fasteners: our own bolts and torque specs don't apply here, and any unnecessary interference with the power unit is unacceptable. We tag wires according to the diagram so that during reassembly we don't mix up heater and sensor connectors. After reassembling the interior, we run the electrics with a dealer scanner — this way connector errors are caught before handover, not a week later. We have dealer scanners for 40+ brands. On a hybrid, we additionally check the area under the rear seat — a high-voltage cable often runs there, and it must not be pressed against the body by the damper.
Timelines for Car Floor Vibration Insulation and Booking
We complete the full floor in one shift. Here's how we achieve that pace, what to do before your visit, and when you can wash the interior after handover.
How the Full Floor Is Done in One Day
We do the full floor treatment in one shift, and you pick up the car from the shop the same evening. The secret isn't rushing: we dry and degrease the metal while removing the interior, and we cut the vibration damper and sound absorber blanks to a template before disassembly — cutting to patterns speeds up installation and doesn't eat into the shift. Car floor soundproofing goes on top of the vibration damper, so we lay the layers in strict order. Then come three layers: vibration damper, sound absorber on top, sealant on factory seams and panel joints. While one technician rolls the floor, the other reassembles the seats and carpet, so removal and reassembly don't take a second shift. Before handover, we do a test drive: we listen for hum at speed and check for any unglued edges. Book in the morning — if the factory insulation takes longer than usual to remove, the time buffer still lets you leave the same day.
How Long It Takes to Dry and When You Can Wash the Floor
The mastic on the seams sets by the time the interior is put back together, and you can wash the cabin floor a day after pickup. The mastic layer needs time to gain strength and stop reacting to moisture. By then the carpet is already back in place, the seats are clipped in and the test drive is done, so you can use the cabin, just keep water out of it. For the first day, don't carry wet items, don't wash the floor mats inside the car, and don't leave it out in the rain with the windows open: moisture under a fresh layer slows curing and softens the edges. We're open daily 09:00–20:00, and with a booking there's no wait, so a convenient morning slot can be found even in a busy week.
Warranty on Car Floor Vibration Insulation and Customer-Supplied Materials
The warranty on floor vibration insulation is 24 months, but it has boundaries. We explain what we cover, what's outside it, and what it looks like if the owner supplies the material.
What the 24-Month Warranty Covers
The warranty on floor vibration insulation is 24 months. We record the term and conditions in the work order and the completion certificate when you pick up the car. The coverage applies to the layers we laid, the quality of the bonding, and the treatment of factory seams — if a sheet starts to peel away from the metal at the sill, we redo it at no charge. Before handover, the service advisor takes the car on a test drive: on a rough road you listen to whether the low-frequency hum is gone and check for any new noises from the removed trim. We document the installation of each layer in a photo report — the photos show which material went down on the metal and in what order. Together with the technician, inspect the seams, the edges of the sheets at the sills, and the interior electrics — these are the areas that most often lead to complaints.
Customer-supplied materials and where our responsibility ends
We accept customer-supplied materials, but the warranty covers the work performed and the parts we install — a part you bring is not covered. We work with STP and Shumoff vibration dampers: the warranty applies to them for the full 24 months, including adhesion to metal under temperature swings. If you bring your own vibration damper, we check the batch in the parking lot before removing the interior — that way a material quality issue doesn't surface halfway through the job, when the floor is already stripped. Owners often buy material on a friend's advice and don't compare the batch with what's already in the trunk — a difference in foil thickness is what later causes peeling in the heat. Diagnostics for a warranty case is free with us, and we show you the removed sheets and hand them over to you, so you can see exactly what was replaced.
Redoing floor vibration insulation after another shop
Smell, peeling, squeaks after someone else's work — these are the typical complaints about floor vibration insulation. Here's how to tell it's time to redo it, and what we do with a problem floor.
Signs the vibration insulation was done poorly
- Bitumen smell in the cabin: it lingers for weeks instead of airing out a couple of days after installation.
- Bulges at the sills: the material lifts off the base, condensation builds up underneath, and corrosion starts.
- Squeaking under the carpet: the sheets rub against each other because they were laid without rolling them down with a roller.
- "Drumming" at speed: a single layer deadens the thud of stones but doesn't kill the road hum at 80–100 km/h.
- Moisture in the base: the surface wasn't dried or degreased, so the adhesive didn't bond.
- Waves and bubbles: the vibration damper was laid over uneven spots without heating it with a heat gun, so it only sticks in spots.
How we redo a problem floor
We remove the old layer, clean and dry the base, apply anti-corrosion treatment, and lay everything again — with seam sealer applied before the layers go down. Replacing the factory vibration insulation with new material includes removing adhesive residue, degreasing, and checking the base for through corrosion: if a sheet is rusted through, we weld it first and only then lay the vibration damper. We cut the blanks to a template in advance, so removing the interior and laying the material fit into one shift. We check the finished car on a test drive — listening to the floor at the speed where the hum is most noticeable. If we find rust under the old insulation, we do the anti-corrosion treatment before the vibration damper — otherwise the same smell will bring the job back in a year. We set the old sheets aside and show them to you before disposal: they show exactly where the adhesive failed and why the floor started to hum.
What Determines Floor Insulation Success
Here's what decides the outcome of the job: how to choose the scope of treatment, why there are three layers, where the one day comes from, and what exactly the warranty covers.
- Scope matched to the task: front section, area up to the rear row, full floor with the trunk, or a van — the choice depends on the body and on which hum bothers you.
- Three layers working together: the vibration damper deadens the thud of stones, the sound absorber kills the hum at speed, and the seam sealer goes on before installation, not after.
- One shift for the full floor: the metal is dried and the blanks are cut to a template in advance — you pick up the car the same evening.
- 24-month warranty: covers the work performed and the materials we install, while a part you bring yourself is not included.
- Signs a redo is needed: smell, bulges, and squeaks — the old layer is removed, the metal is cleaned, and anti-corrosion treatment is applied again.